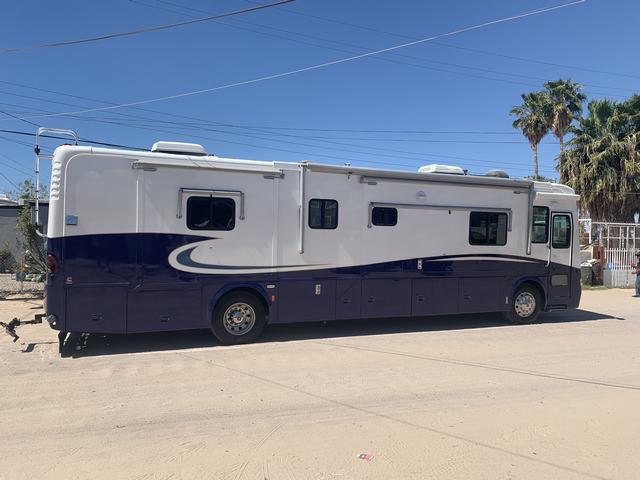
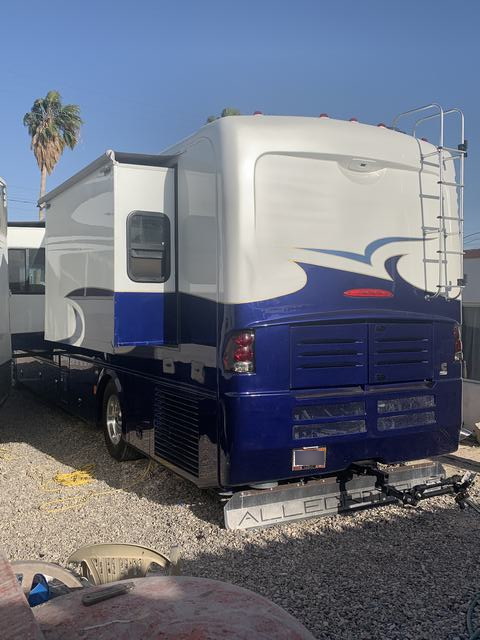
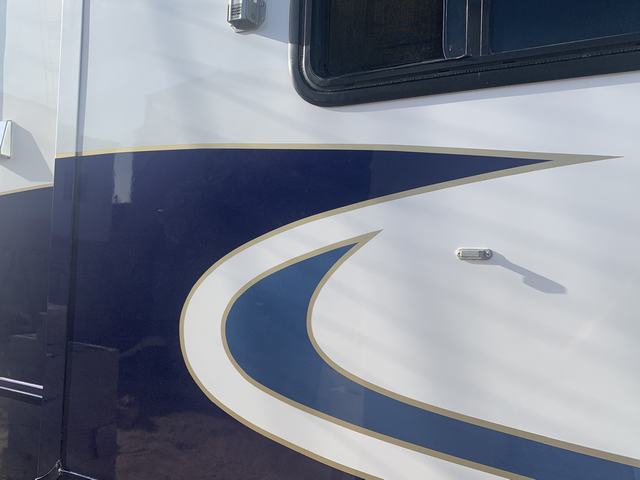
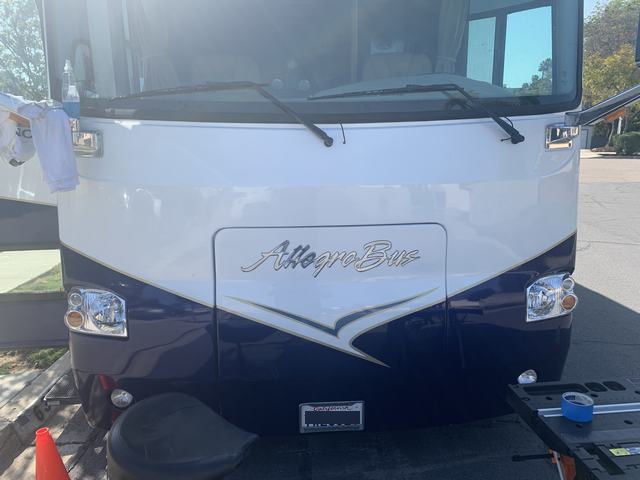
I had been researching fixing the peeling paint on my bus for a couple years as the clear coat was failing and it was looking pretty ugly. I had a couple quotes. One guy said he could do it in the street in front of my house for around $15k, a truck paint shop in San Diego quoted me $45k, and a place in Texas quoted $33k and 6 weeks of work. I even talked to Barney over at Discount RV, and he said they just didn’t have the time to do the job right.
Getting it done outside in front of my house sounded like an awful plan and the other quotes were a lot more than I would consider paying. I even had a wrap company quote $11k for a wrap, but that didn’t include the required sanding and removal of all the external parts. (They said the wrap could last 5-7 years)
Then last fall I saw a before and after picture of what was essentially my coach having been painted in a Facebook post. It had similar issues as mine with the clear coat peeling. The paint job looked pretty good; so I contacted the coach owner and asked about the paint job and found out they only lived a couple hours north of us. Later I made up my mind to investigate getting my bus painted by the guy that painted theirs, and I asked if I could come by and look at it.
They agreed to my request. A couple weeks later we drove up to Chino to look at the job. It was a really good job! It wasn’t perfect and the owner pointed out a few issues, but I couldn’t see a couple of them with my eye. I did notice the striping wasn’t perfect if you look very close, but in truth I wasn’t sure the $33k job would be any better. For what they paid, it was an incredible job. And at the time I didn’t really understand what painting these things actually entailed.
I found a graphic artist on Craigslist and sent her off a couple pics and a picture of a rudimentary sketch of what I was looking for. I should have known that it wasn’t going to work out based on how hard it was to explain to her what I wanted done. It went bad real quick. Her end product looked like something an 8-year-old would produce. Here is her finished product I was supposed to give to the painter. She had received the exact same sample picture as a starting point as the next designer, but the difference in the deliverable was astonishing. 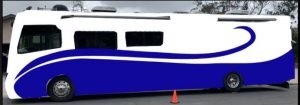
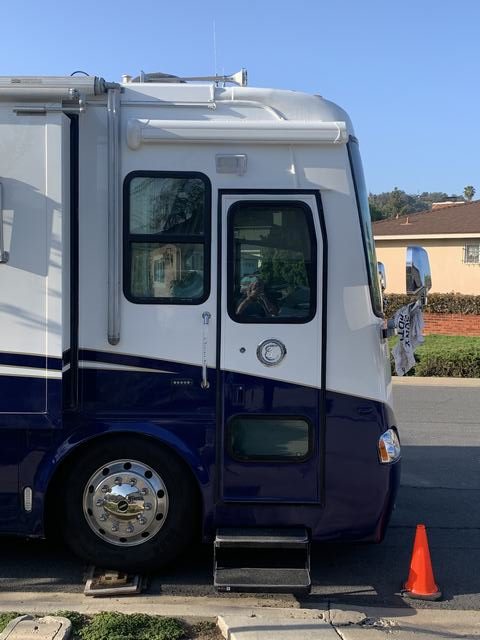
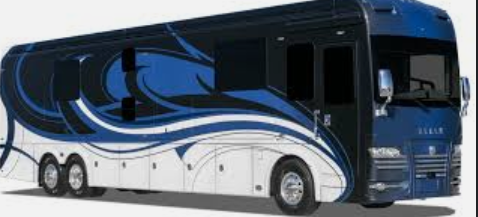
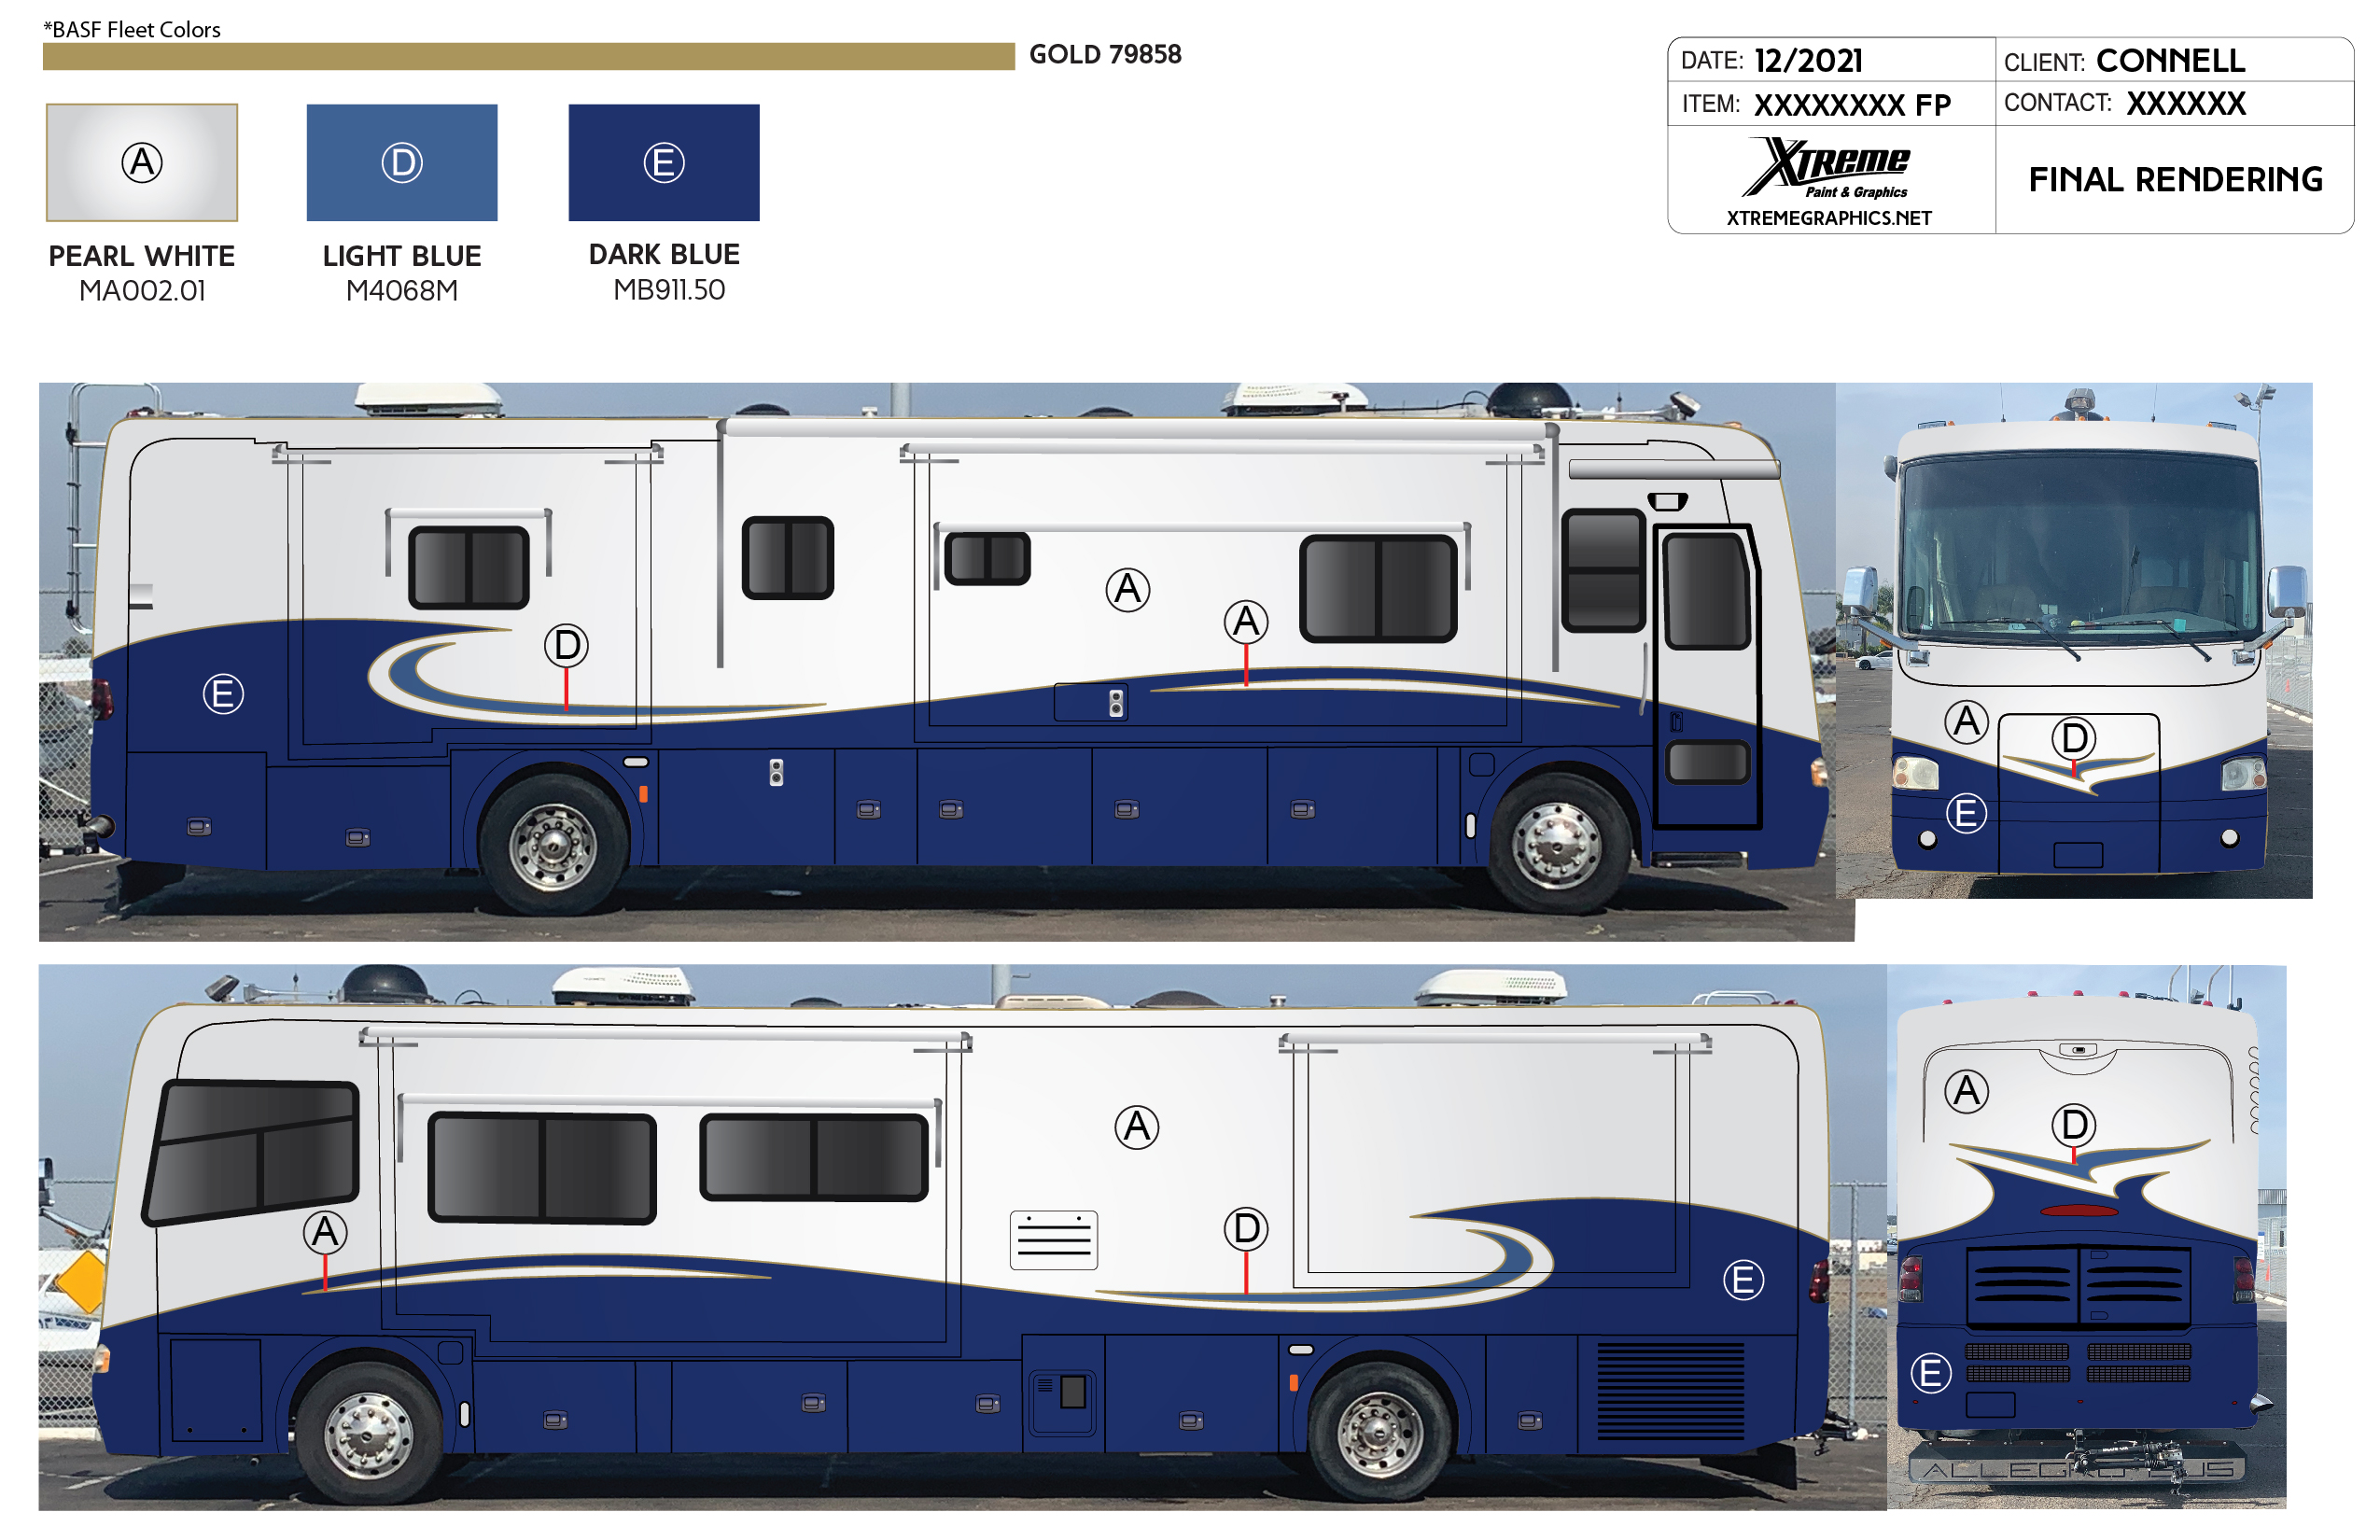
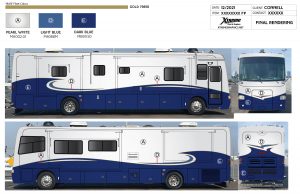
After that first ugly designer experience, I started searching for someone who had previously done design work for other motorhomes. I found a few, but most were too busy working for companies to do anything for me. Then I found Xtreme Paint & Graphics in the small town of Nacogdoches, TX. They told me they could make a design for $650. I had found this picture and liked some of it, but wanted the white on the top instead of the bottom. I gave this to the designer and told her I wanted it much simpler and it to be dark blue on the bottom and pearl white on the top. 
Her first draft was perfection to me! That was just prior to Thanksgiving. Exactly what I wanted. I told her to finalize that (which took way too many weeks for some reason). I did have to call her after Christmas to finally get the invoice and final drawings done.
I messaged the painter with the pic and negotiated a price. Setting the date was not as straight forward as expected. And that ended up working out well for me as right after New Years I caught the flu and was feeling crummy for three weeks. Once better, I attempted to get a date from the painter via messenger but received the same vague responses. So then I just set a date and he said “sure”.
The painter doesn’t speak a lot of English but can get the gist. The day prior to me heading there (it’s about an 8-hour drive from my home) I wanted to get the exact address to bring the bus. He kept sending me his home address; and when Google street viewing, I could see there wasn’t a building to put it inside at that address. It took a bit, but then I did get the right address and could see a building that looked like it could fit the bus inside.
The weekend prior to going, I also bought Mexican insurance as our US coverage isn’t worth the paper it’s written on down there. My AARP/Hartford motorhome insurance is basically no coverage in Mexico at all, so I needed full coverage for it. Turns out 6 months of coverage cost less than 2 months of coverage by a lot of money, so I took the 6 months of coverage. I also had to negotiate the value. NADA guide said it was worth $118k and the insurance company would only go to $75k of value. After some negotiation they upped it to $100k. It alone cost about $650 to insure. My car is covered by our home/auto policy and they covered it all down to Senora, Mexico, where I was going; but Mexico doesn’t recognize their Liability coverage, so I had to add that with a Mexican company: $50 for 5 days.
Also, a note, if you plan on staying in Mexico for more than 7 days, you must buy a tourist visa (FMM). That was difficult to determine by reading everything I could online. Luckily for me, a club I belong to had just finished having a rally down in Puerto Penasco the week before I was heading there and I was able to get the requirements confirmed by the leader of that rally.
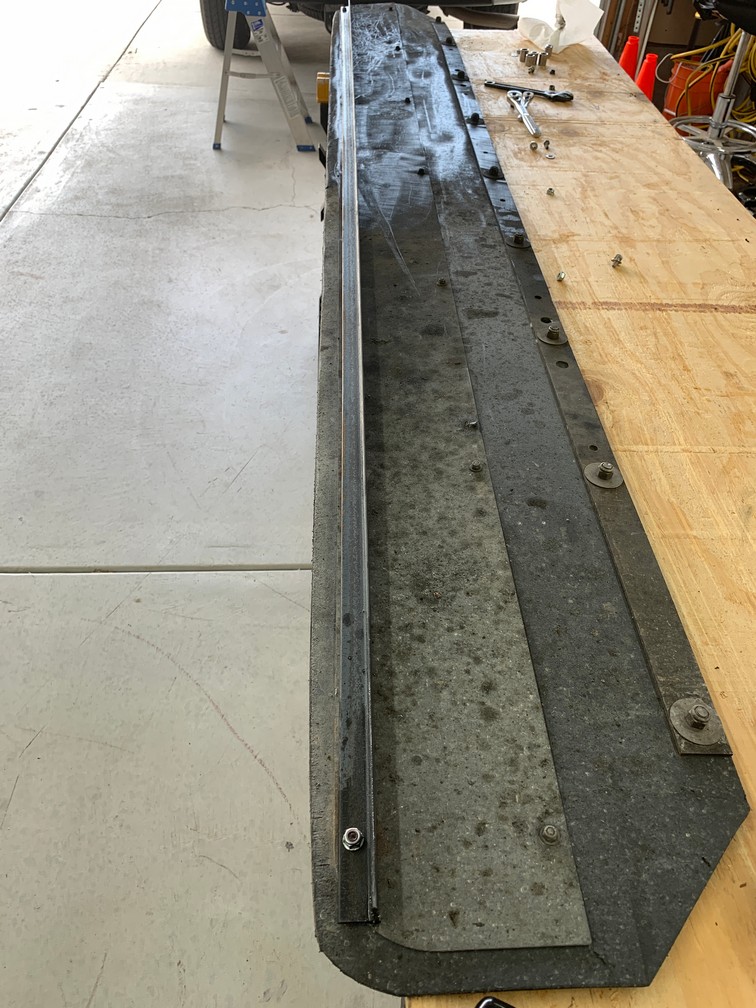
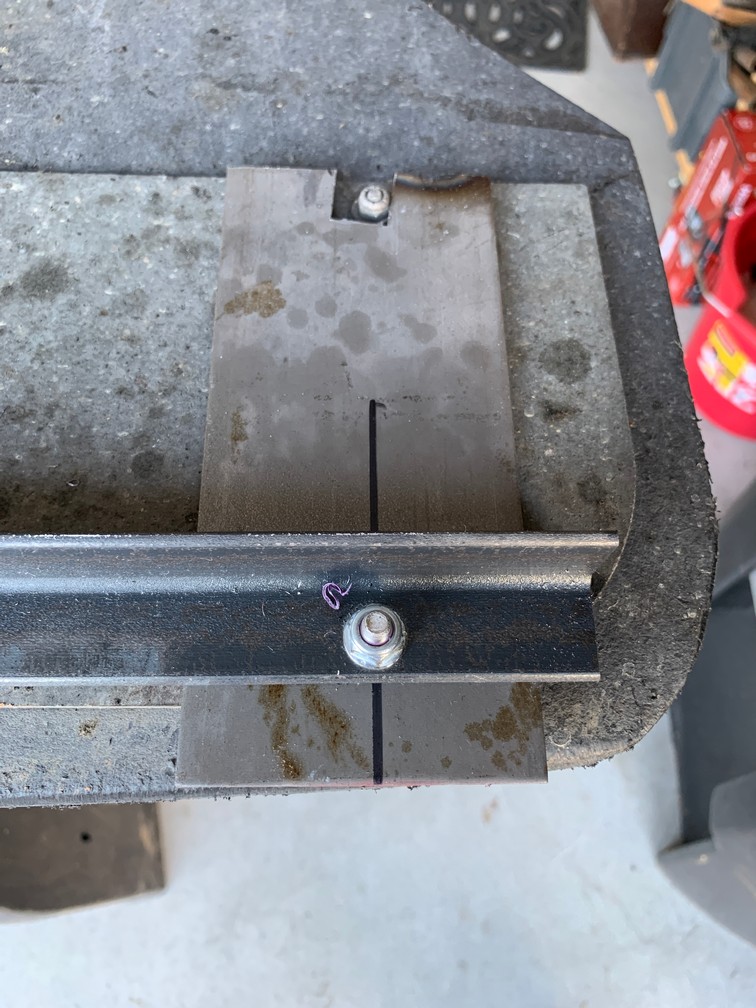
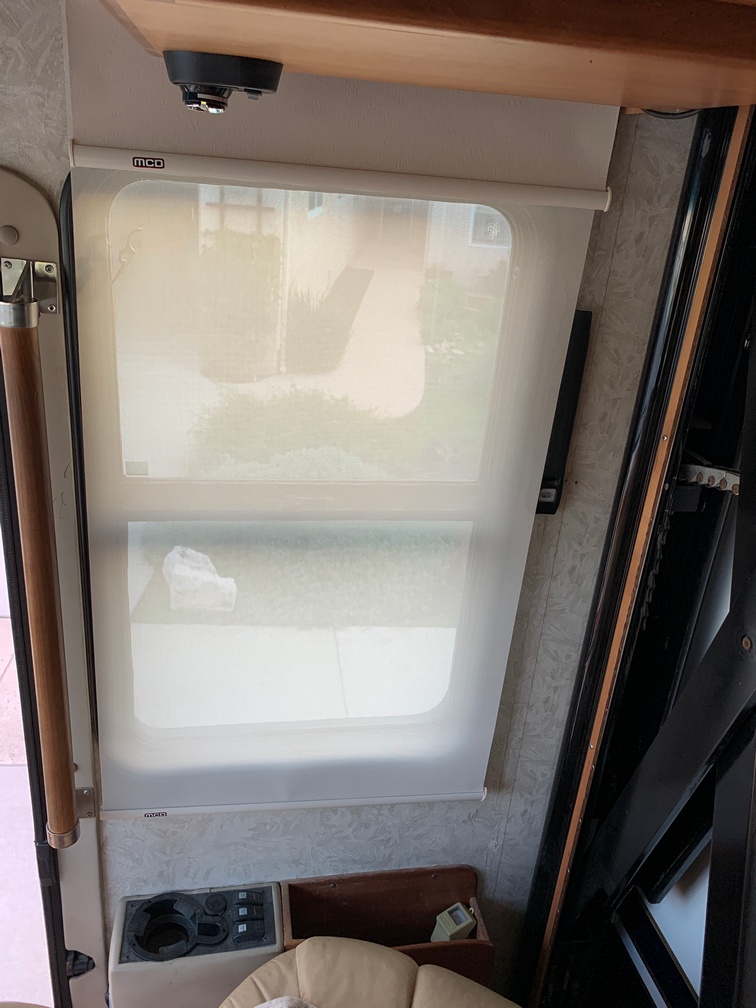
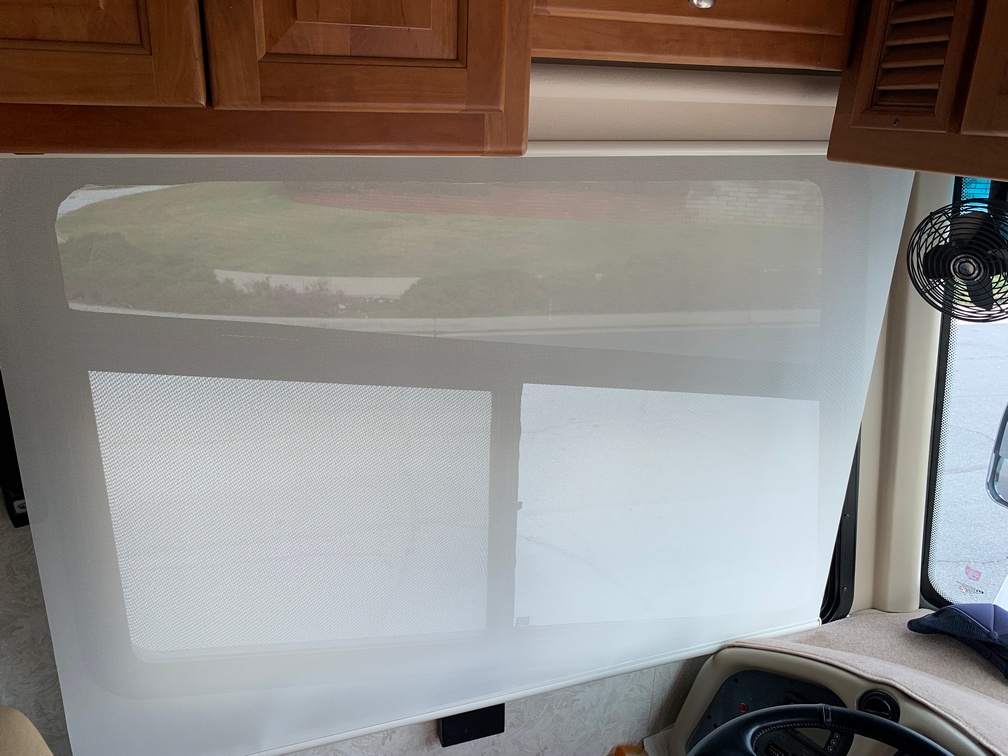
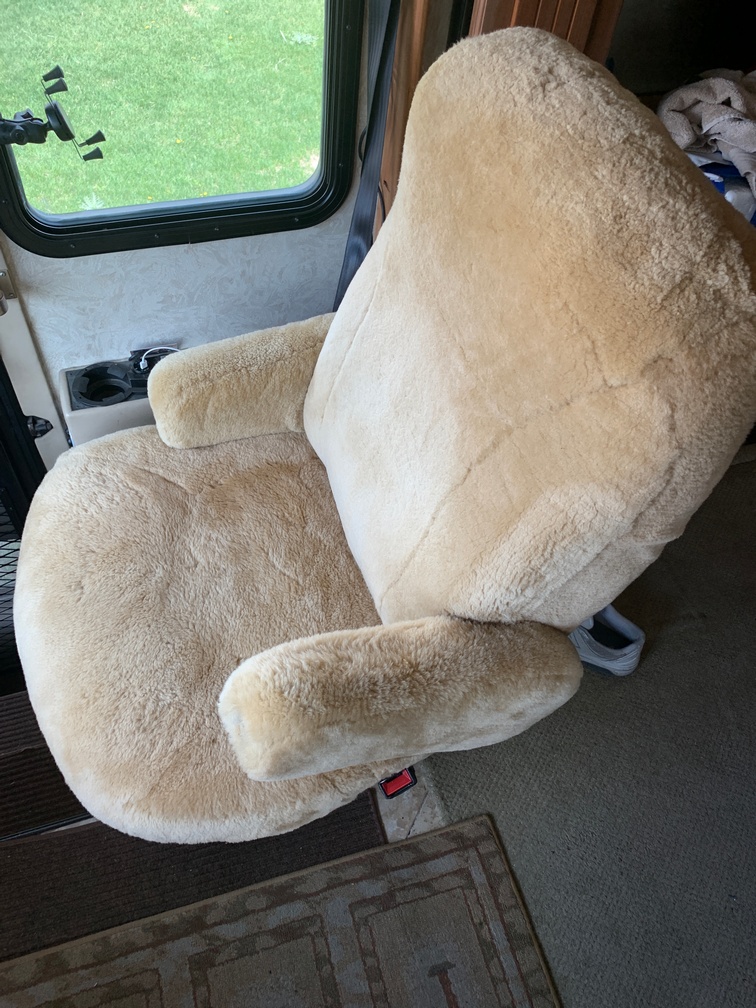
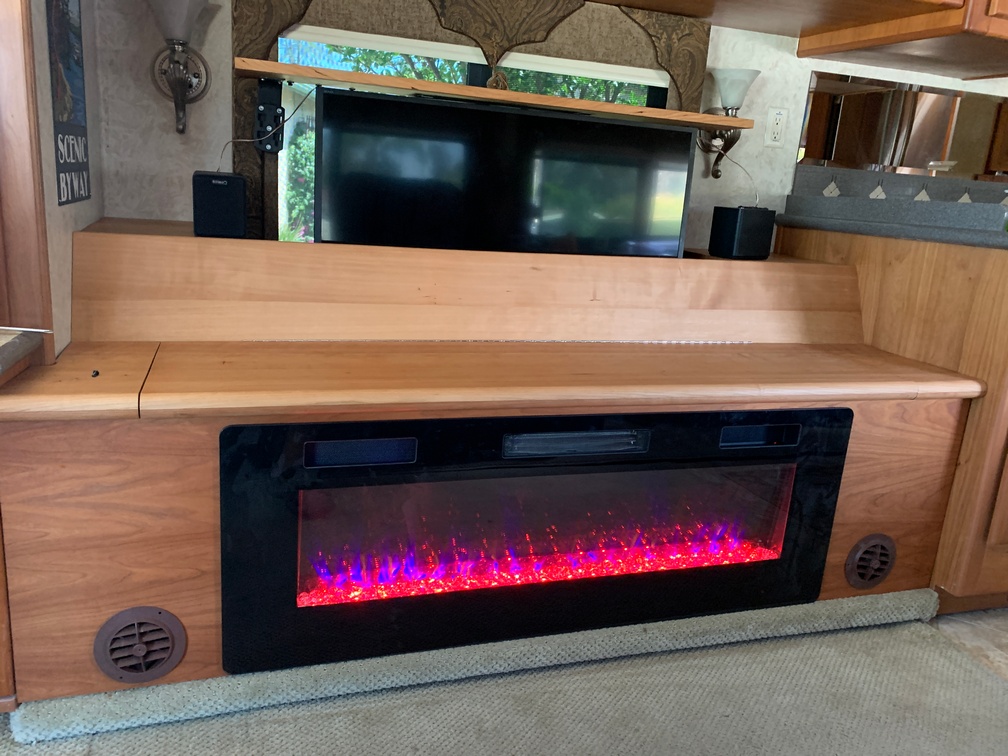
I was planning on removing the windows when I got down there so the paint would cover everything. Prior to leaving home, I removed all the valances and the attached roller shades (no small feat in itself!) and stored them in the guest bedroom till I got it back home.
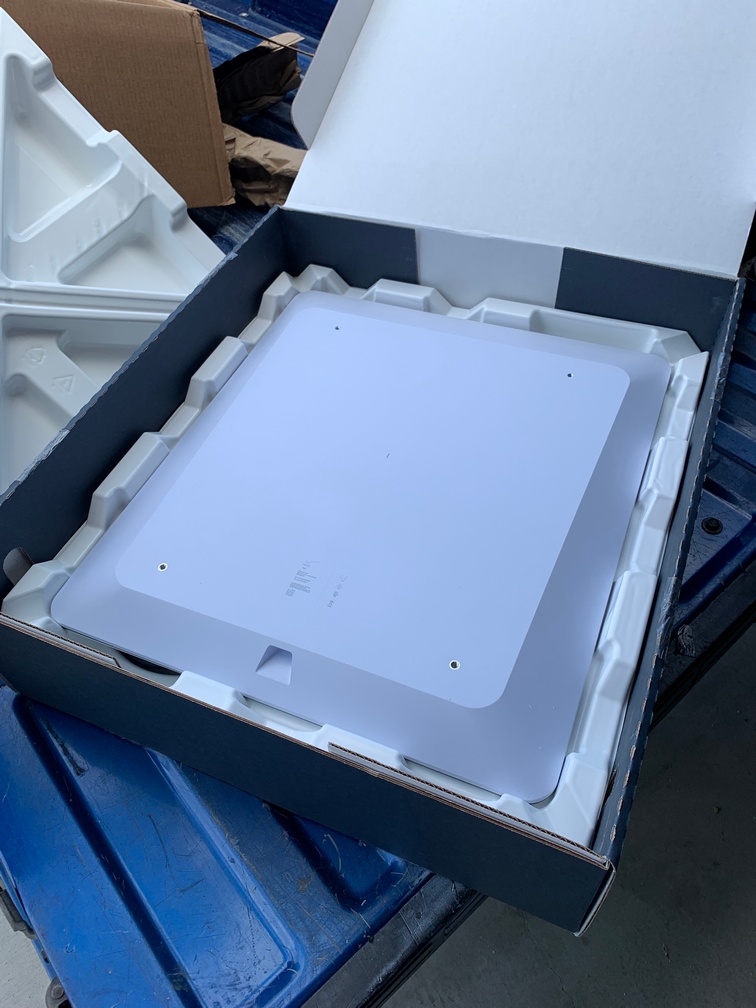
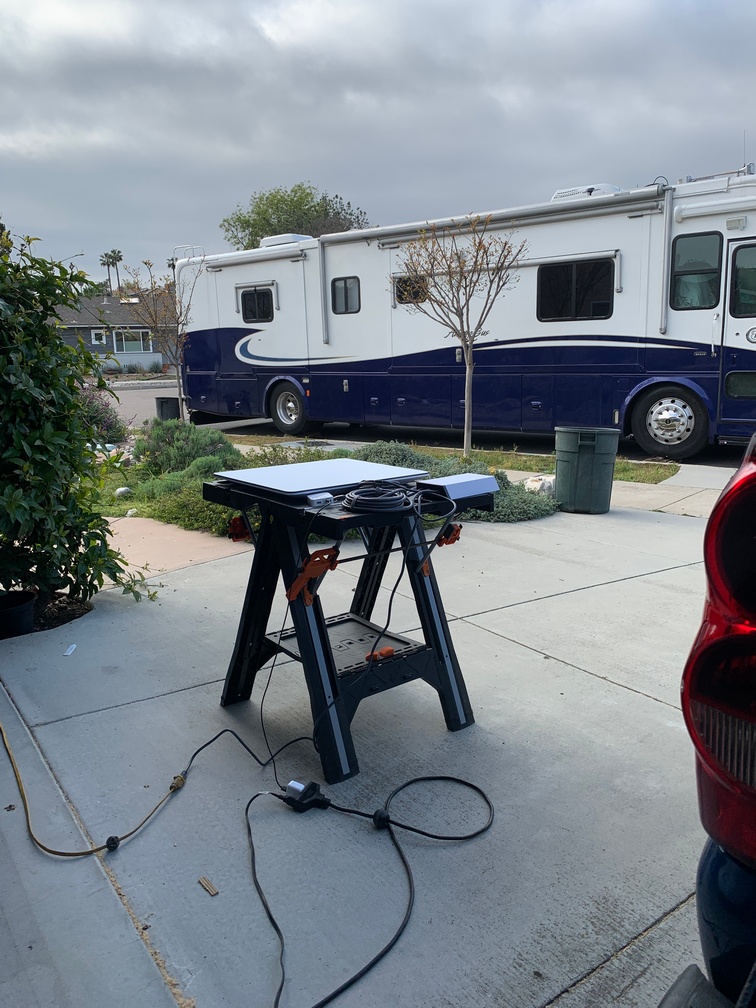
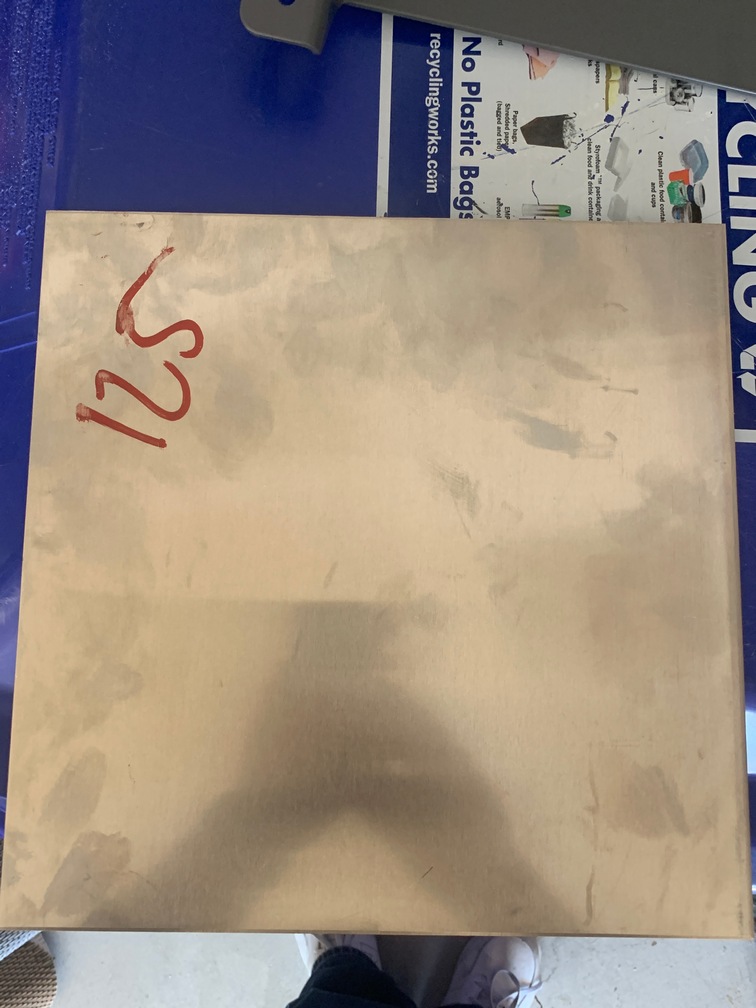
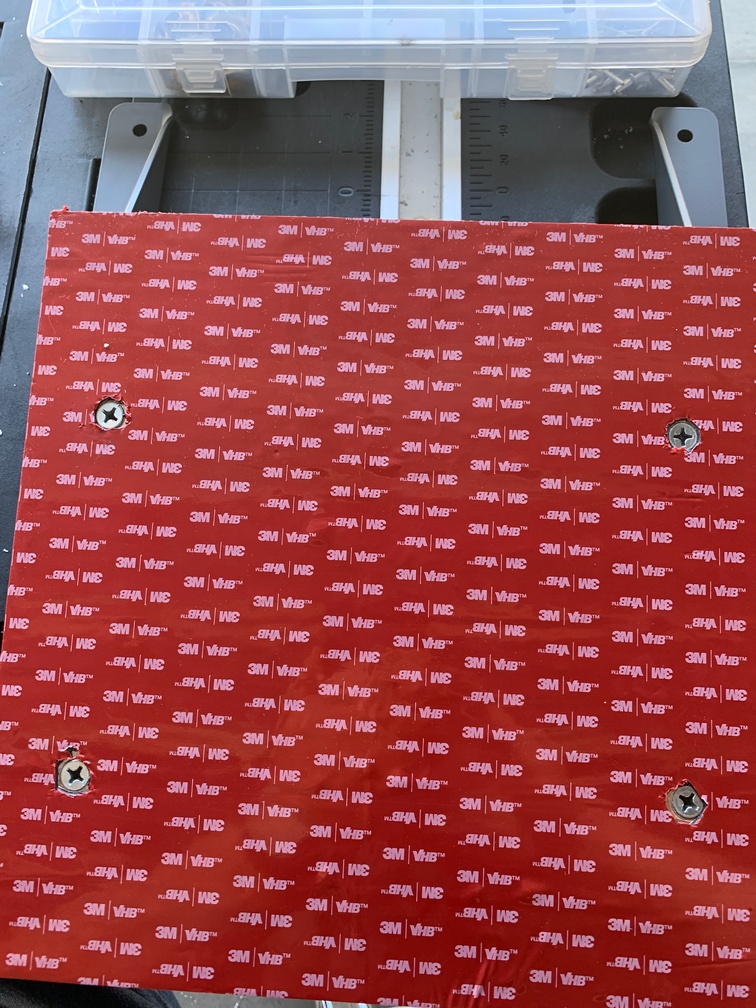
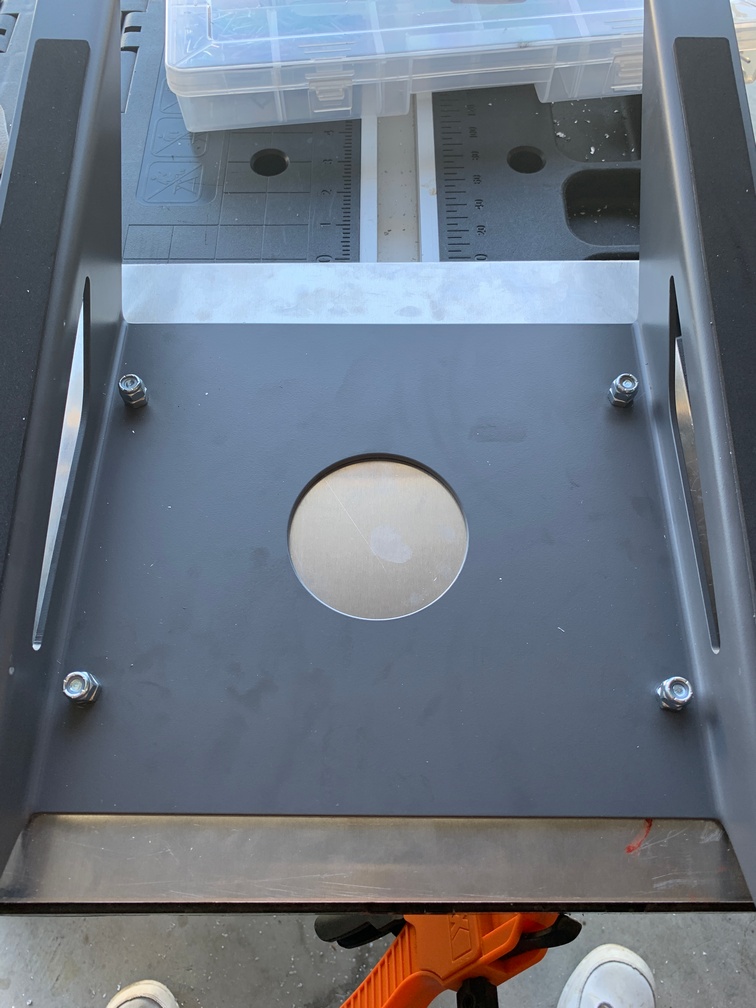
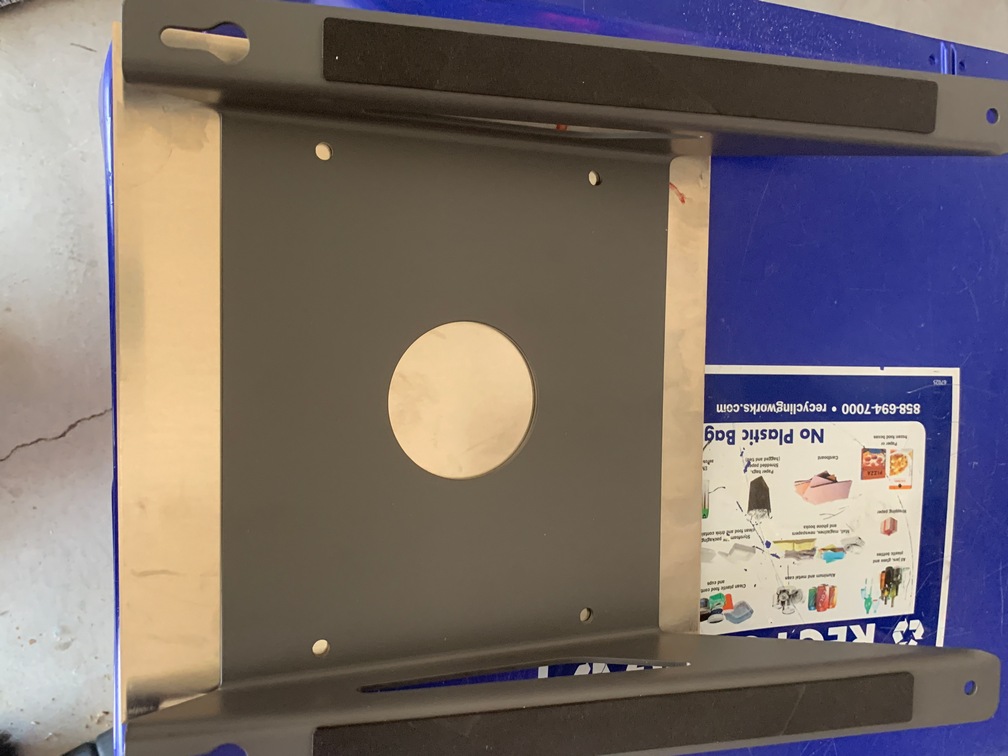
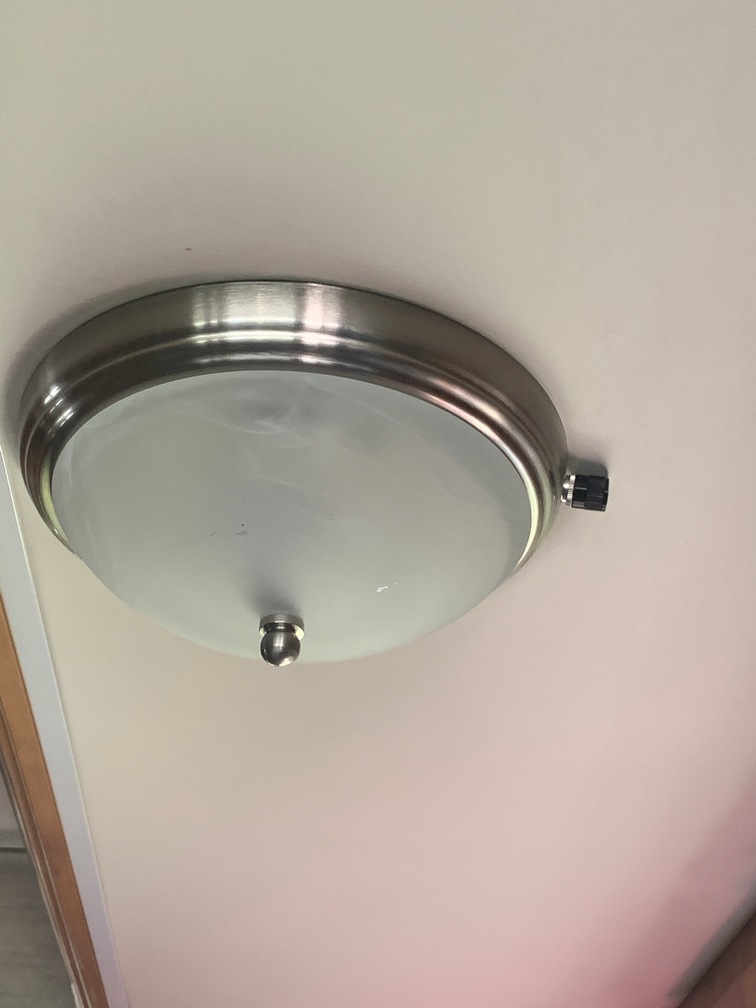
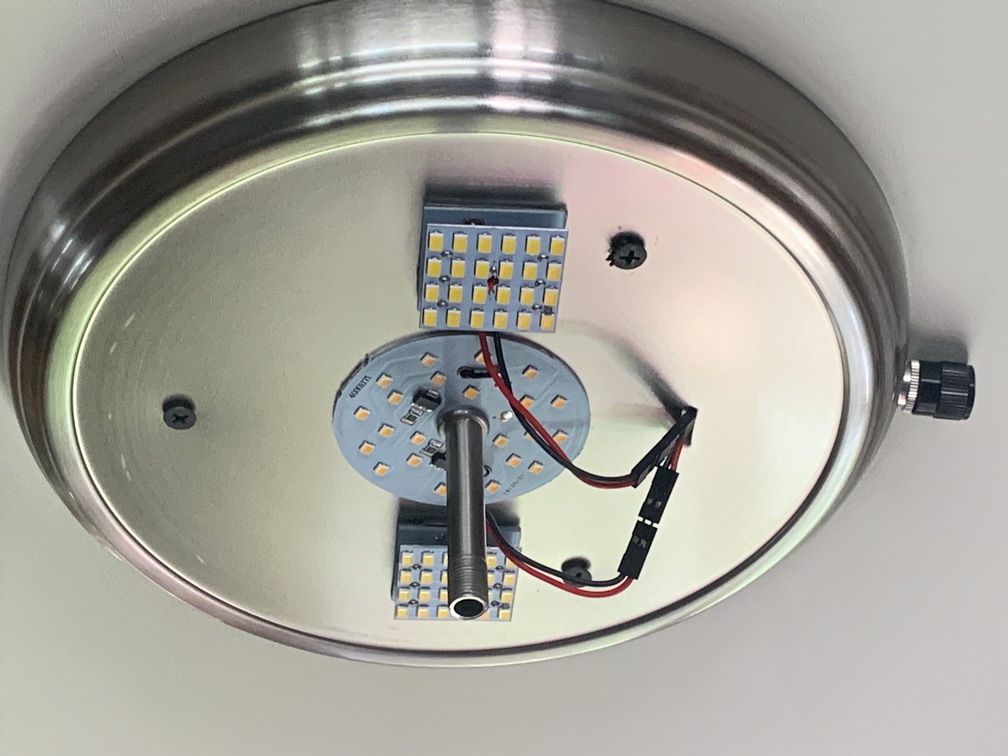
I also wanted/needed to replace a couple of exterior lights (over the door and the patio light). I also ordered two new headlights to replace the original ones (exact same look, not projectors as I was thinking about). I had purchased the new light last year from Gregg Wilson LED’s prior to deciding to paint the coach white and had bought a black one. I talked to Gregg and purchased one to replace the patio light (including his brand-new patio cover fixture plate) in white and mentioned I had a black one for over the door. He offered to exchange the black one for a white one. He was wintering in Yuma, which was on my way toward Gila Bend, and I stopped by his RV and swapped them. That’s what I call customer service! I hadn’t even asked for that. I was asking him if I could paint it white. I am glad that happened as they blend into the new white paint perfectly. Saved me from having to try to paint it.
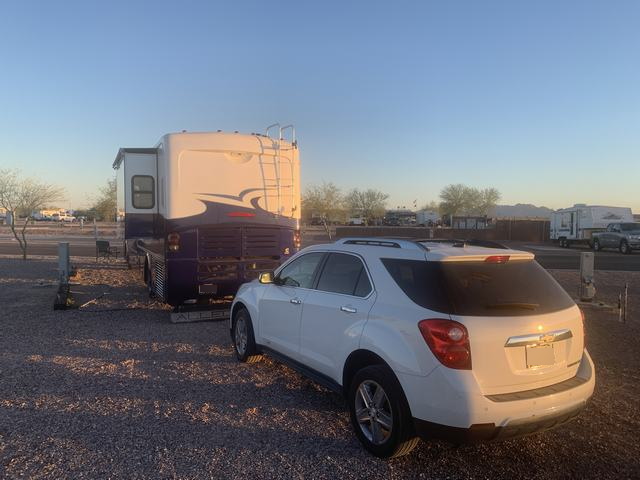
I am driving to be in Rocky Point so I can be there on Tuesday around Noon. Monday morning I am finally ready to go. I head toward Yuma for fuel and the light fixture swap, then on to Gila Bend and will make a sharp right and head south to Rocky Point (Puerto Penasco, Senora, Mexico) I researched a few campgrounds near Ajo, Az (that is really the middle of nowhere) and I lucked out finding a newly remodeled campground at a golf course just out of town. I say I lucked out because it was great, had brand-new full hookups and had pull-thru’s available. The other two places had no pull-thru’s, and I really didn’t want to detach and reattach the car the next morning. And even better, when I drove past the other two campgrounds, they were Dumps. Yes, with a capital D.
I got there a bit after hours that evening, forgot about the time difference between home and Arizona; but the camp host left his cocktail party and guided me in and told me we could settle up in the AM so he could go back to the cocktail hour with some friends. Camping there was a bit like being in a fish bowl as I had no shades to pull down (they were all back at home). The place was very quiet and I apparently passed out as soon as my head hit the pillow at 9pm.
The next morning I noticed I hadn’t brought much for breakfast with me. I had coffee and toast, but butter had been forgotten. I did have hotdogs, but I didn’t want to think about that for breakfast, so coffee was breakfast.
I headed for the border and got there about 11 am. After I got to the Mexican side, I was stopped and they asked for my passport and both vehicle registrations. I had to go back to the car to get its registration. One of the border officers came into the RV and walked to the back and opened a couple of drawers, then told me I could drive off.
That border town was just as bad, possibly worse than I had imagined. (I spent a few years working in Maquiladoras for Sony in a prior life) Tijuana was WAY nicer than this place. Prior to getting out of the town, there was a police roadblock with a few men holding machine guns. That got my undivided attention. But as I stopped for them, they just waved me on through.
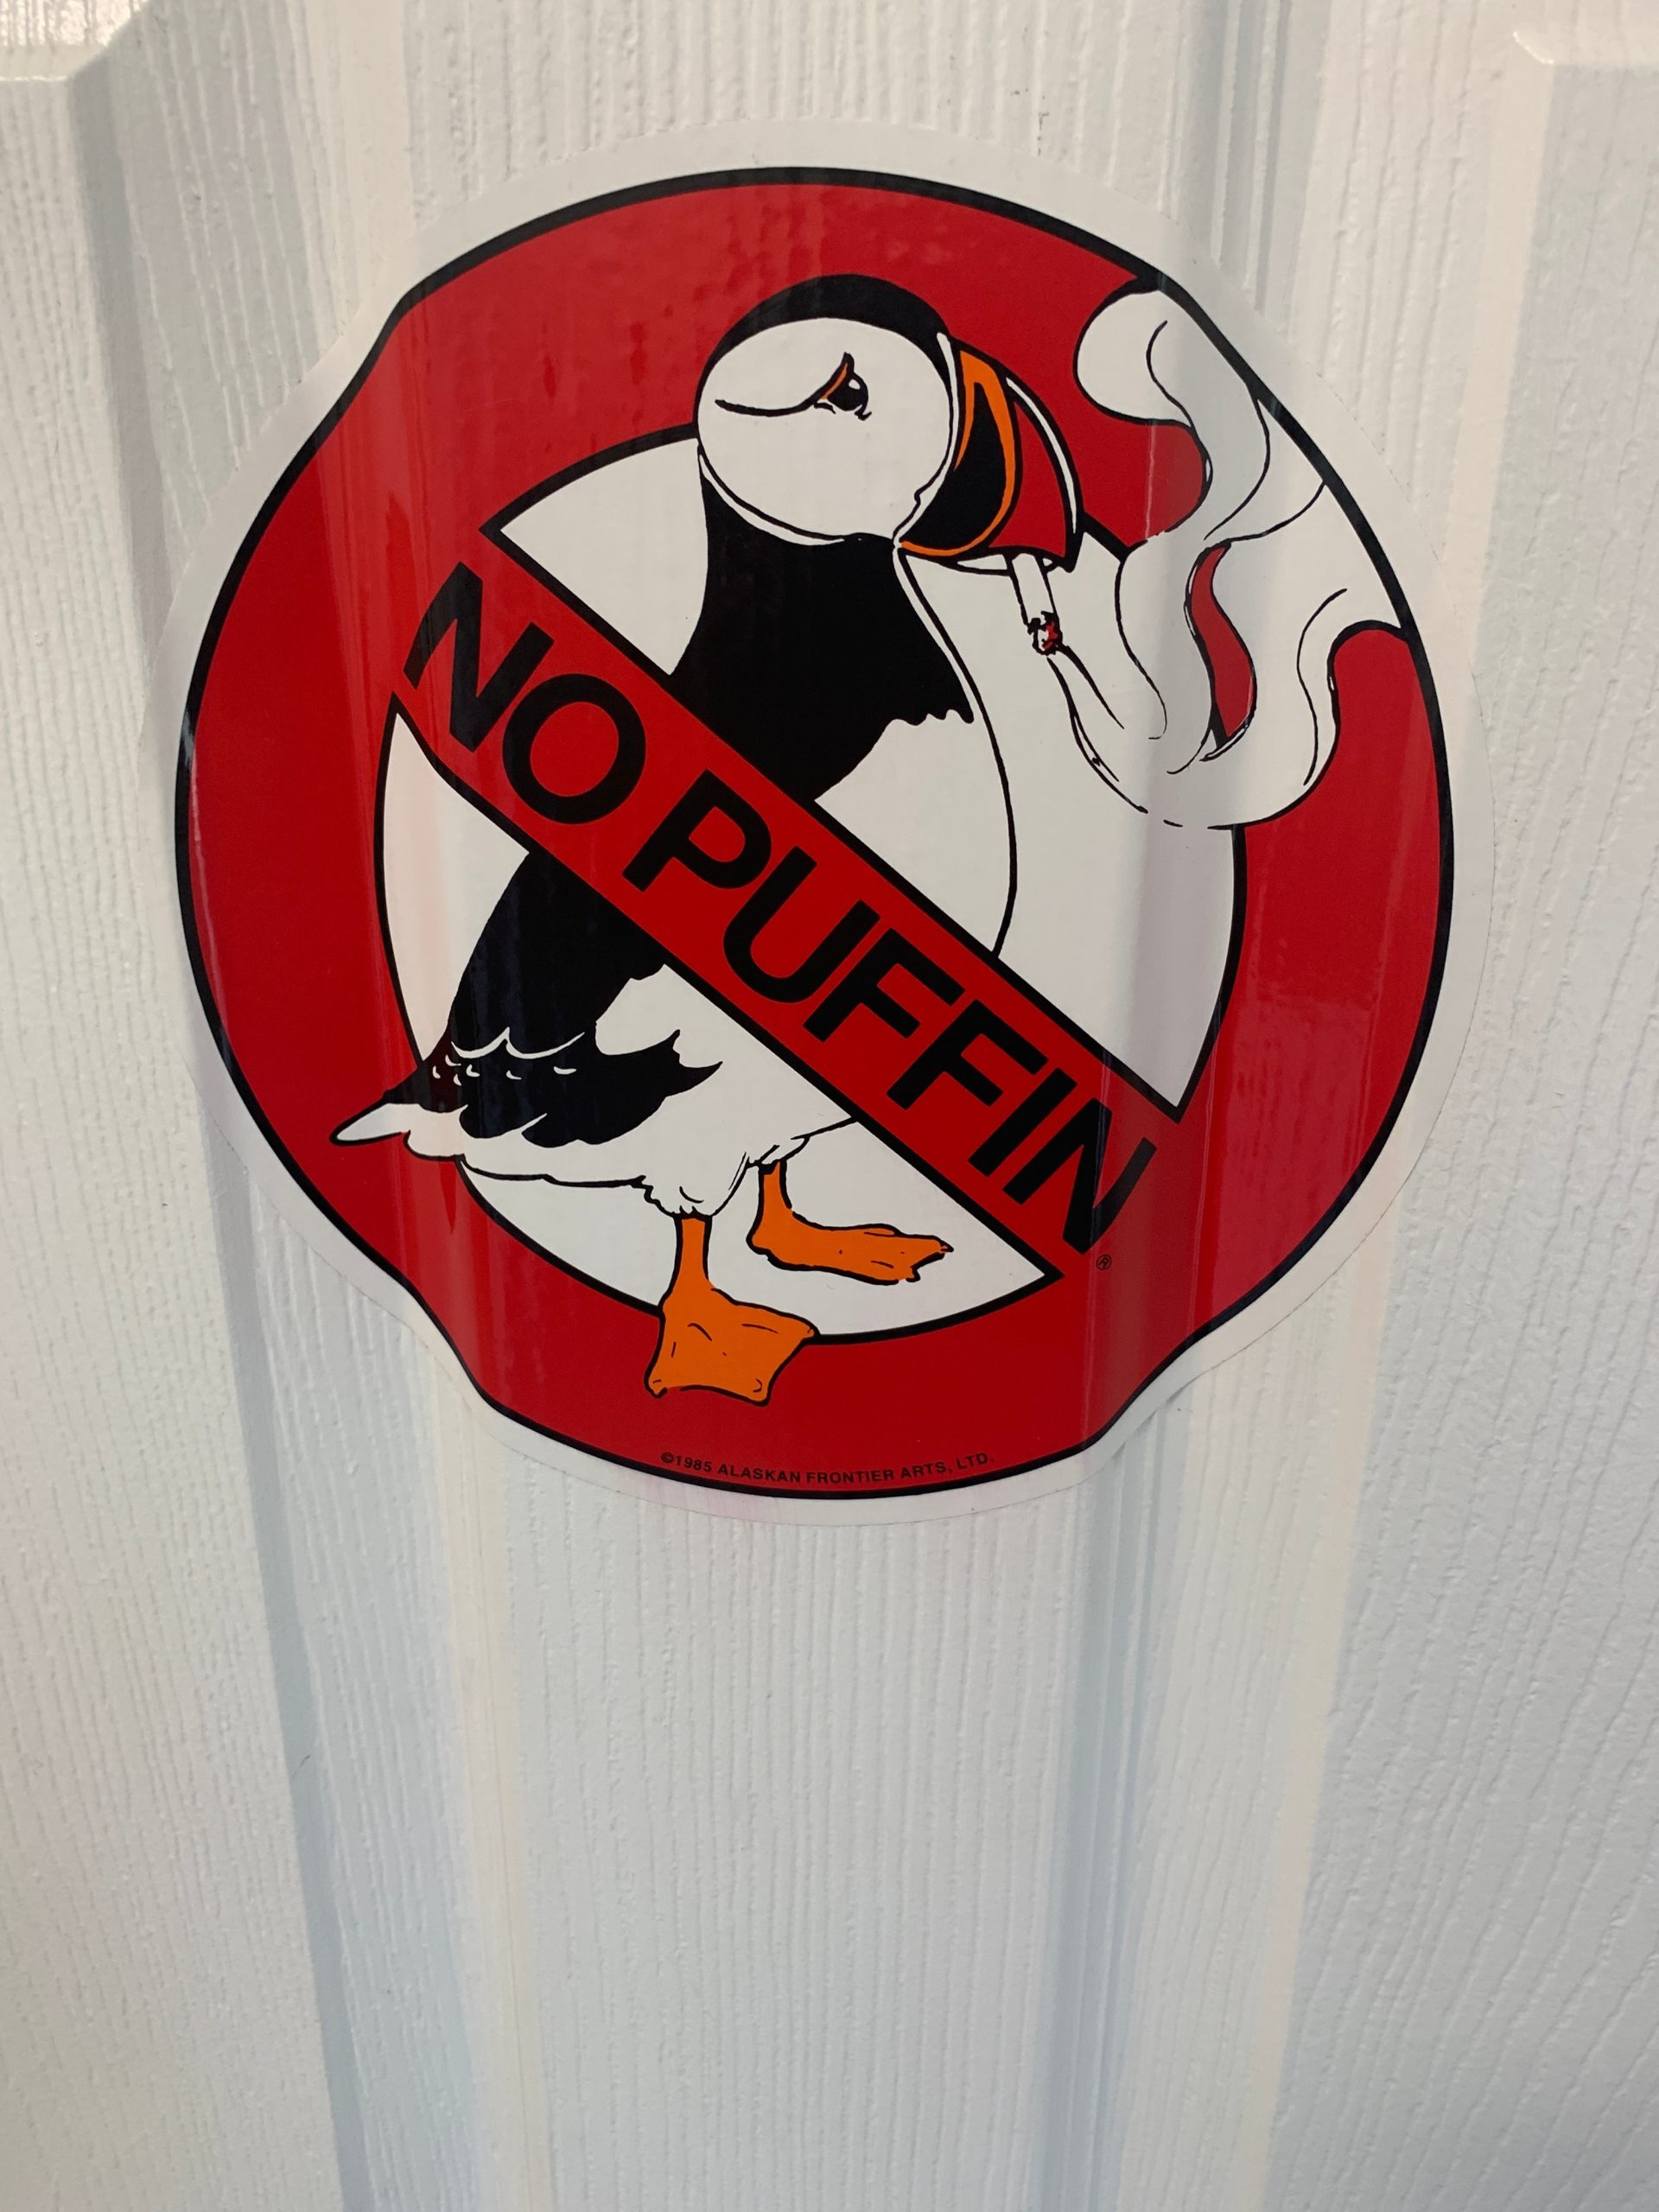
As I drove south, I started seeing these signs and wasn’t really sure what to make of them. 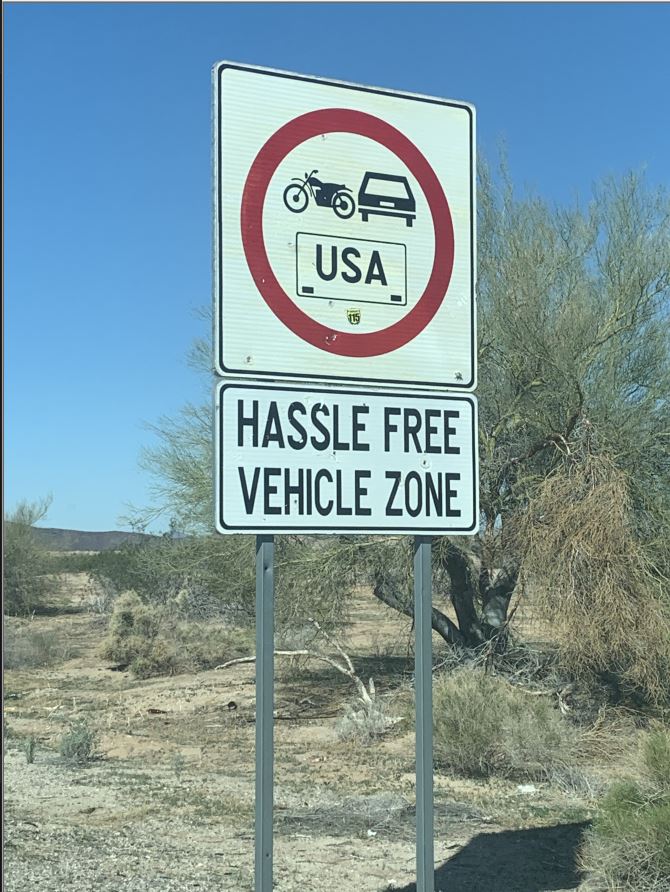 They were posted about every 10 Kilometers along the road to Rocky Point. I got used to seeing them, and I had no issues with anyone on the way down; so I started thinking the signs were a good thing for us north of the border folks, as they sort of implied.
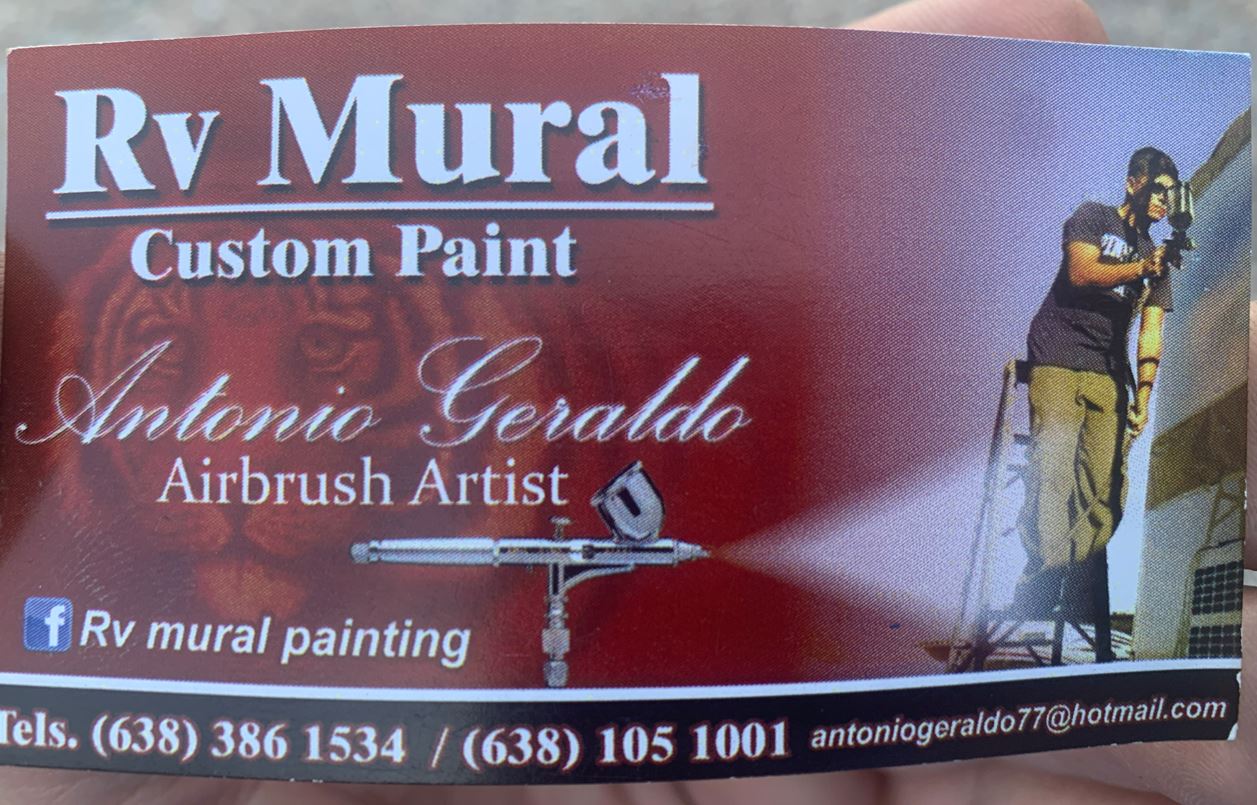
I got to the building sometime after noon. I was a bit surprised to find all but the main roads in the town were dirt. Very few paved roads where the locals live. Antonio (the painter) met me there a few minutes later. One thing I noticed again, when traveling out of the US, our phones require using different prefixes depending on where you are calling. It was odd. I could call home without doing anything different, but for the life of me, I could not call or text Antonio no matter what I tried while I was south of the border. No issue once back in the US to call him. I tried every prefix and suffix I could find by googling what to use. I had switched to Cricket Wireless for phone service before heading to Alaska in 2019, Cricket advertised they allowed roaming in Canada and Mexico. I worked well in Canada, and now Mexico has been tested and deemed worthy. Although calling locals isn’t something I could figure out.
I drove the coach into the building through the smallish door, but we fit in. Something else I noticed, as I missed the correct turn-off for the building and had to go past the turn and took the next right and right again to come back, the overhead wires were very low on the right side of that street. My radio antenna did its Boing Boing sound, and I immediately stopped, got out and noticed the wires hanging were a bit lower than my roof ACs, but still high enough that the front curve of the AC covers would help them ride up and over. Note to self: next time stay left, toward the side of the road with the telephone poles where the wires are a lot higher.
Antonio’s crew got to work within minutes of me leveling the coach and putting out the slides inside his building. He had two of his guys help with taking out the windows, which was great as there are 15 of them. It’s kind of amazing how stuff seems to get heavier each year…
By the end of Tuesday, all the windows were removed. There was a bit of confusion on where to put them. In the end, if you have this done, make sure they get put outside the RV along the wall where they can cover them with plastic prior to the start of the painting process.
Another thing of note: They will put paper in the windows, and even after I mentioned that the prior coach had a bit of over-spray inside, they didn’t do a very good job and I was cleaning over-spray of the counters and furniture for a couple weeks. Note to self: Do that job yourself. Buy lots of rolls of wide blue tape and thick plastic and double it up.
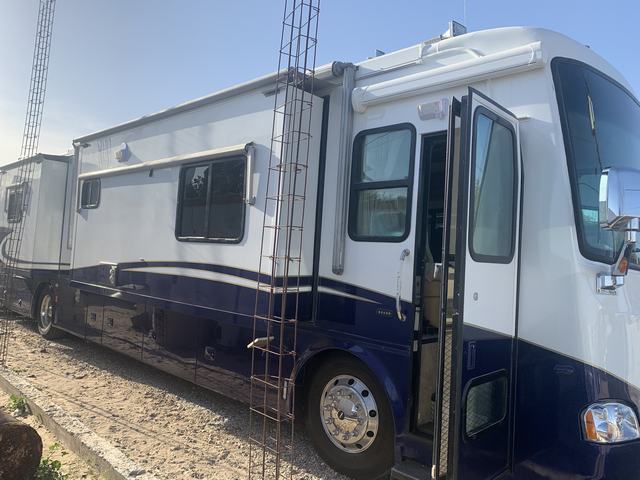
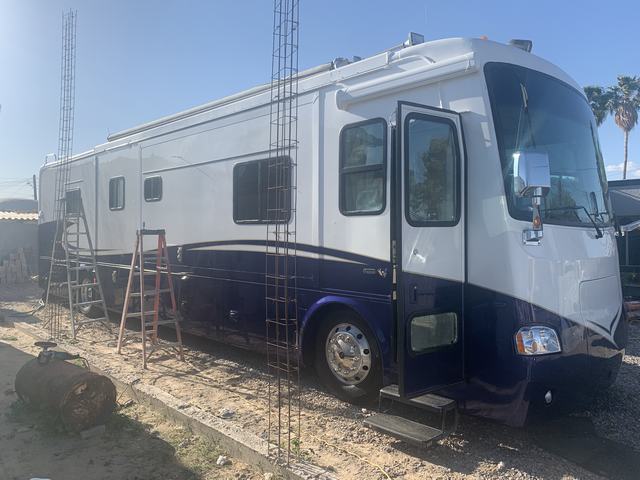
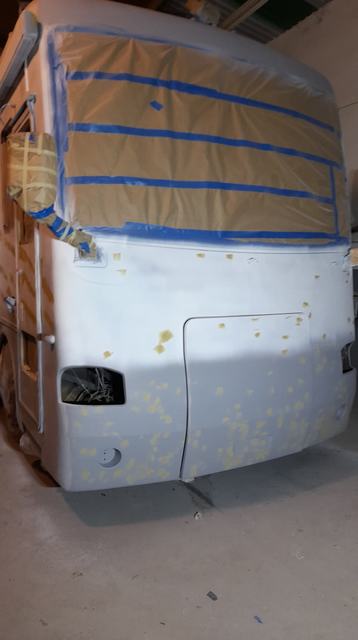
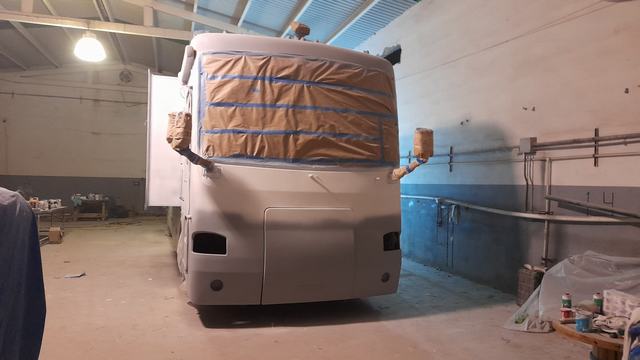
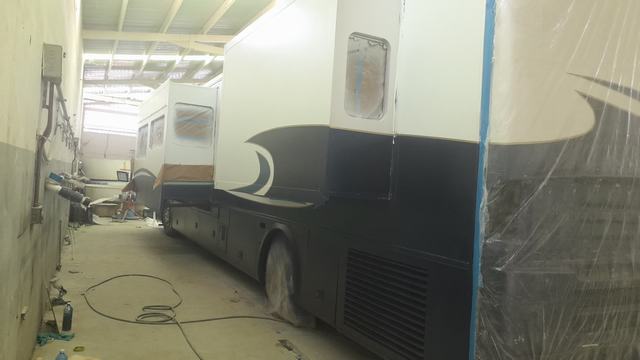
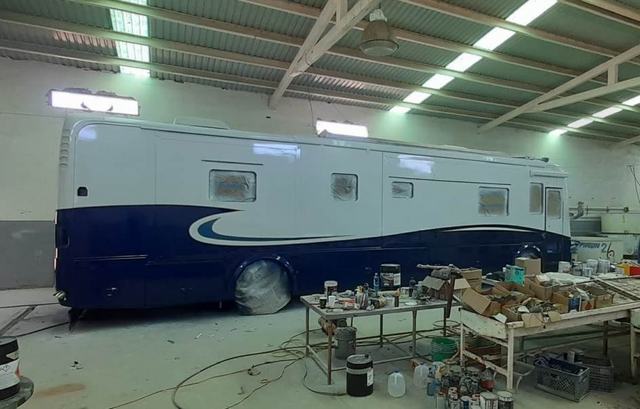
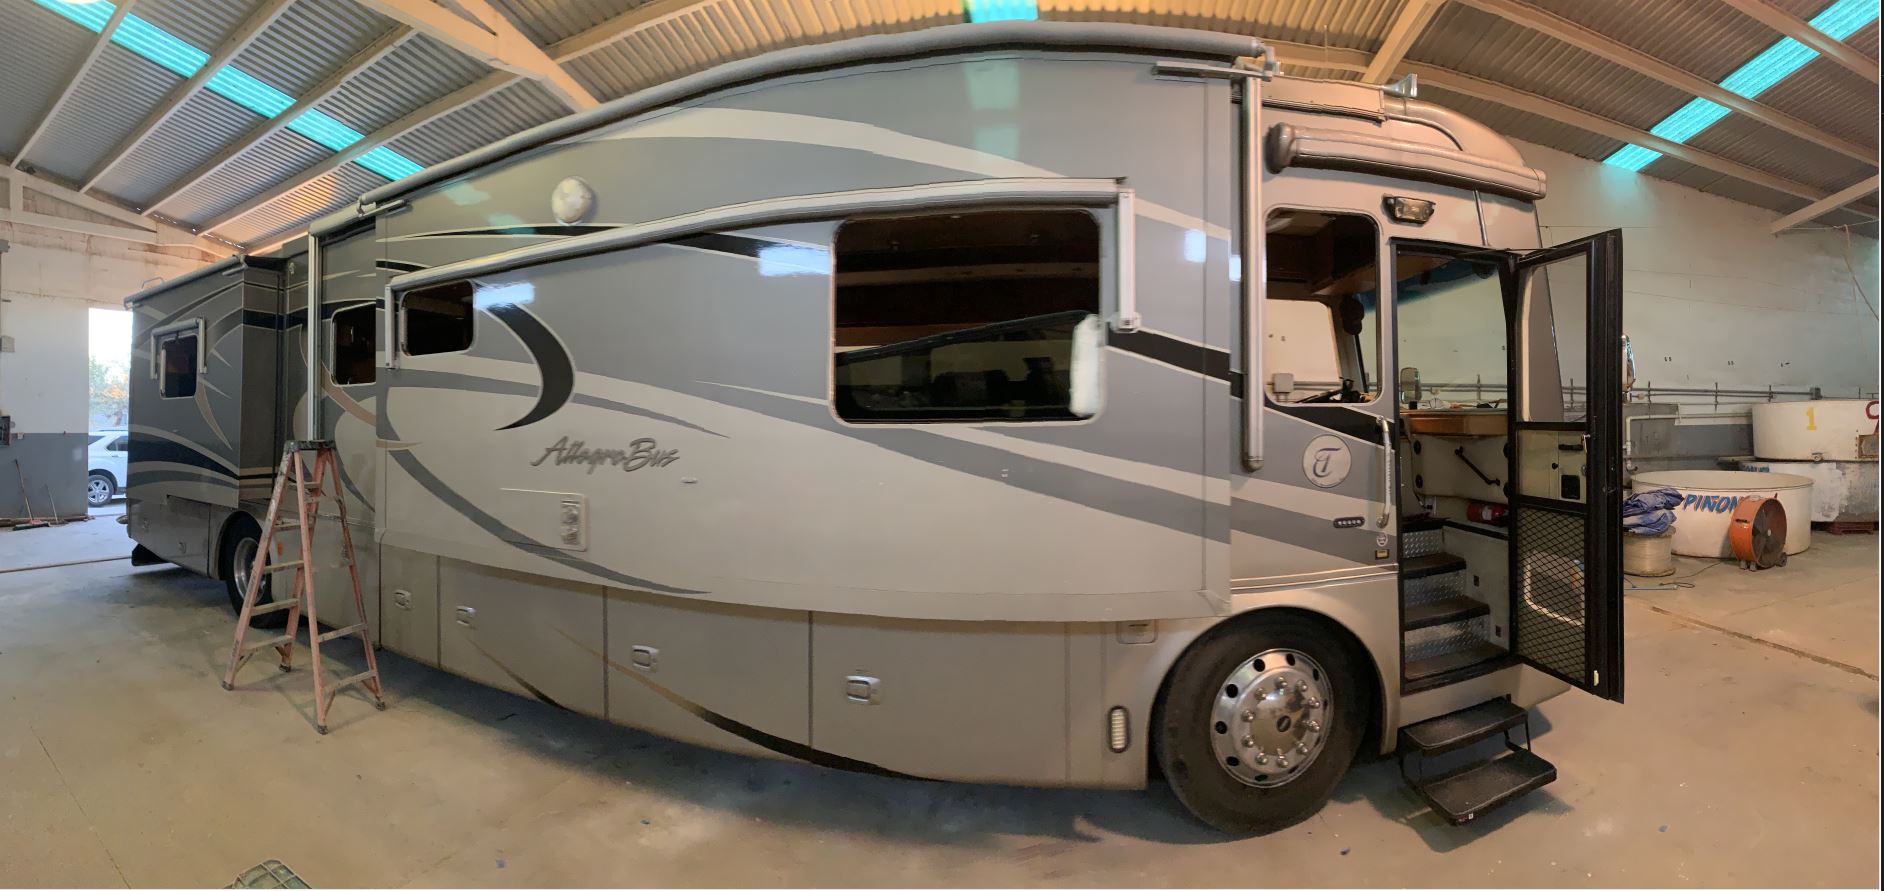
Here is what the bus looked like with the windows out that Tuesday evening, my first night there.
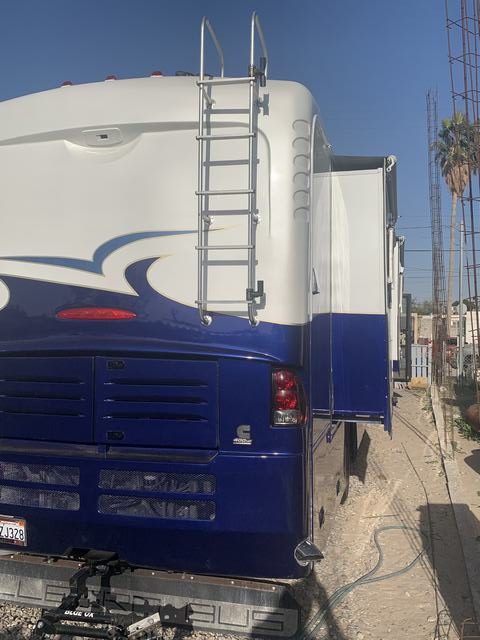
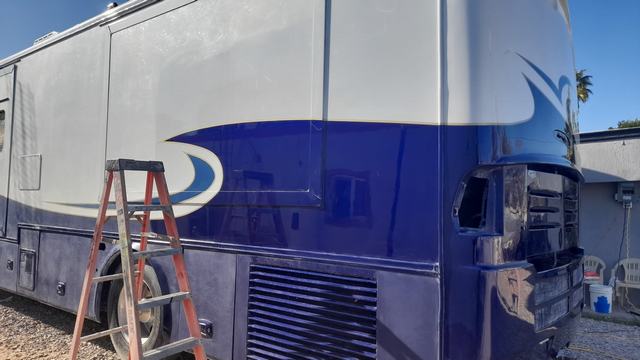
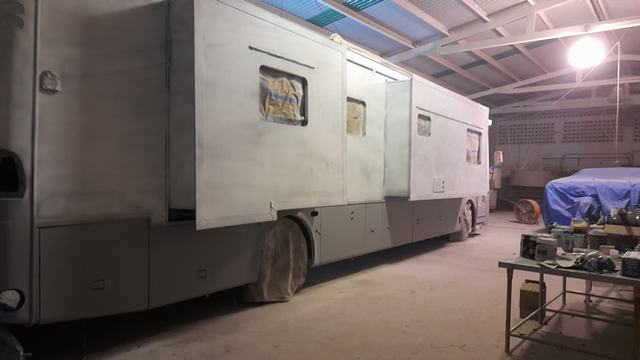
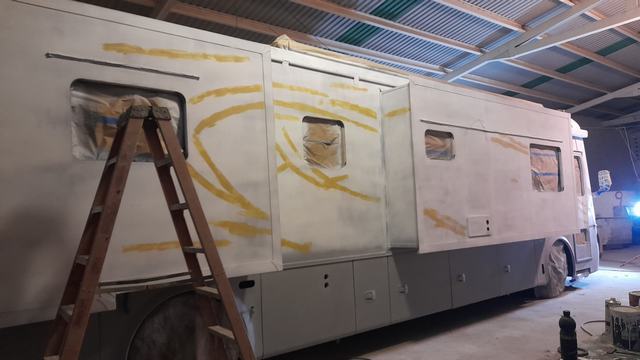
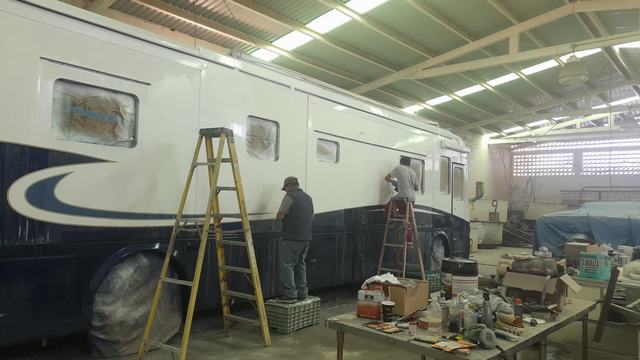
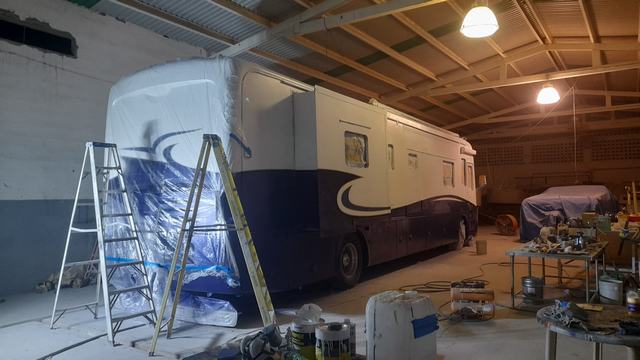
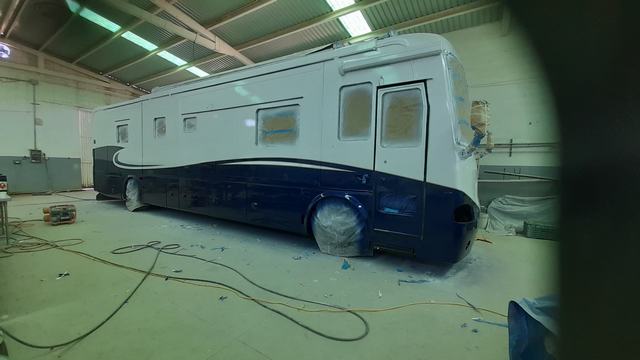
And the picture below is the second day after the windows were taped up and the sanding had started. On the other side, the awnings were being removed and the slide toppers were already off over there.
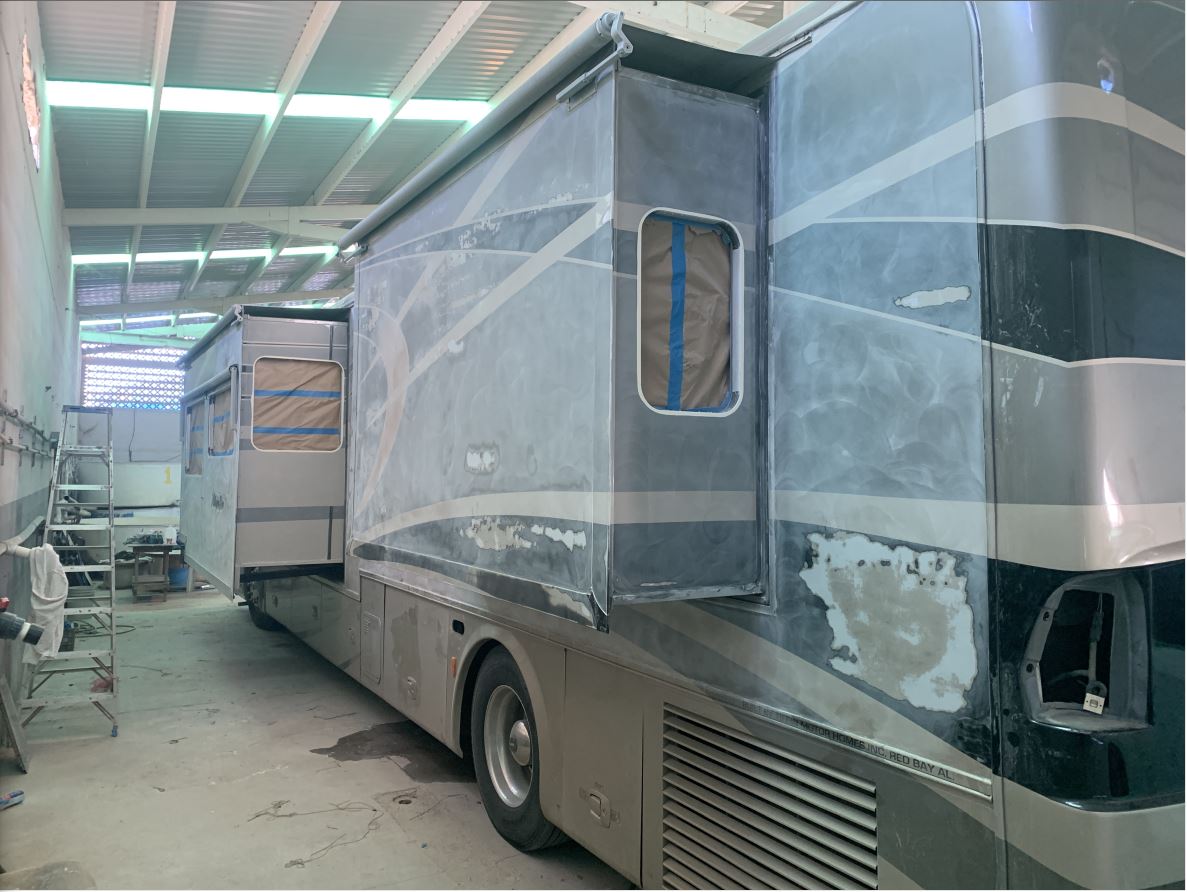
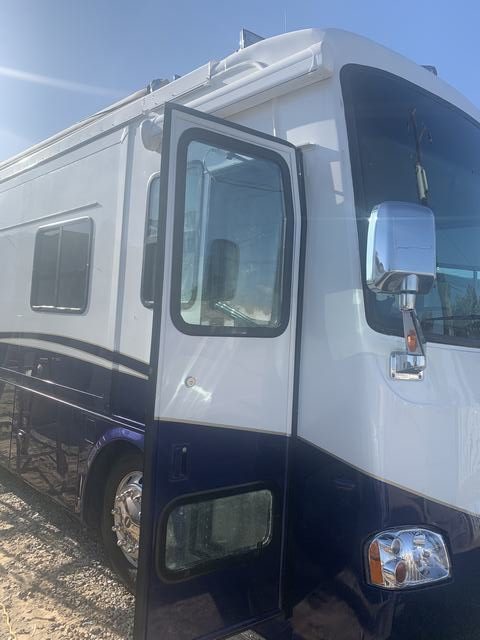
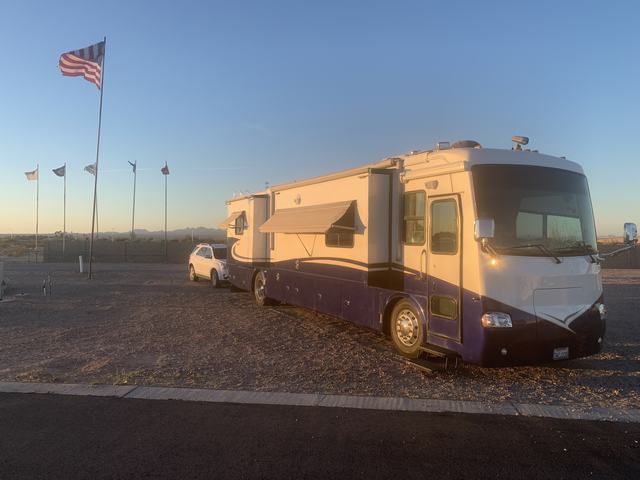
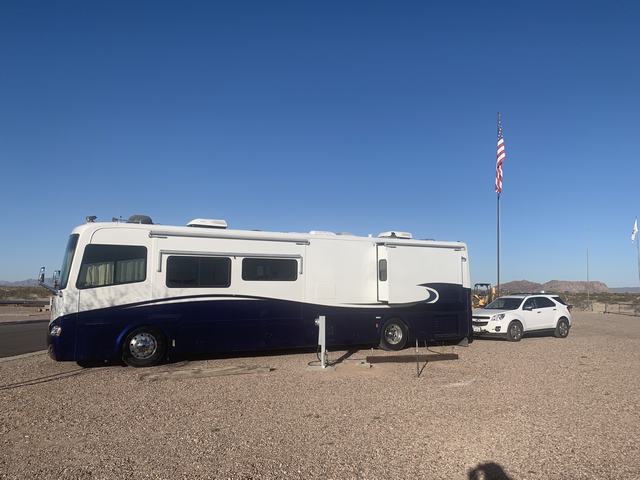
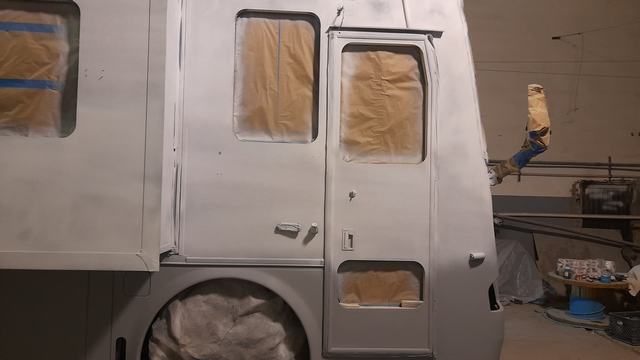
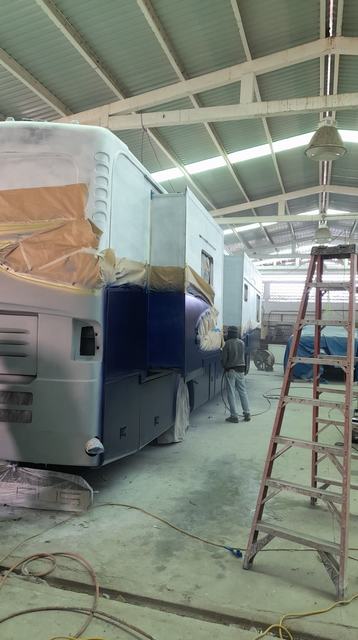
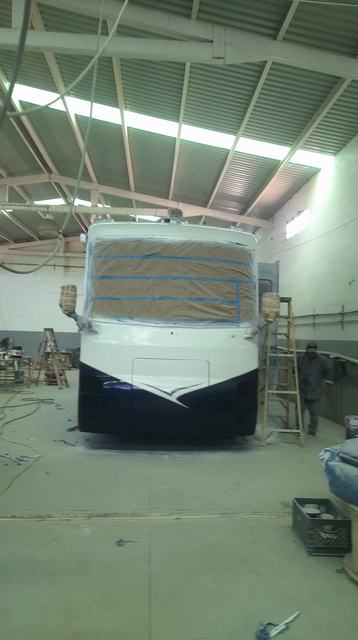
And below is the morning I headed home, the slide toppers are off and sanding has begun on this side. 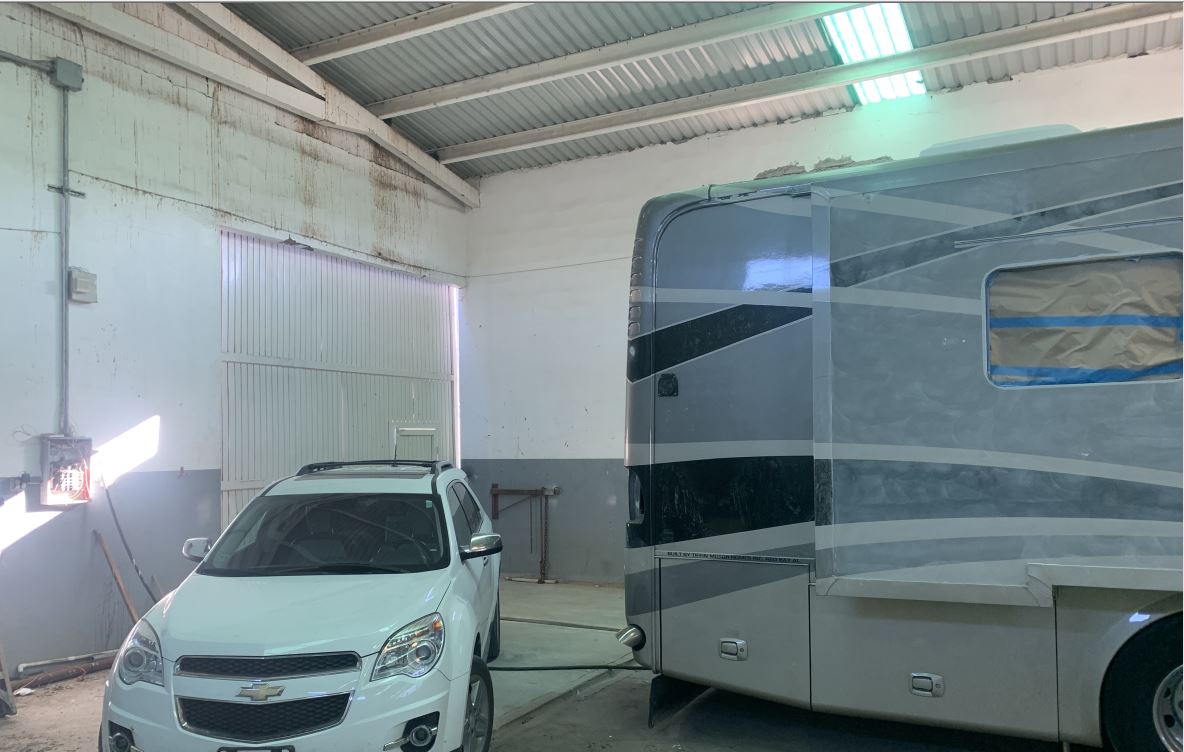
I will add another post detailing more happenings after the first day.
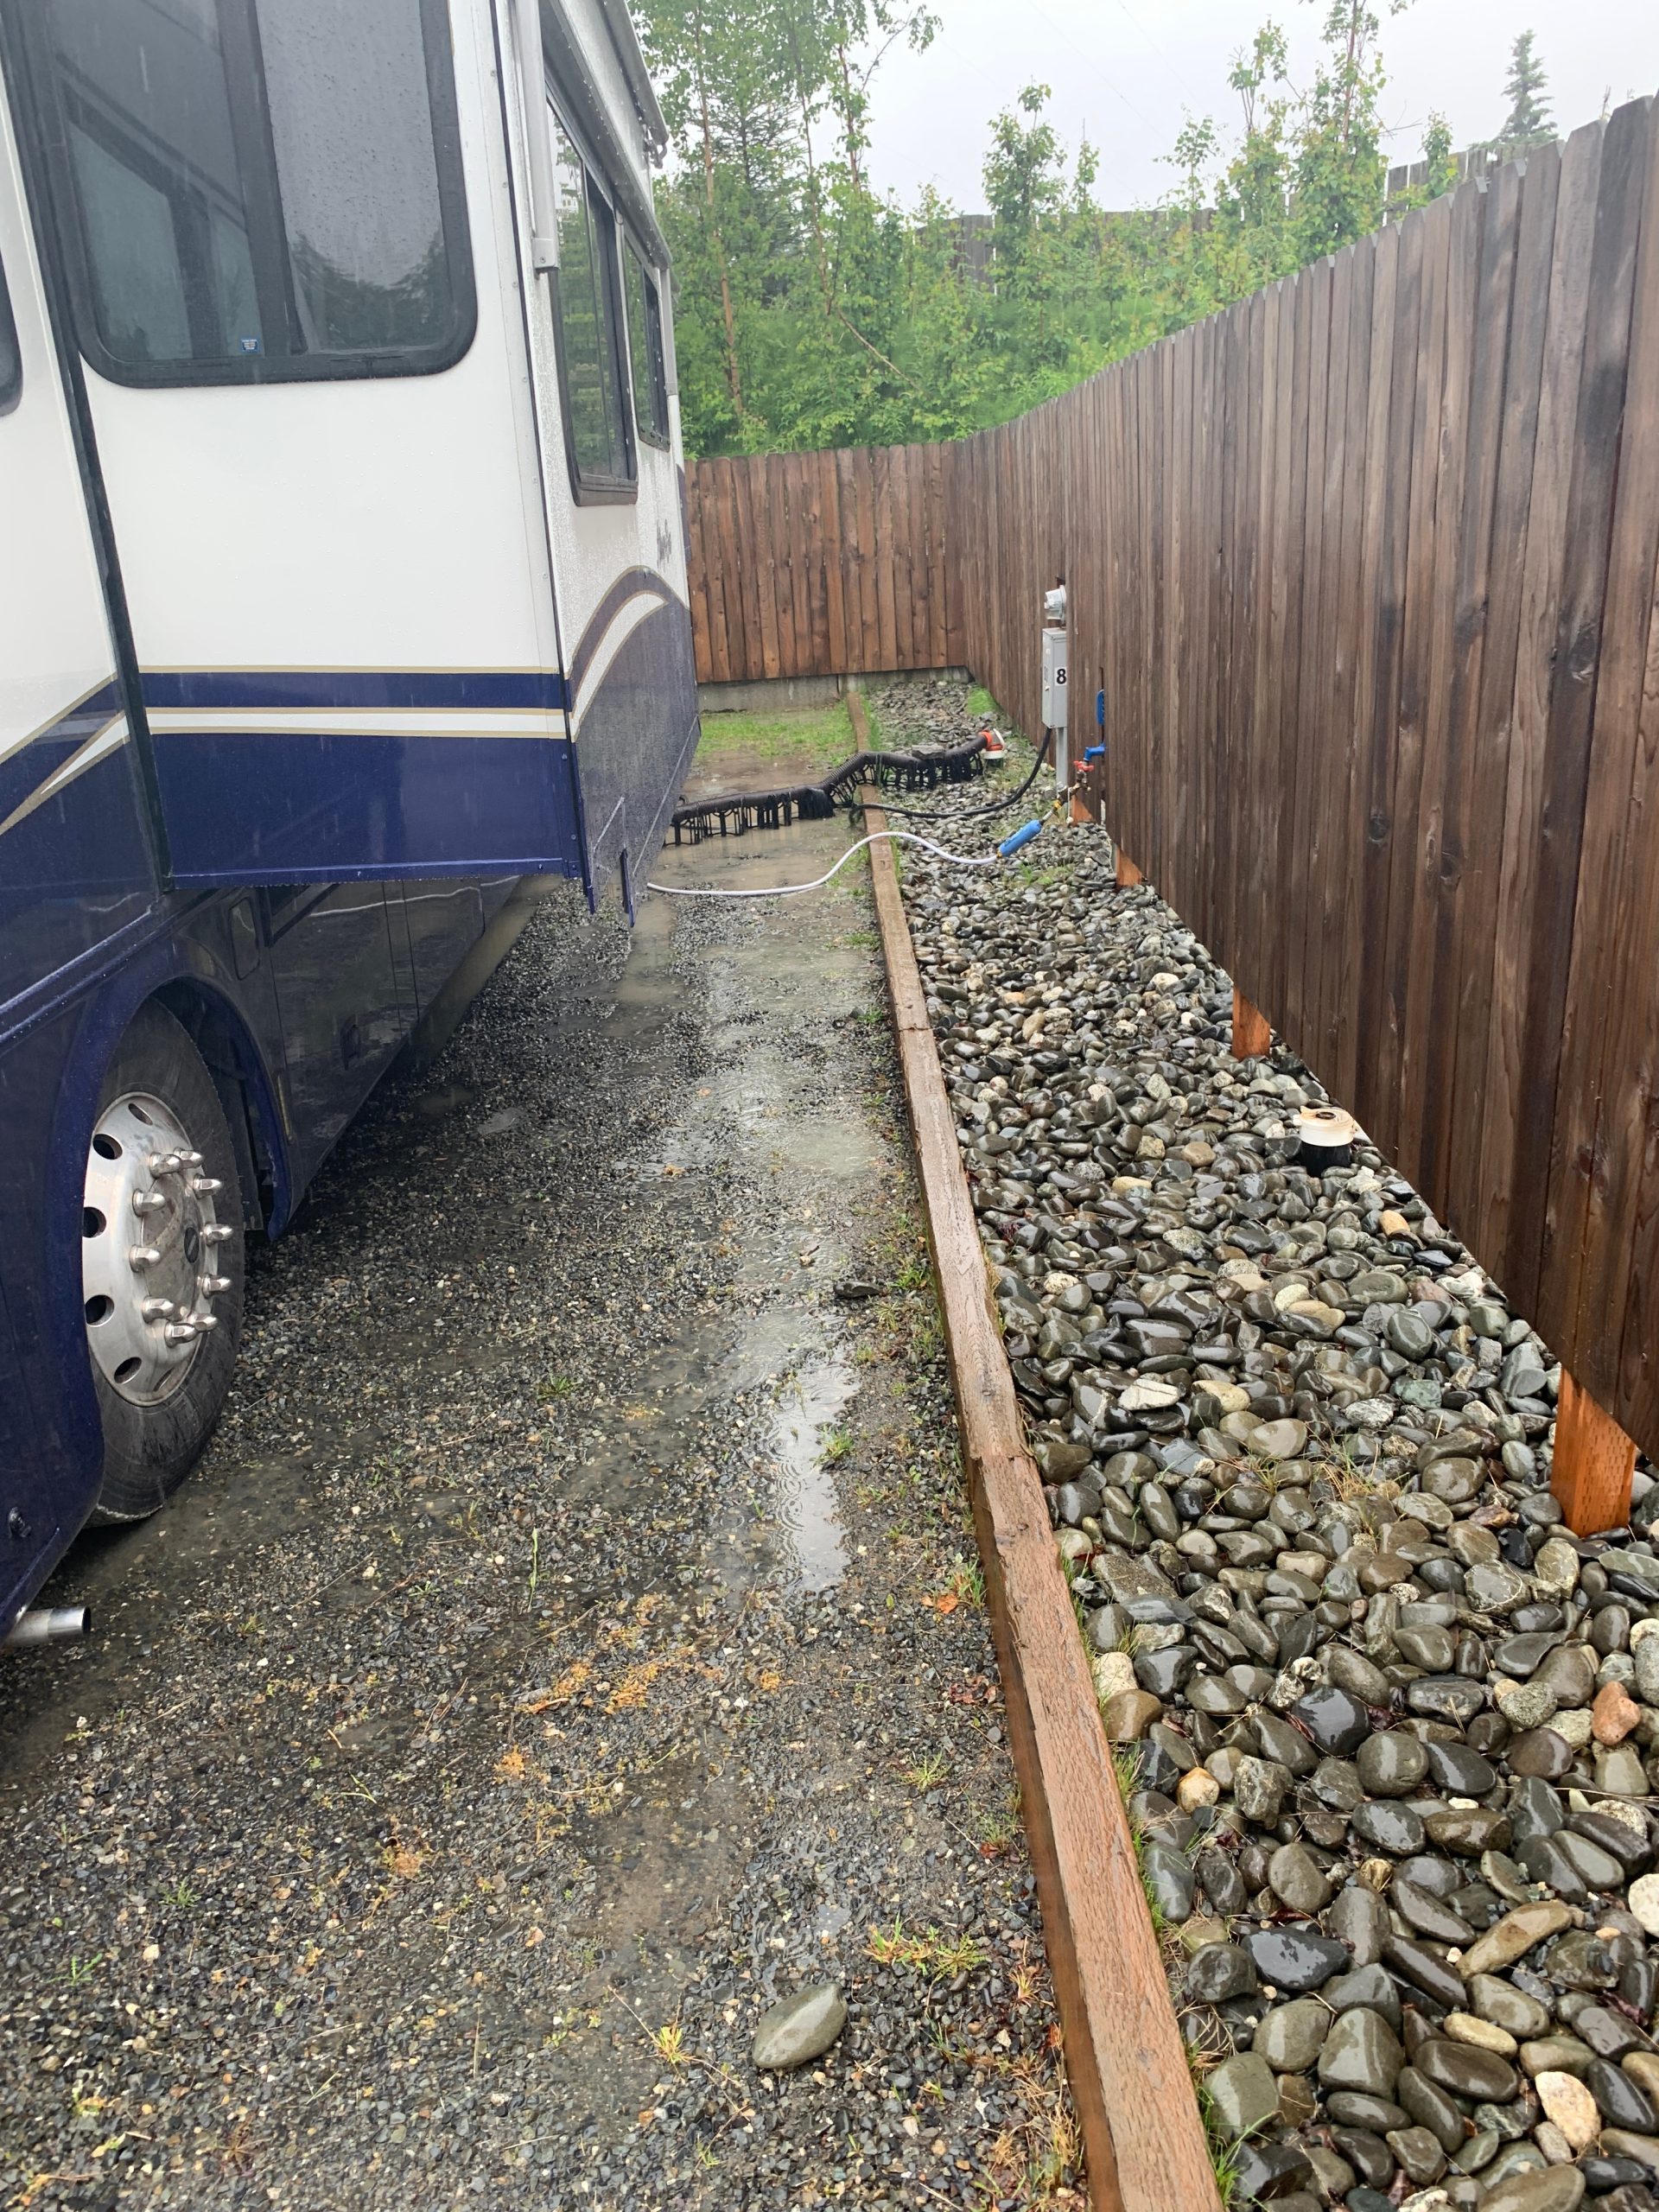
 We got to our campground early in the afternoon and set up camp. It wasn’t long before it started to rain
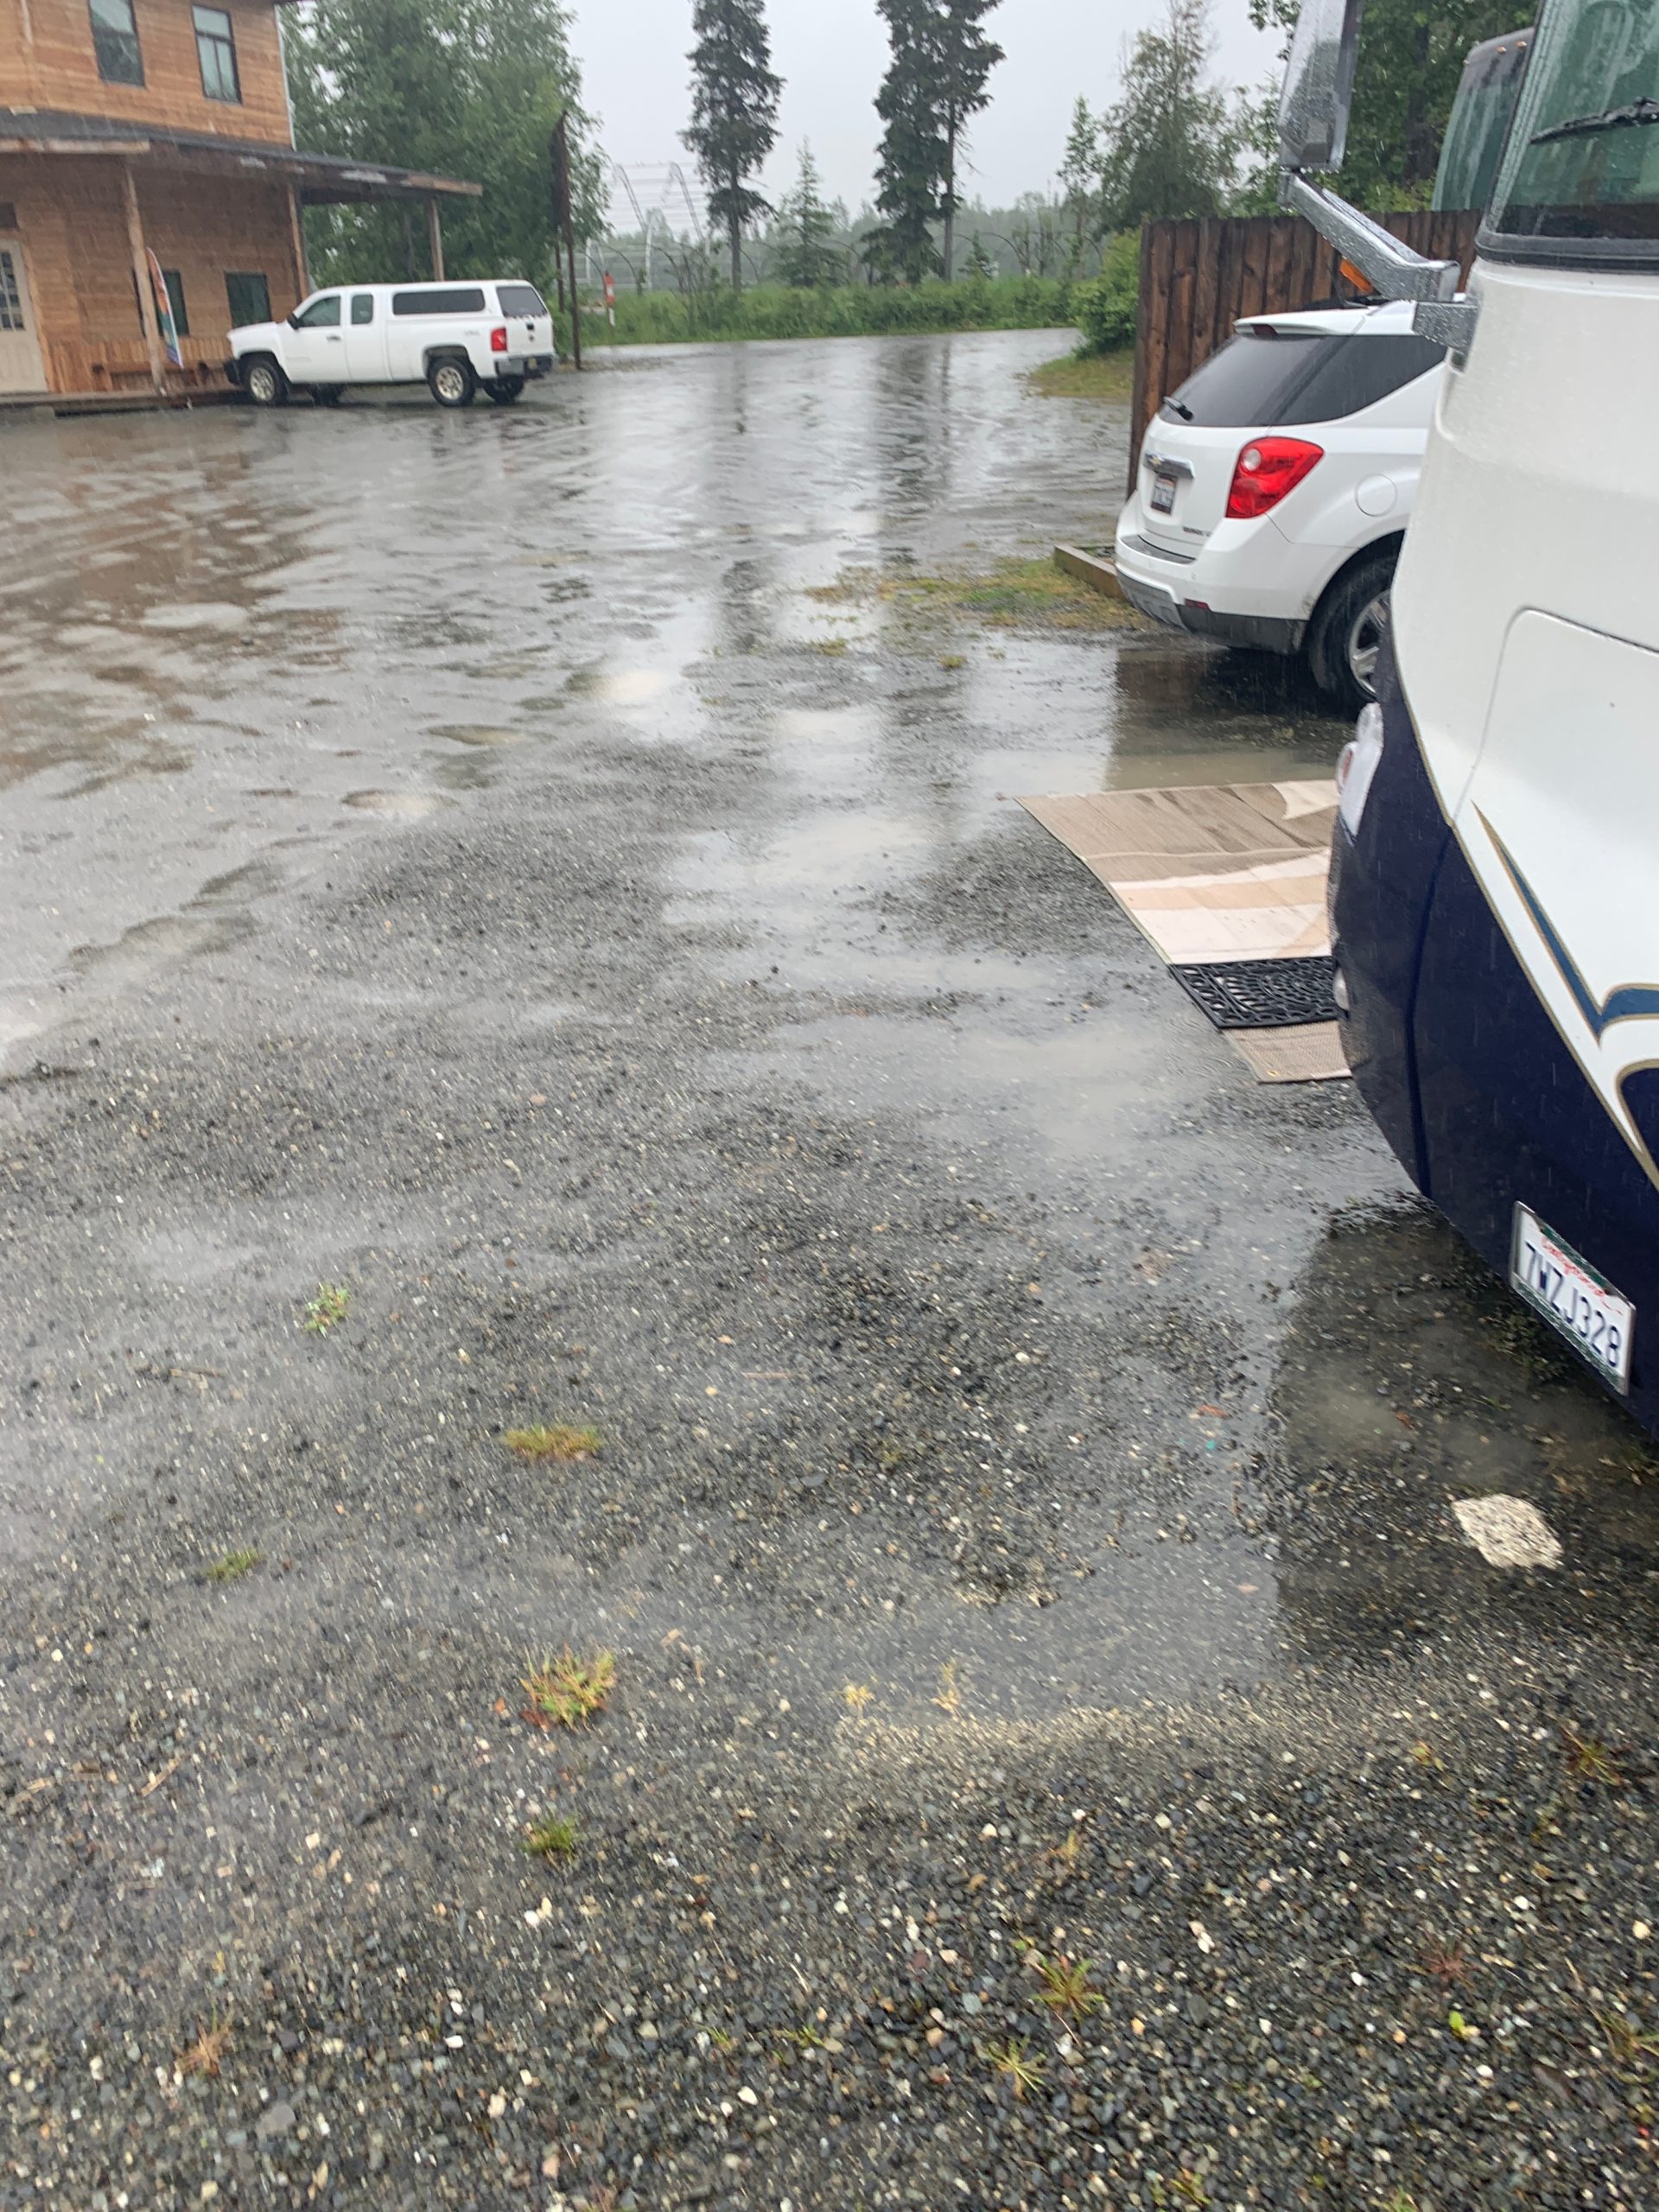
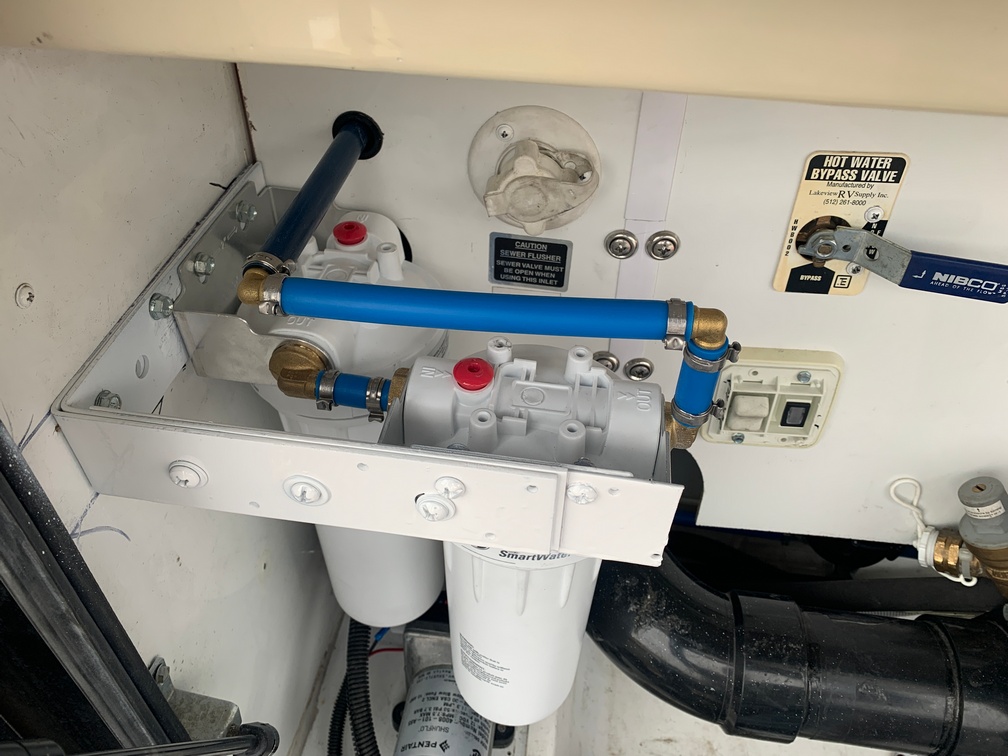
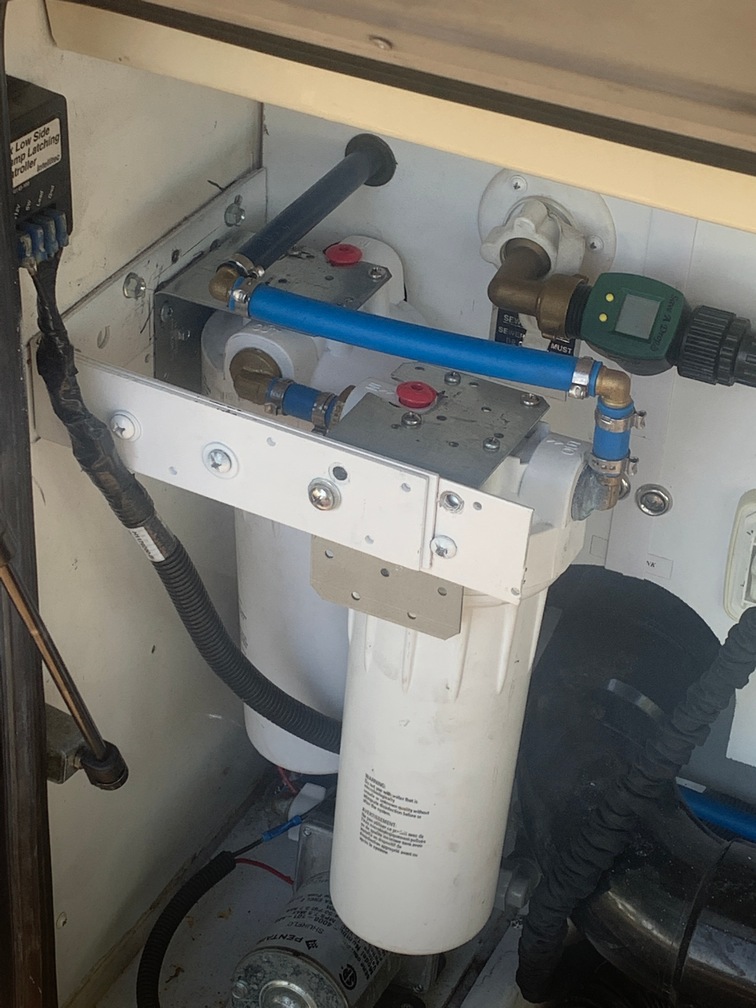
 same, It was even more noticeable in the toilet since the porcelain is so bright white. Turns out it’s a known thing and was “safe” to drink. Hopefully…
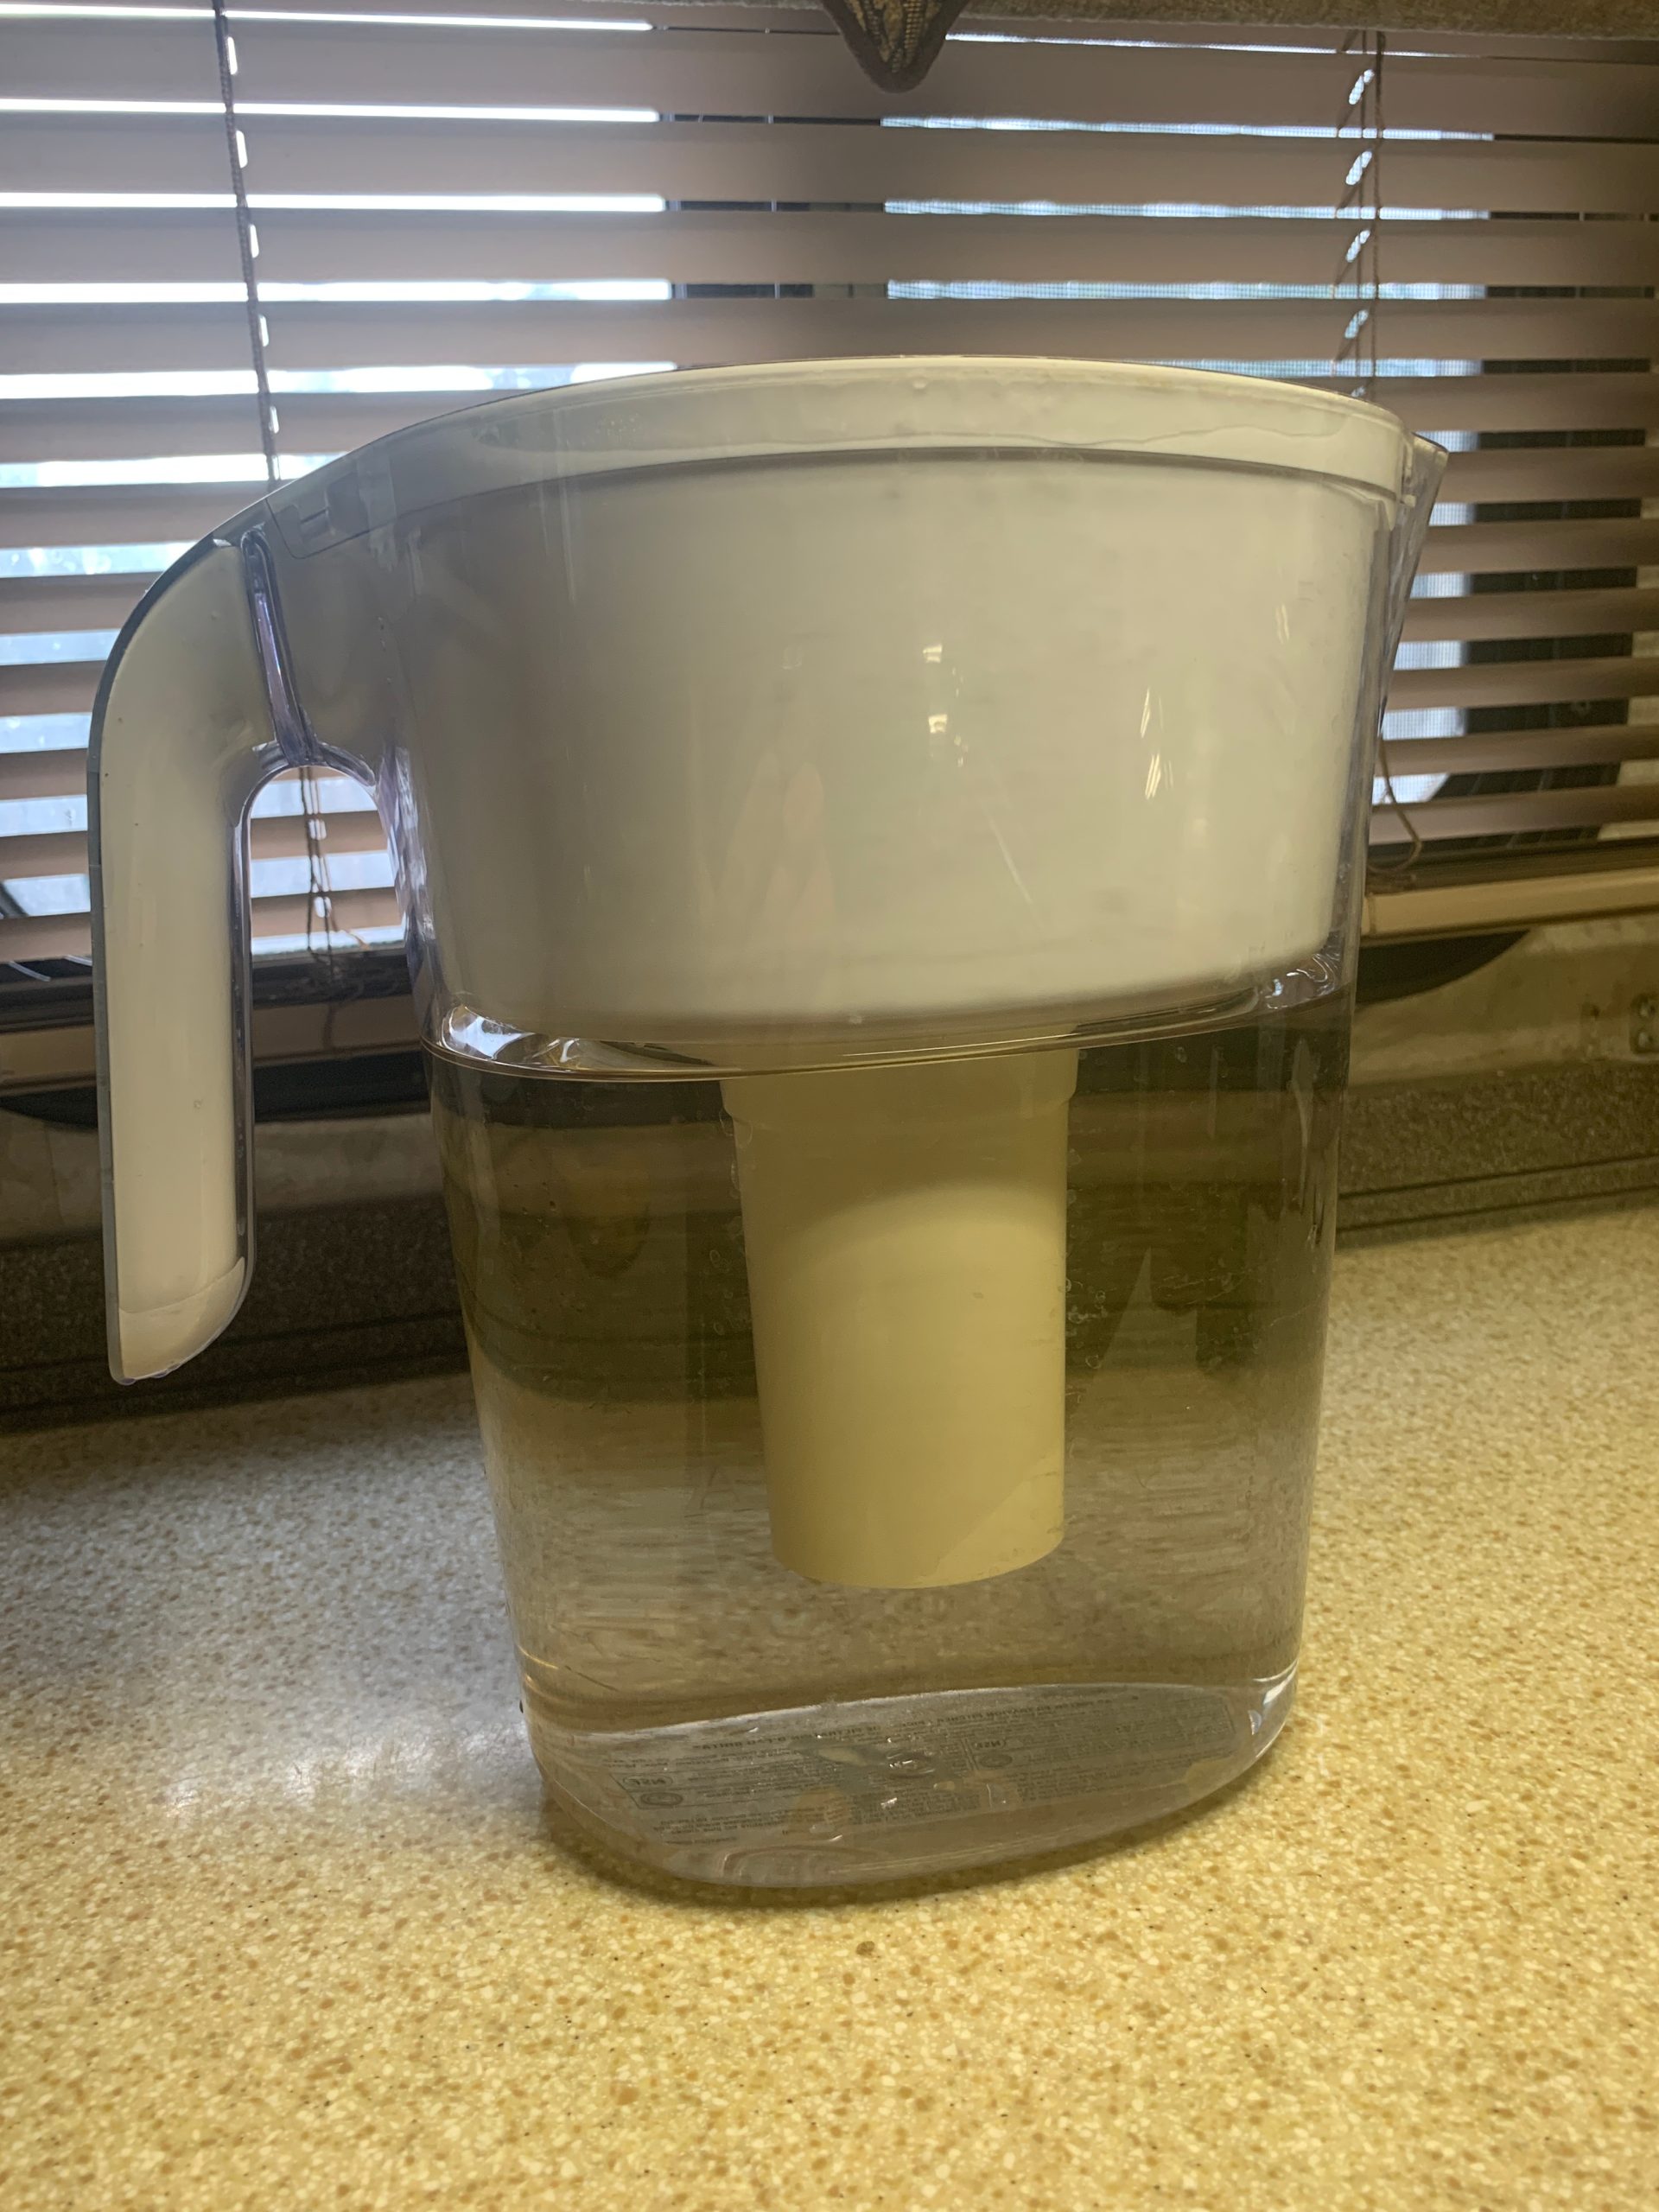
 not to by the tour company. It was a fairly expensive campground and they didn’t even tell us about the problem. You can fill up for free at the Fred Meyers in Soldatna with clean City Water. Next time I will know.
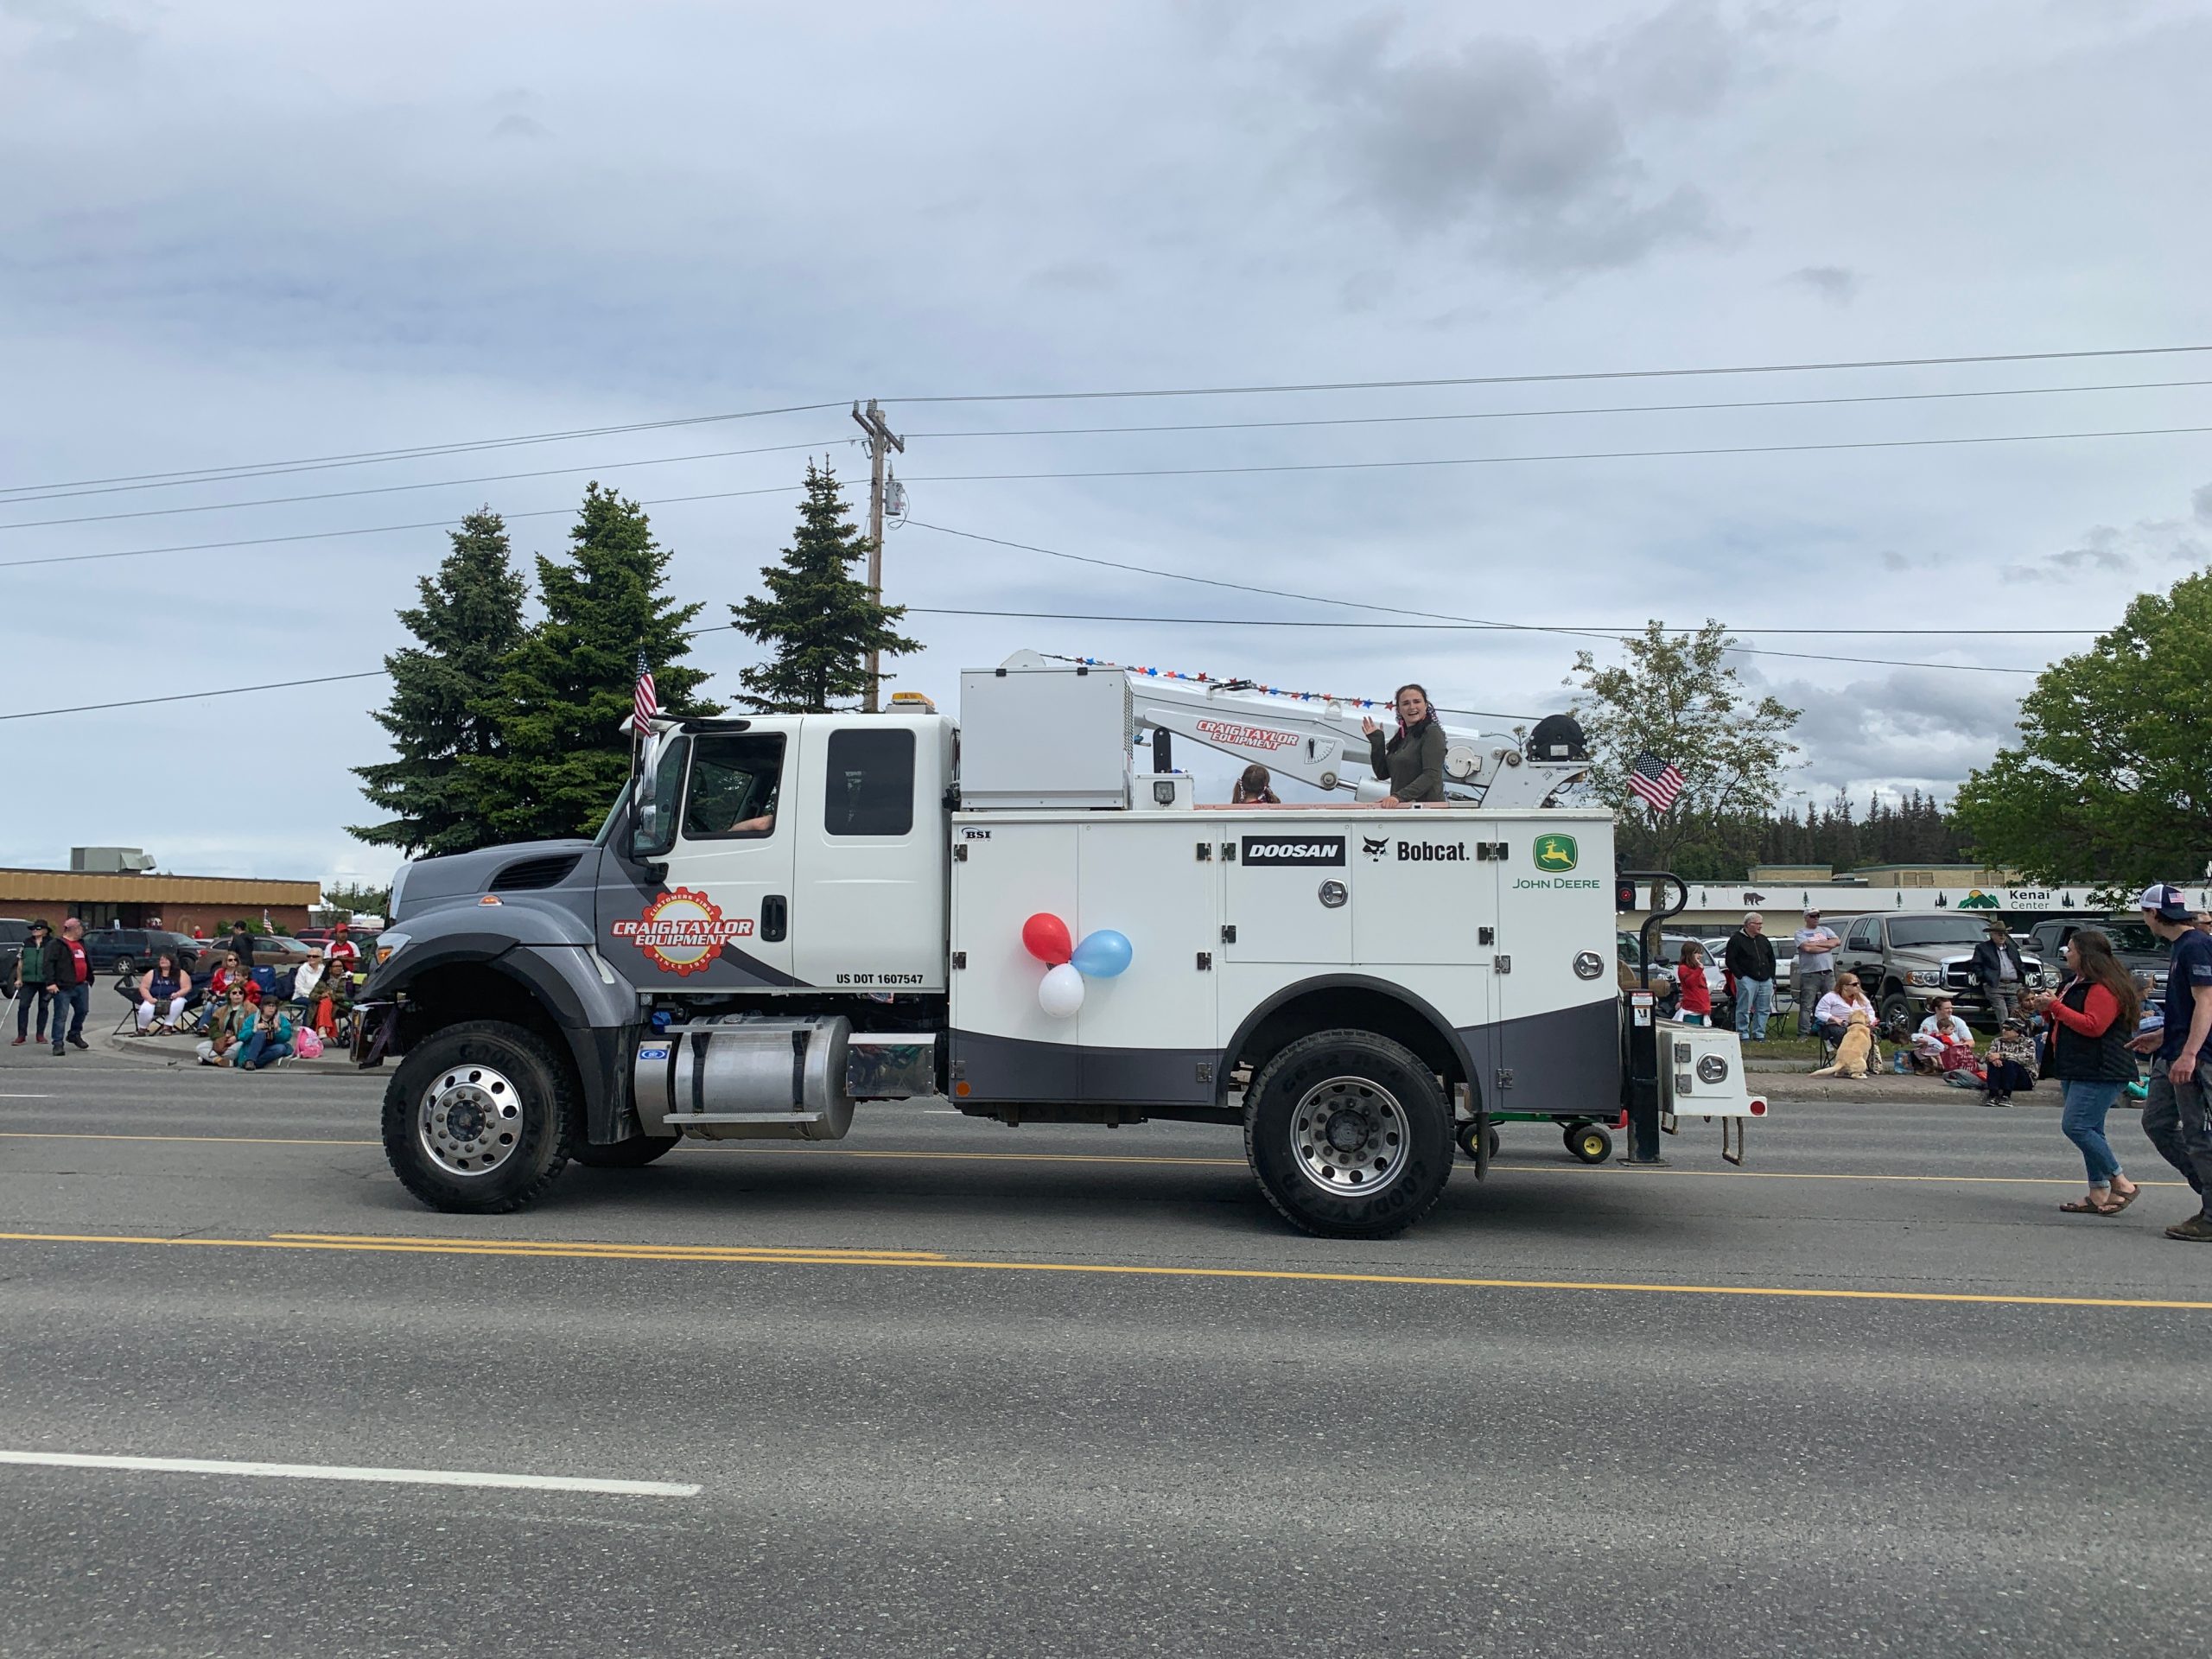
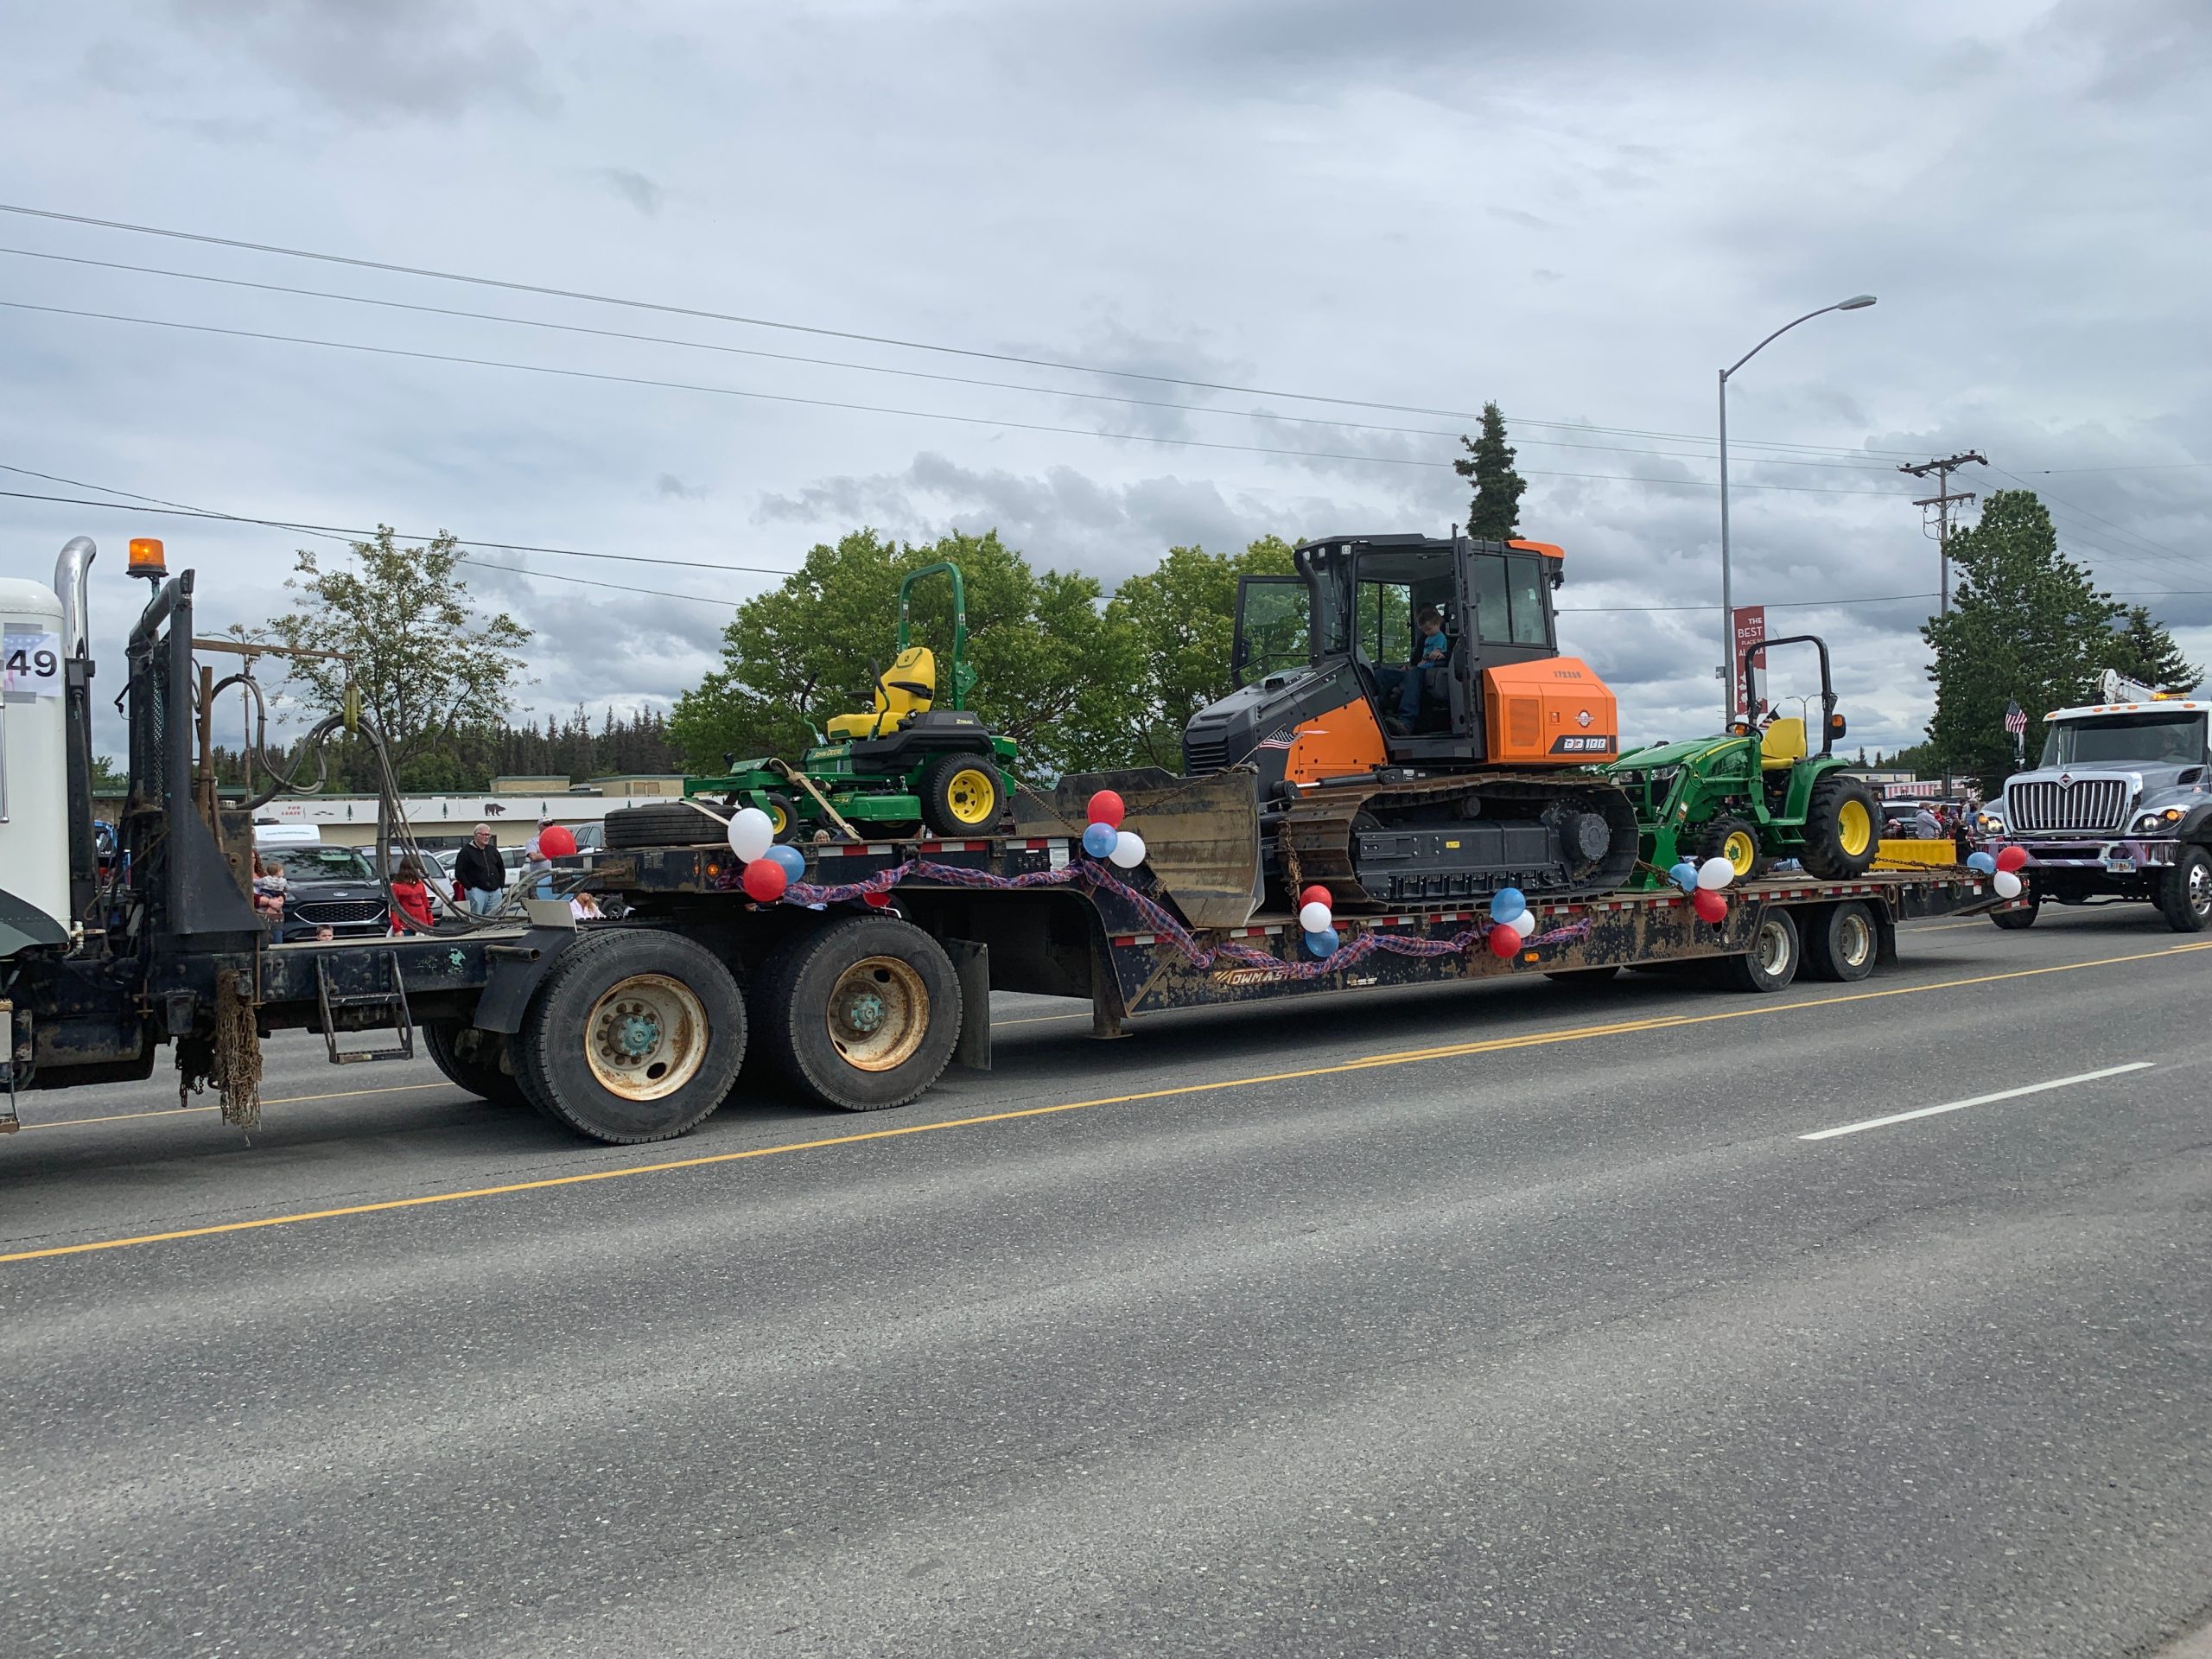
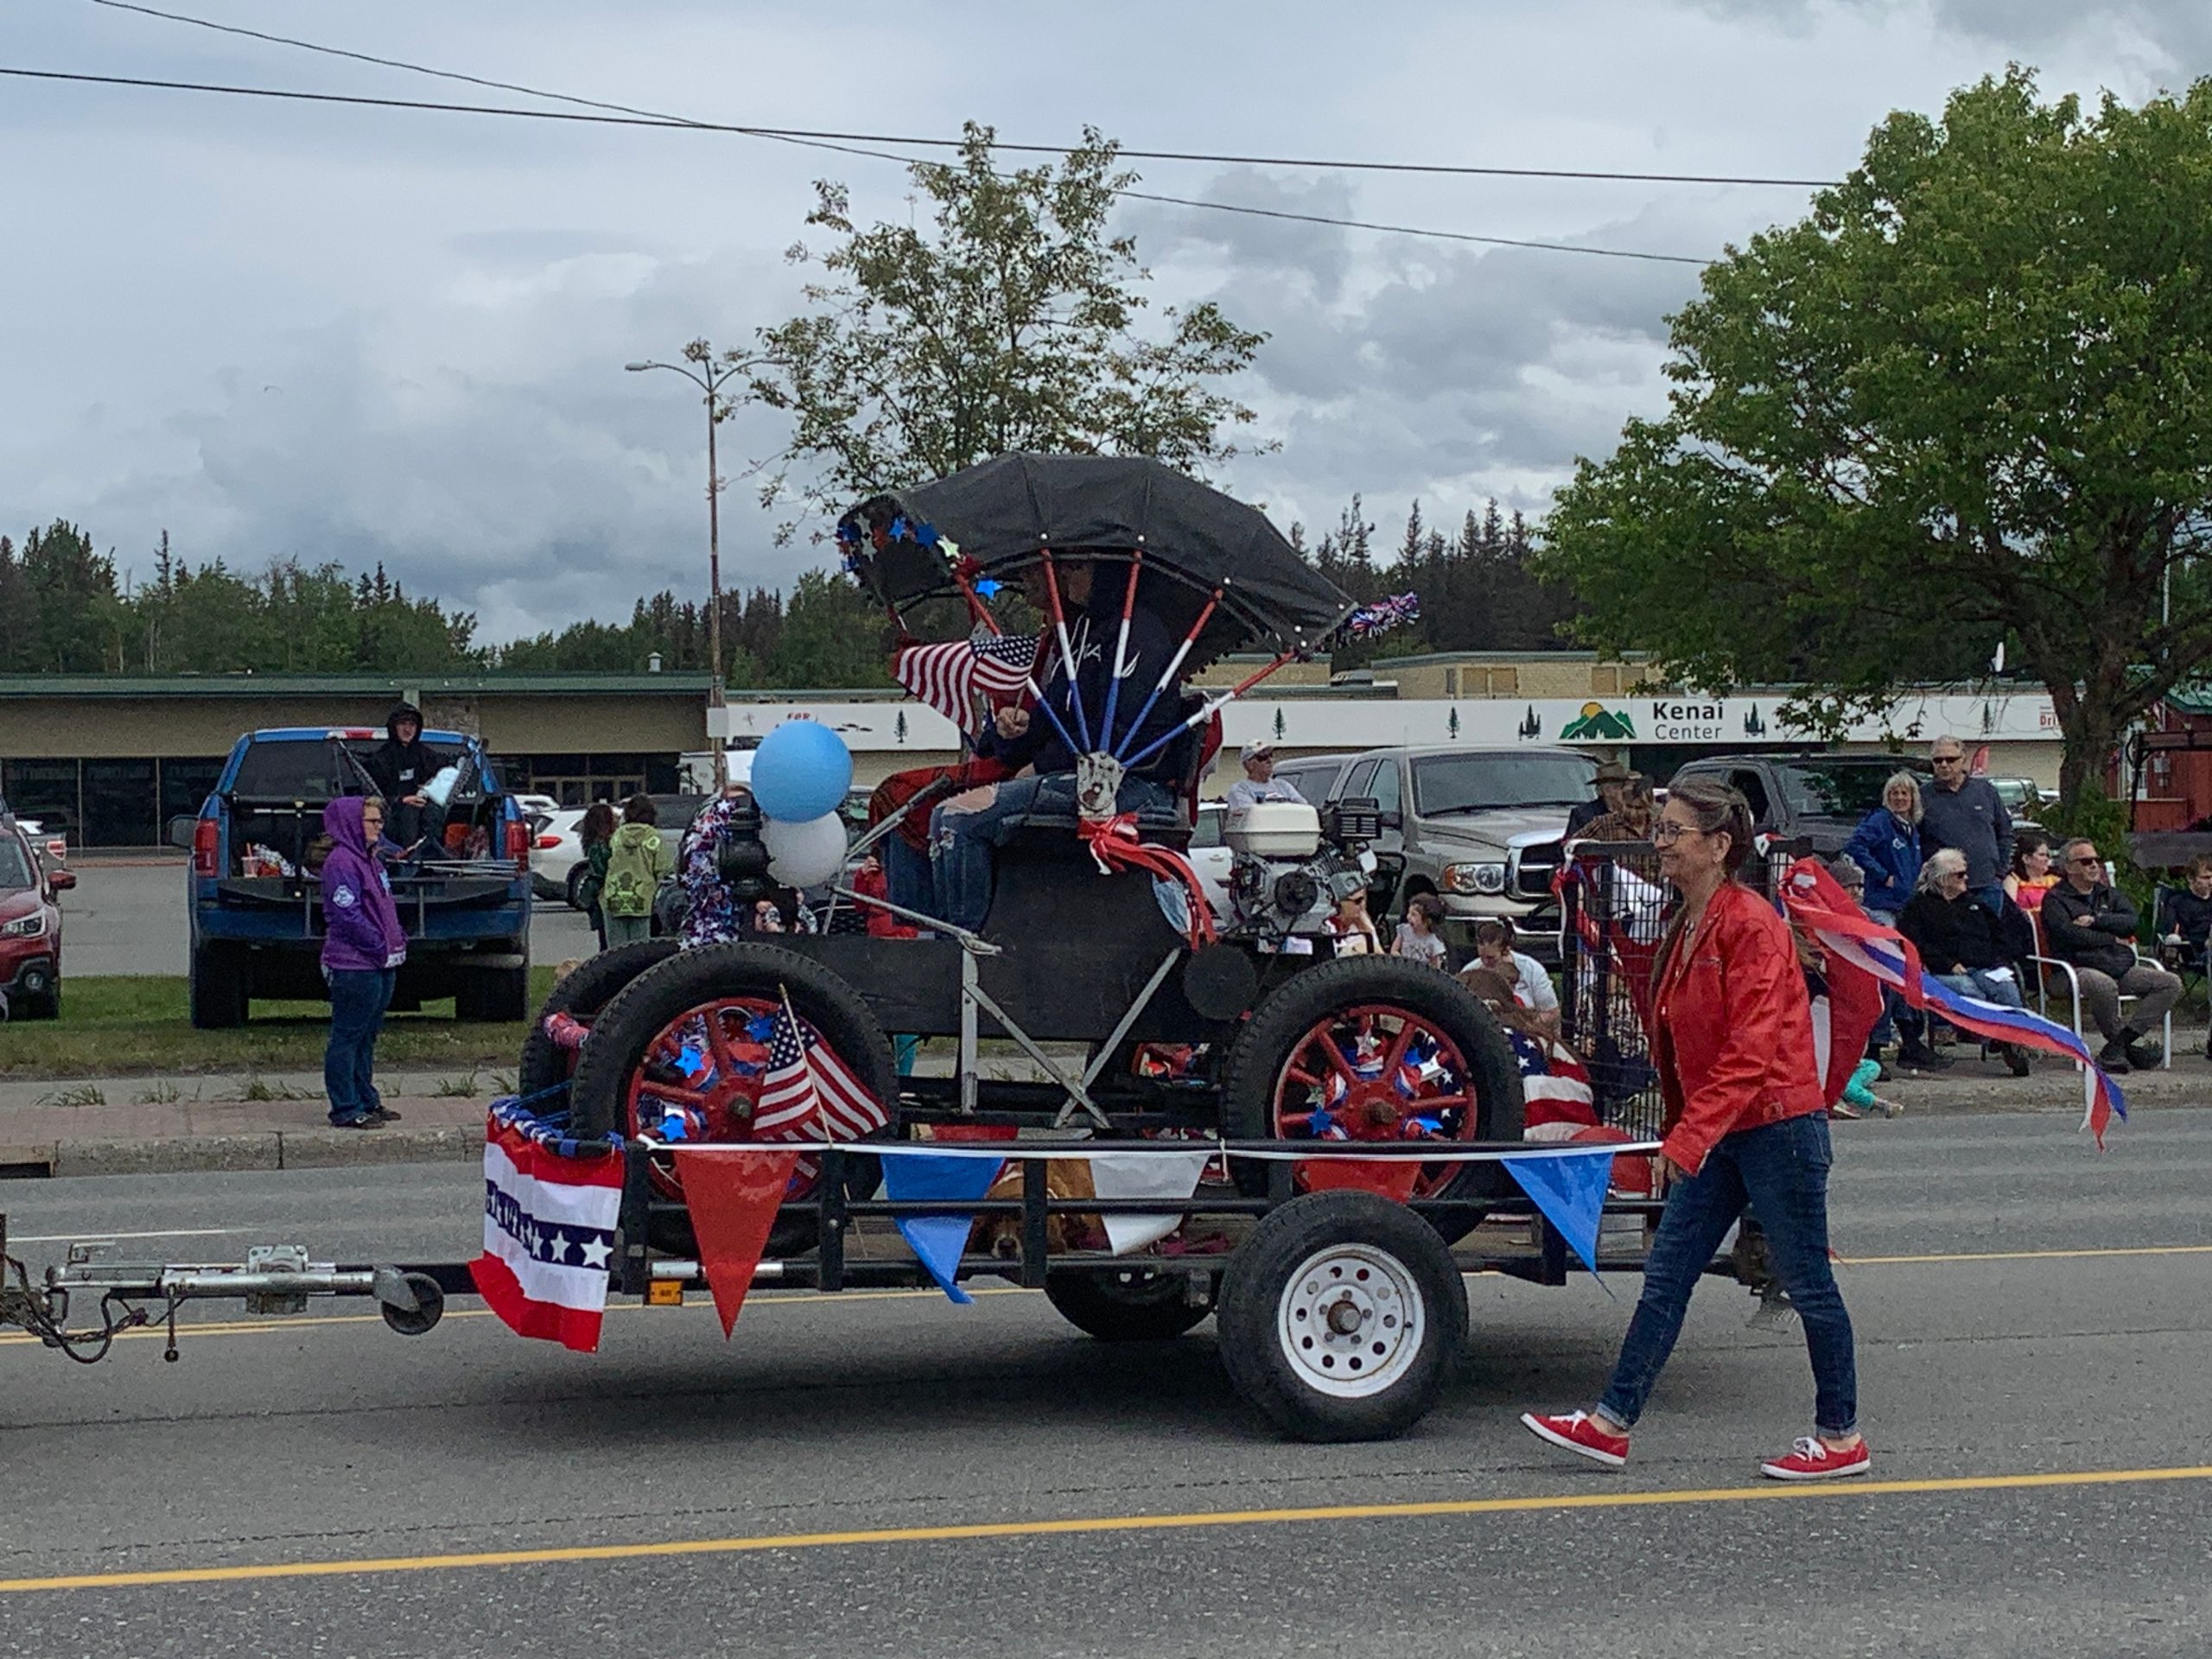
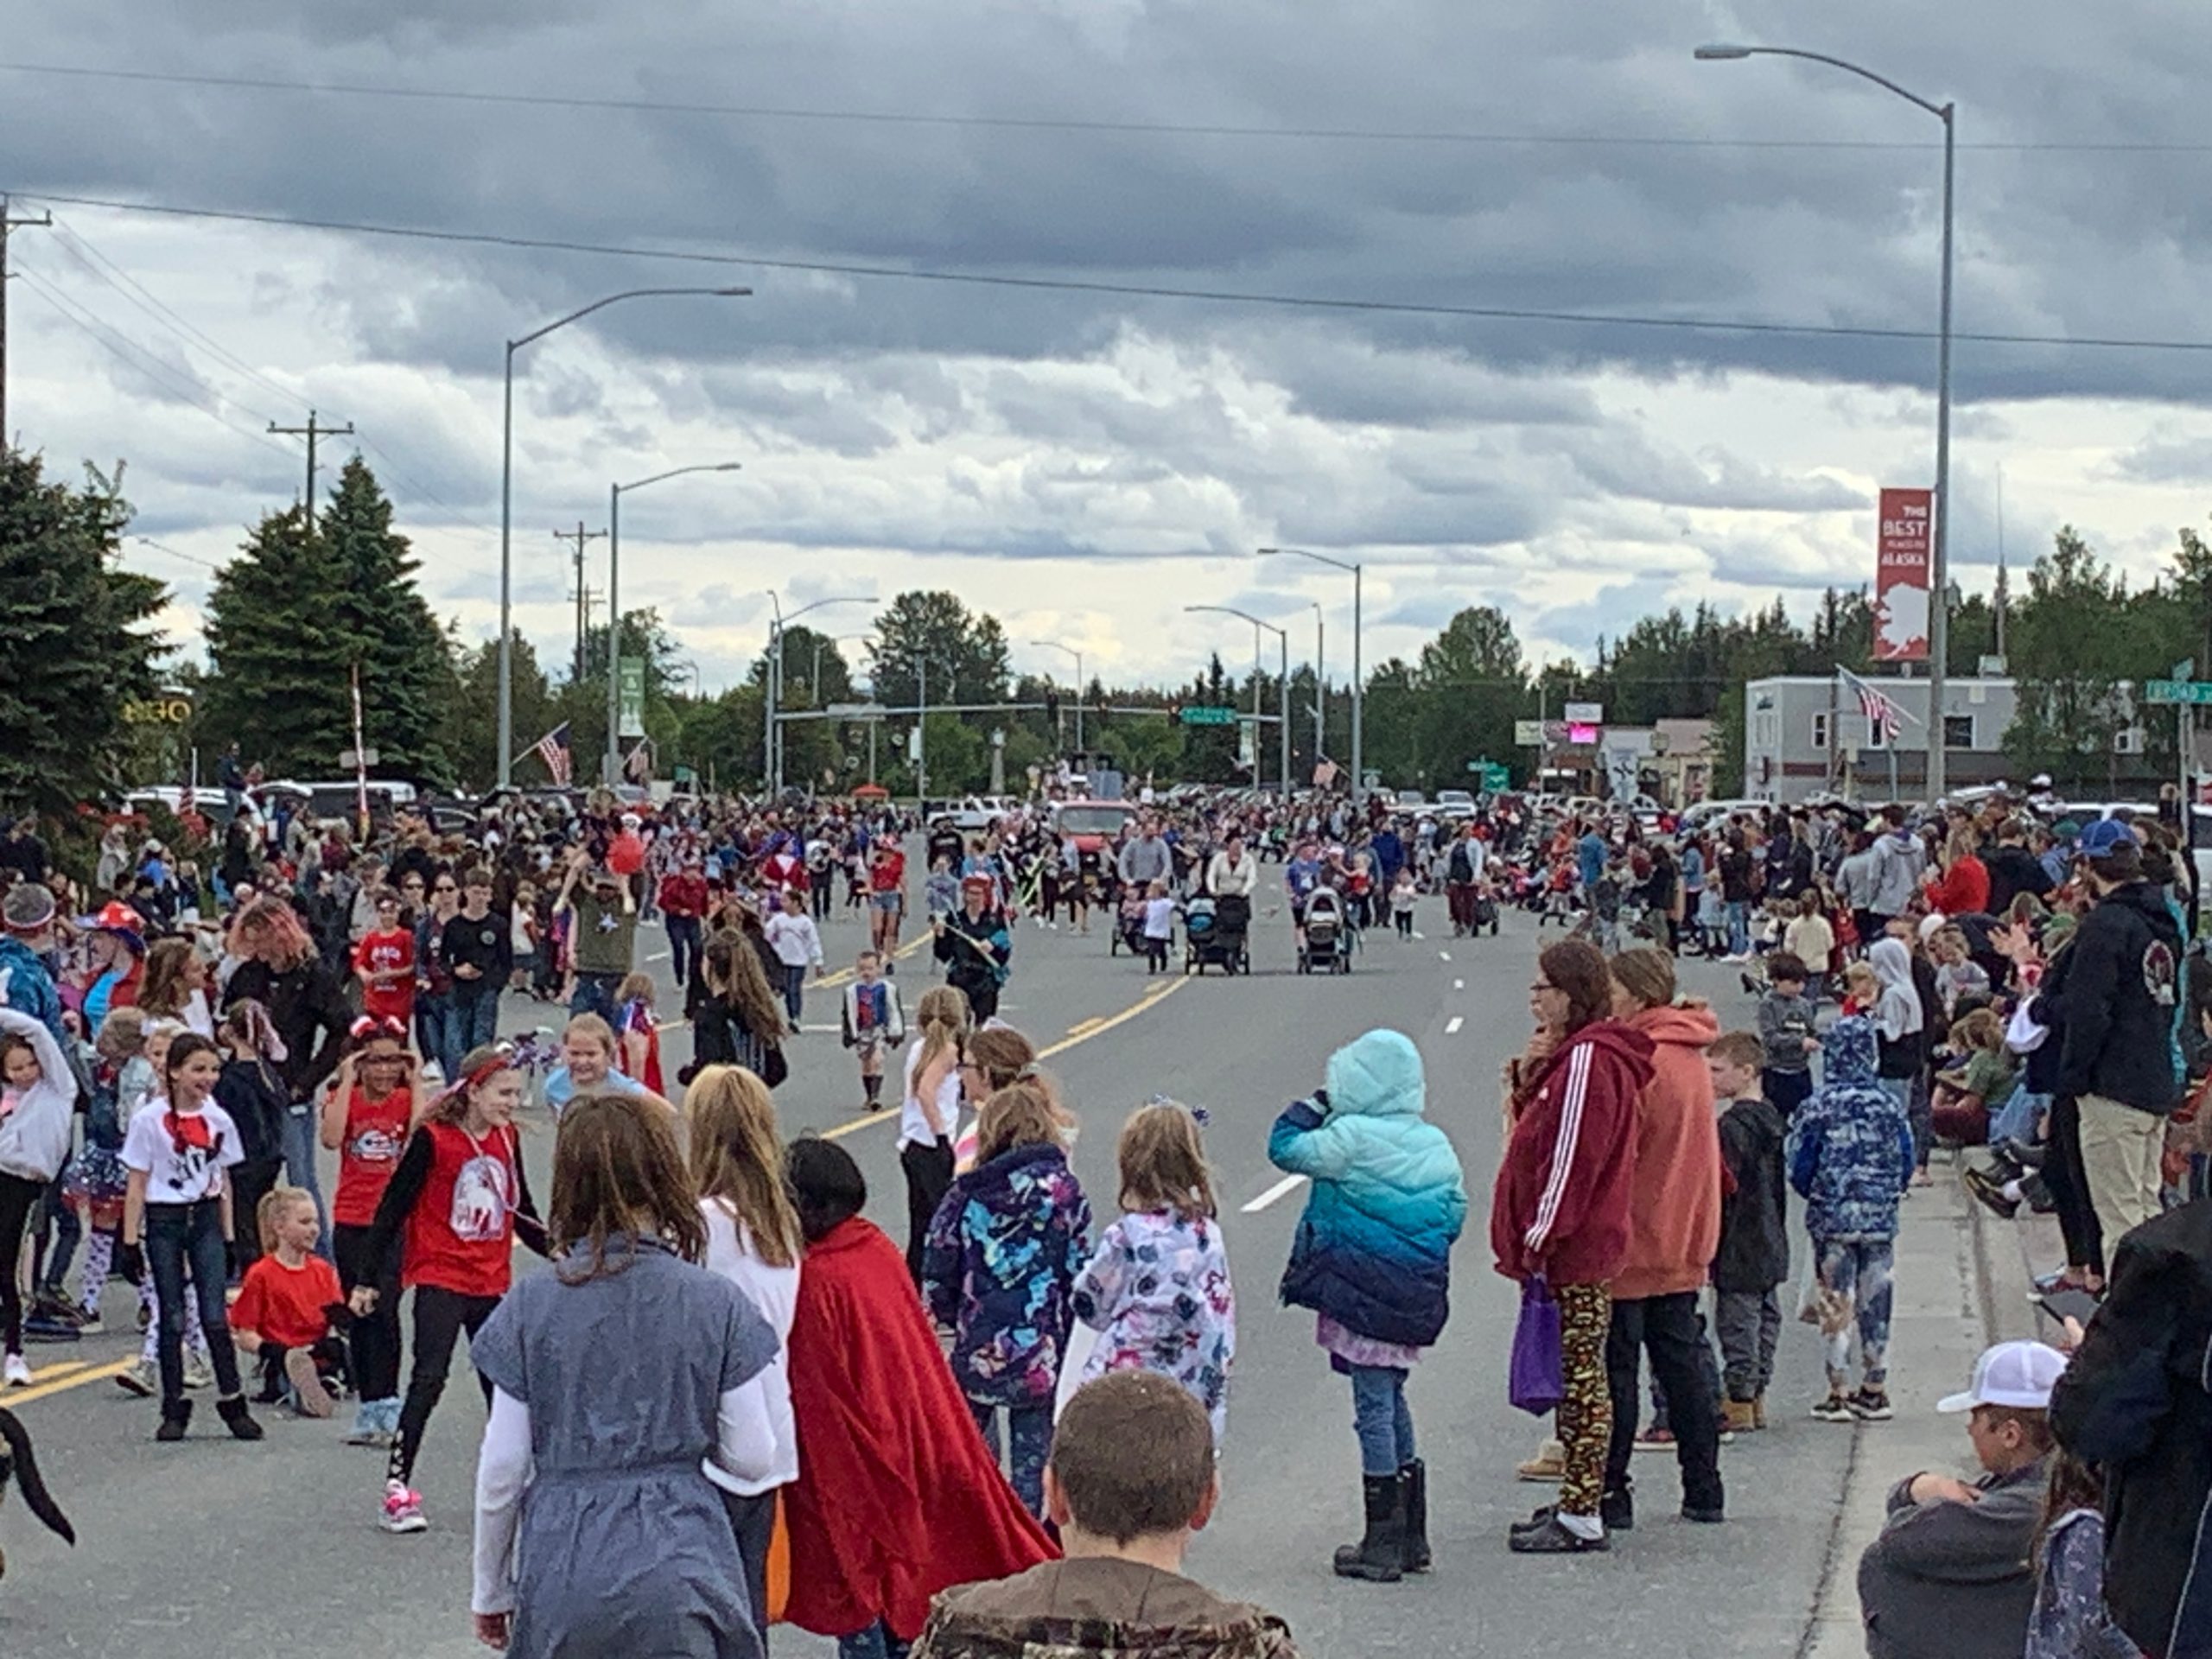
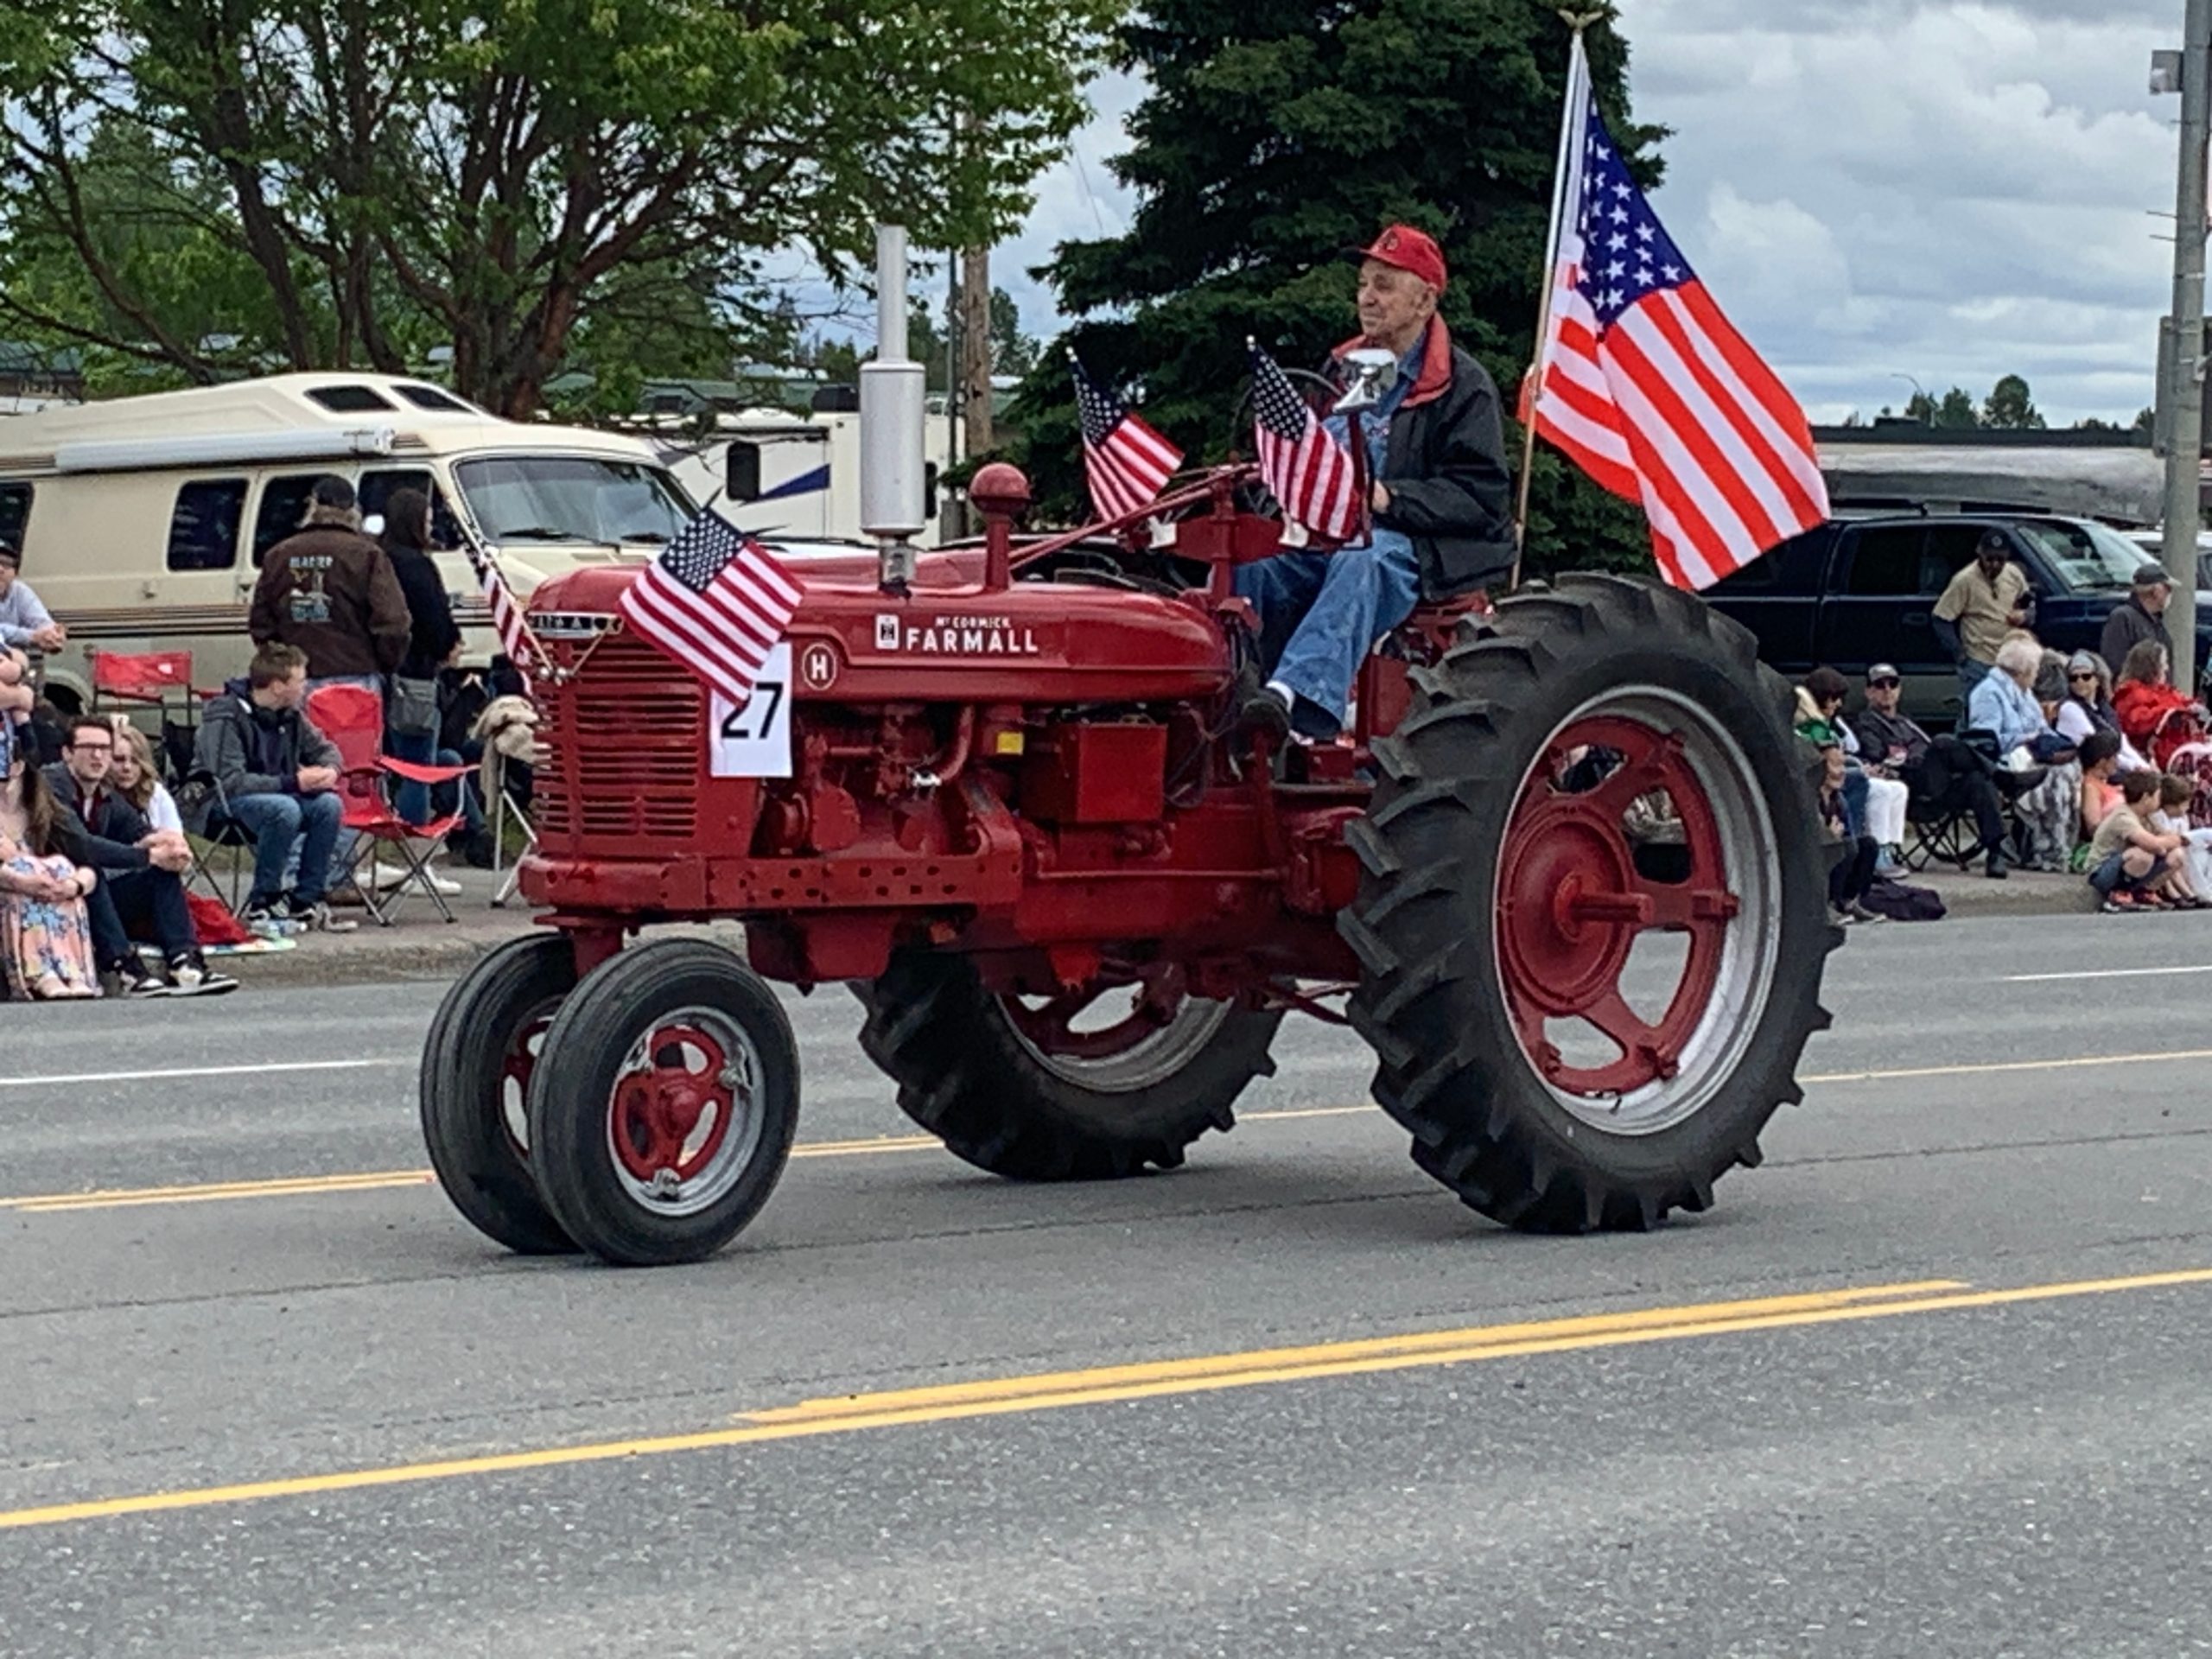
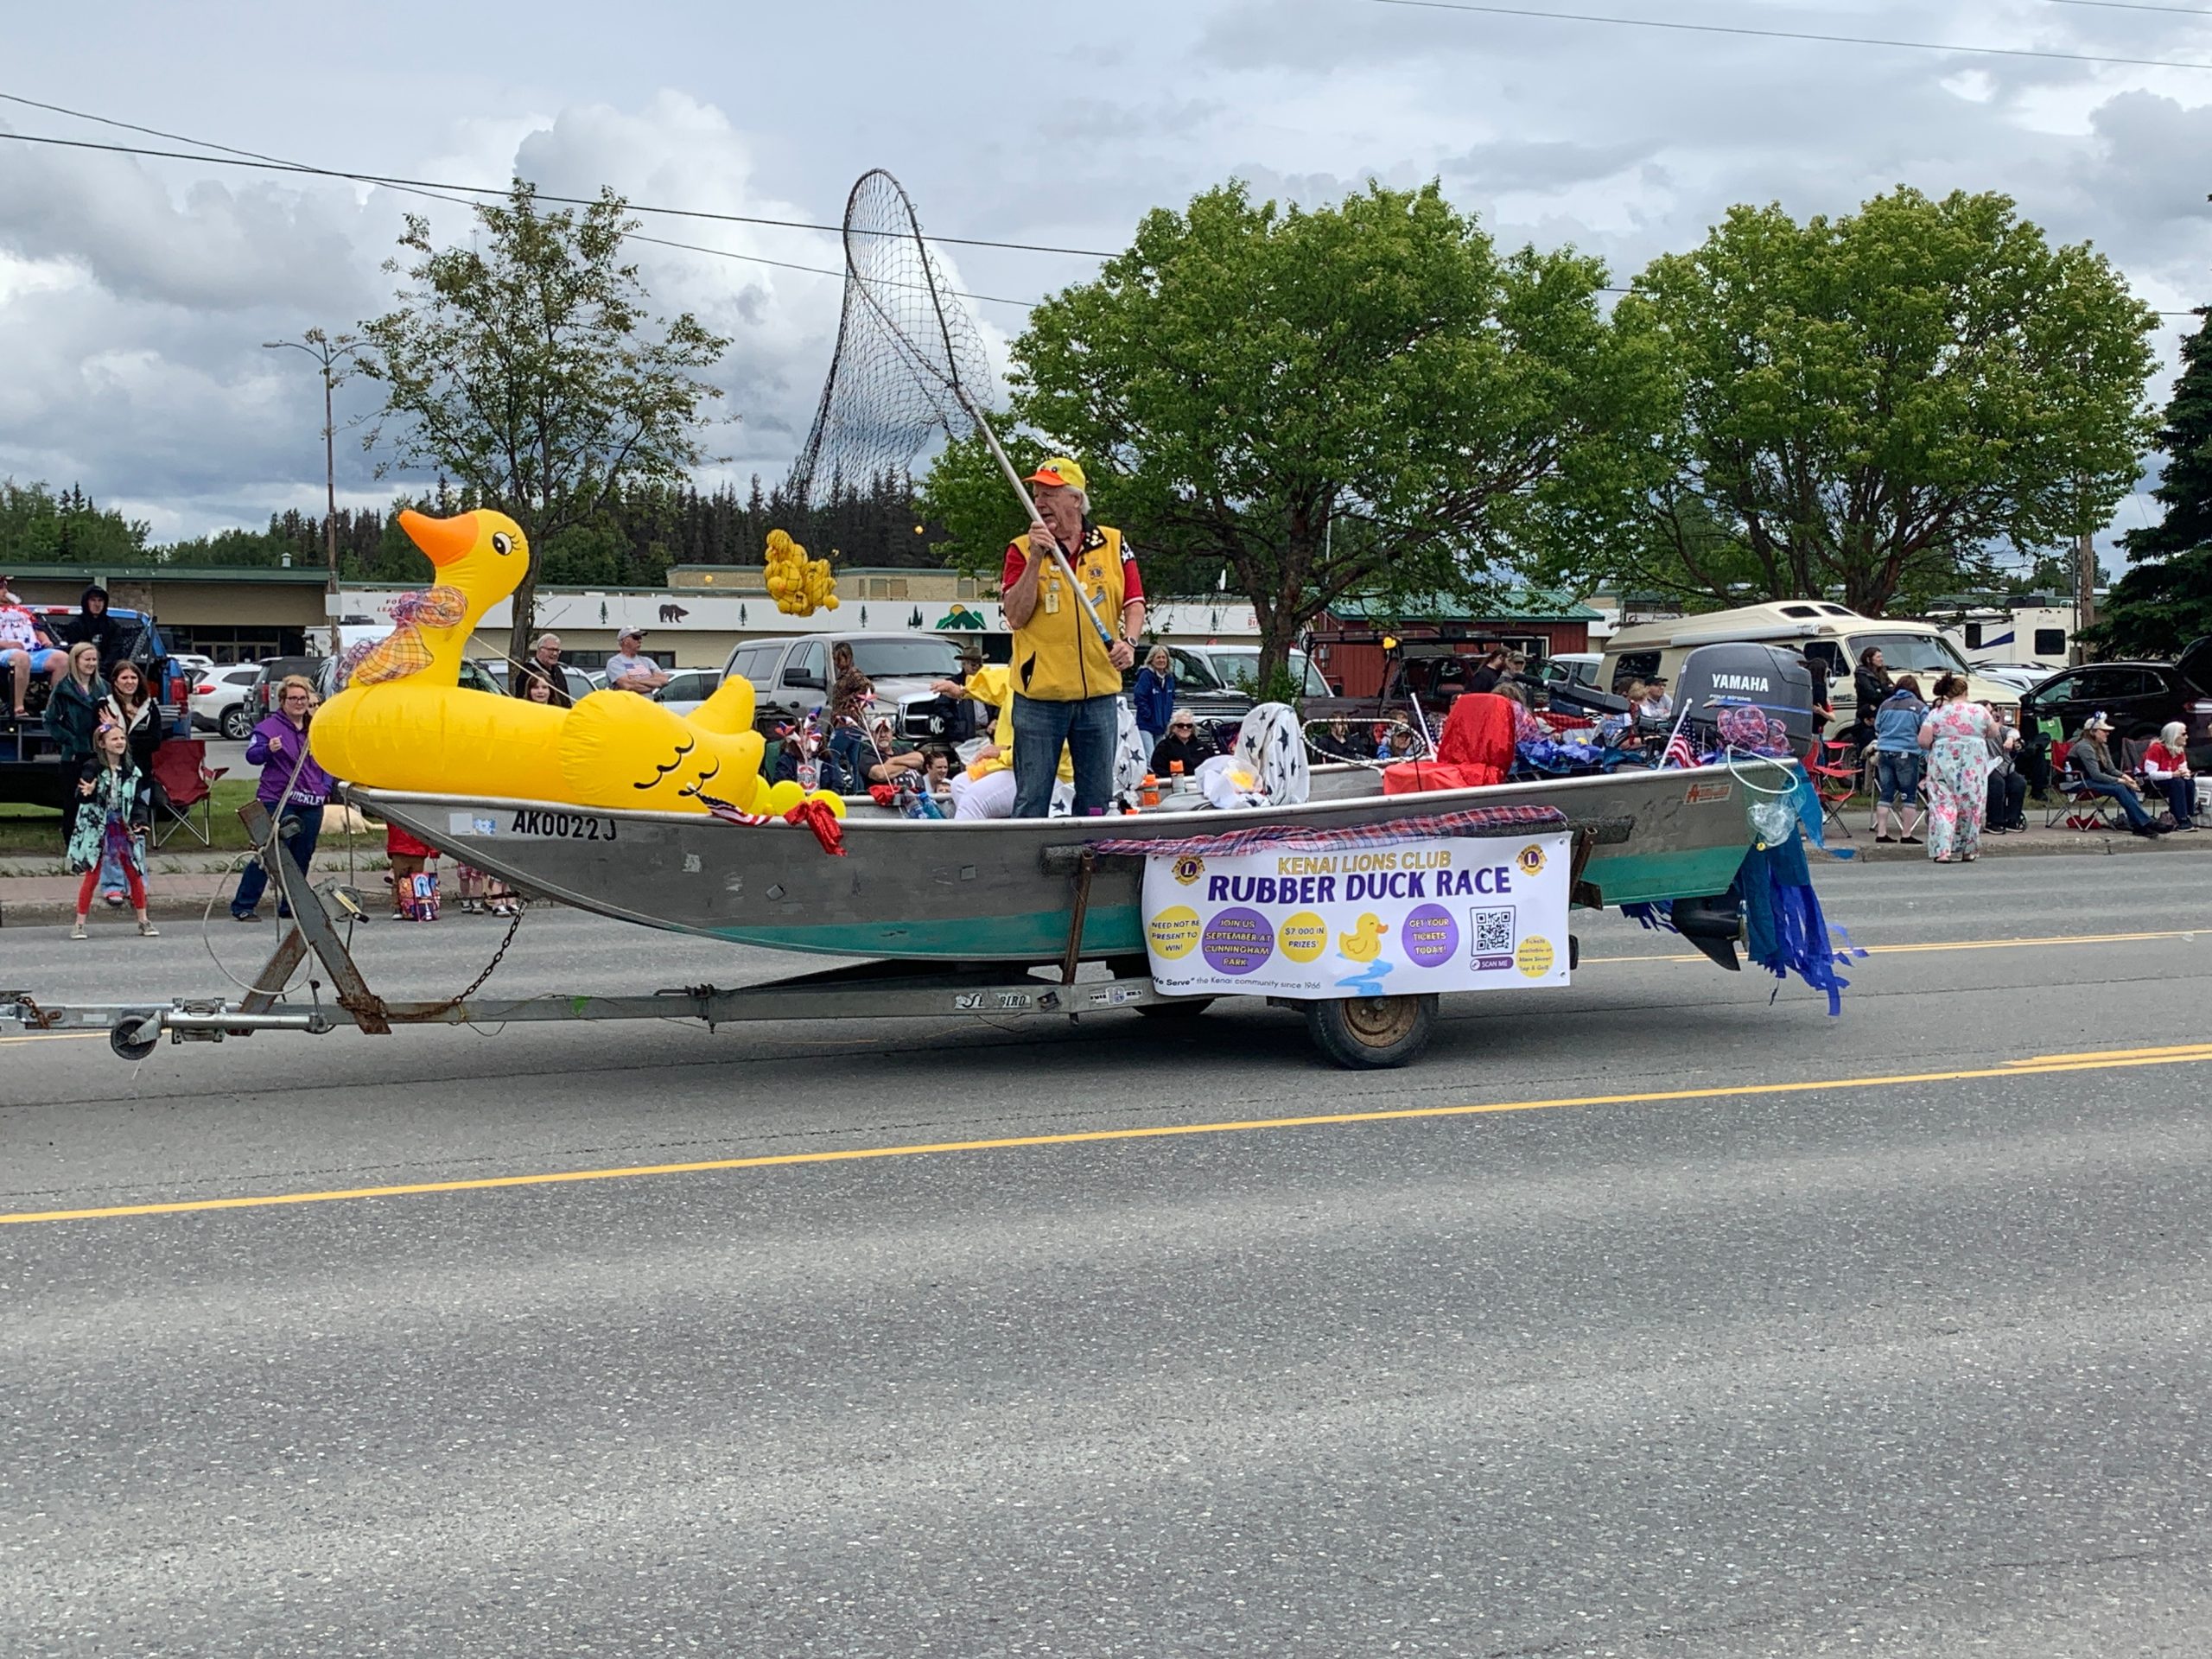
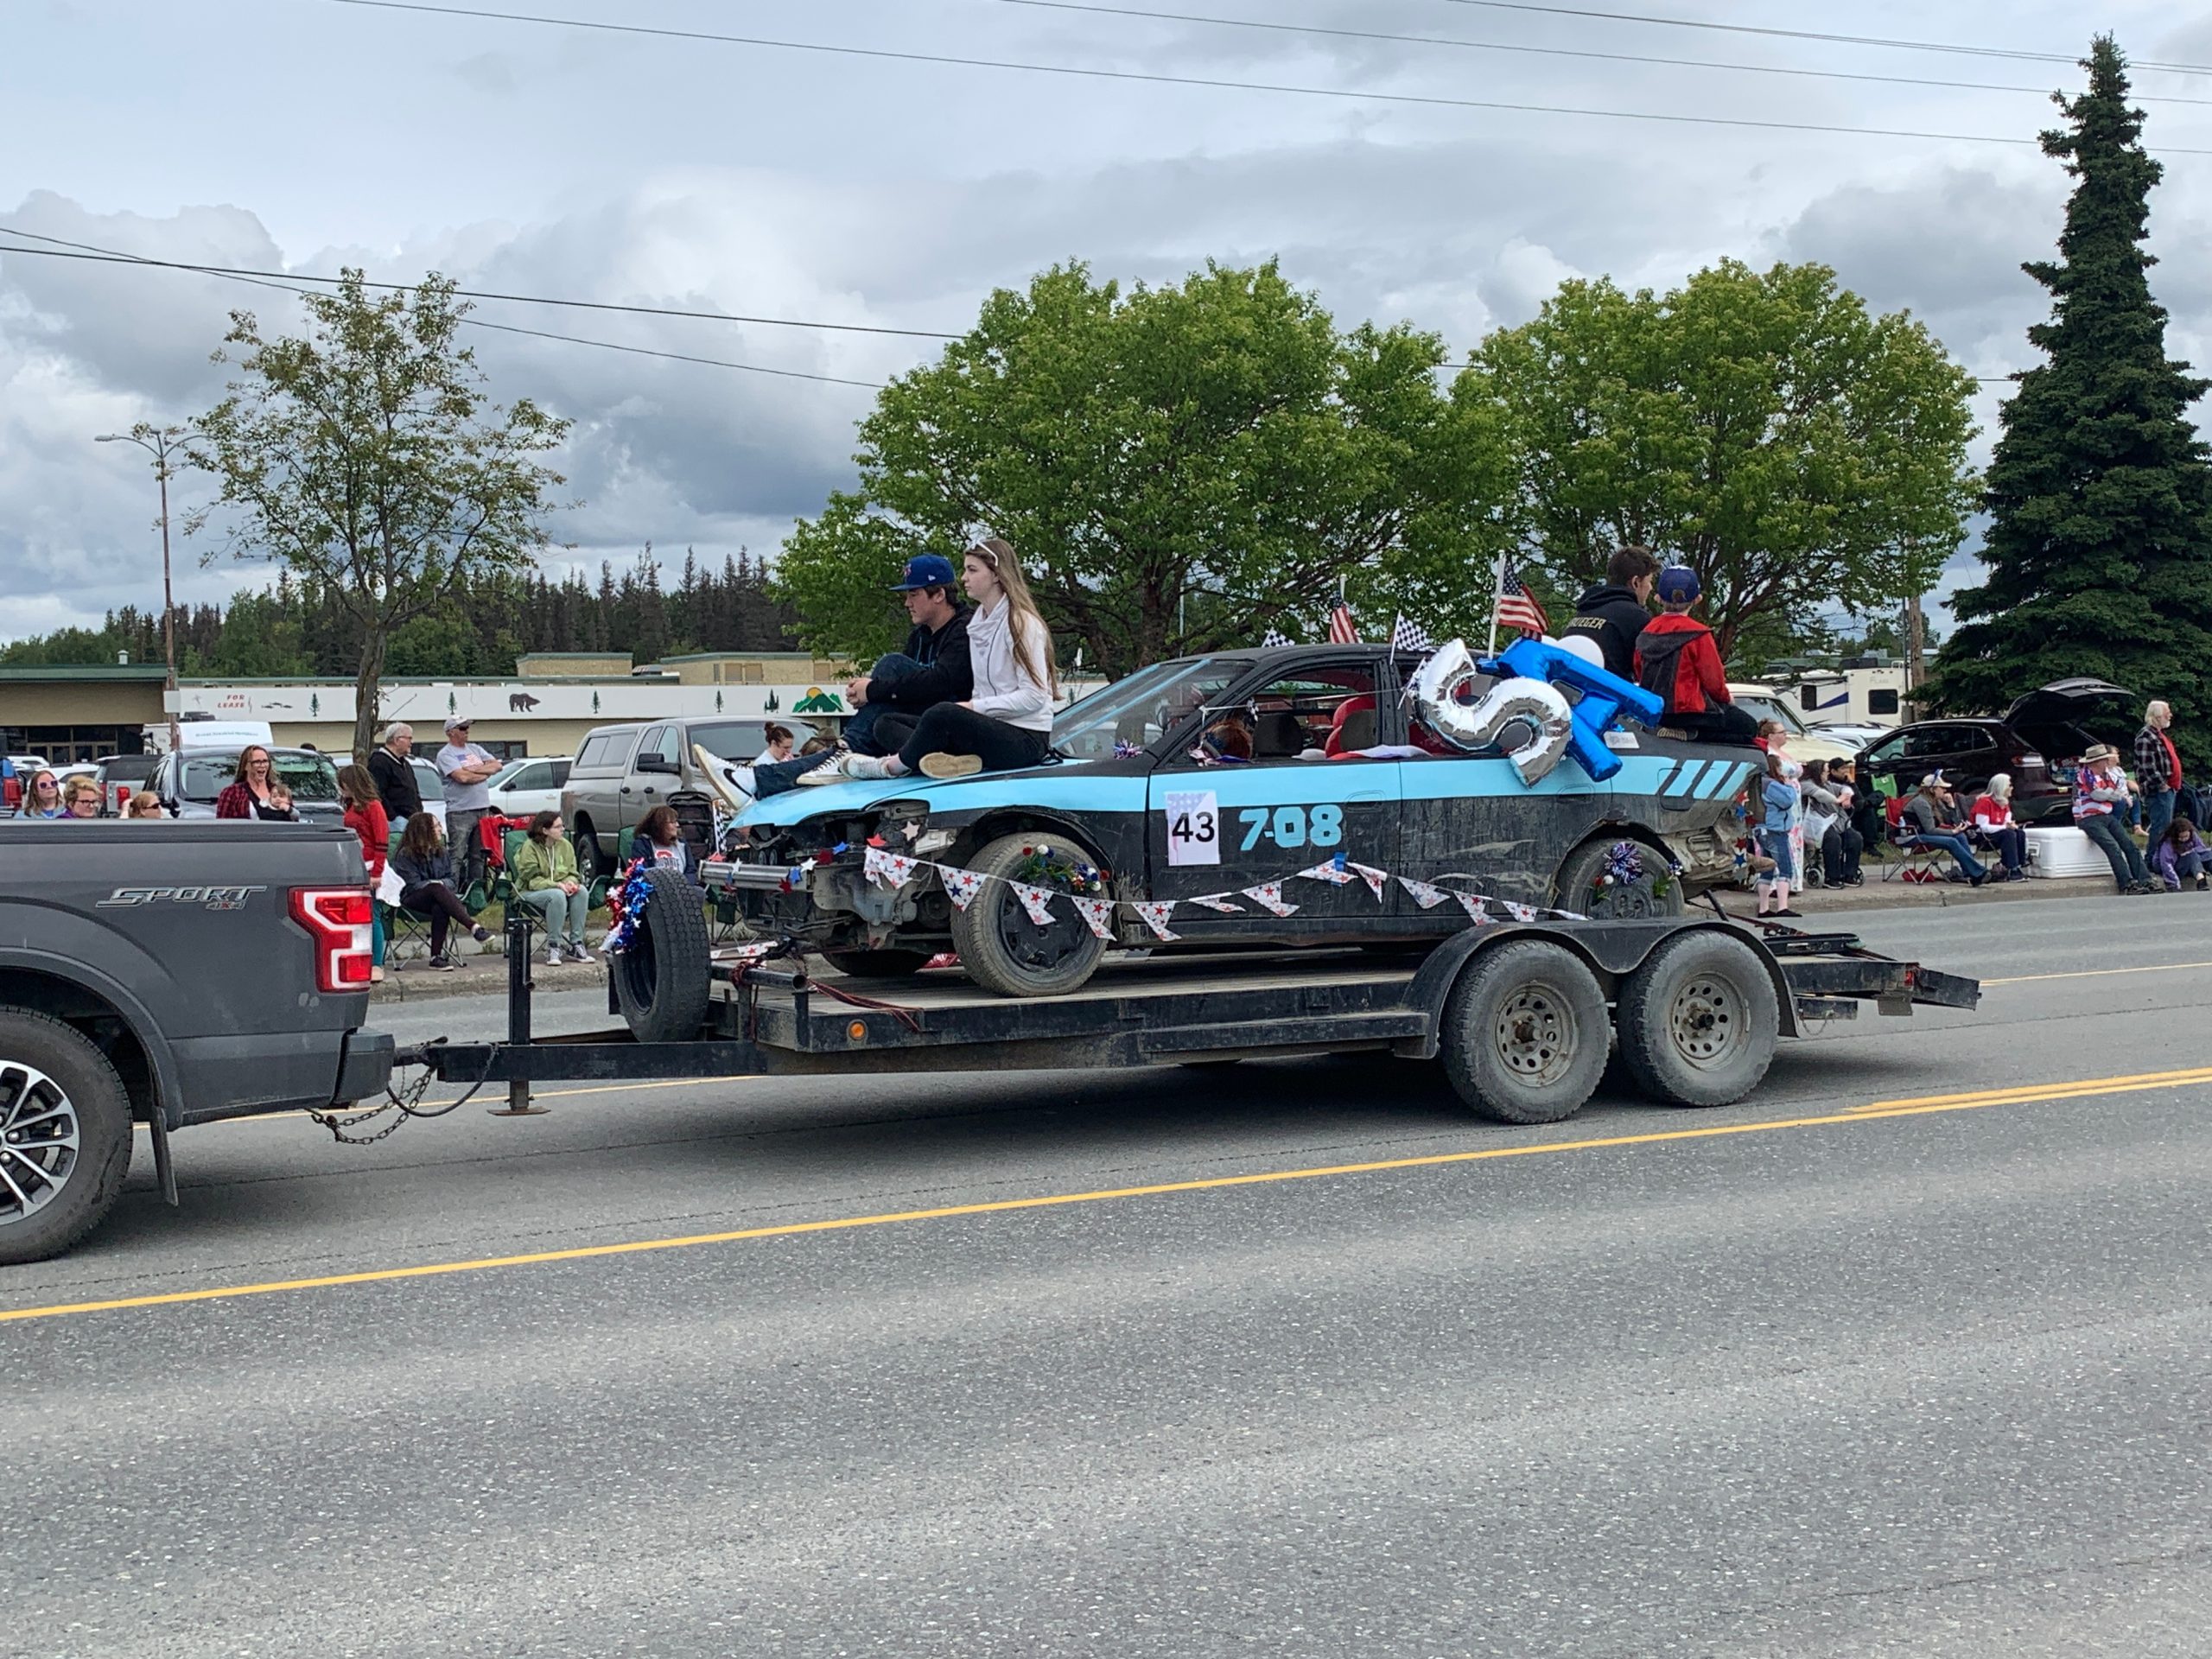
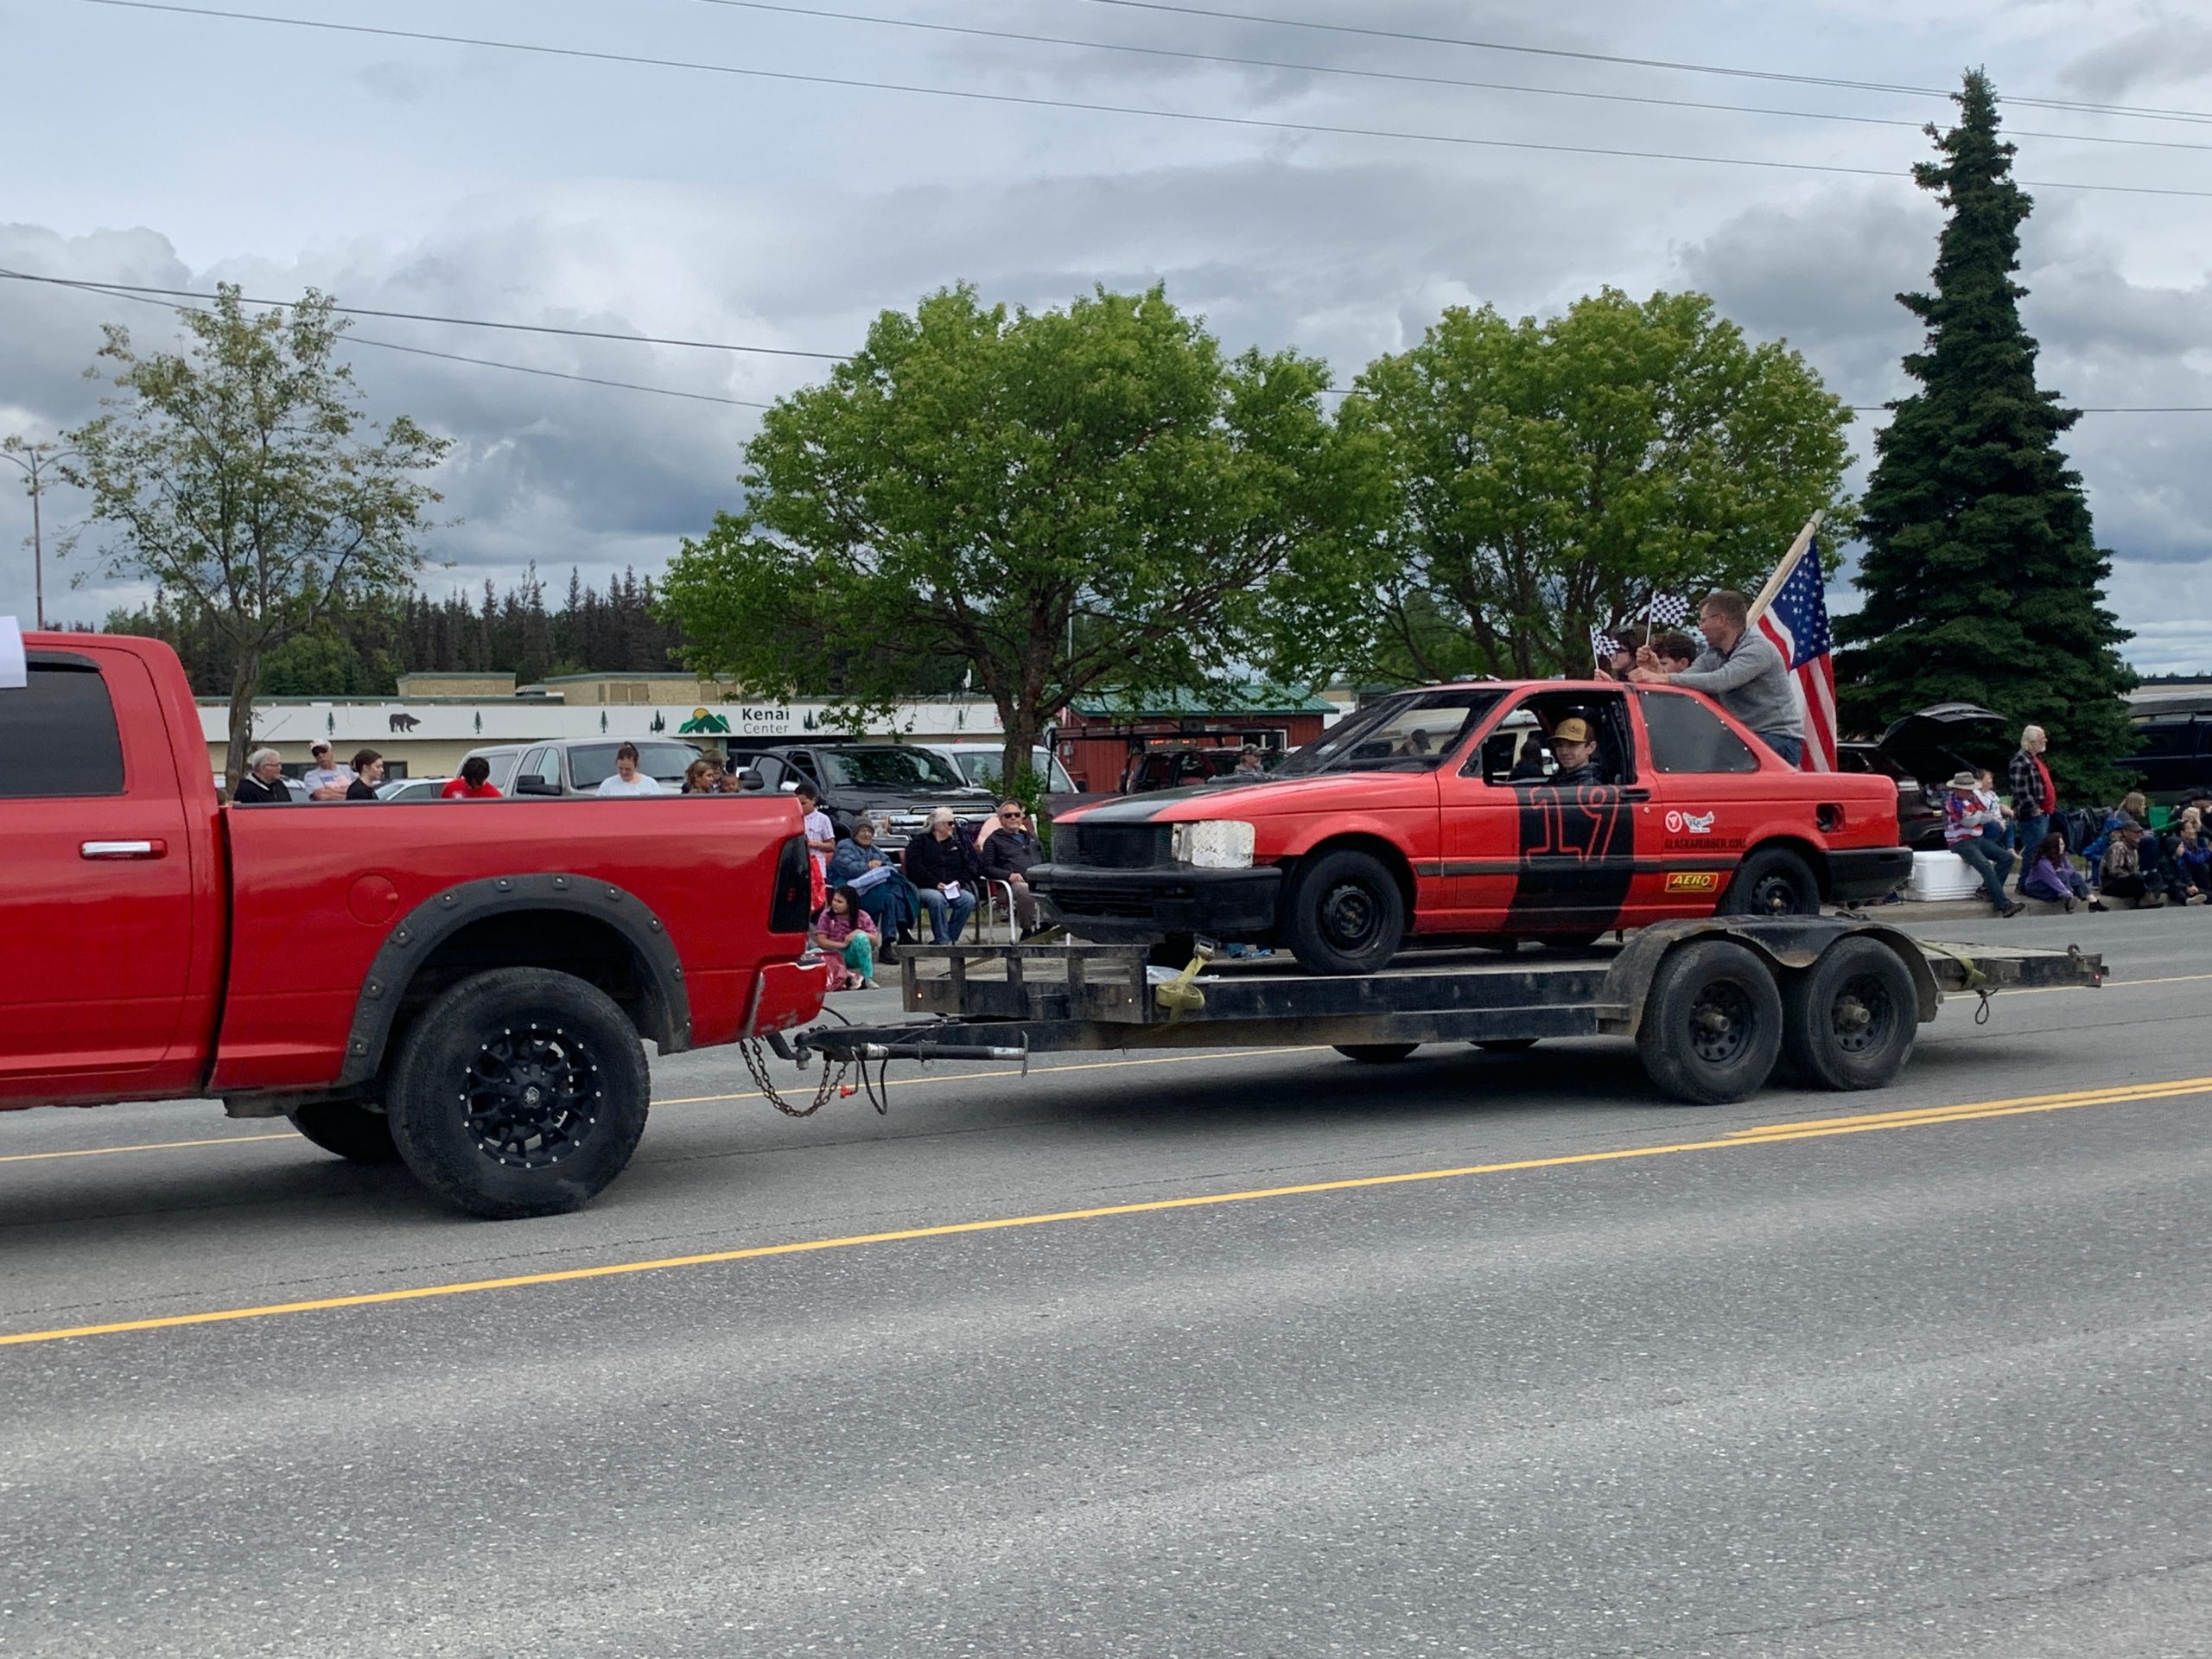
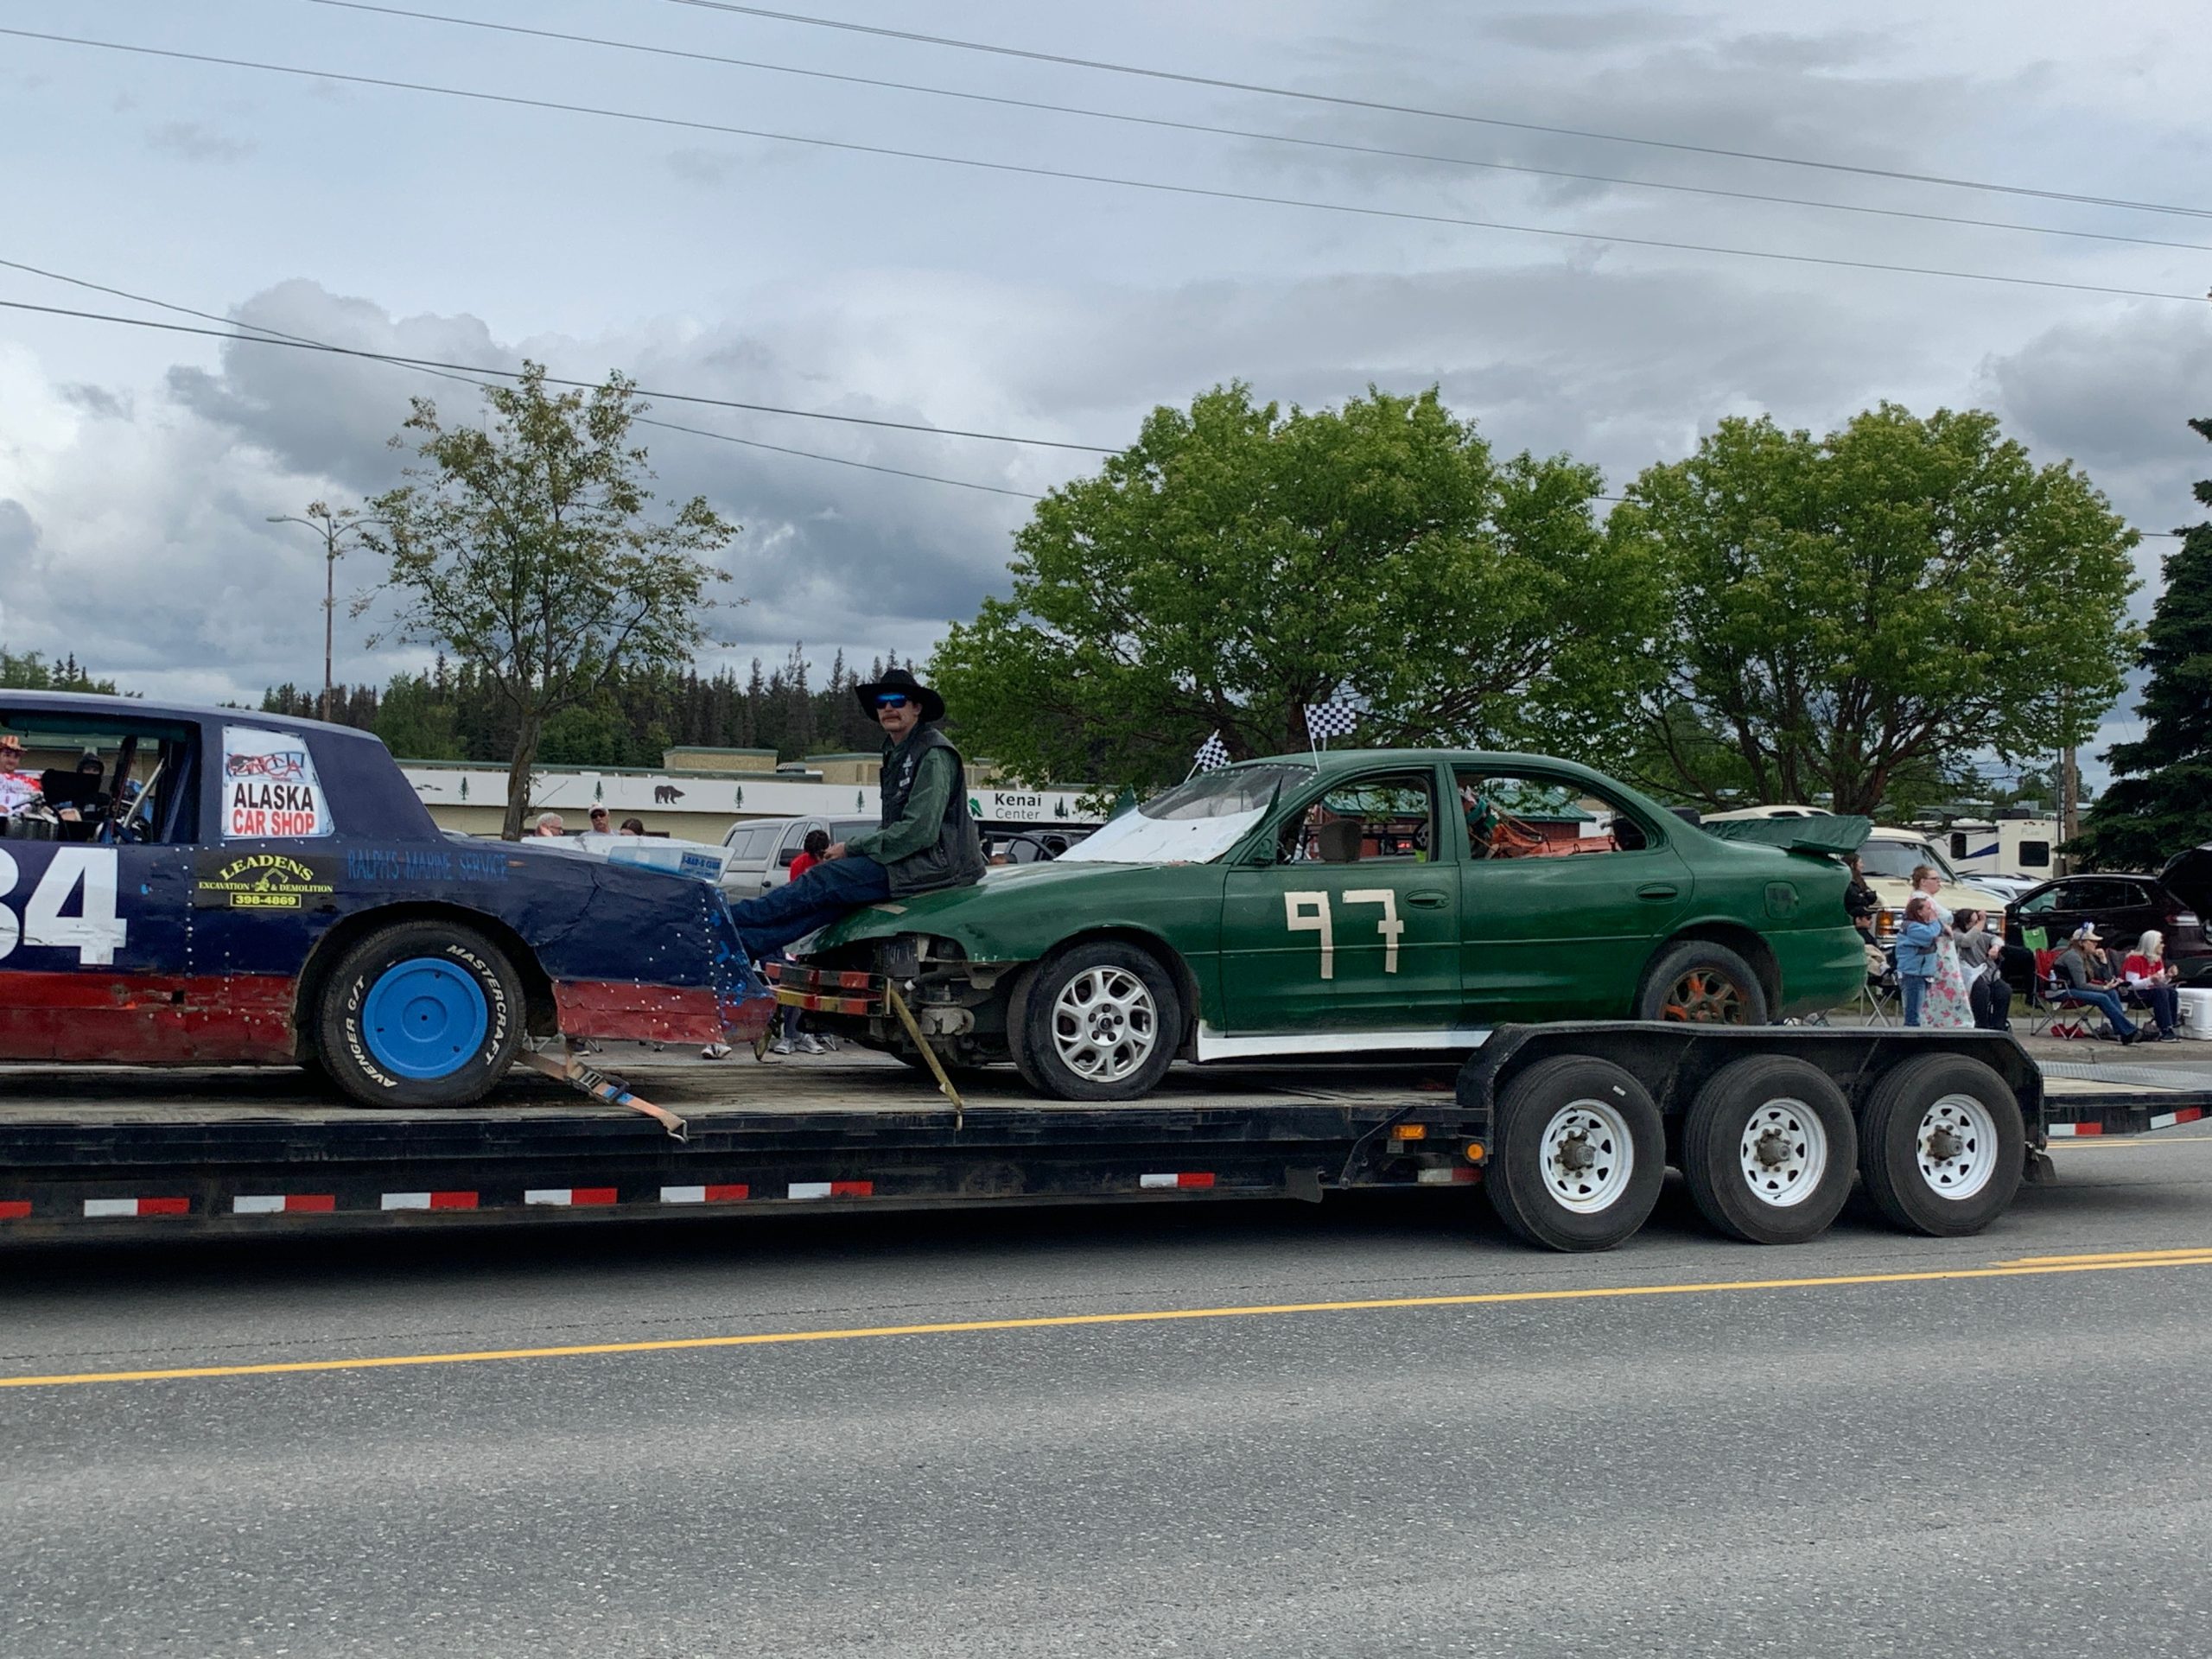
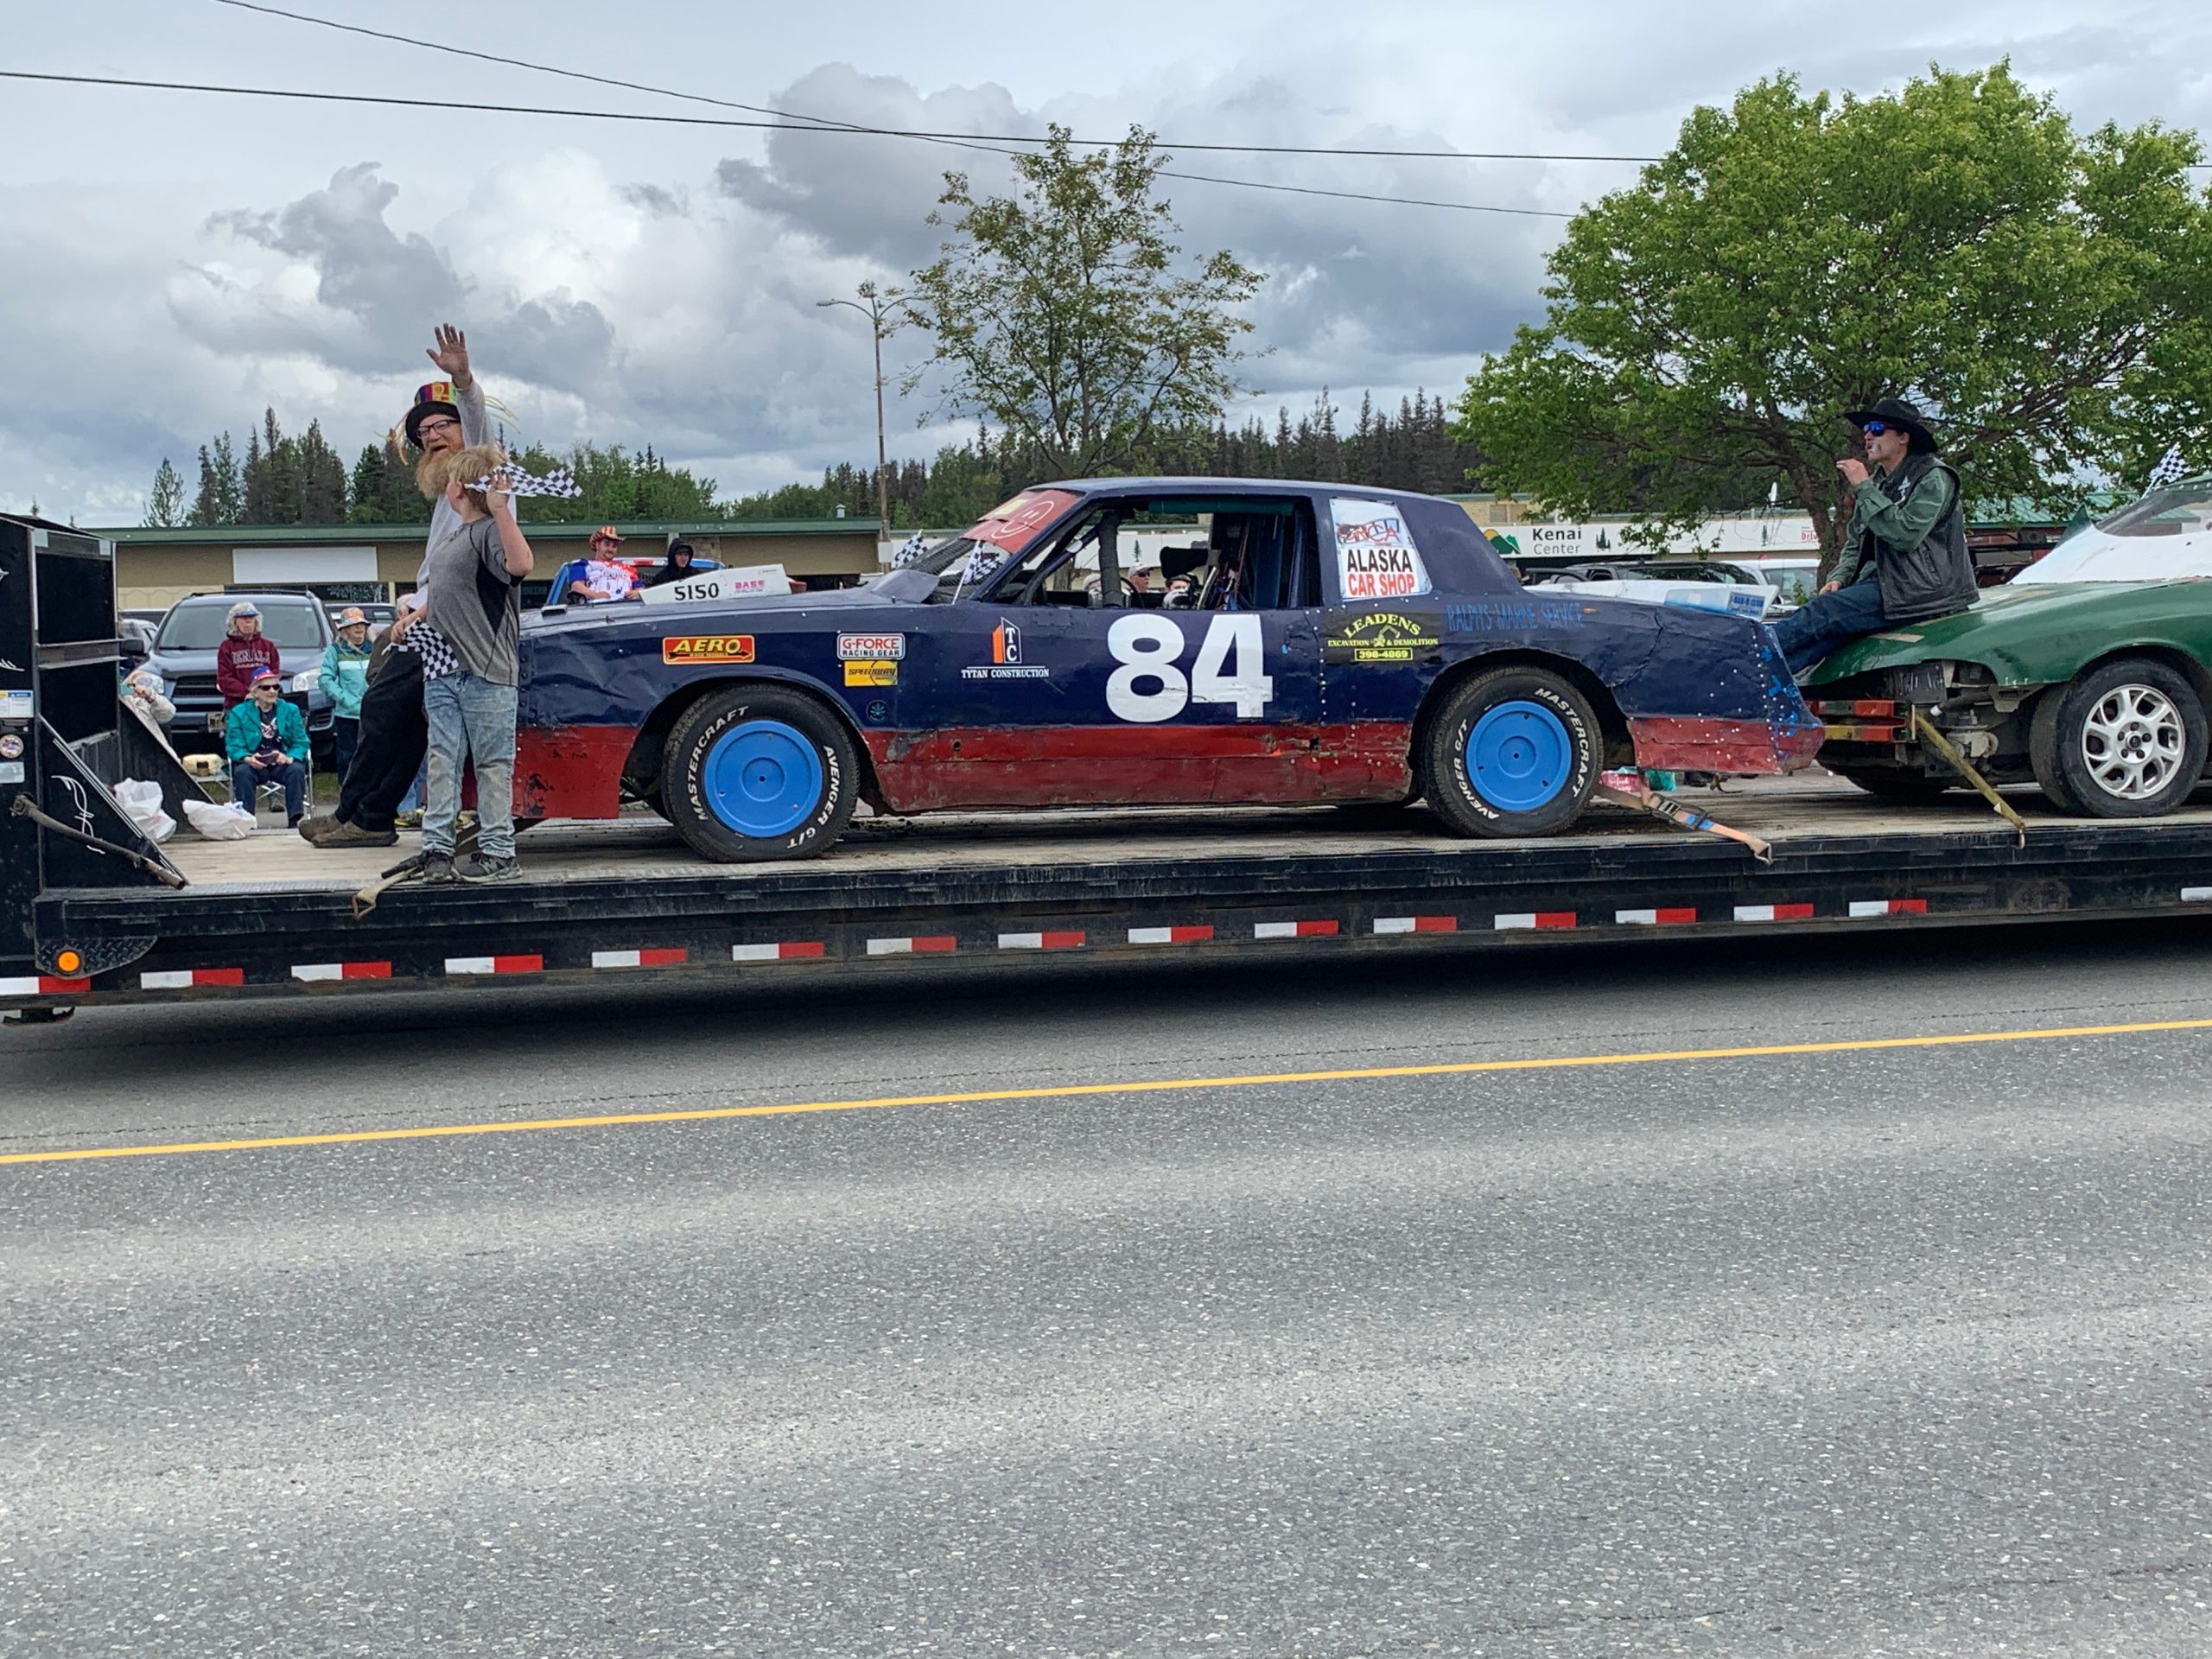
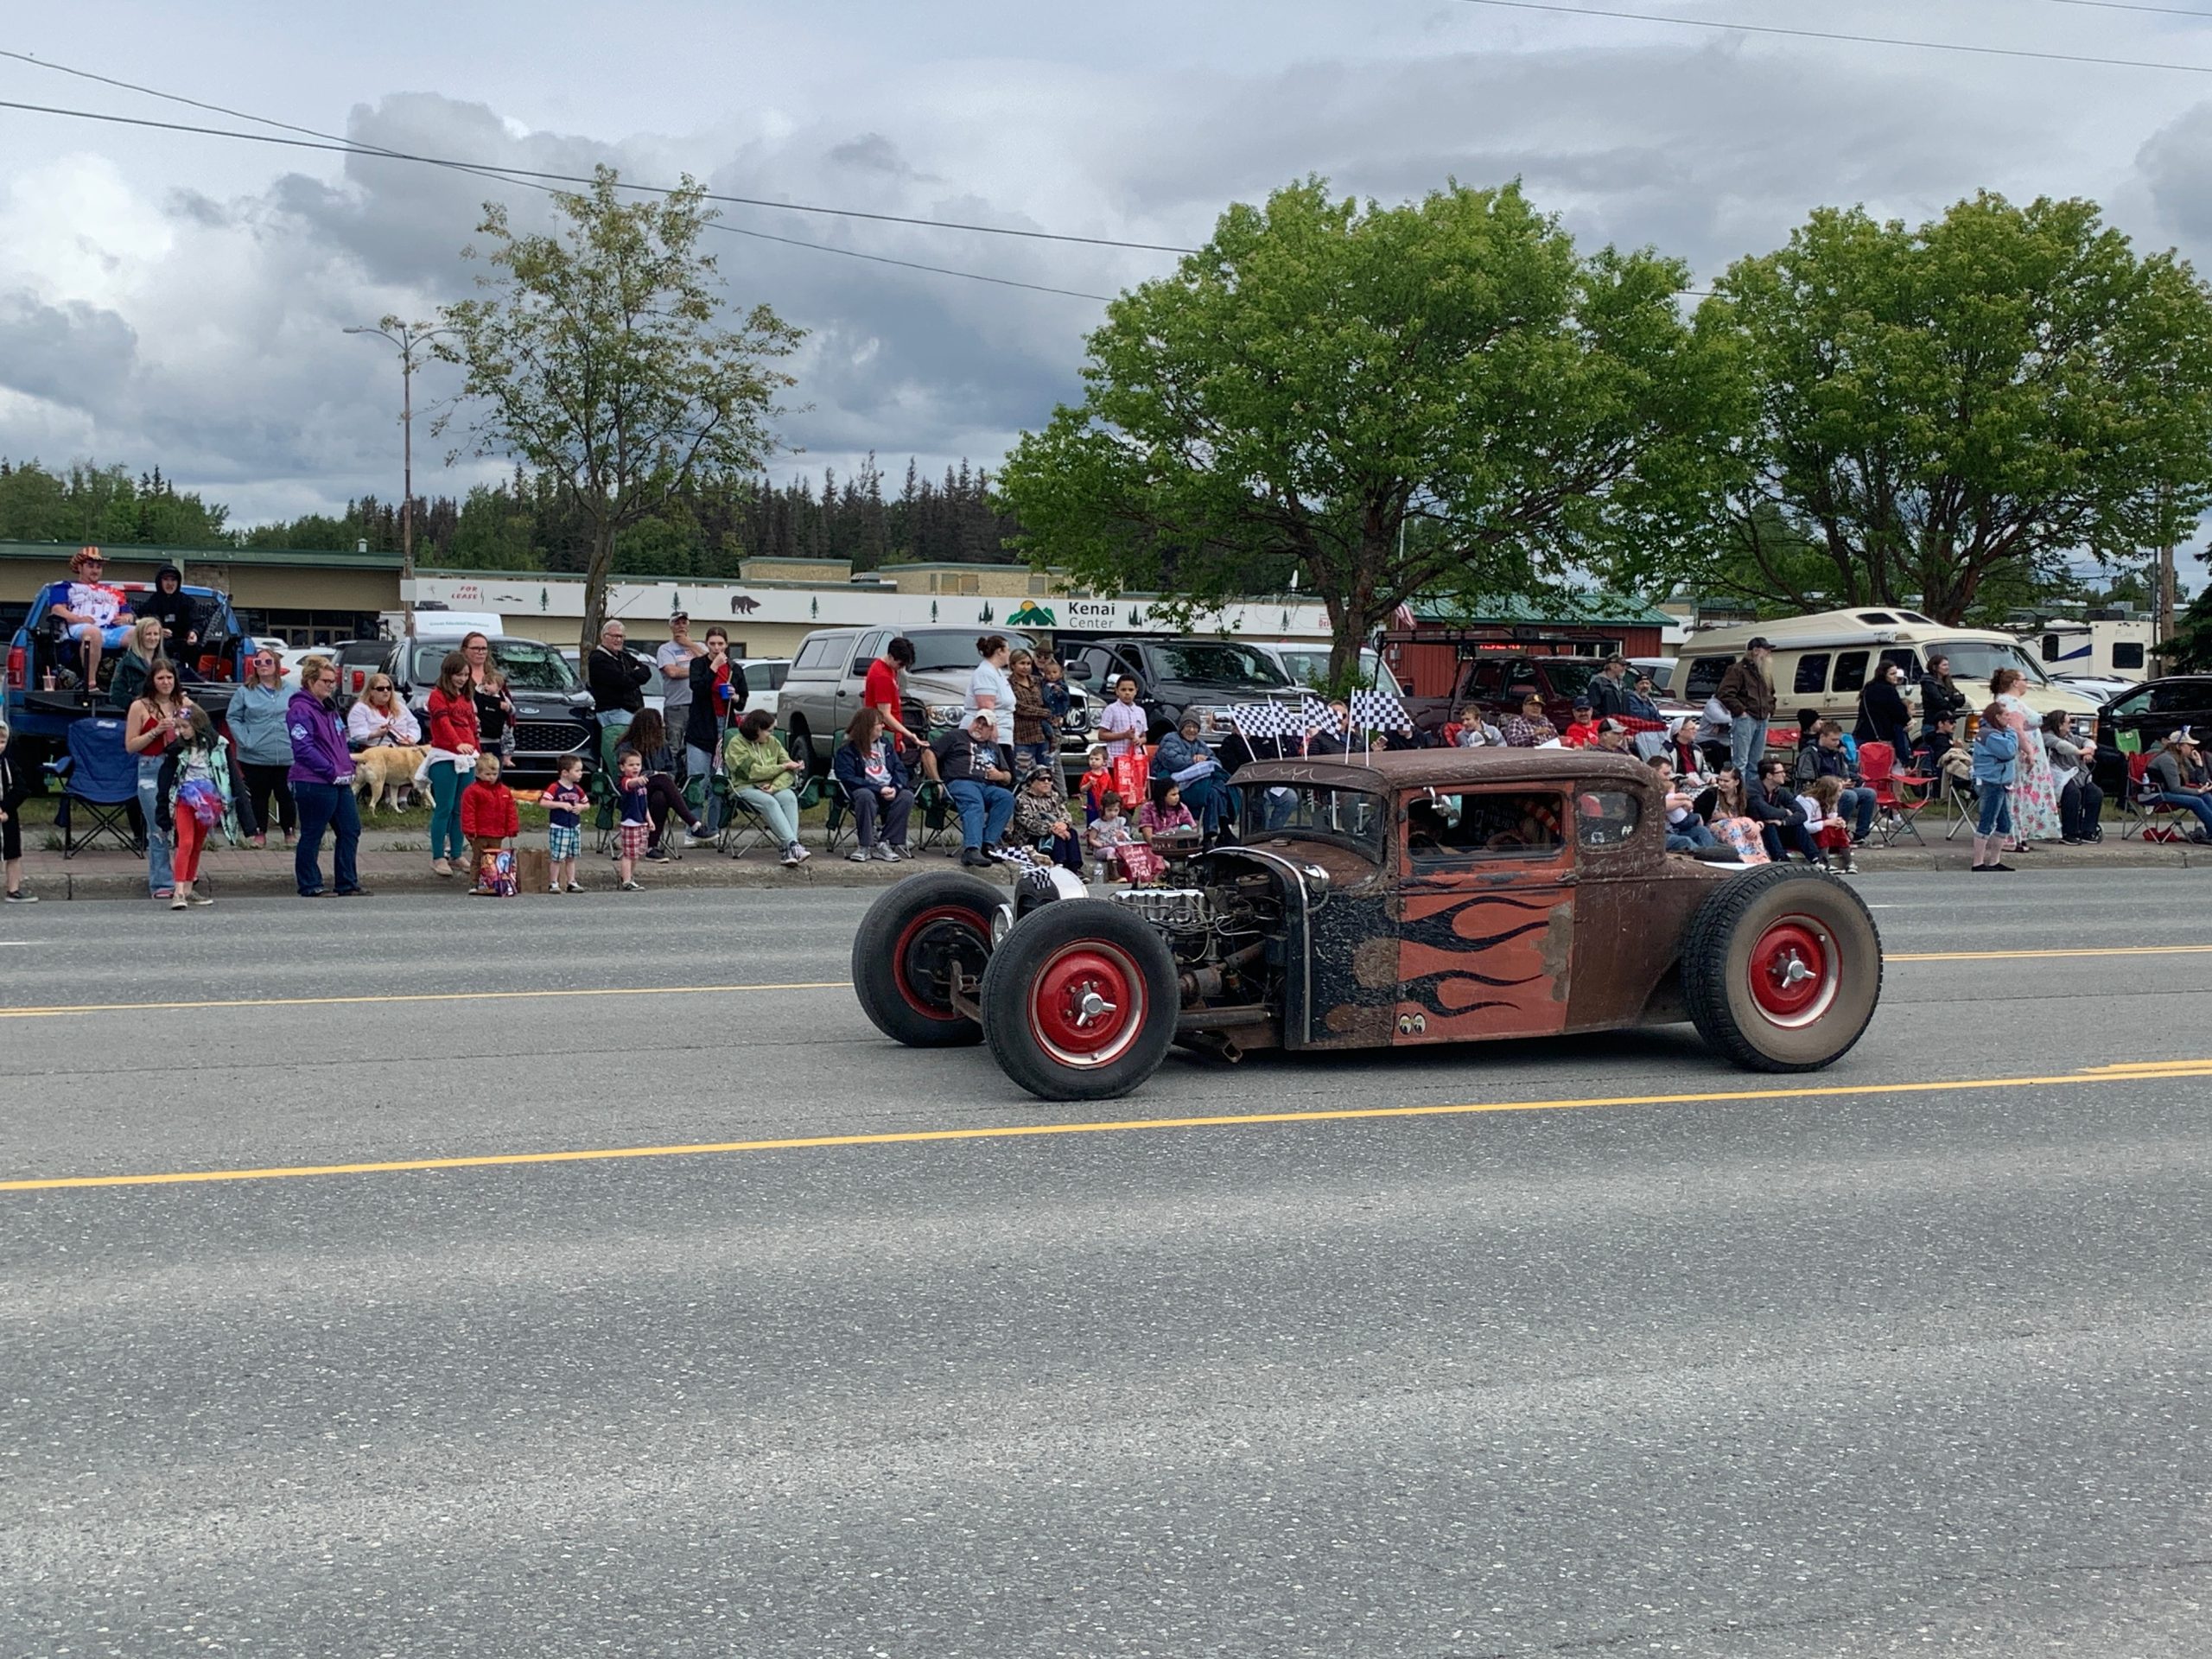
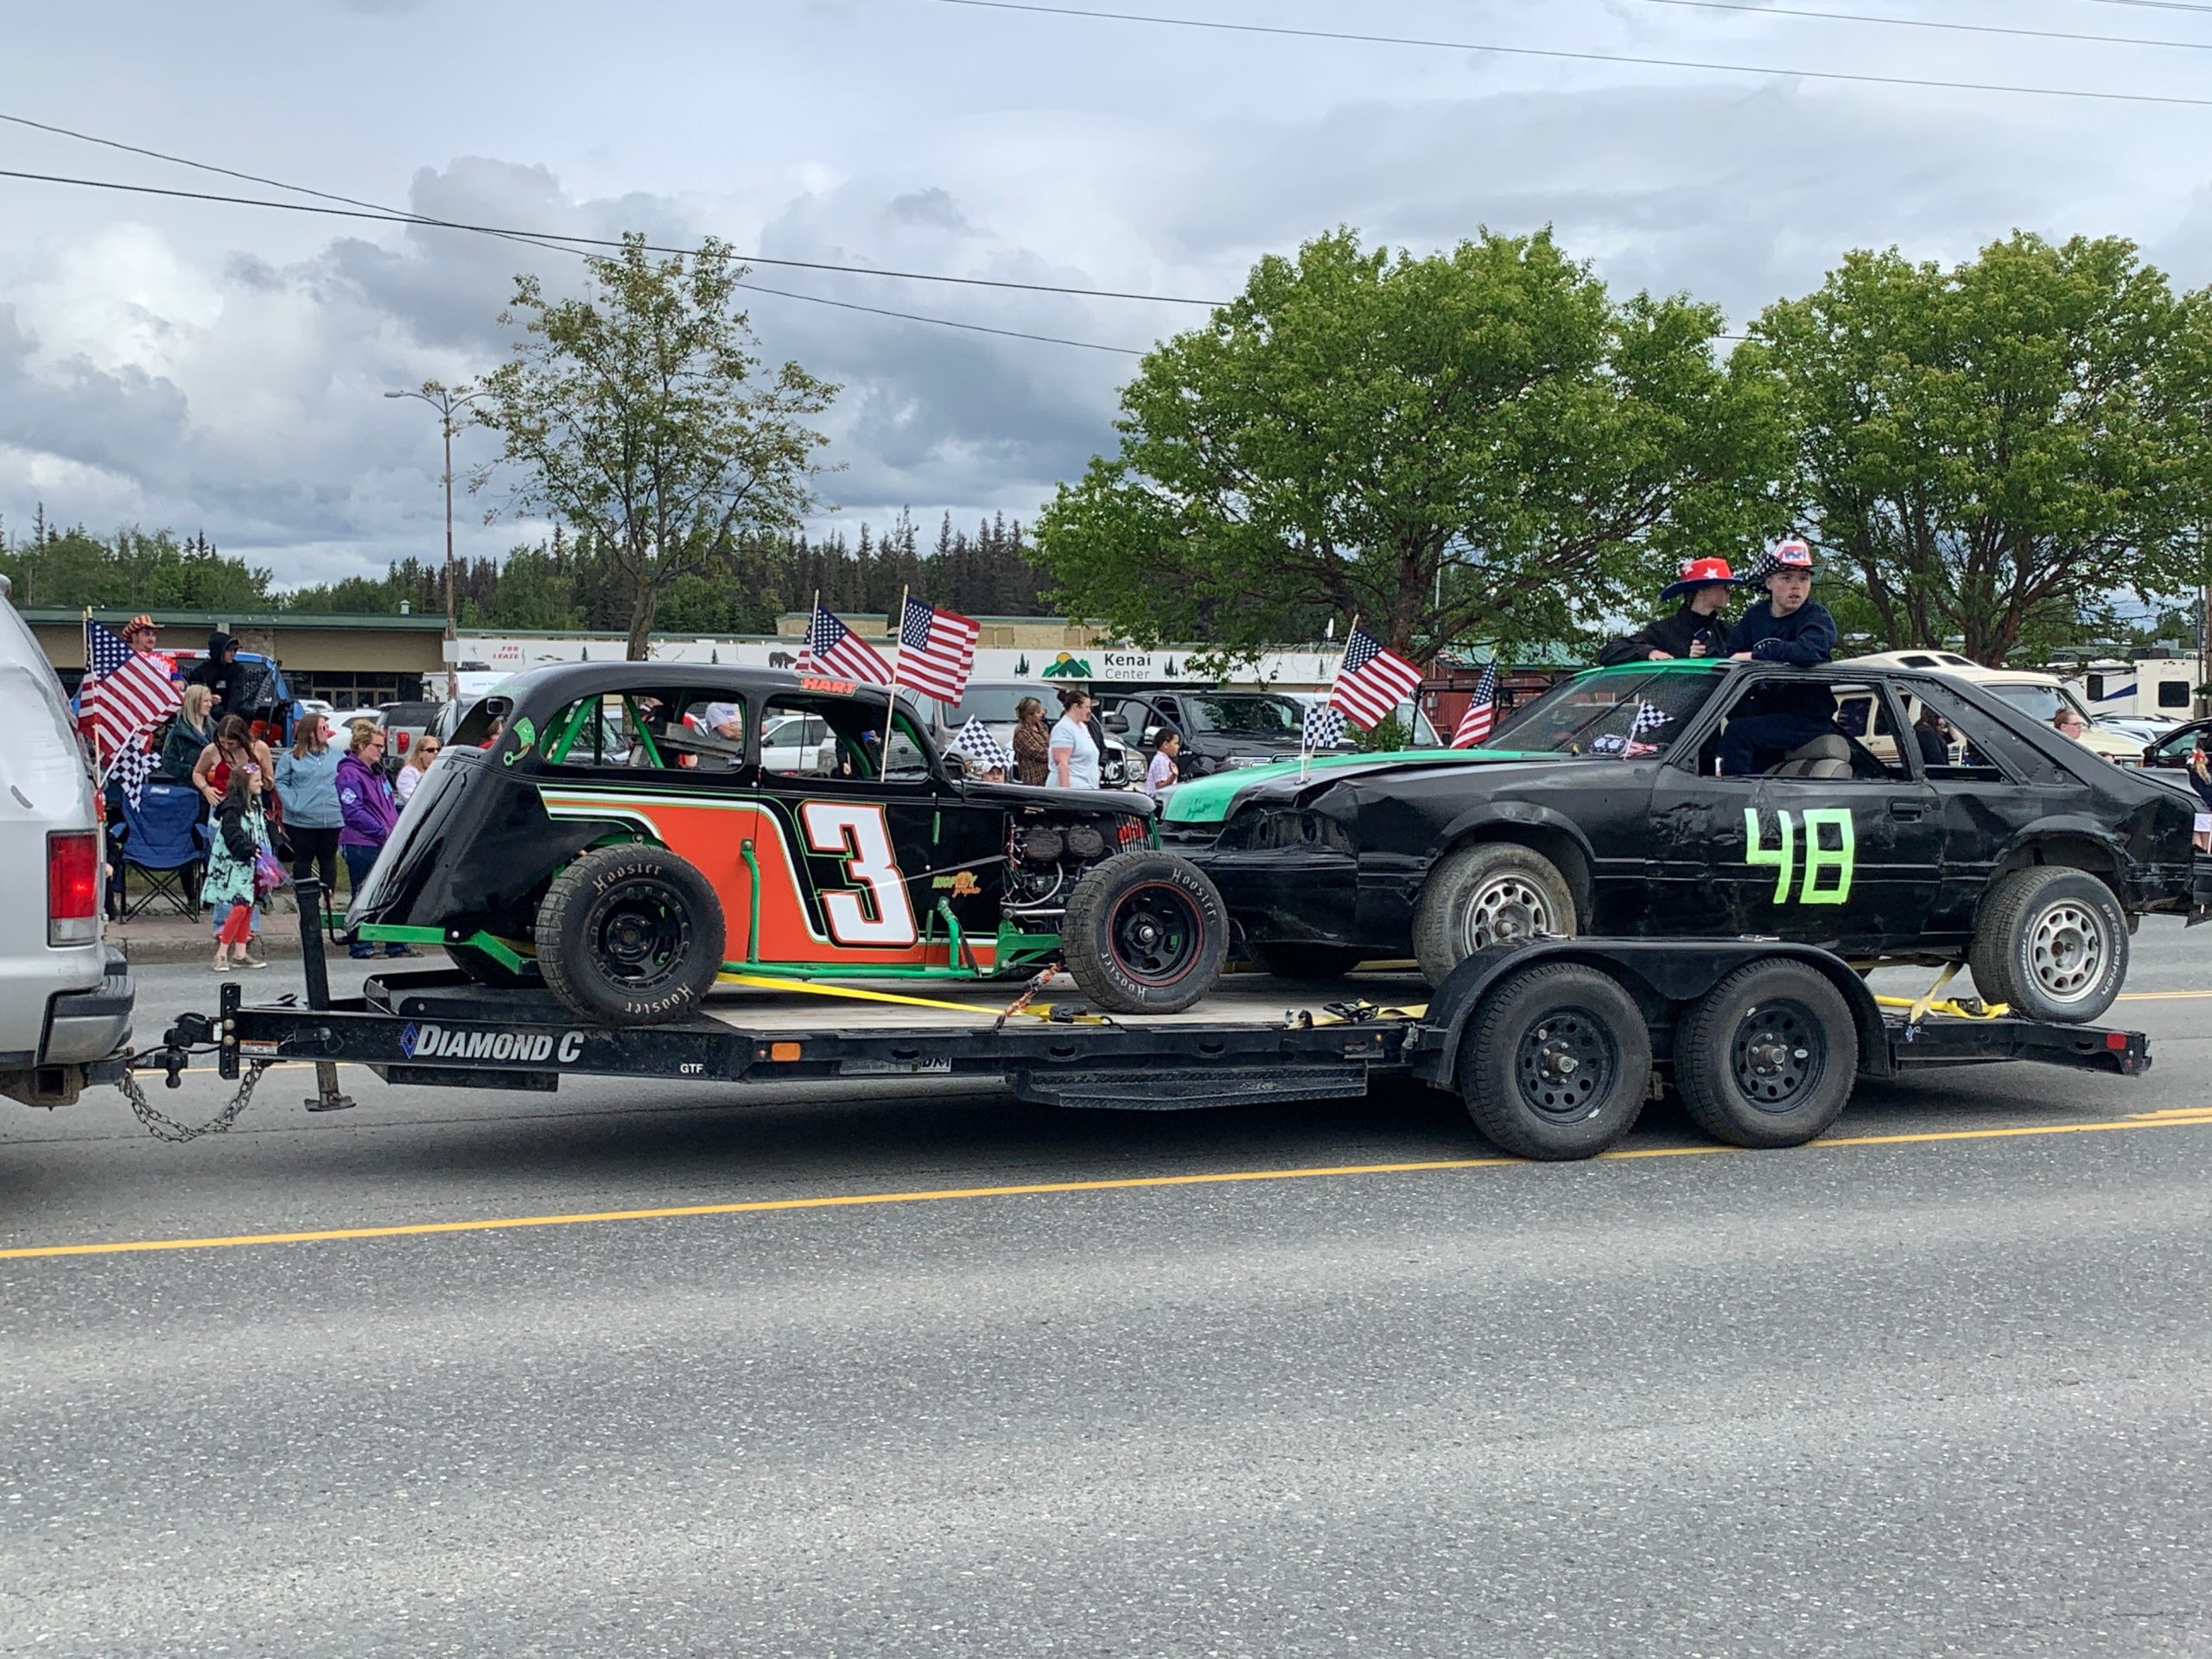
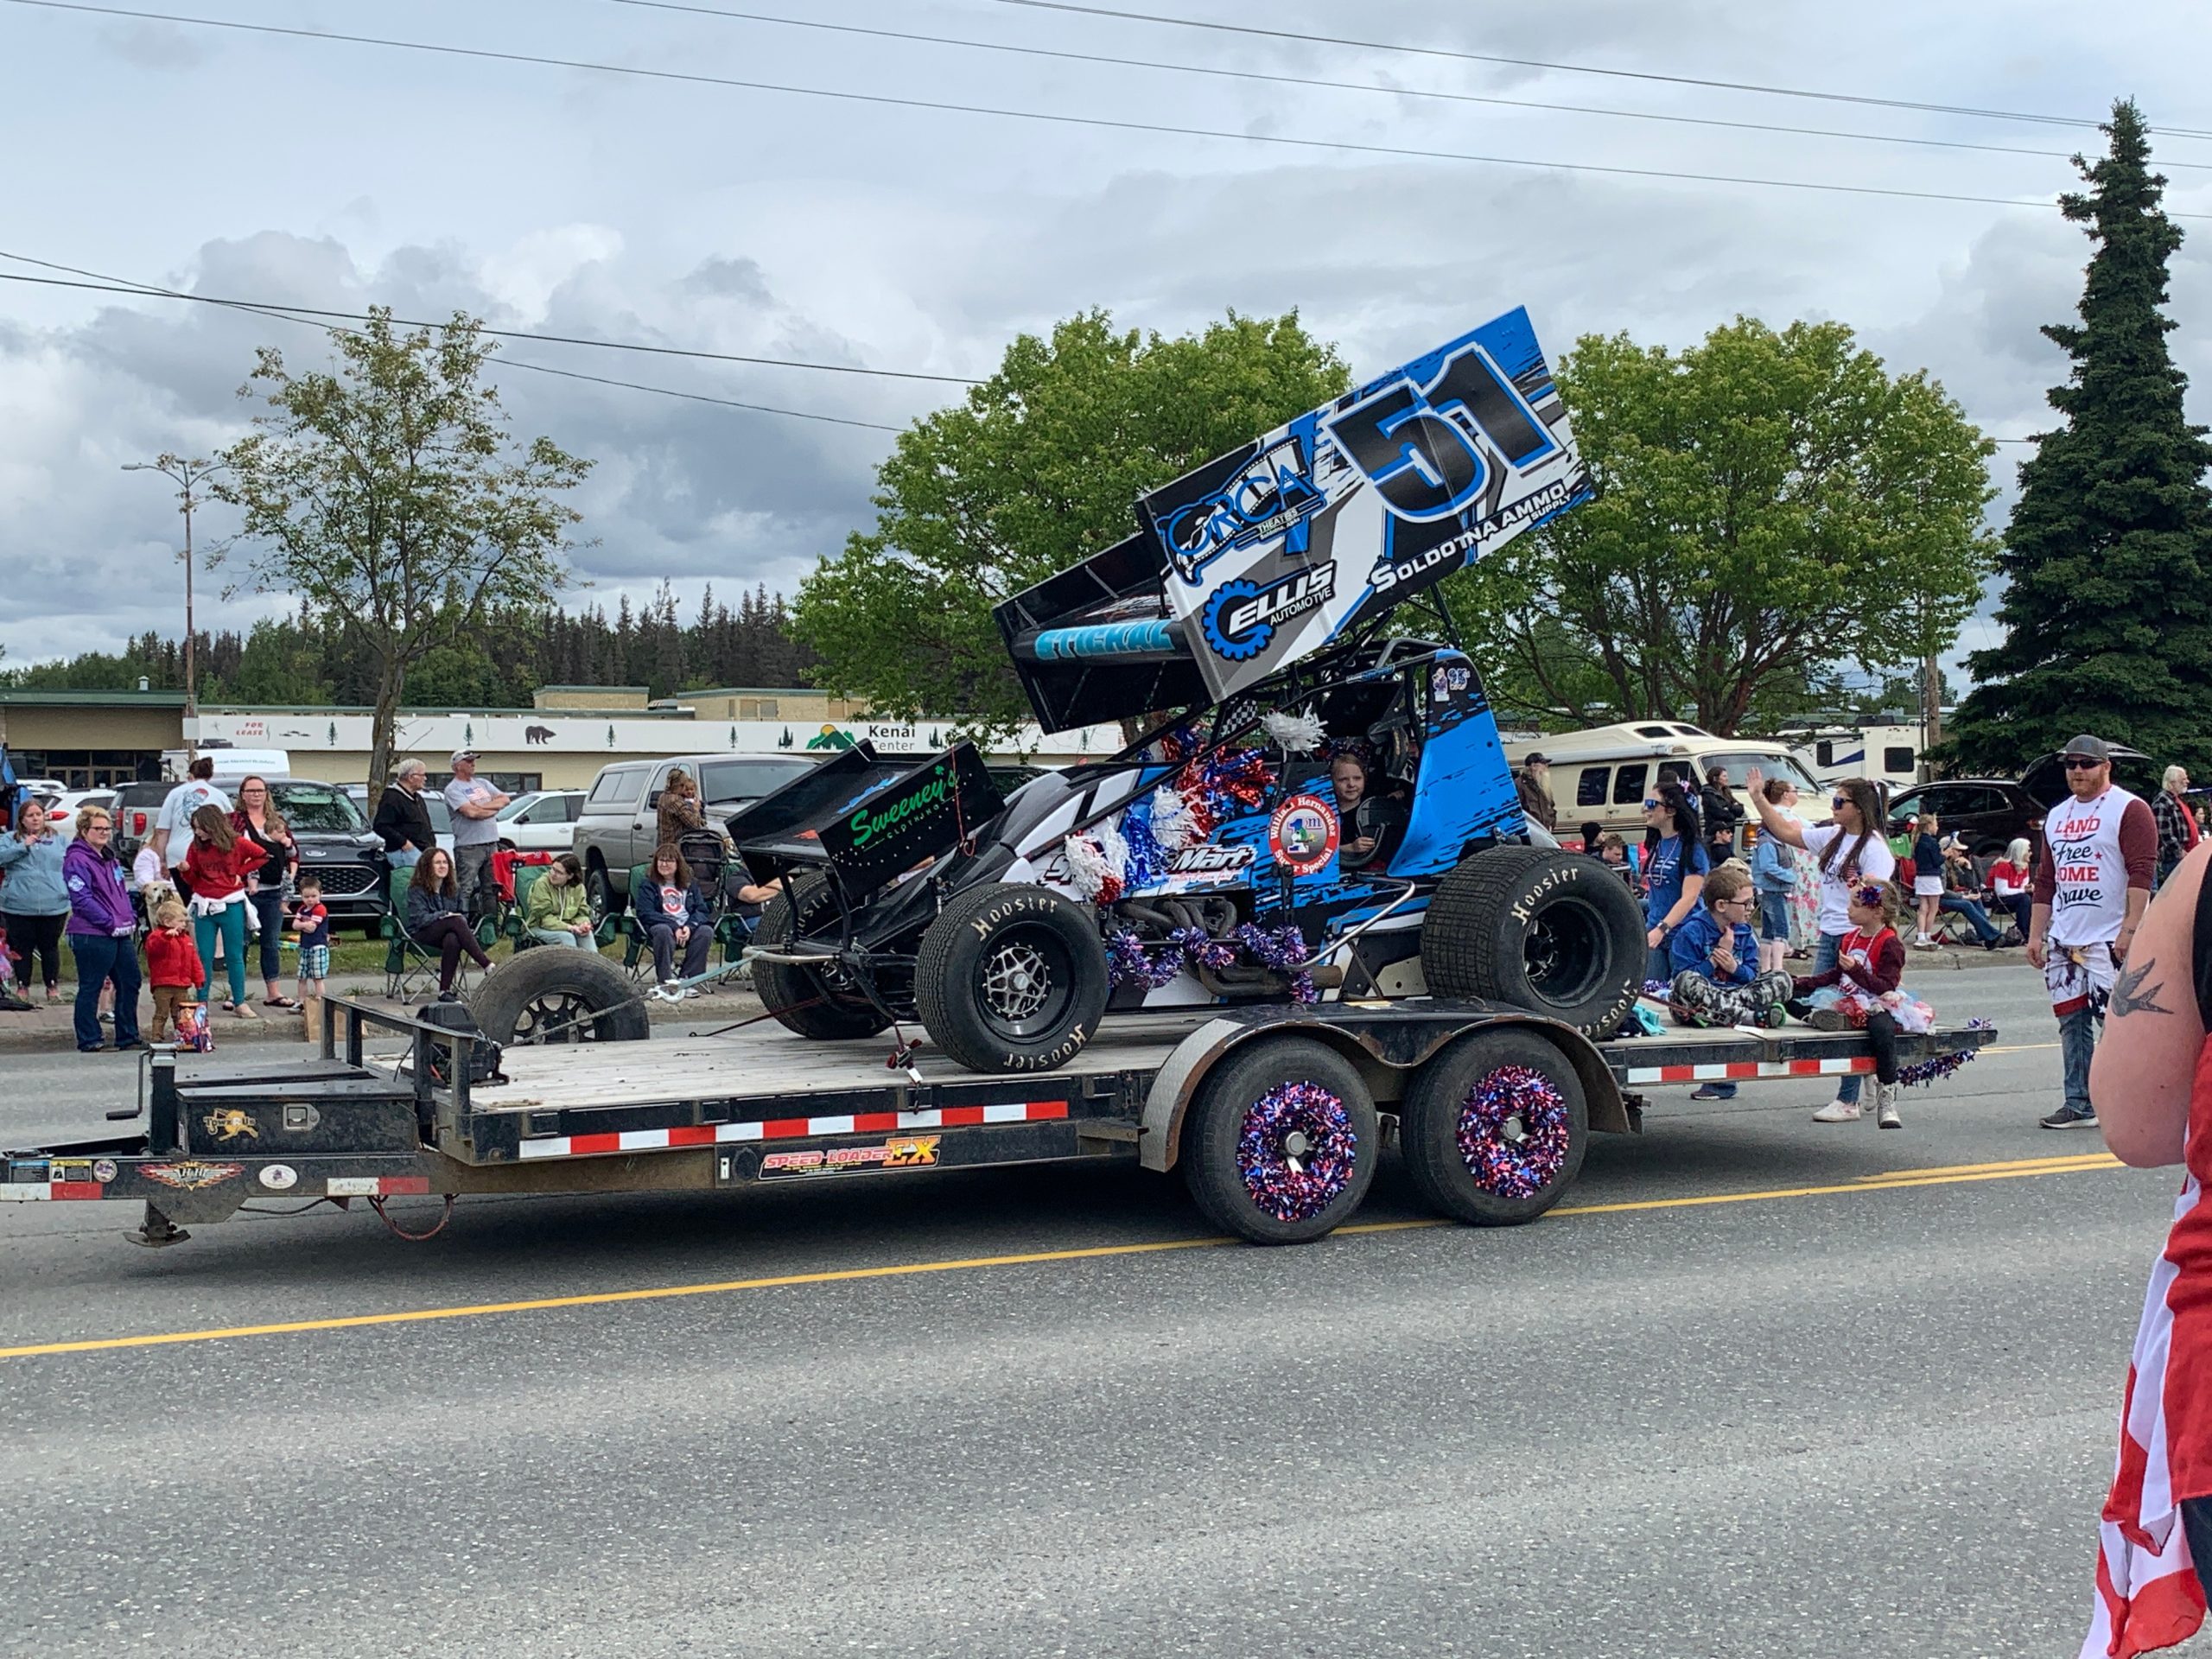
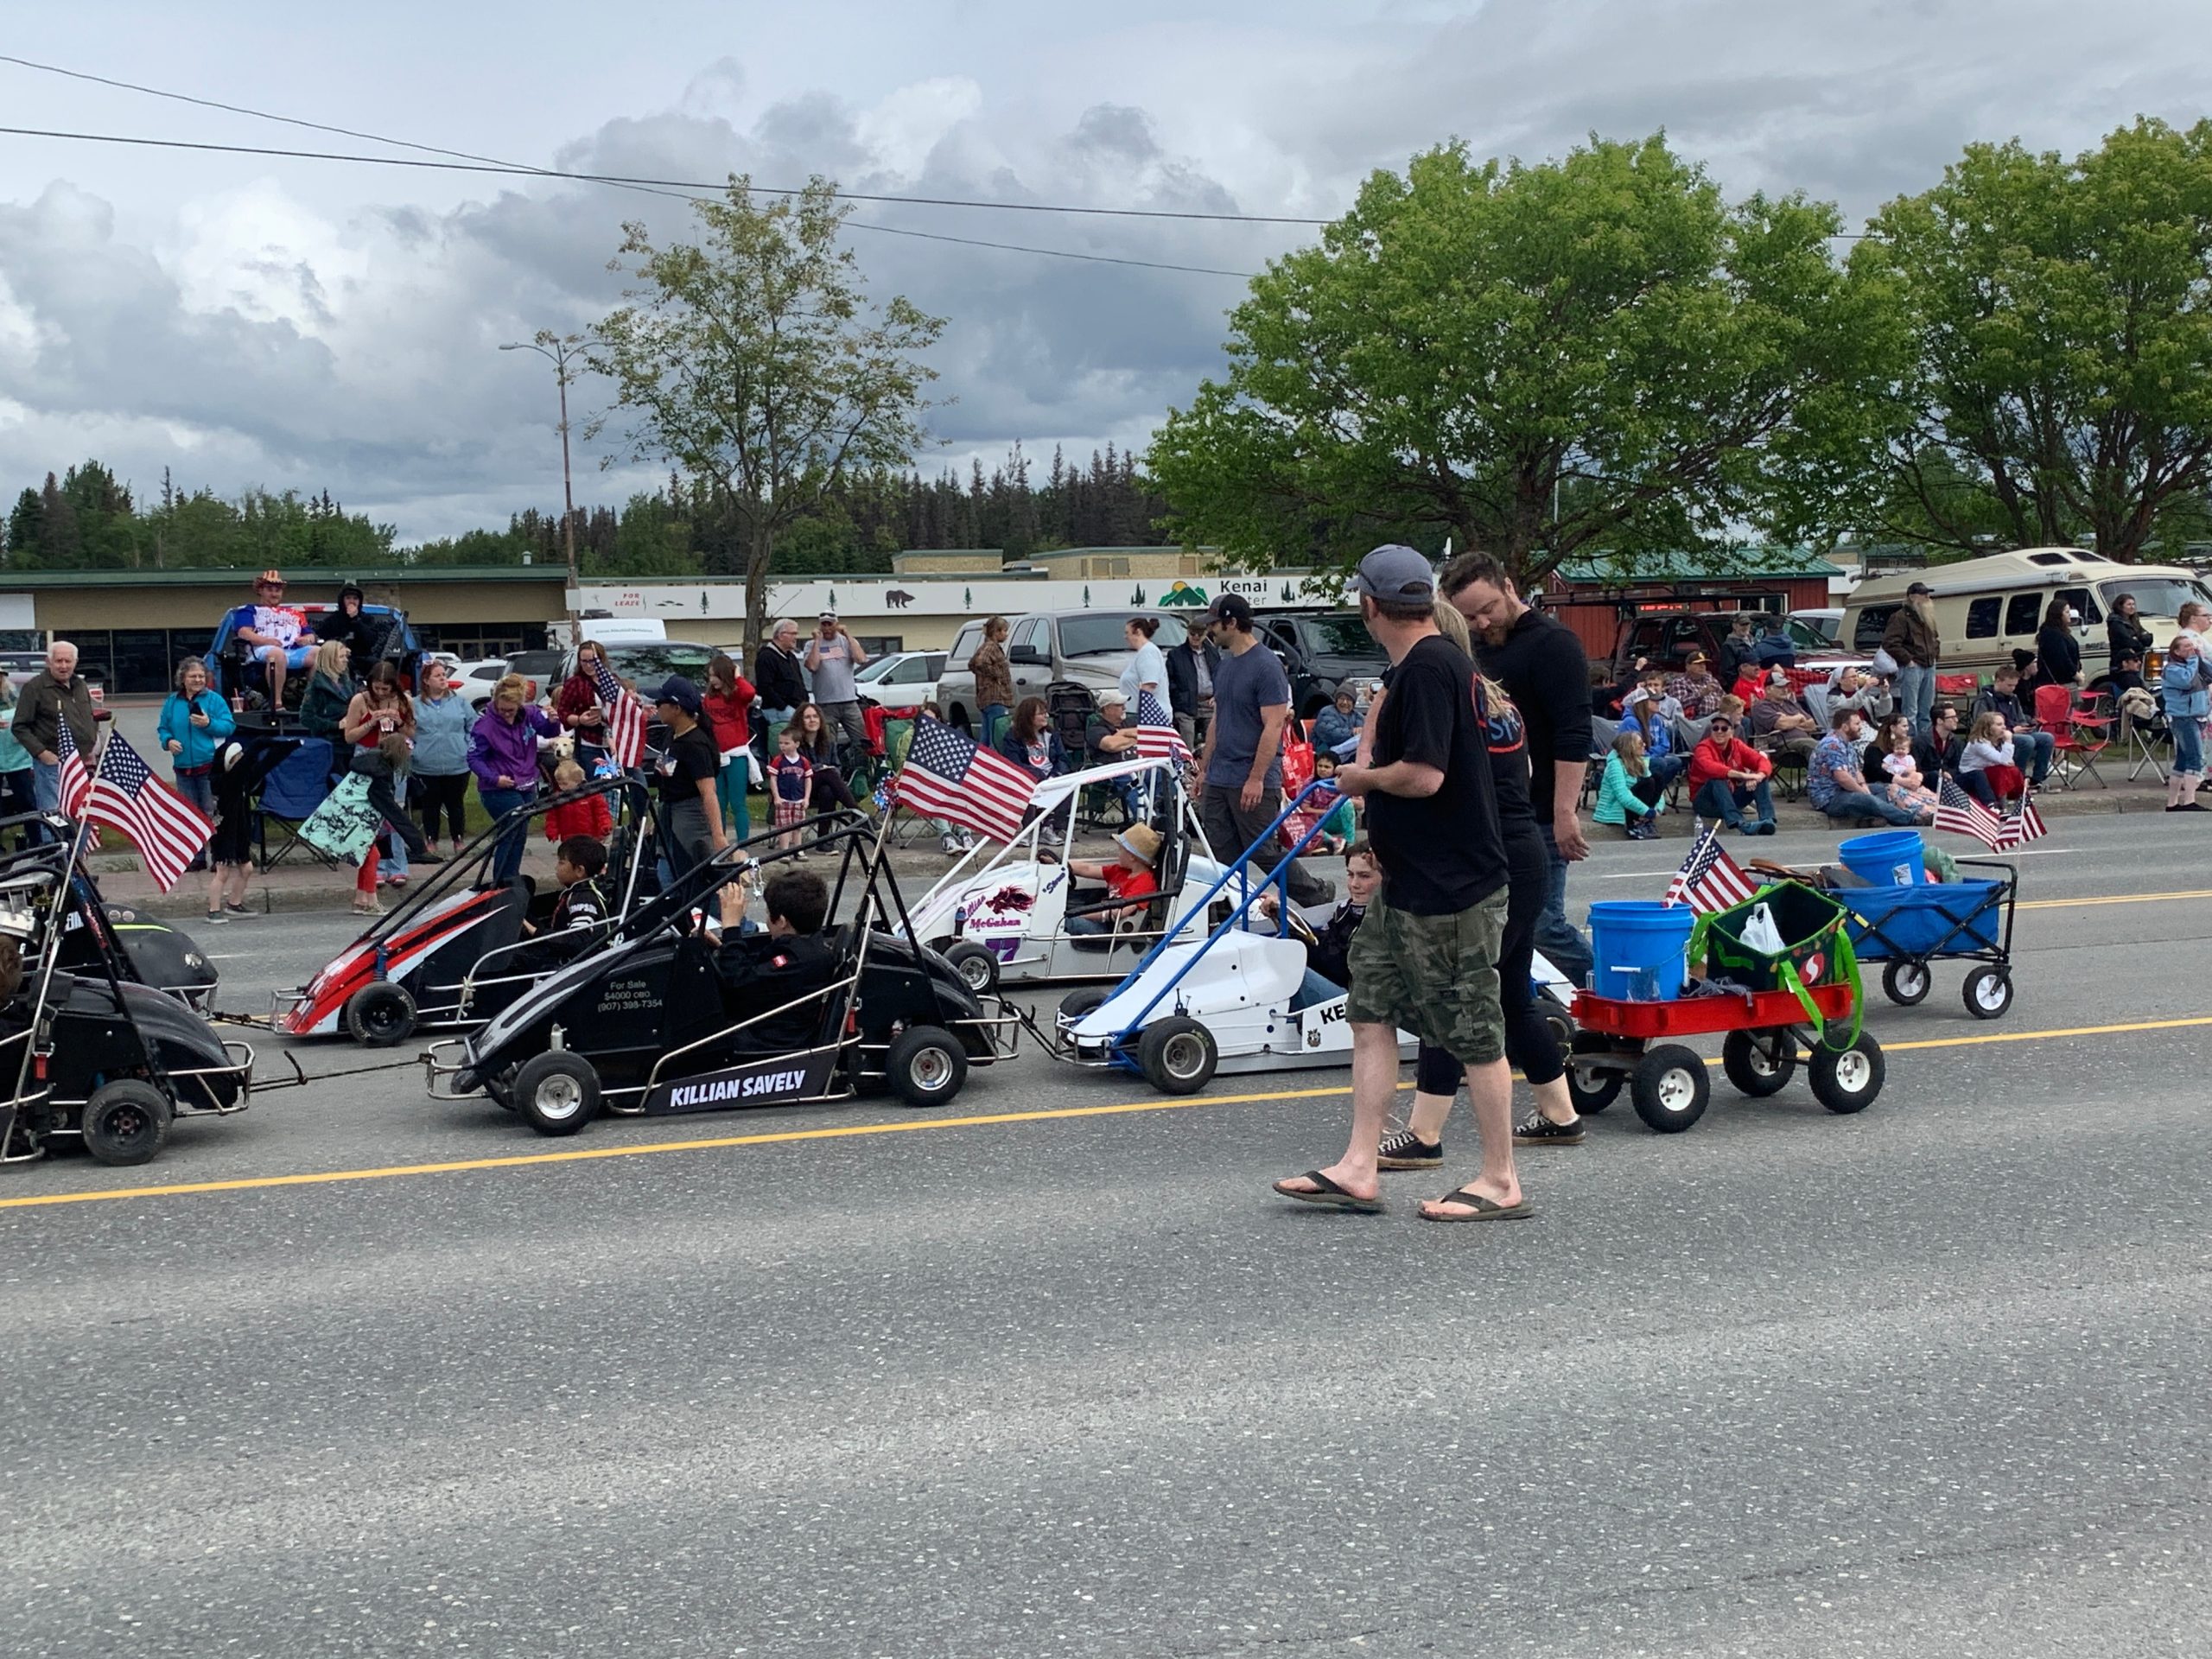
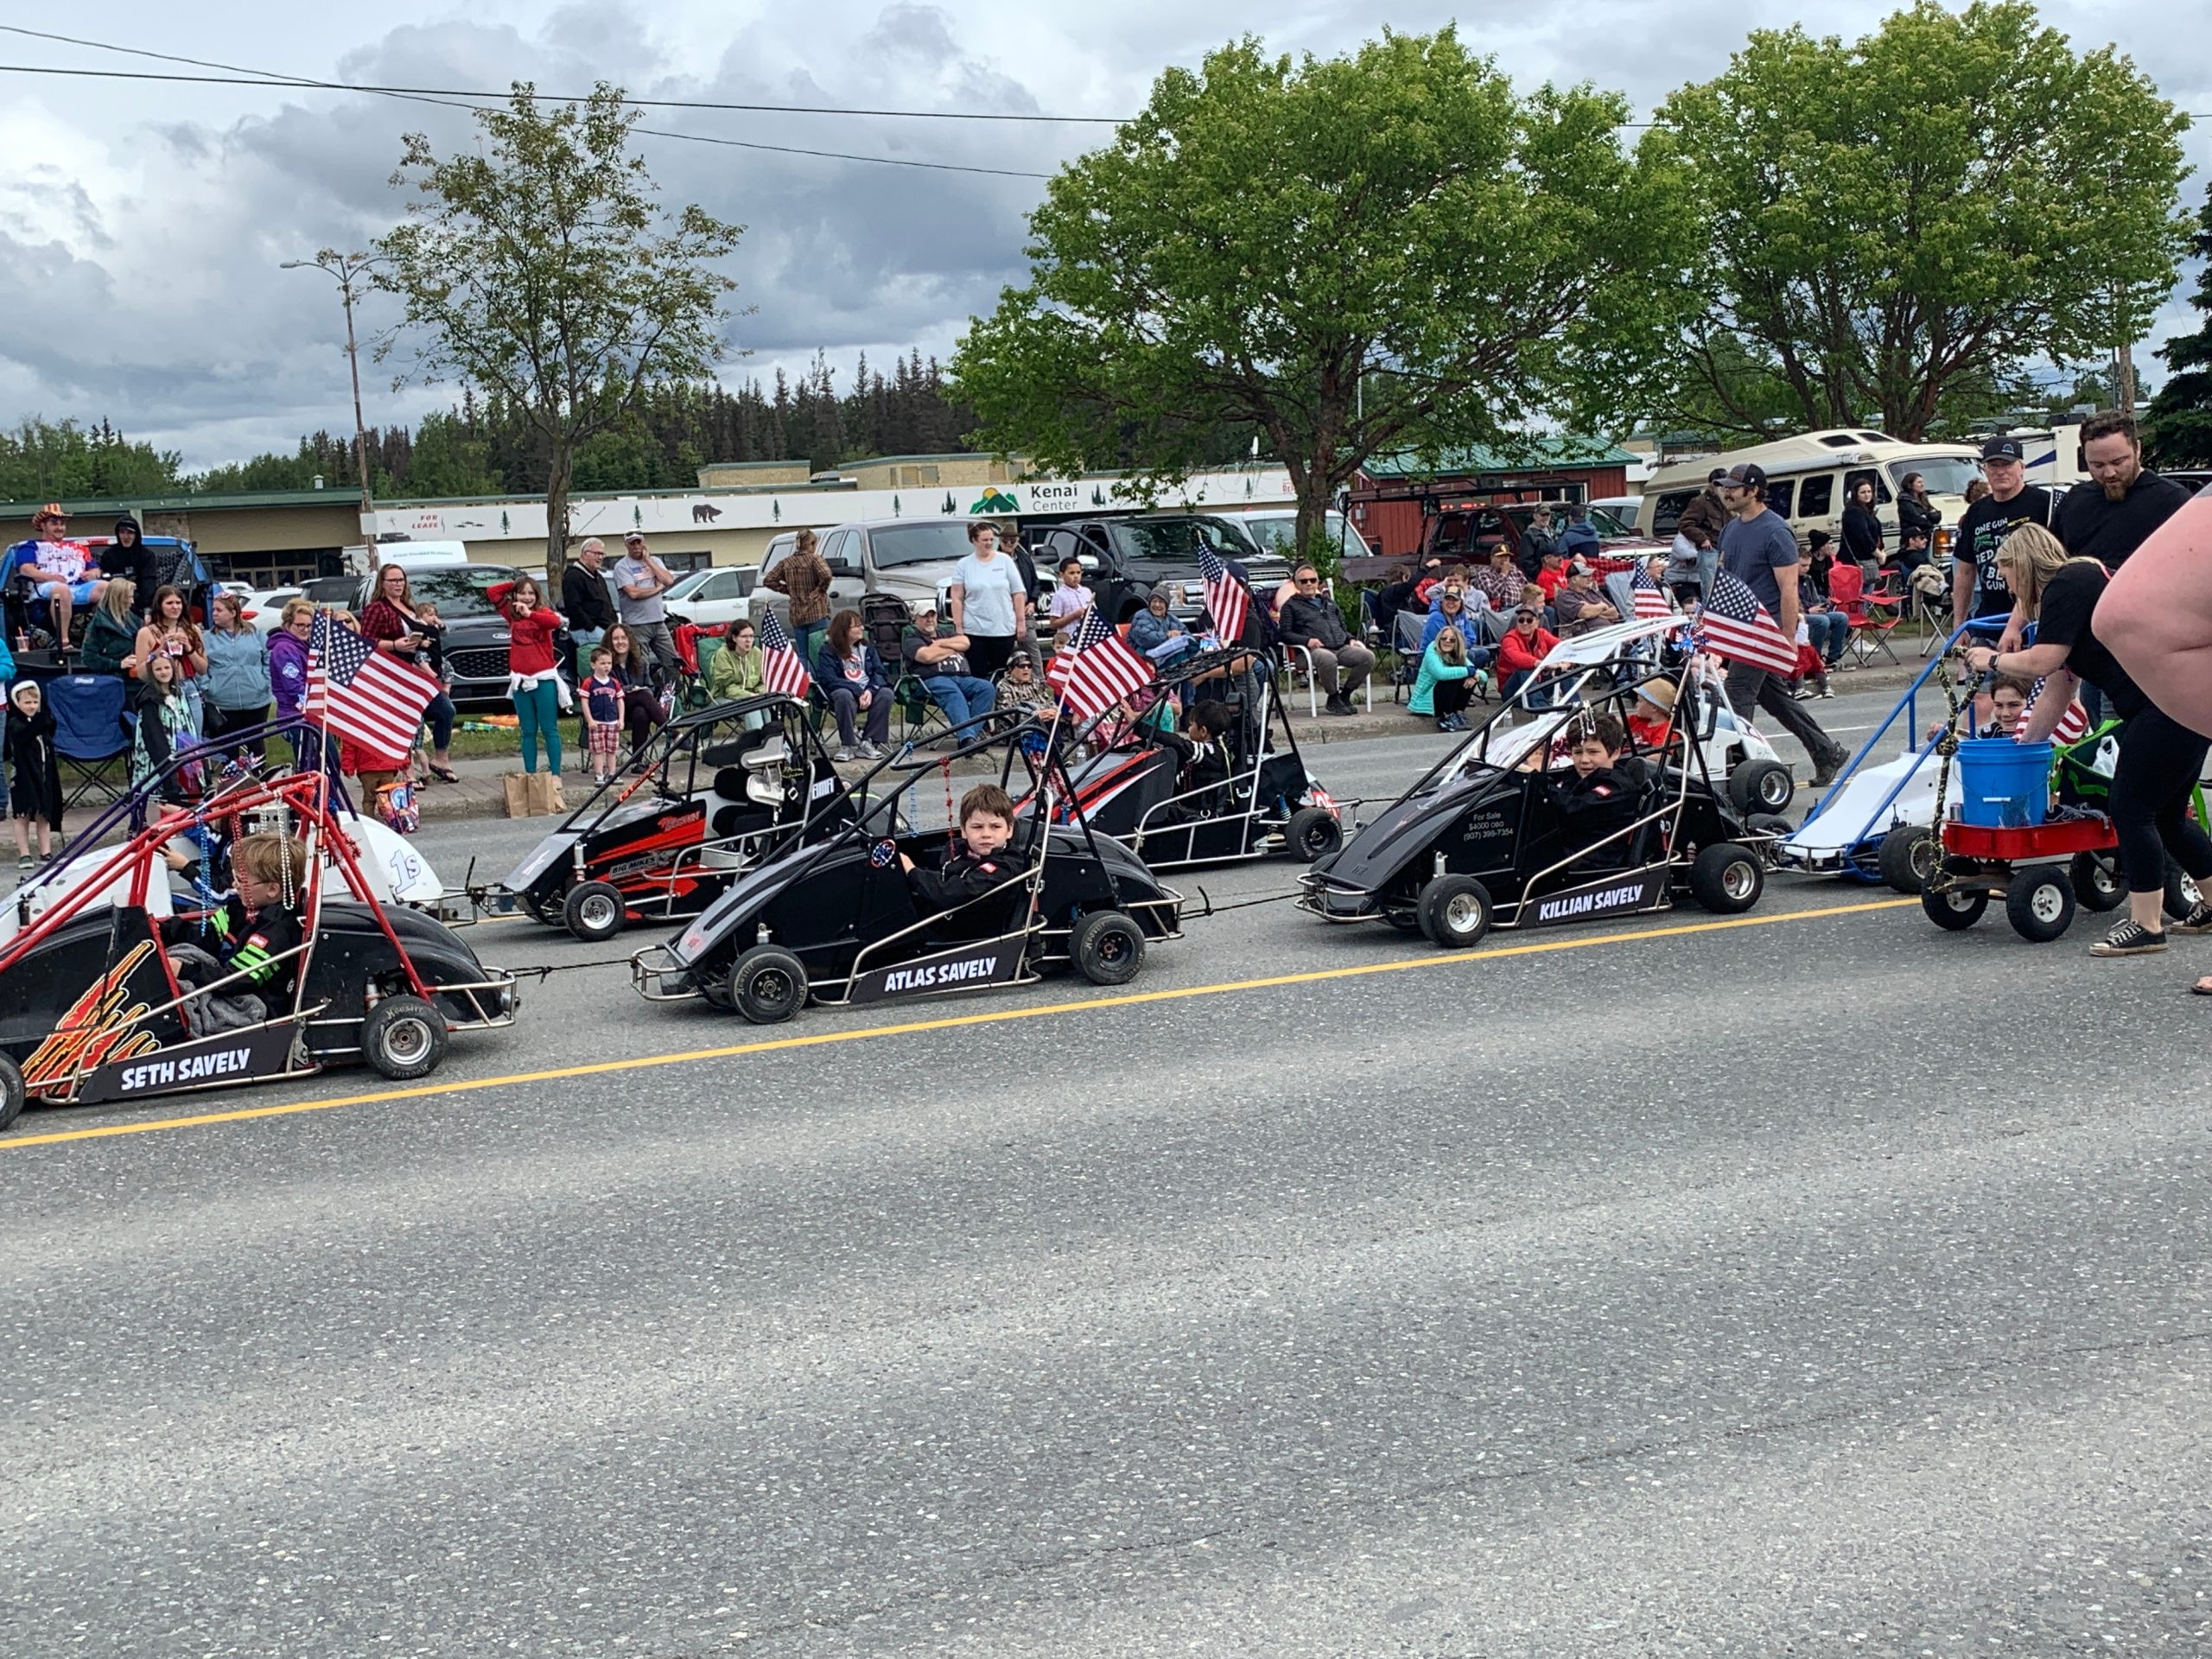
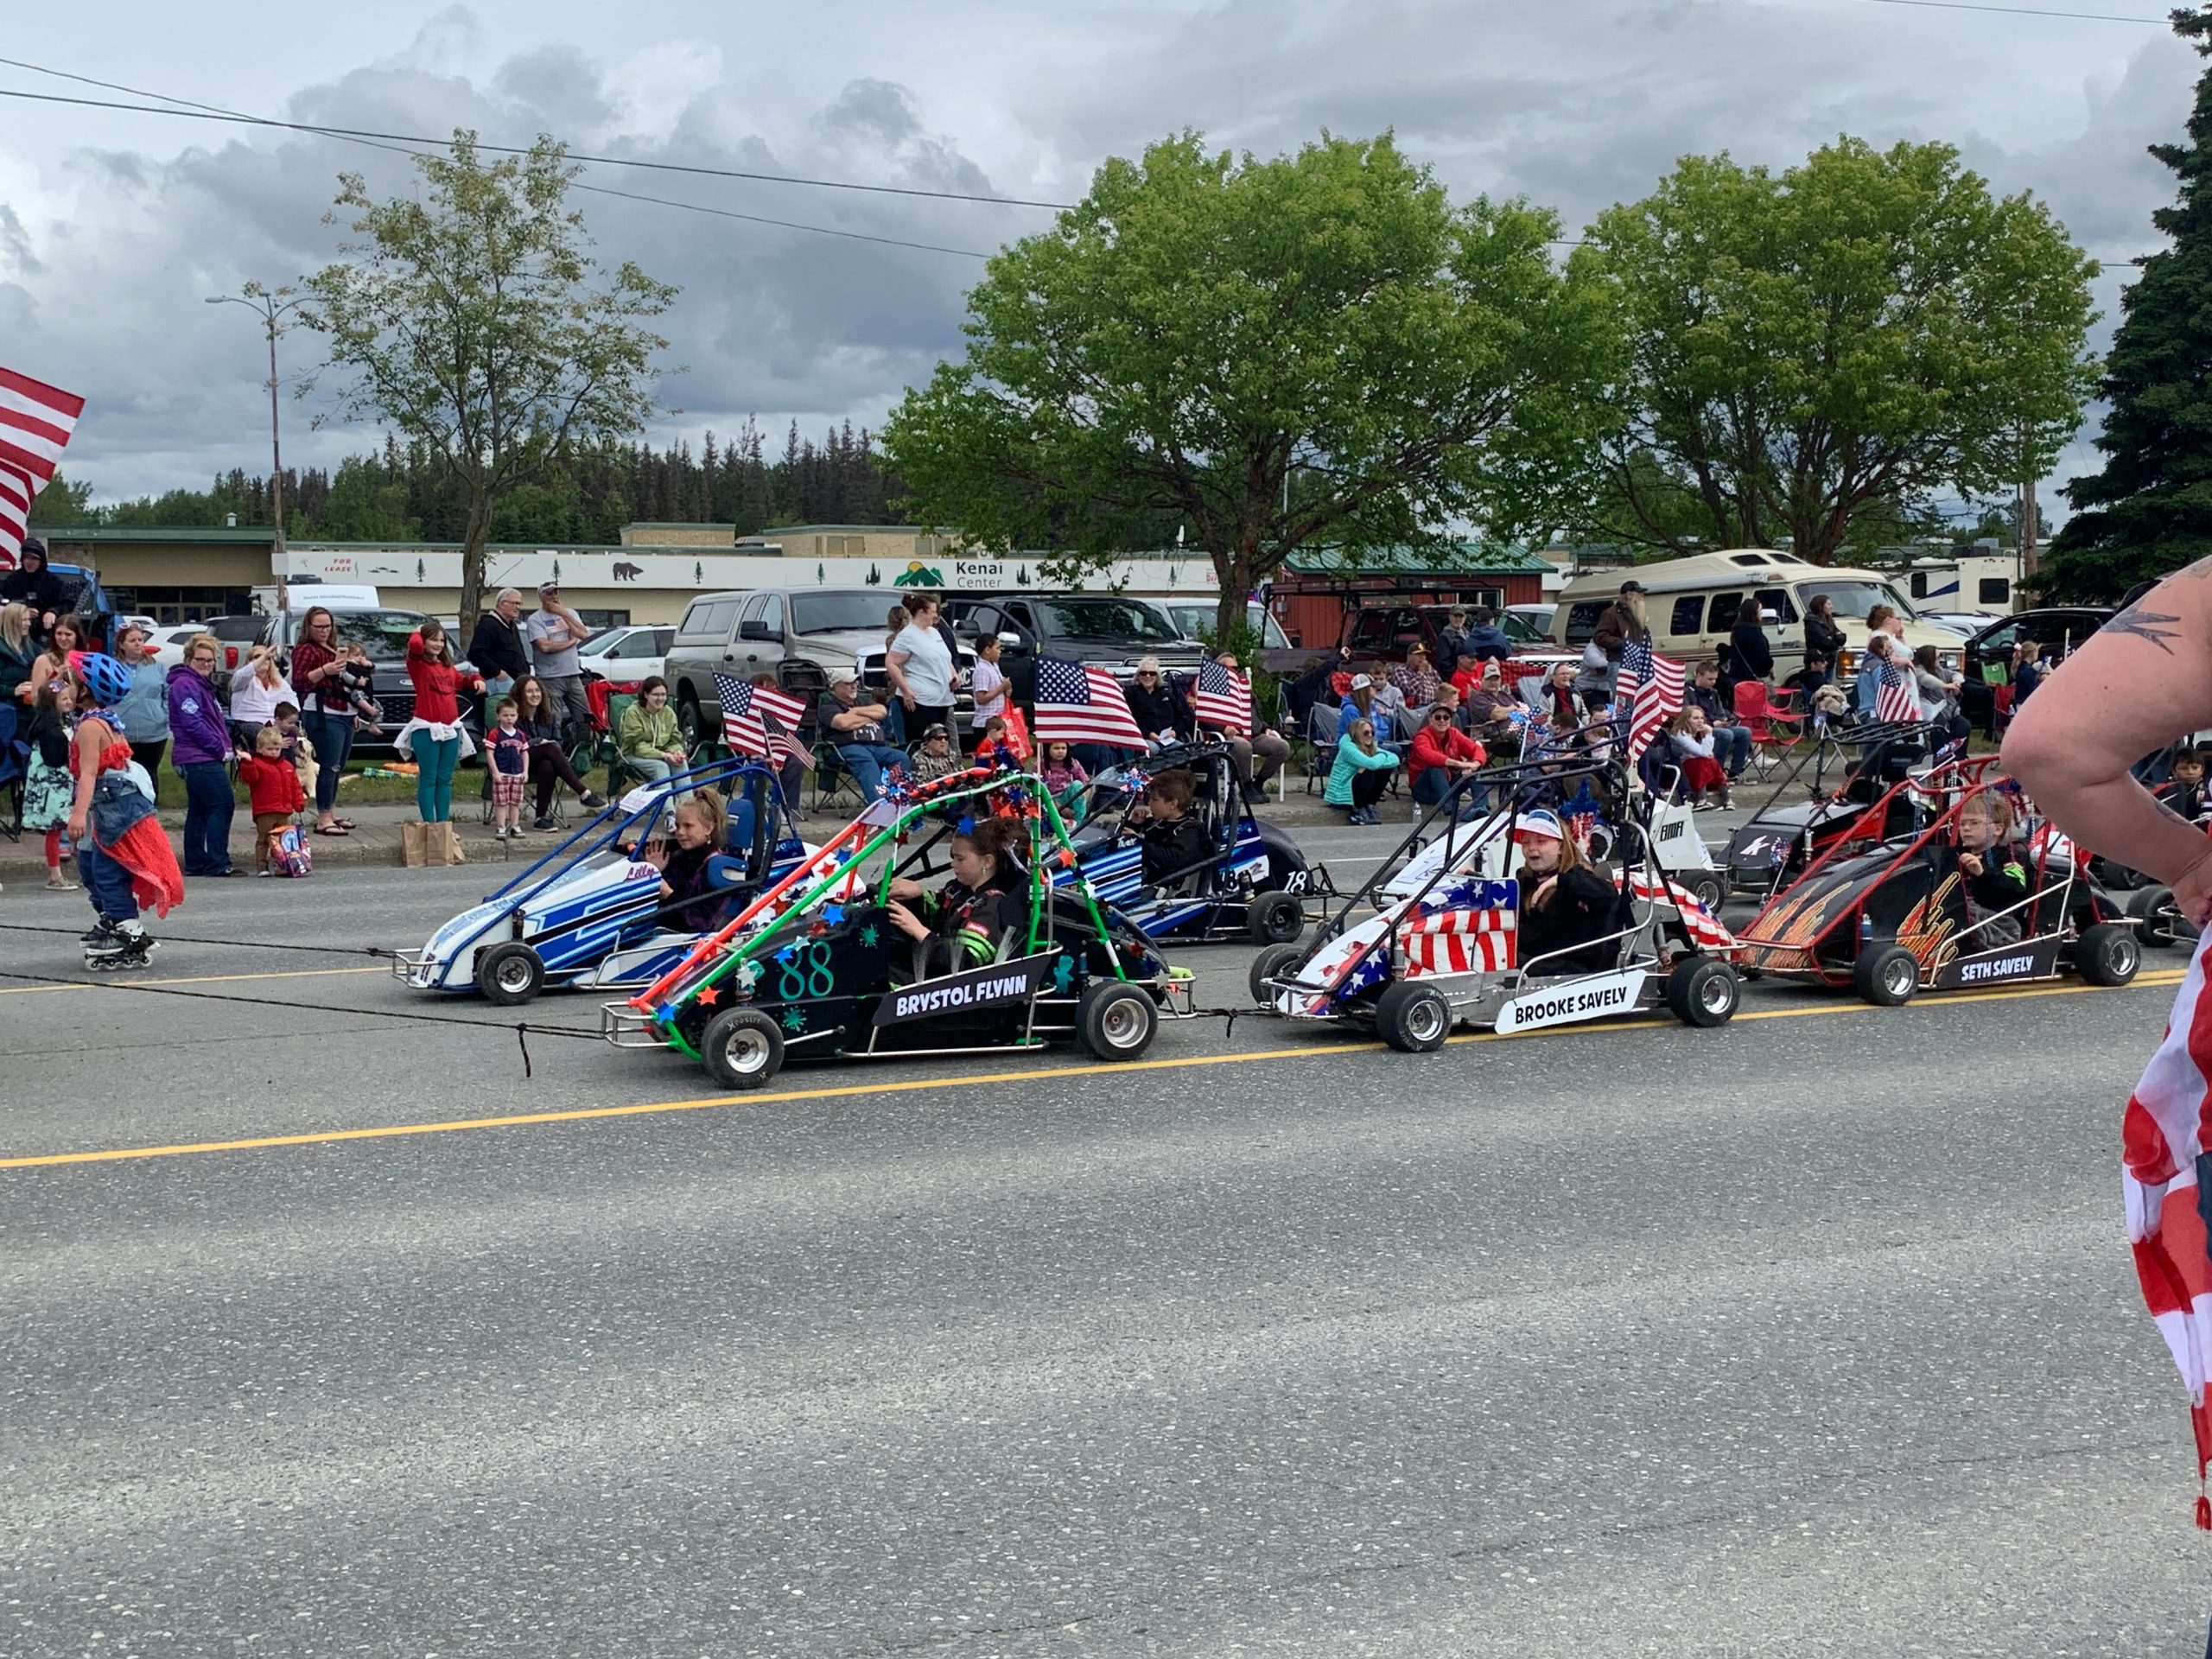
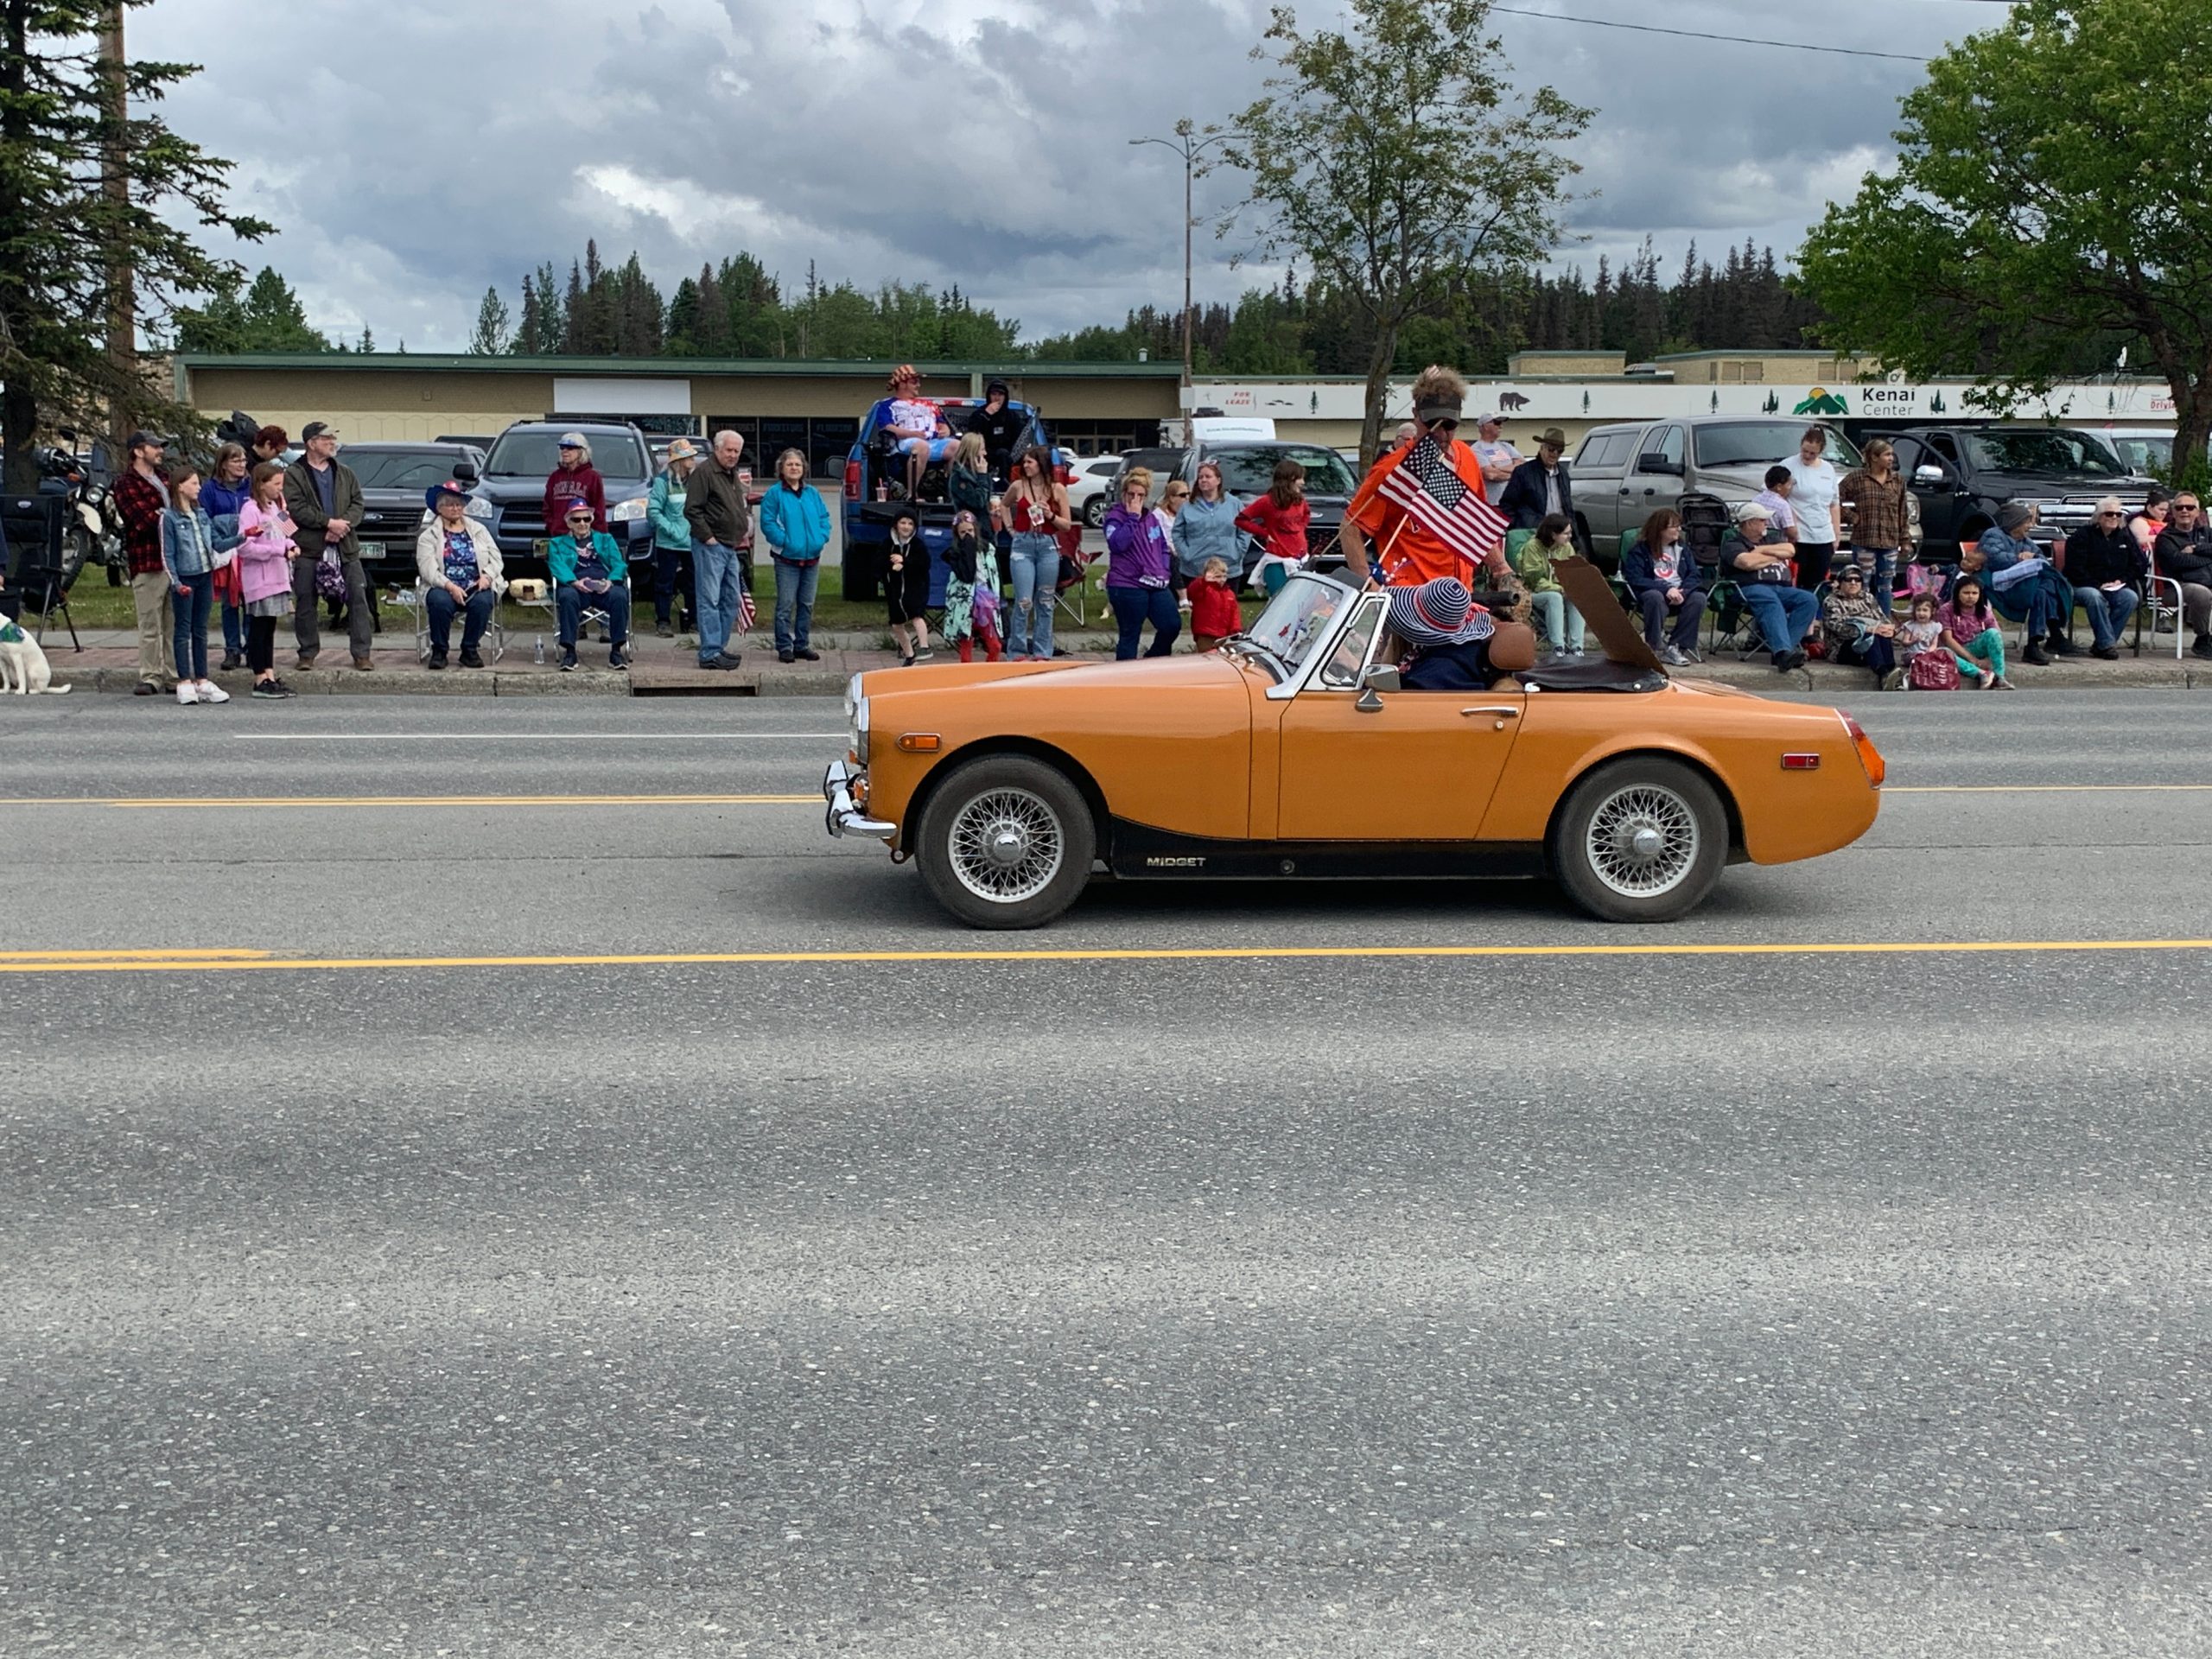
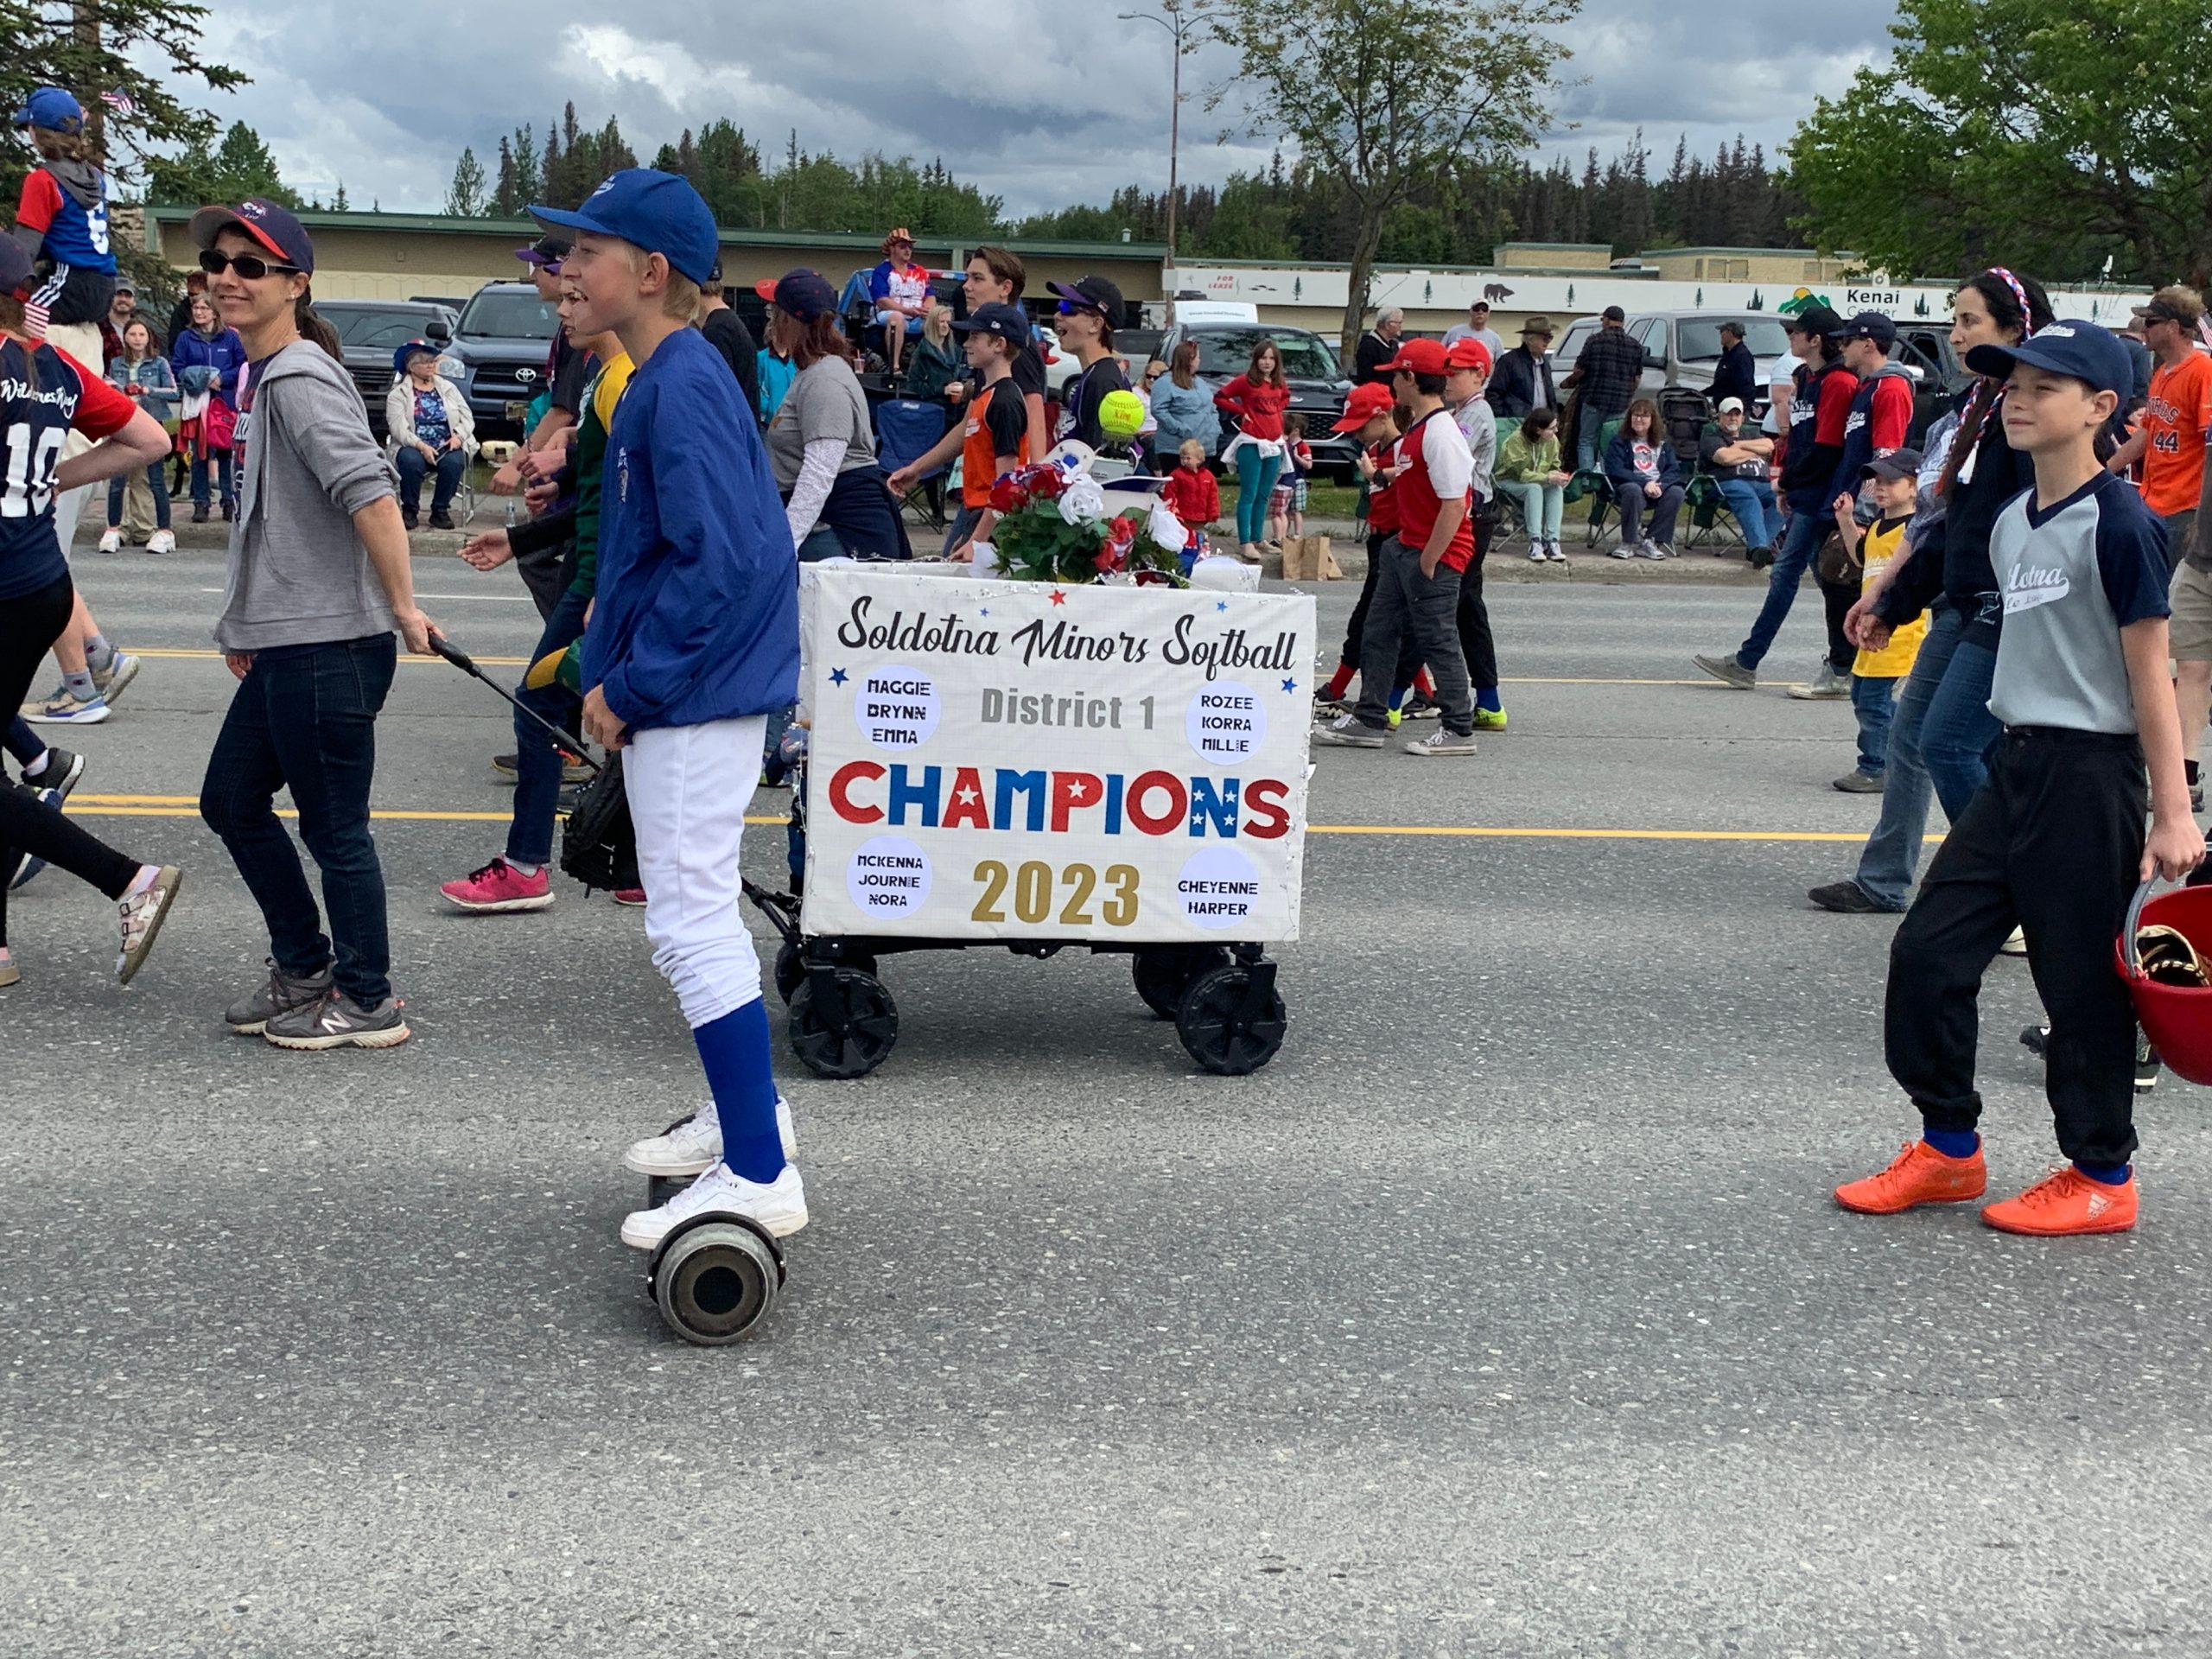
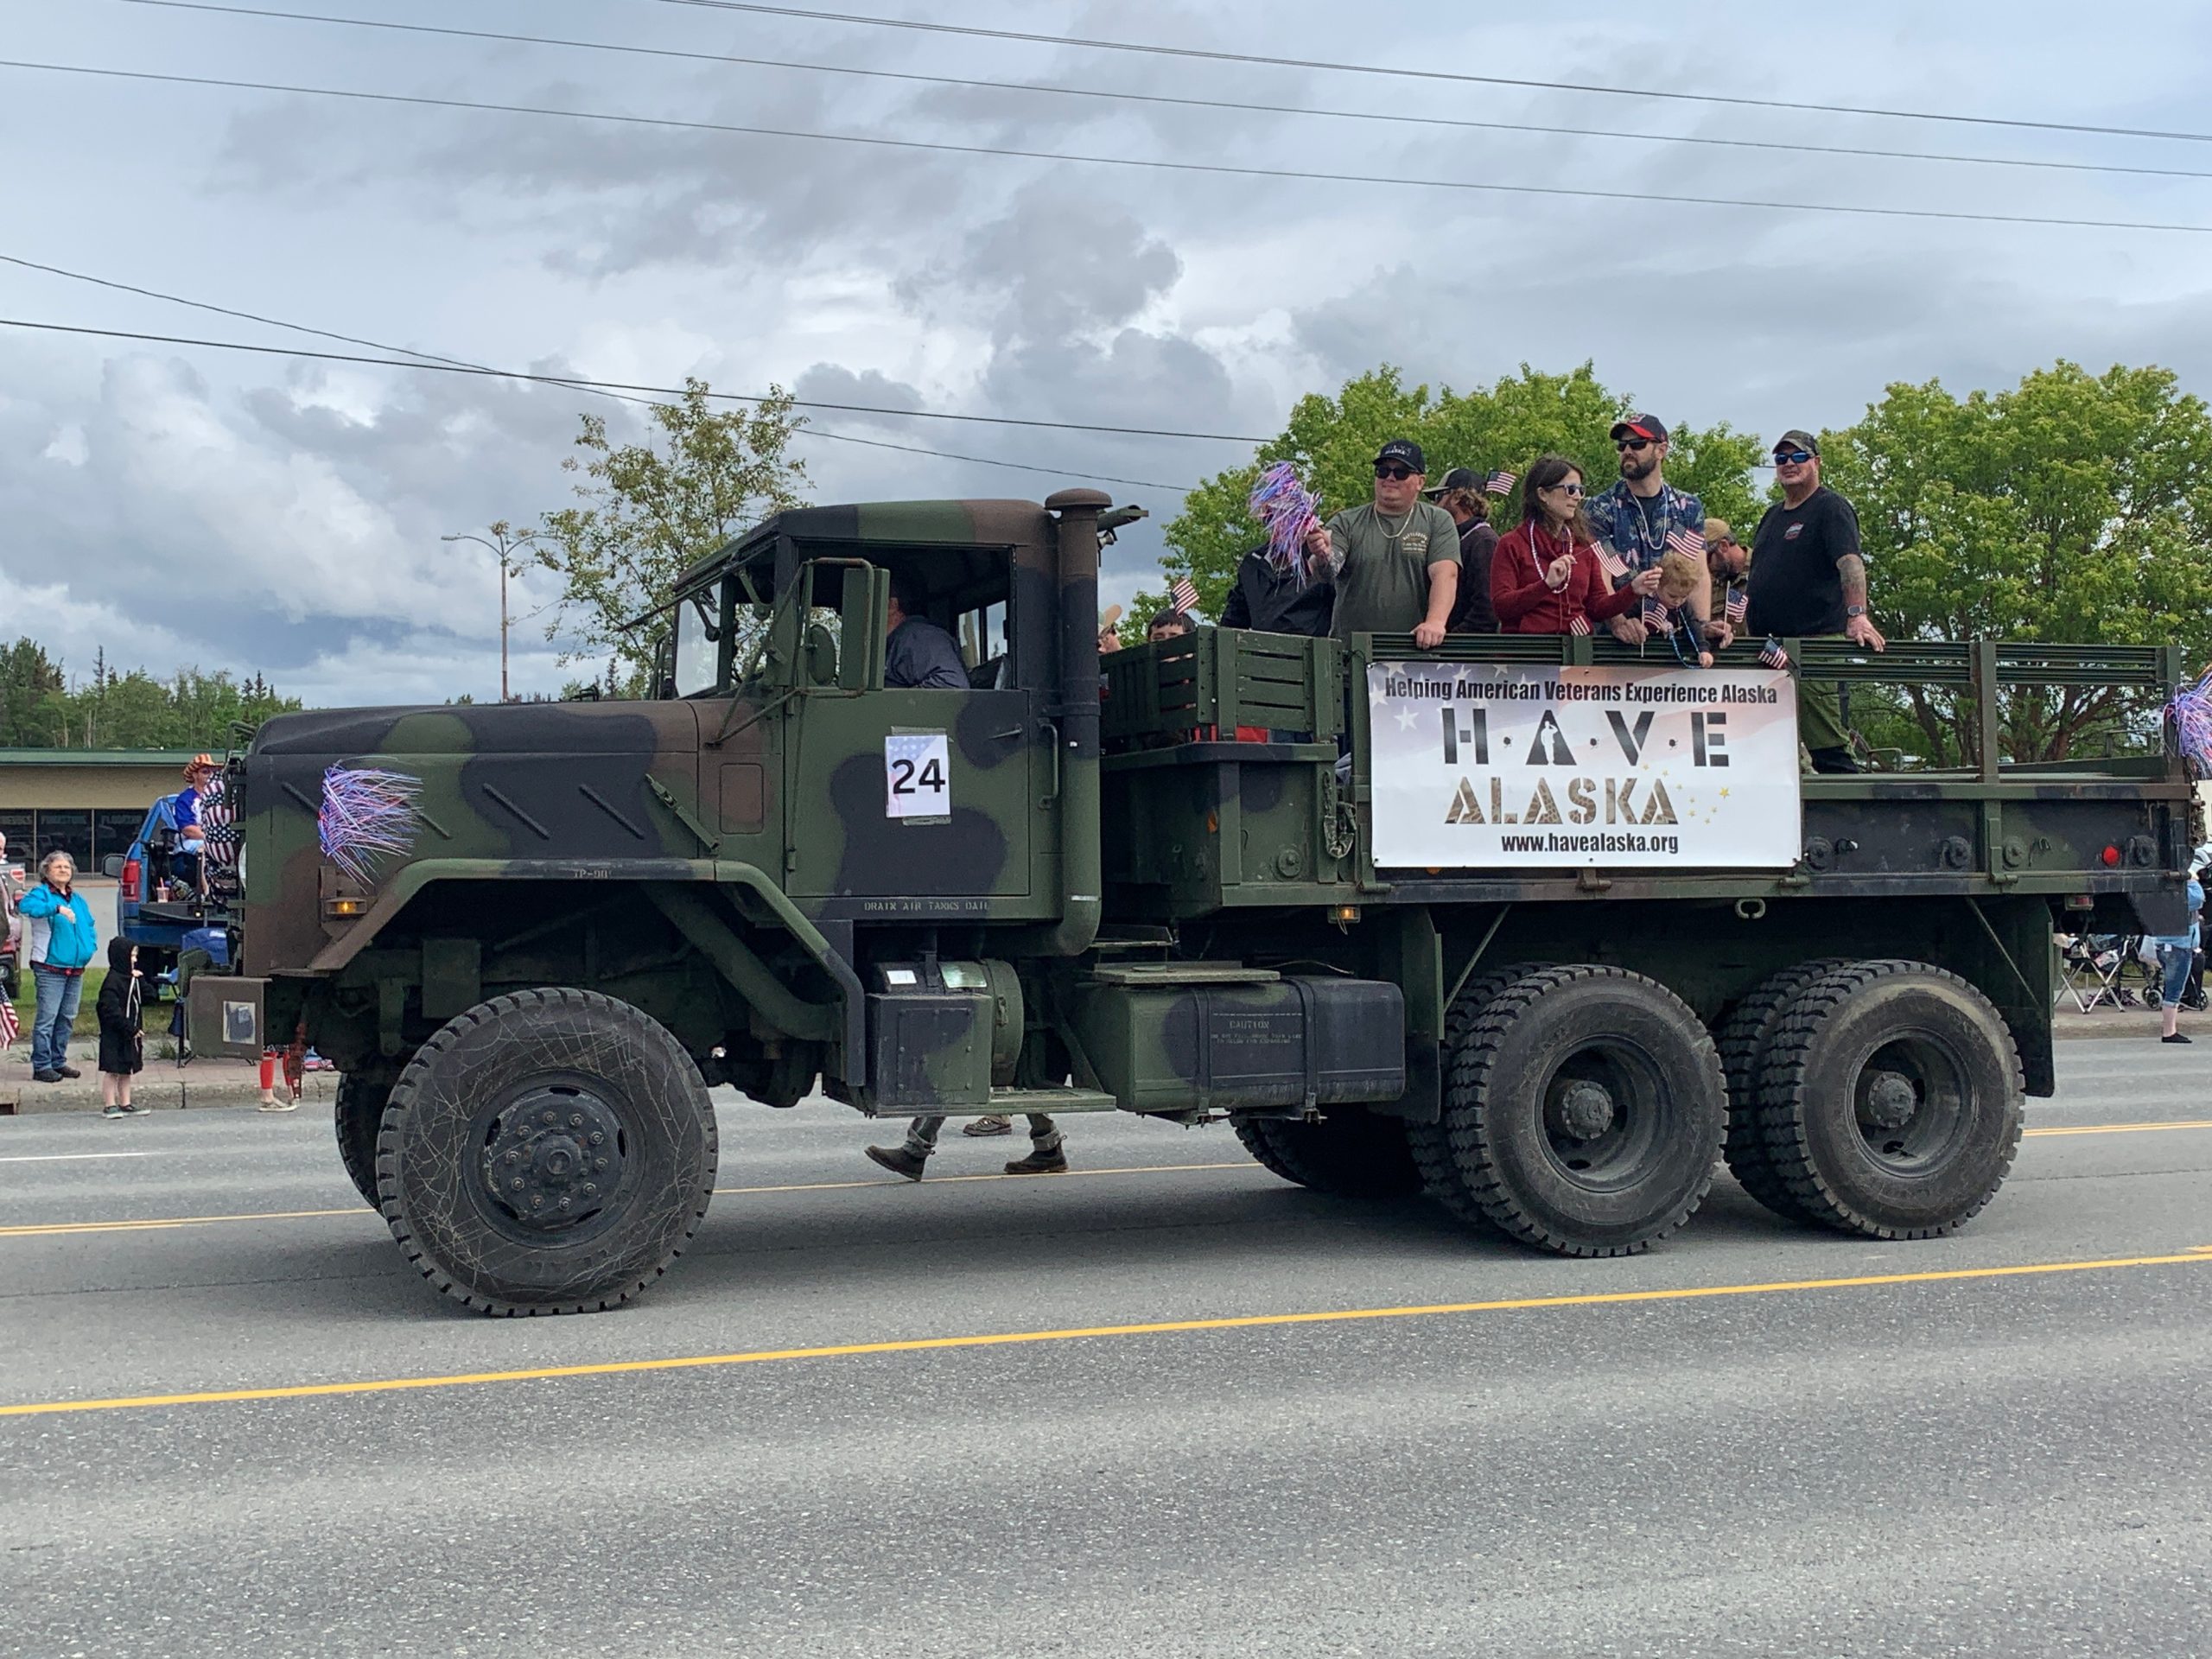
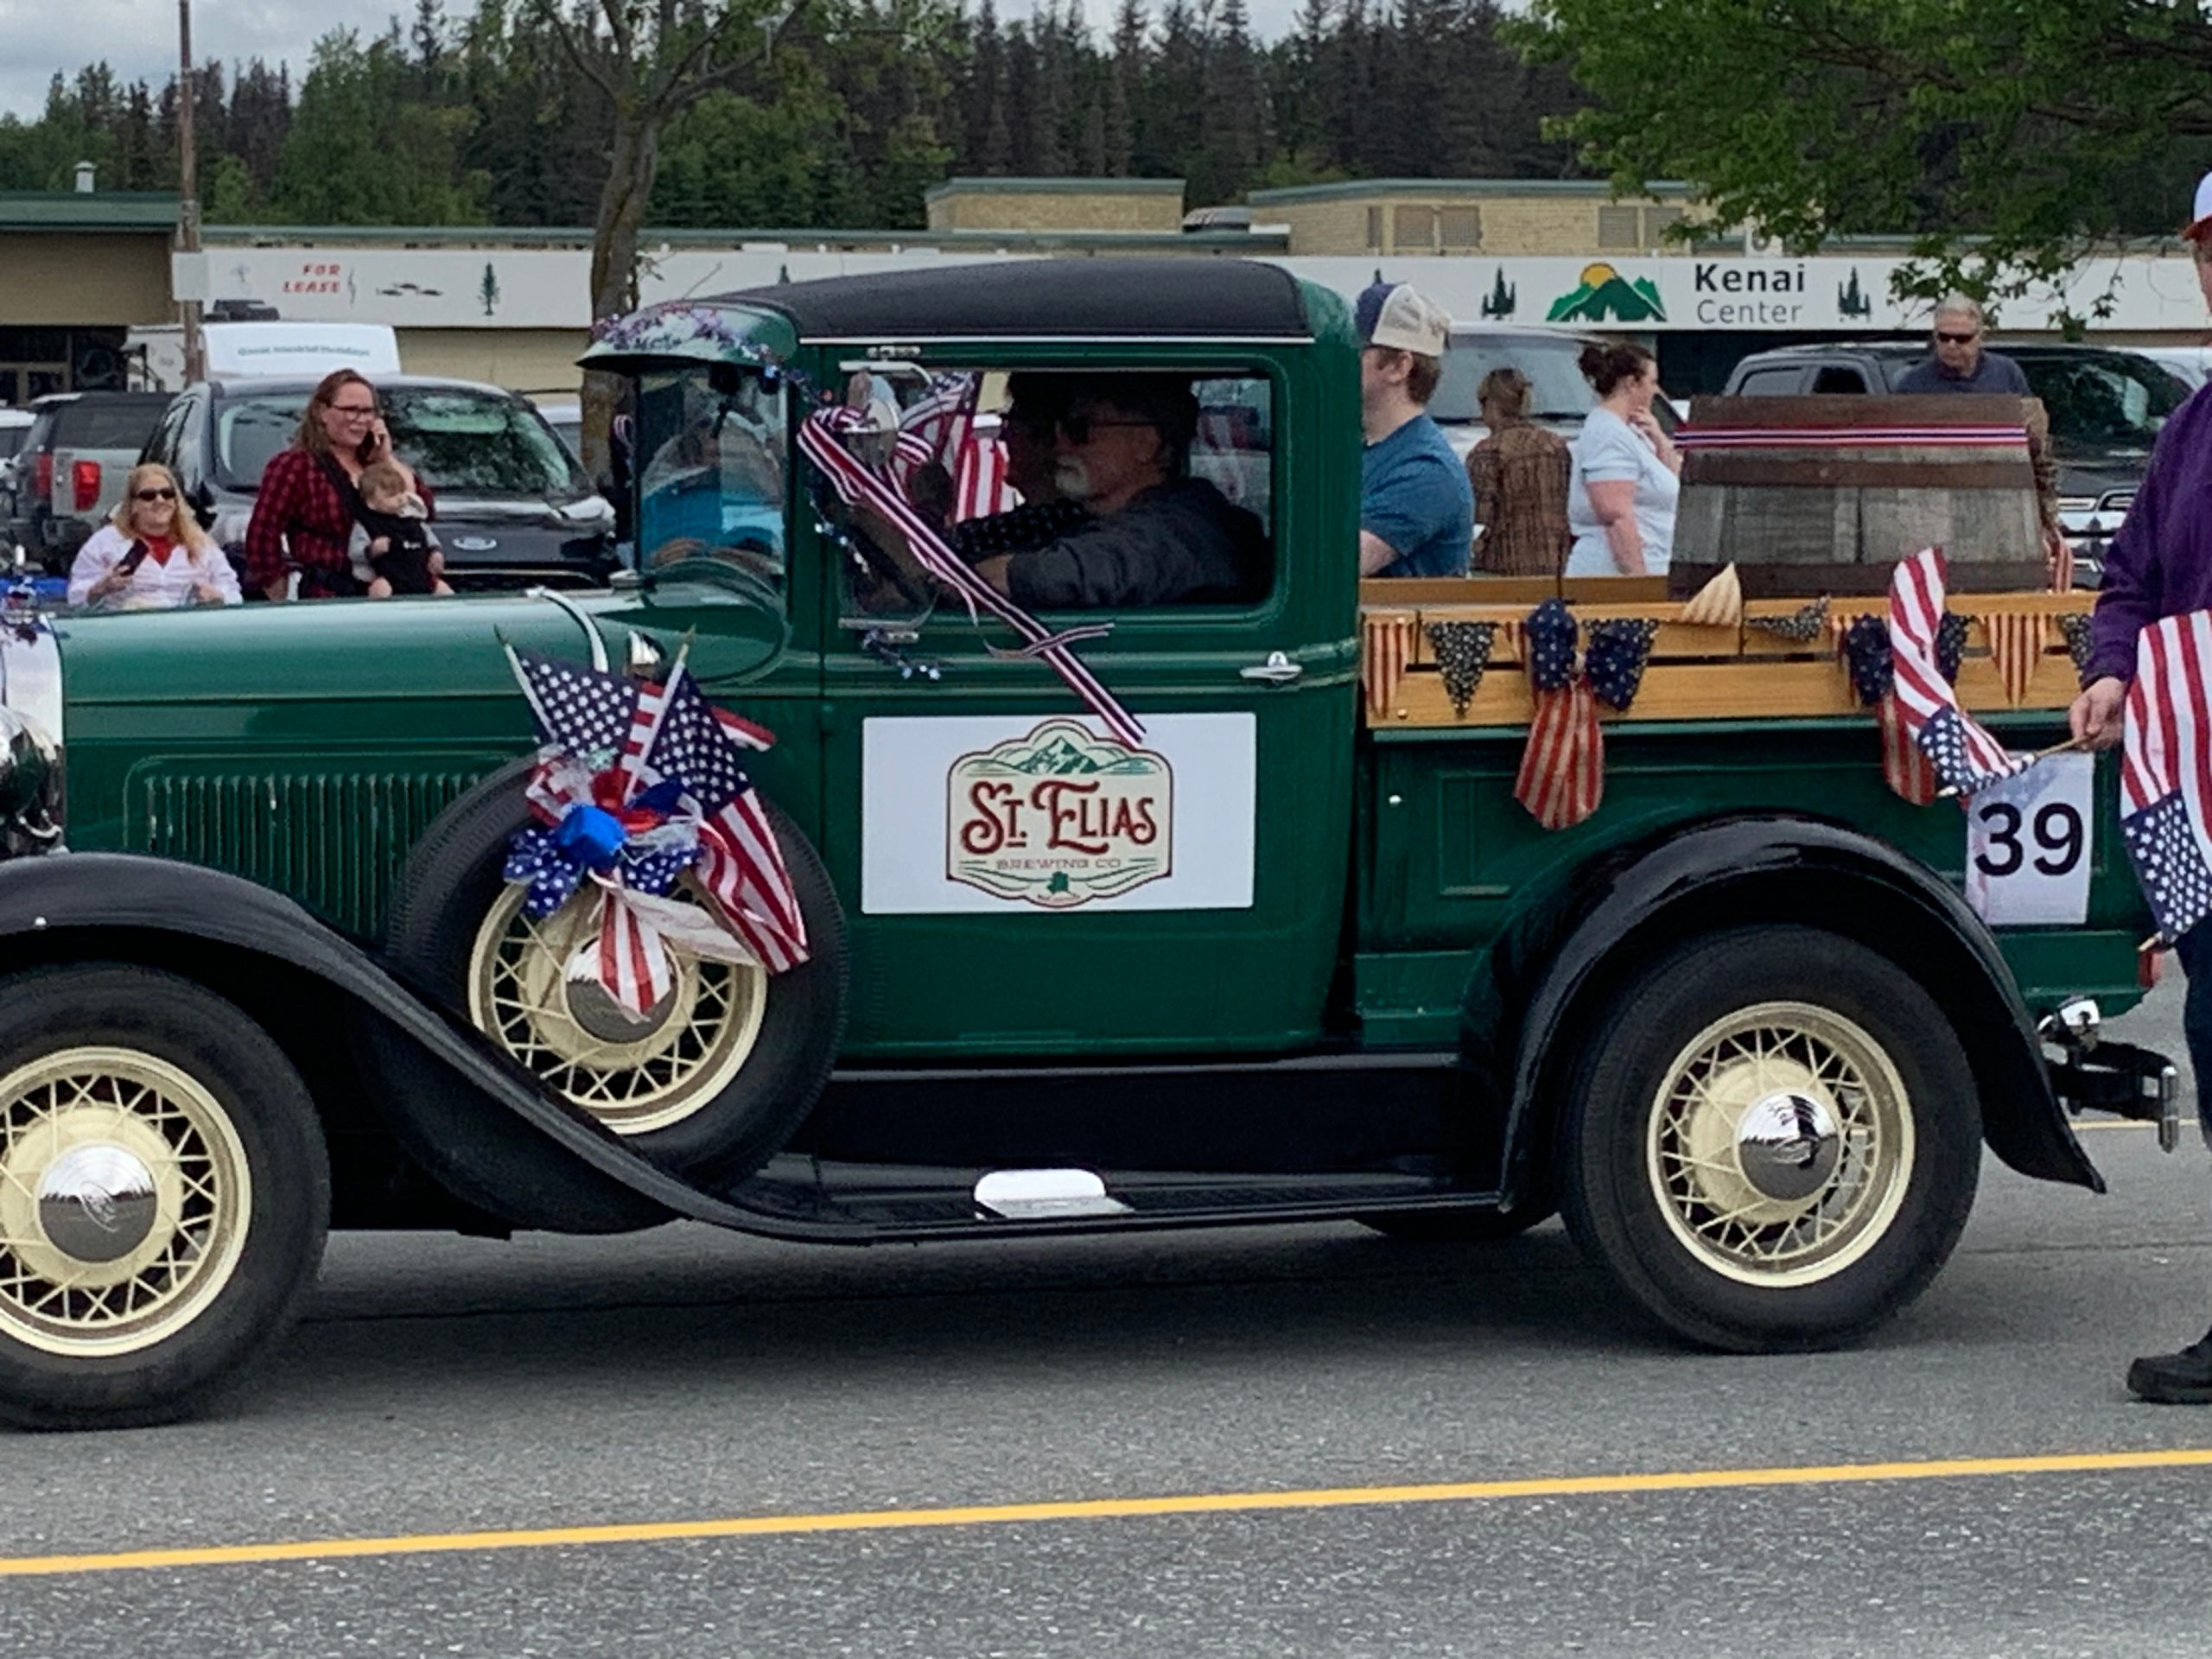
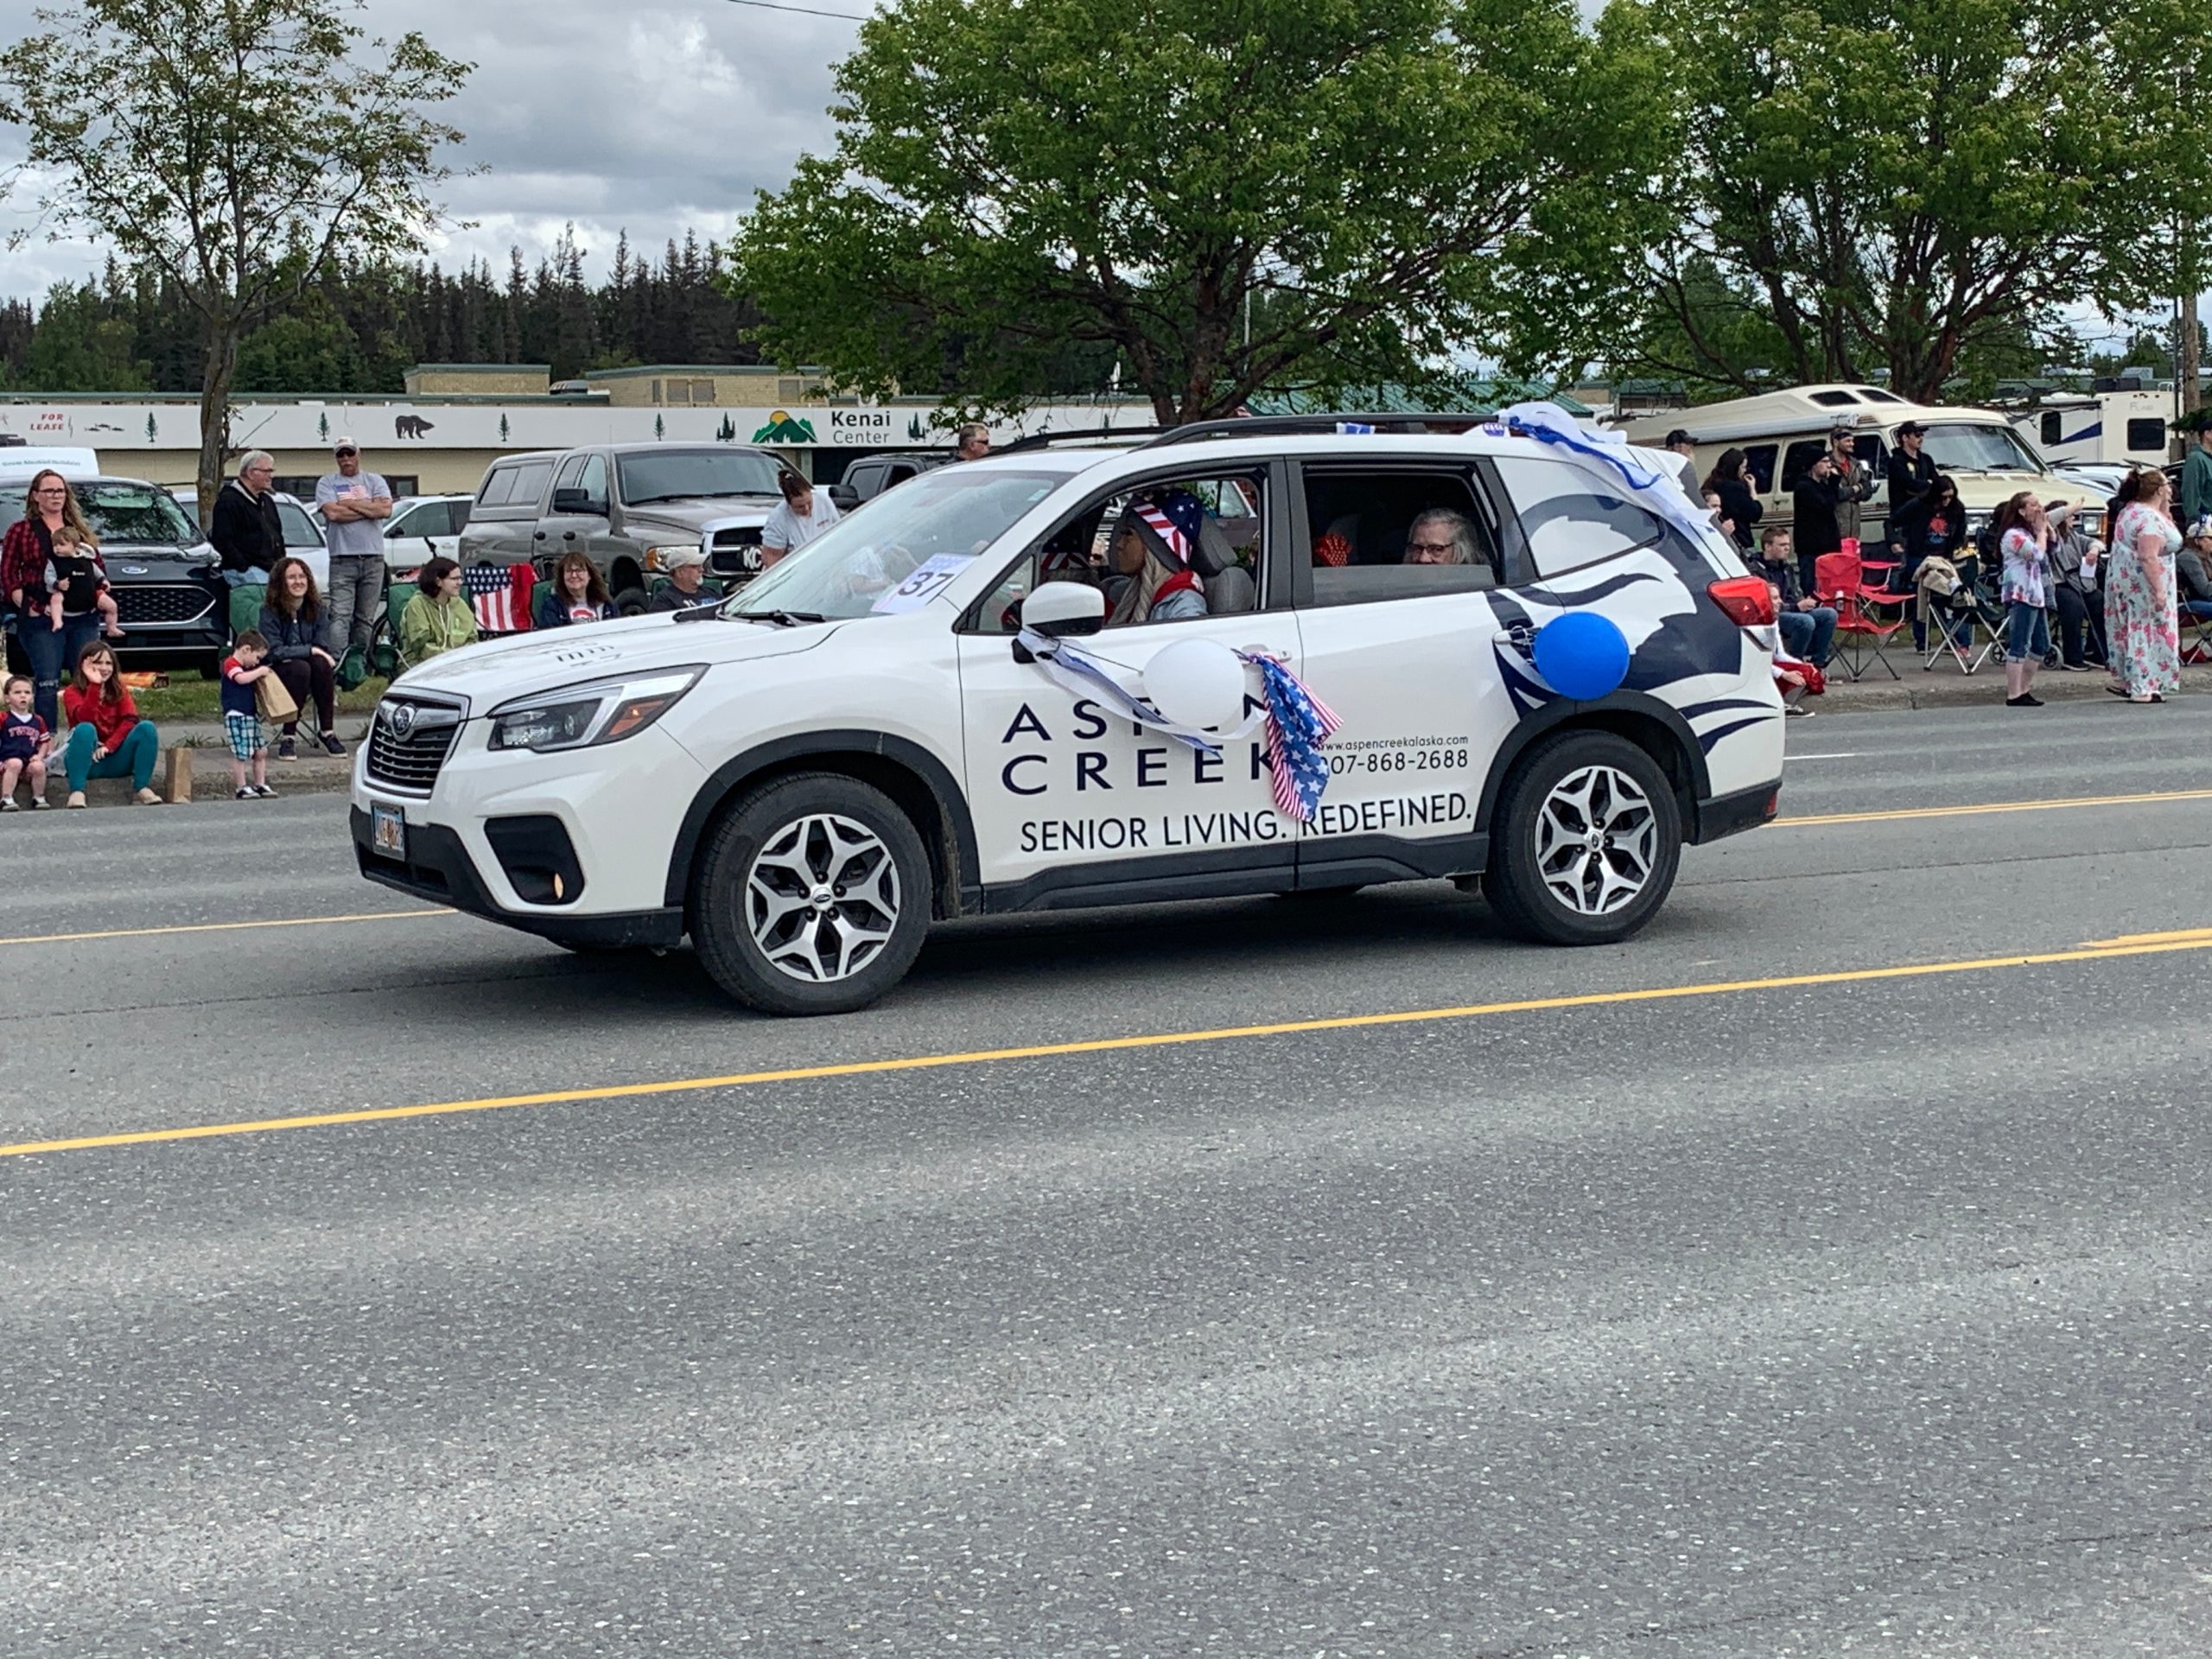
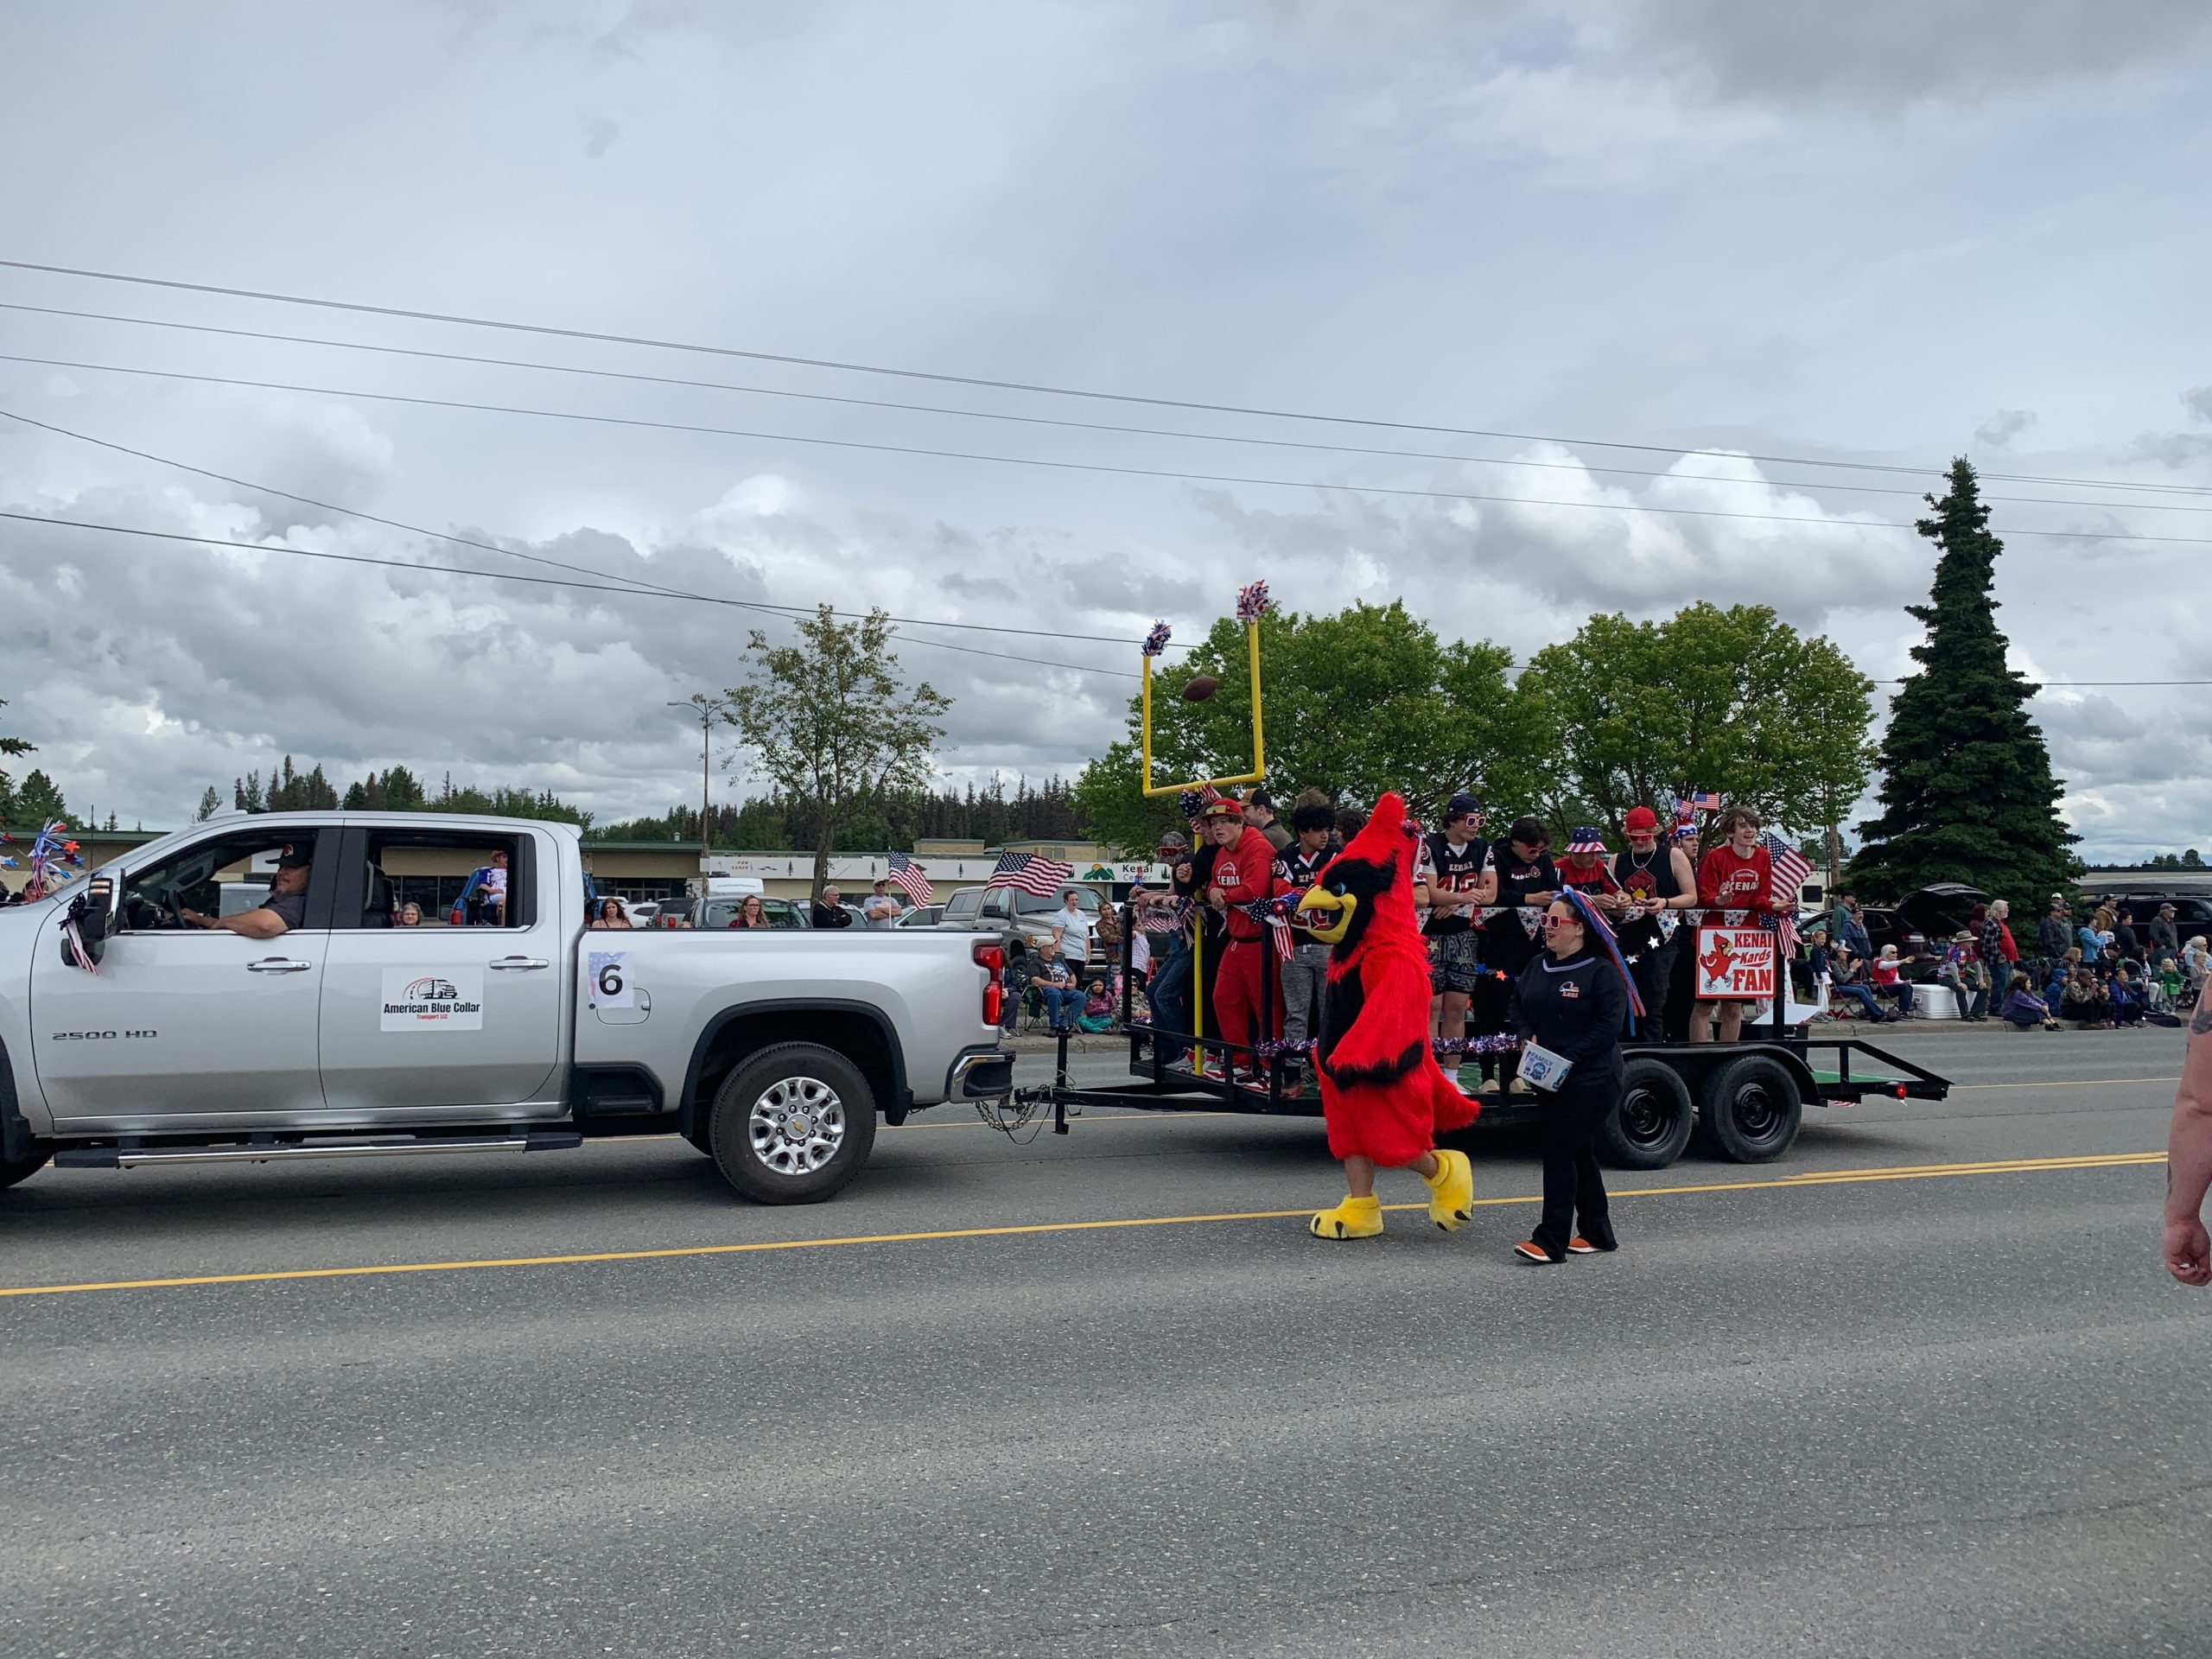
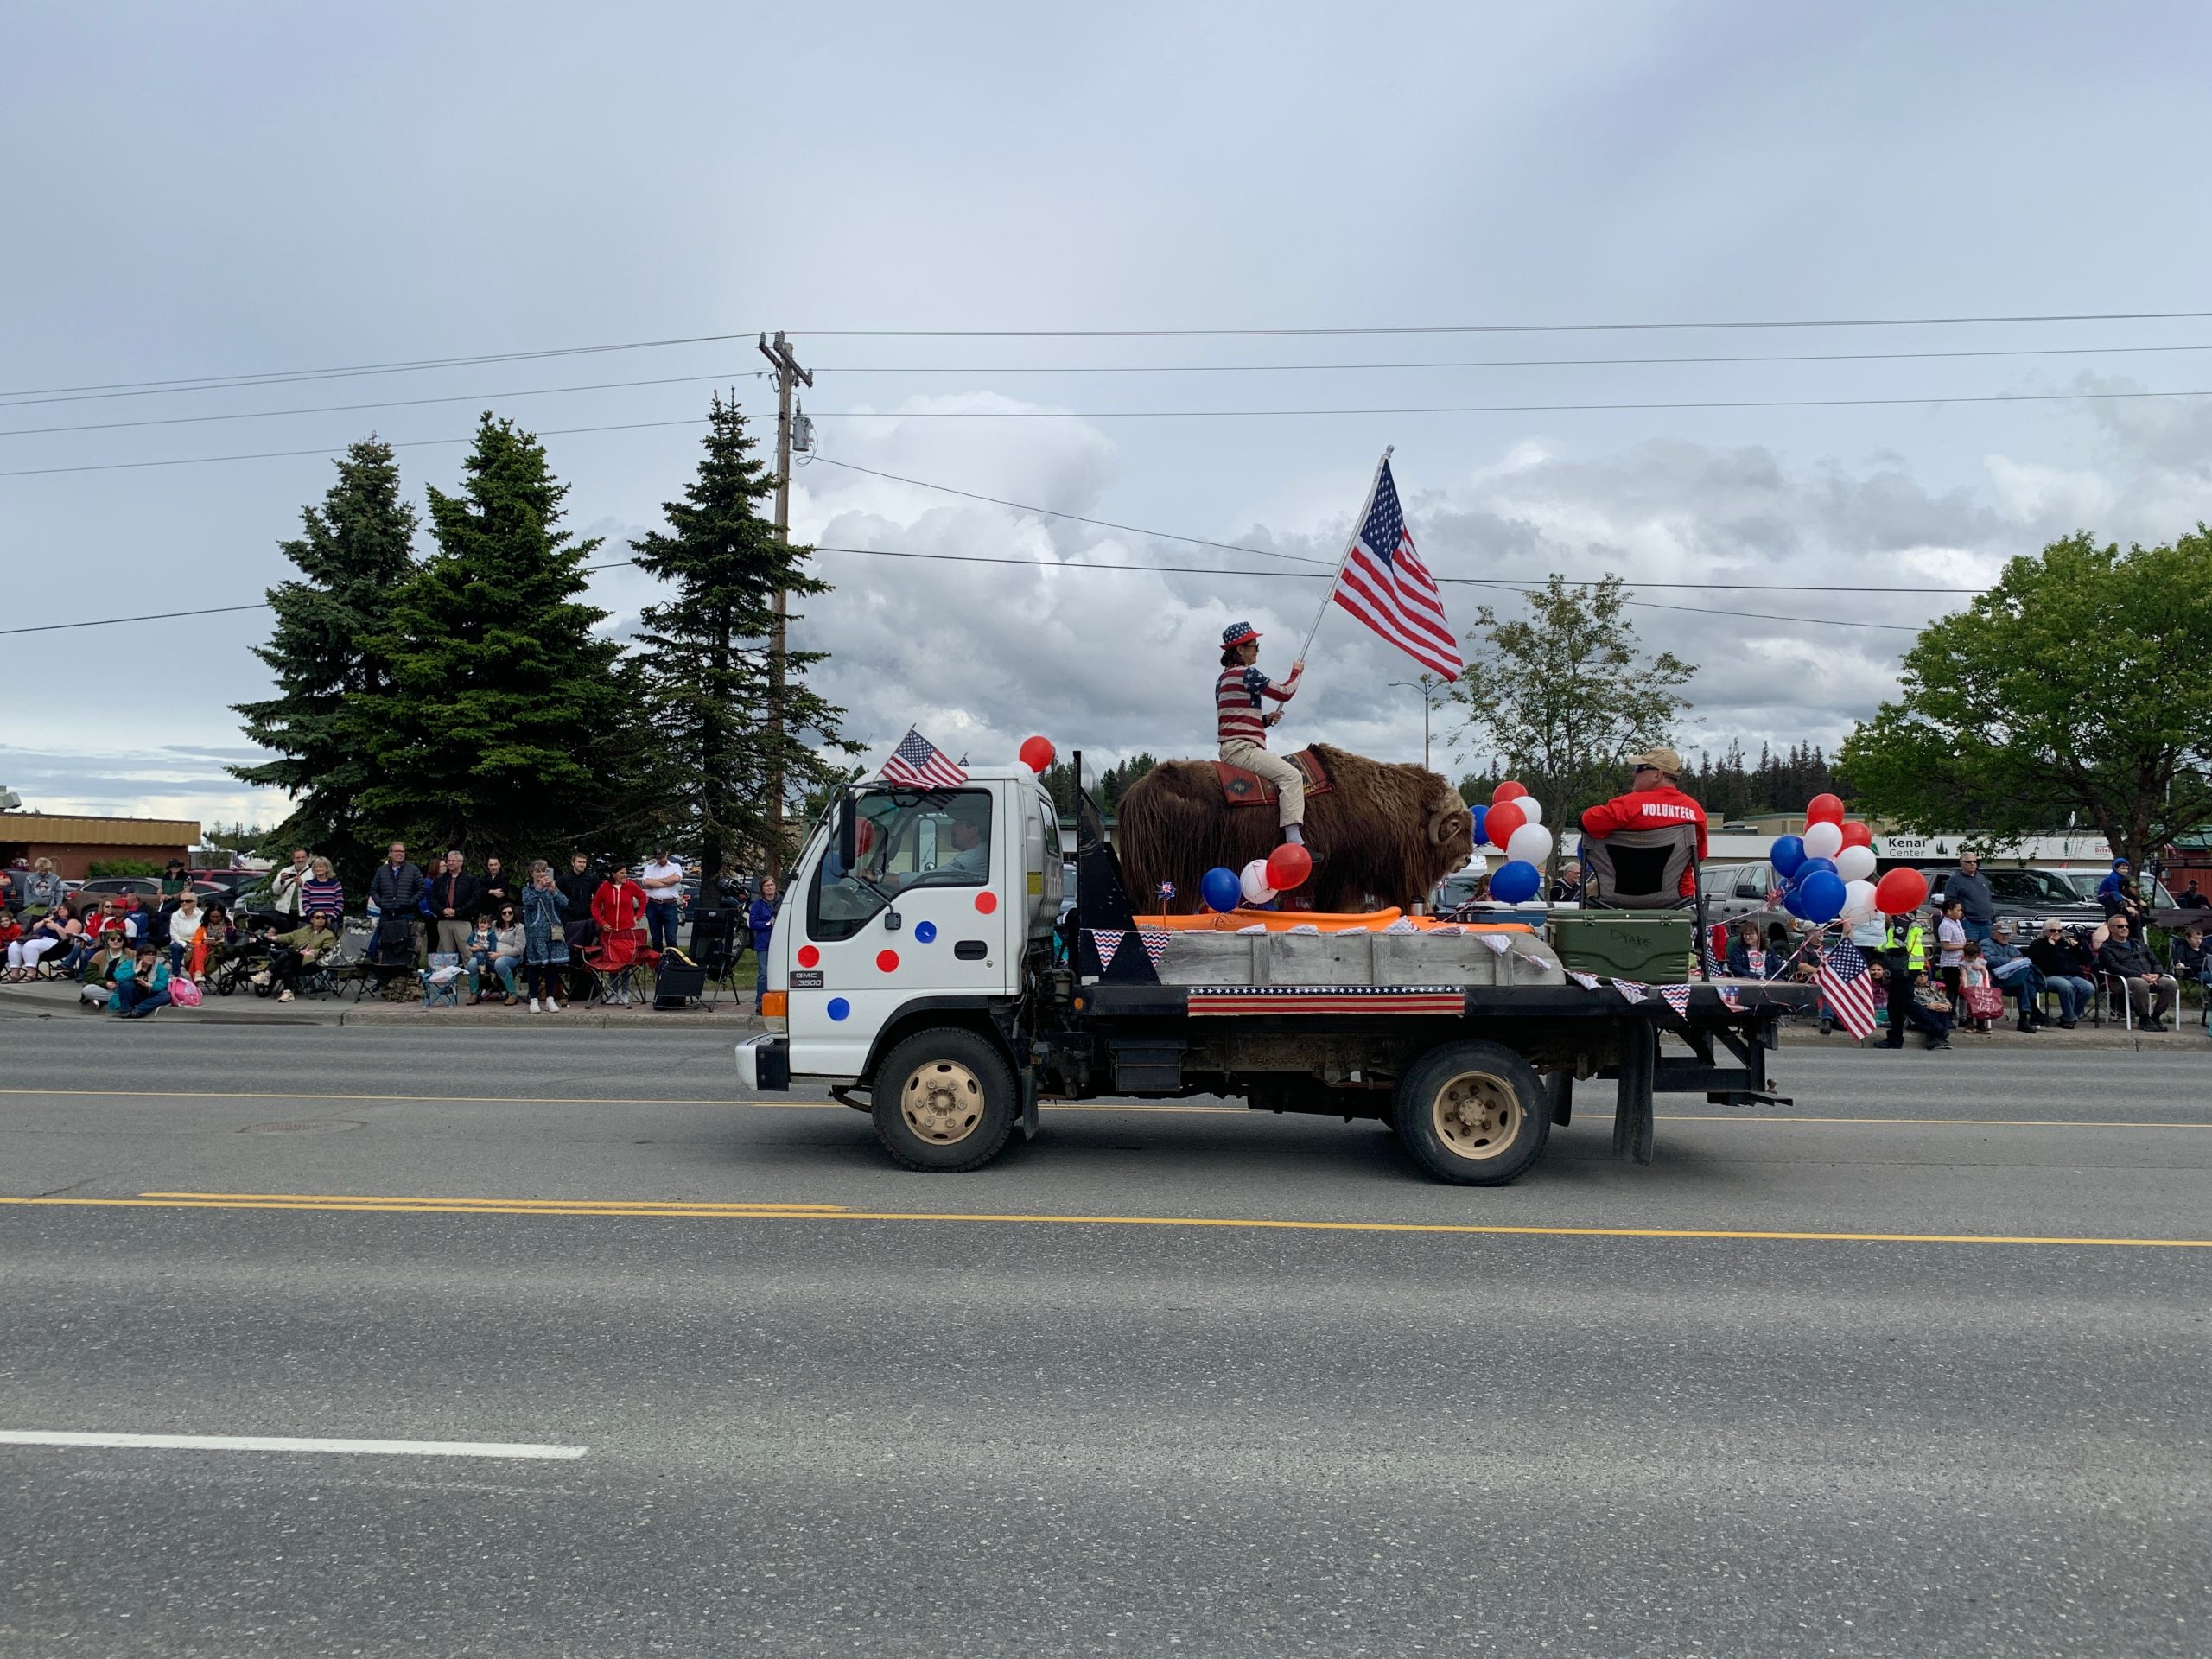
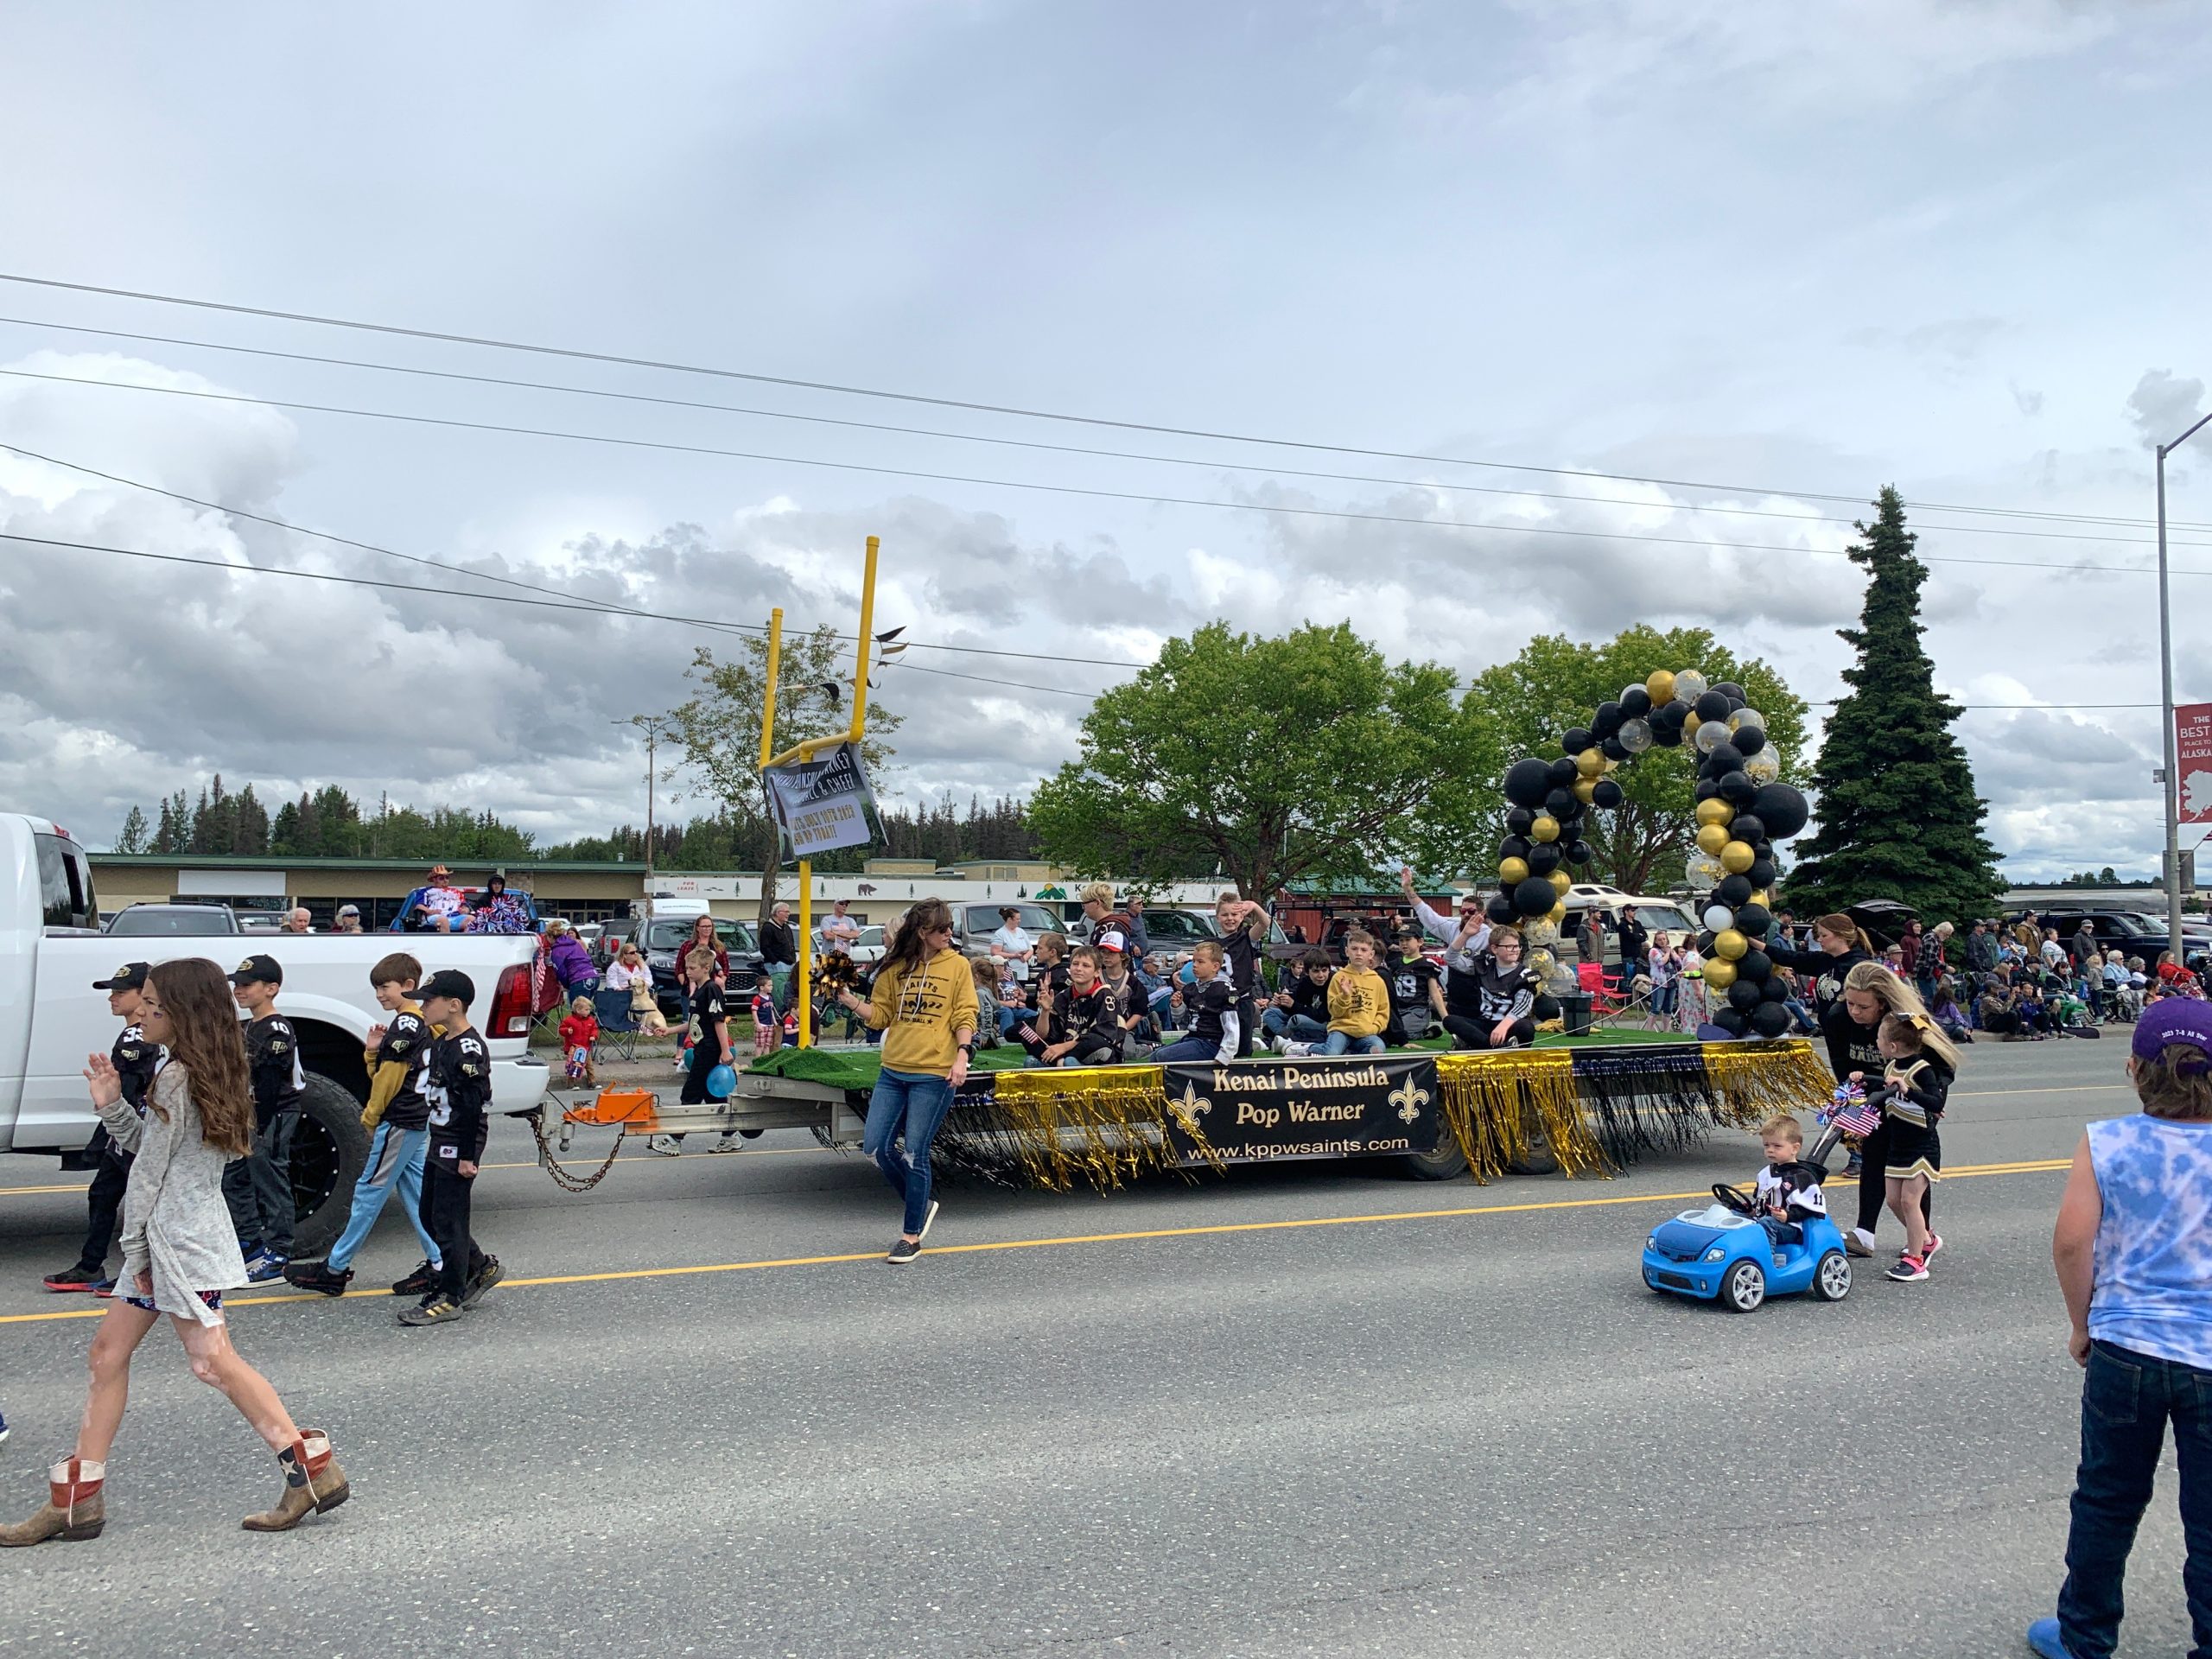
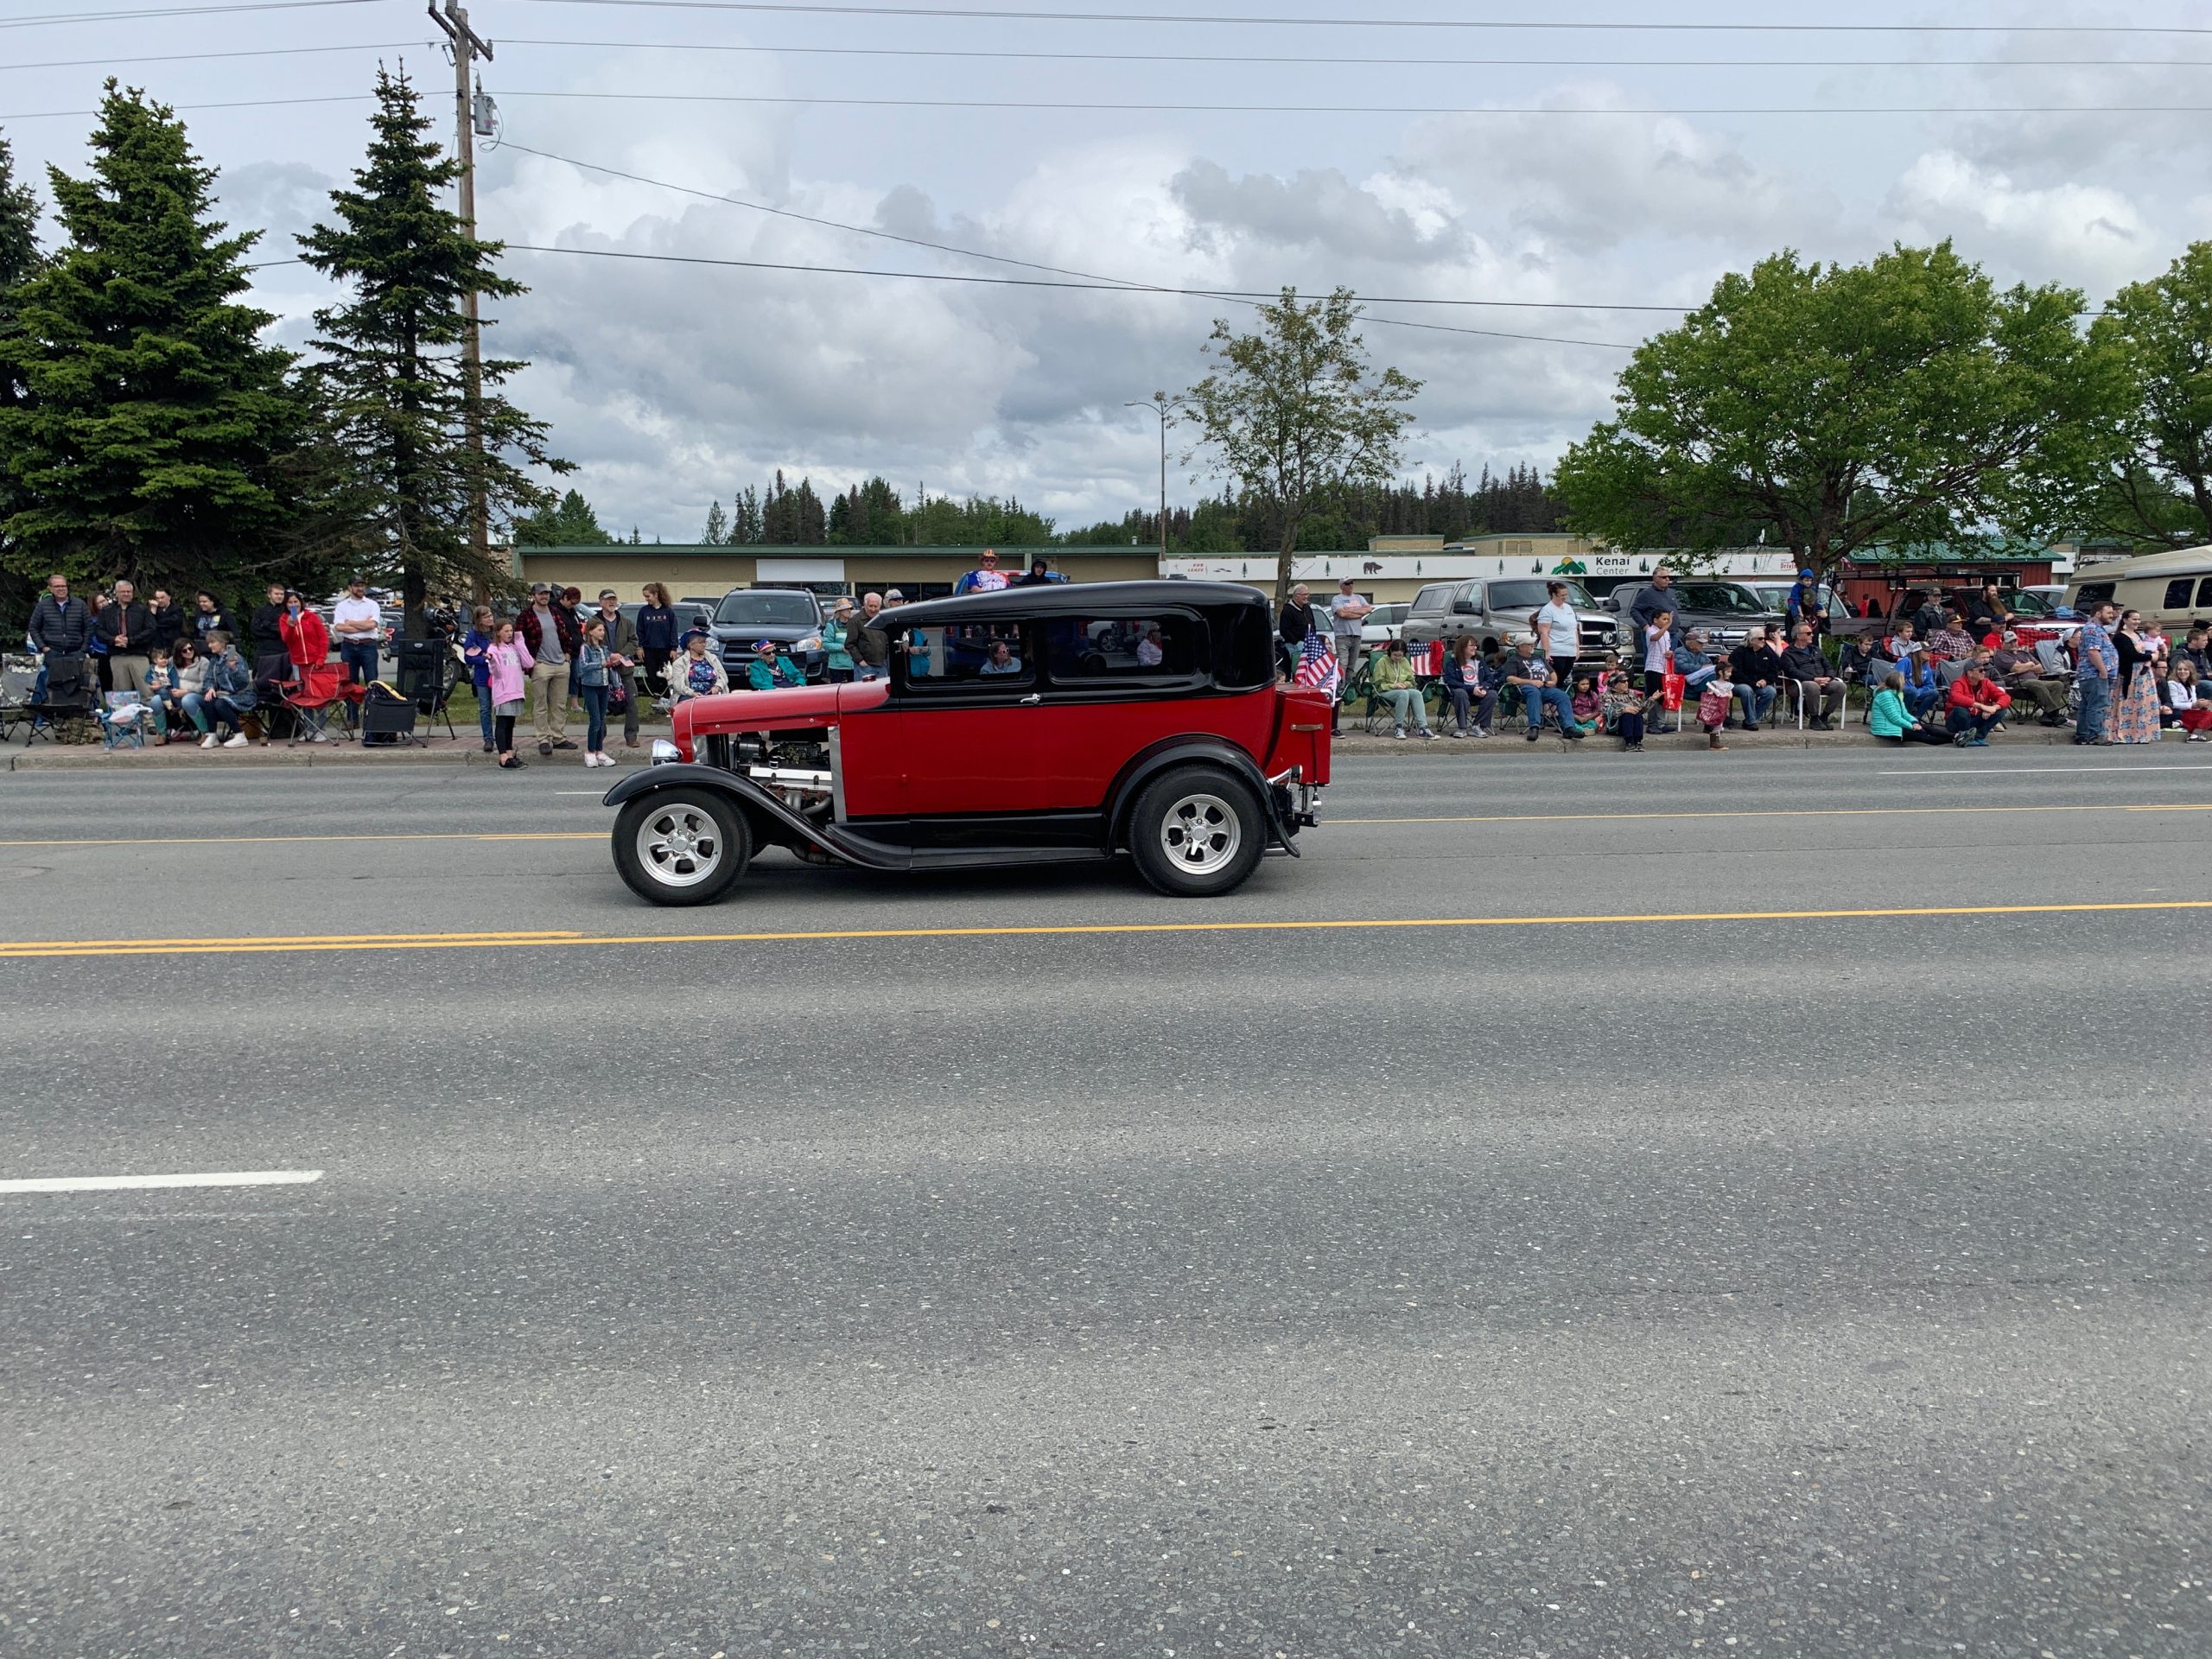
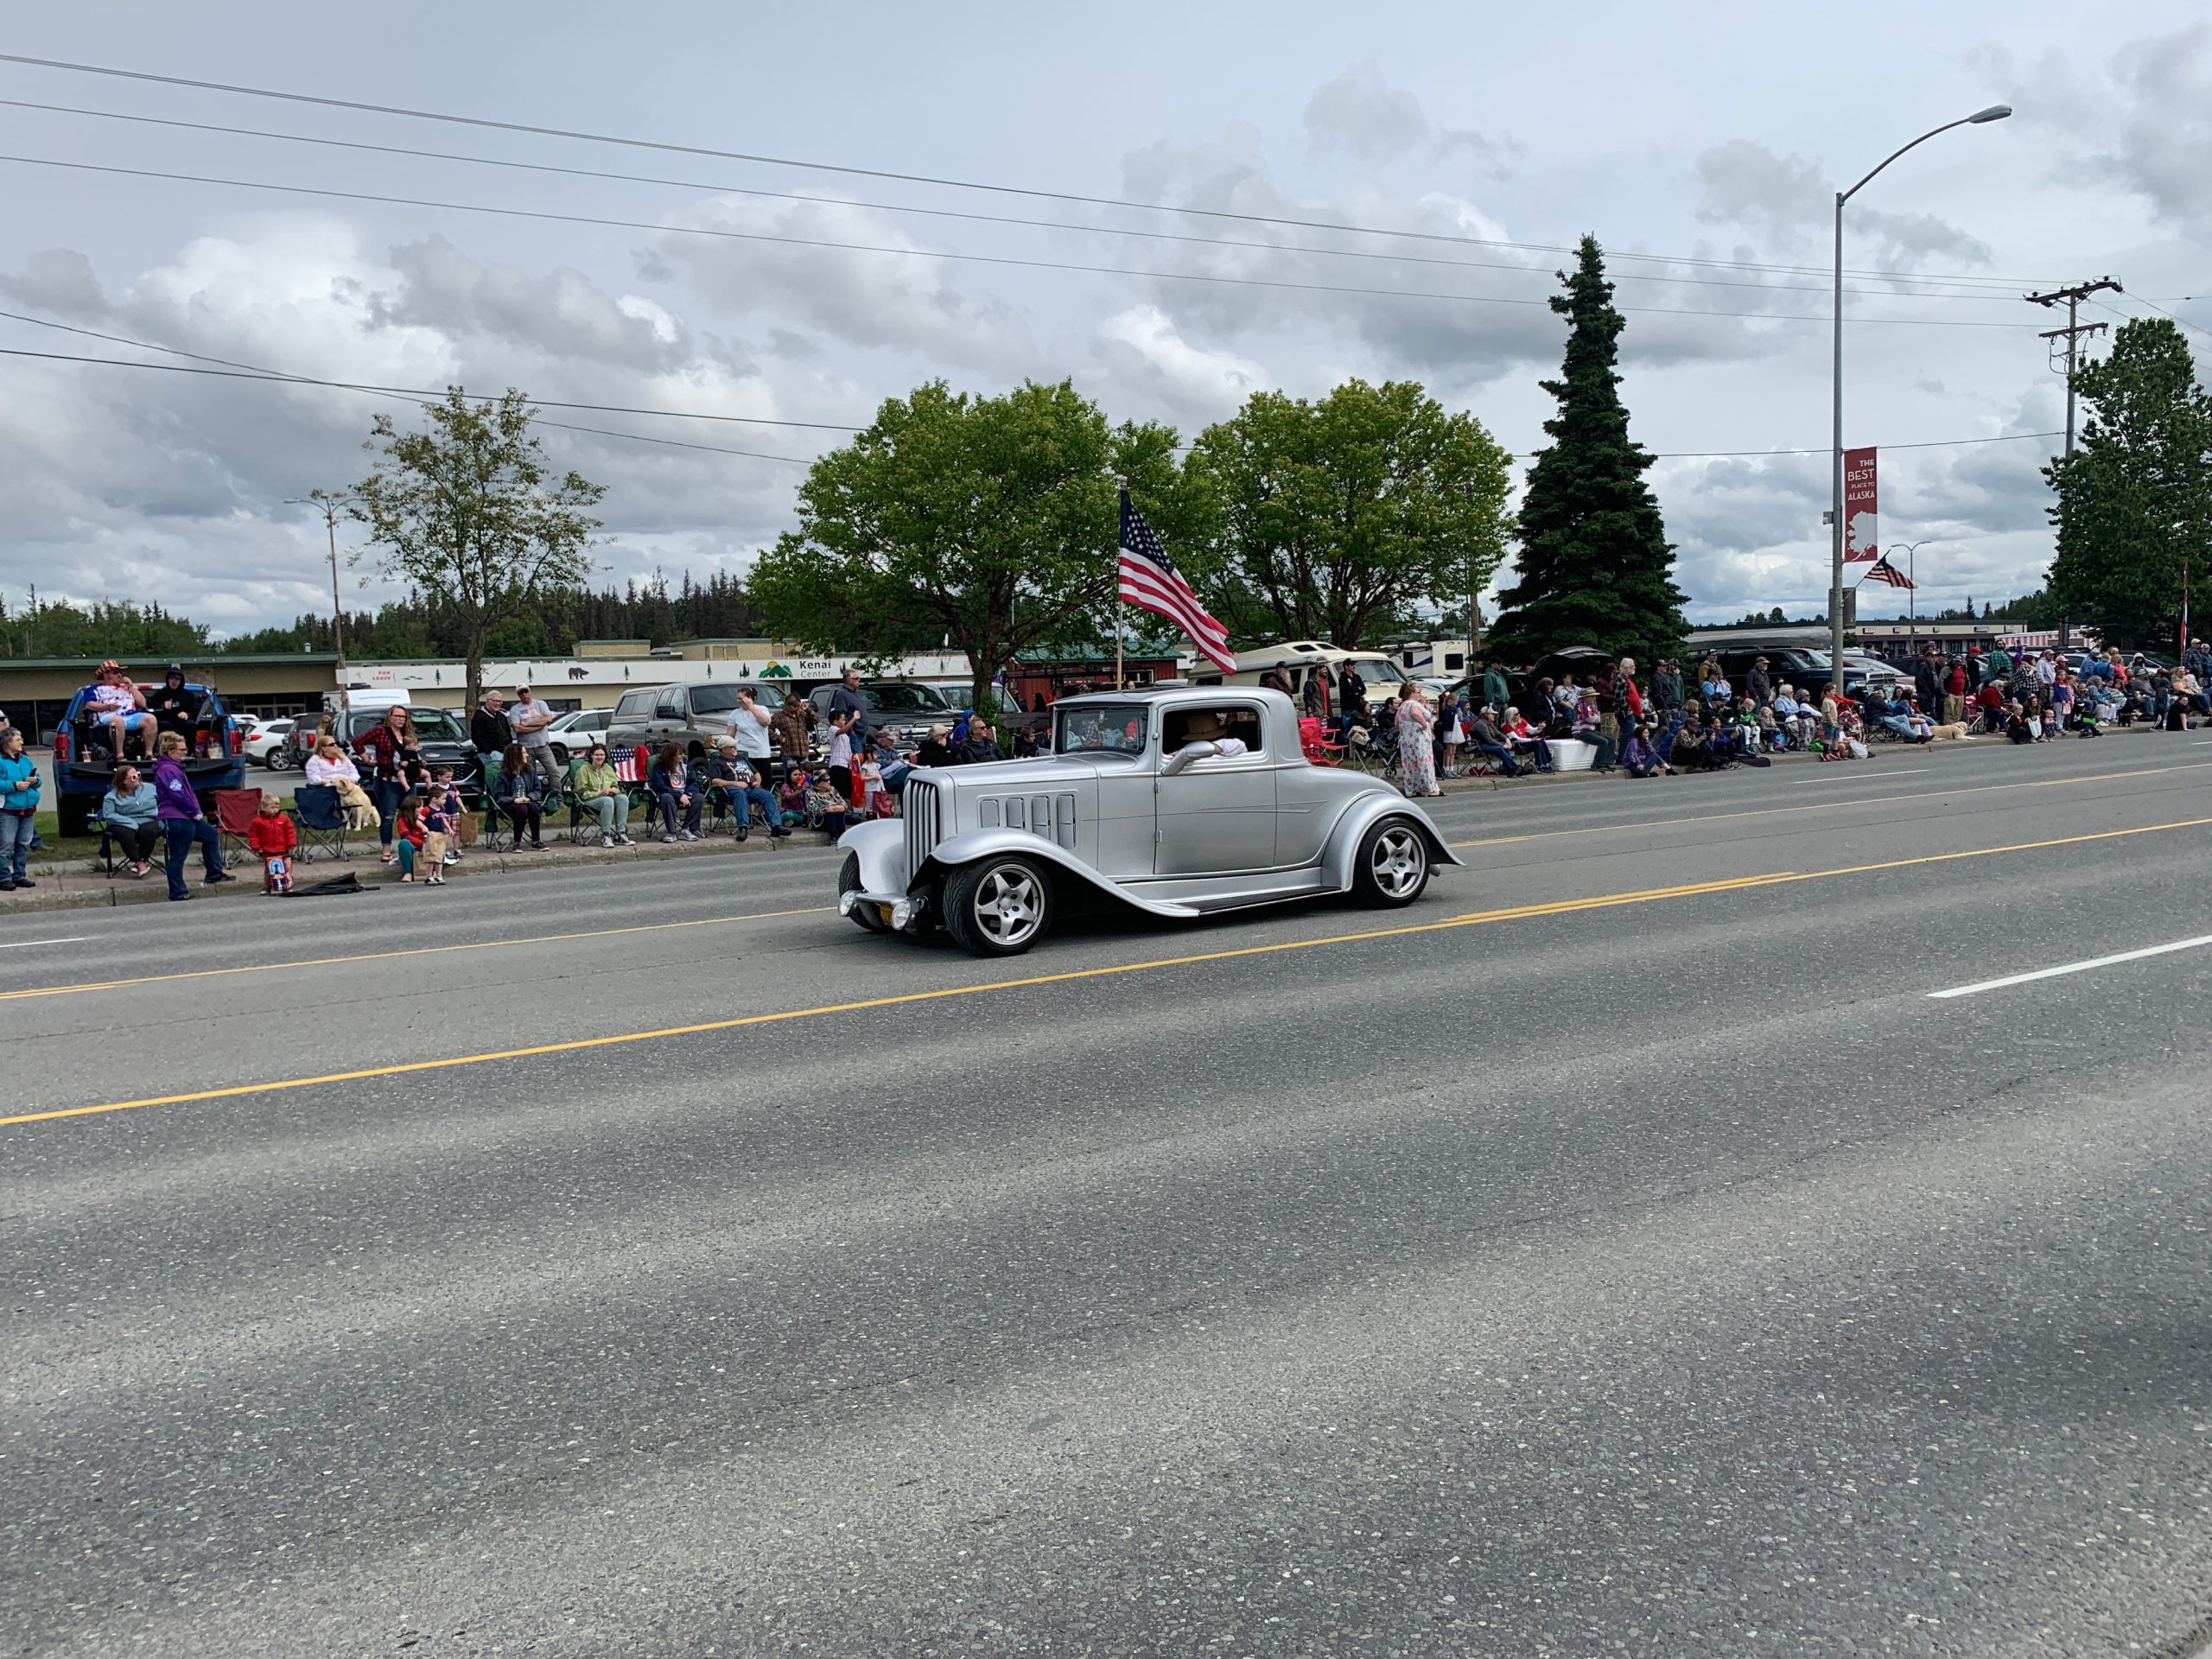
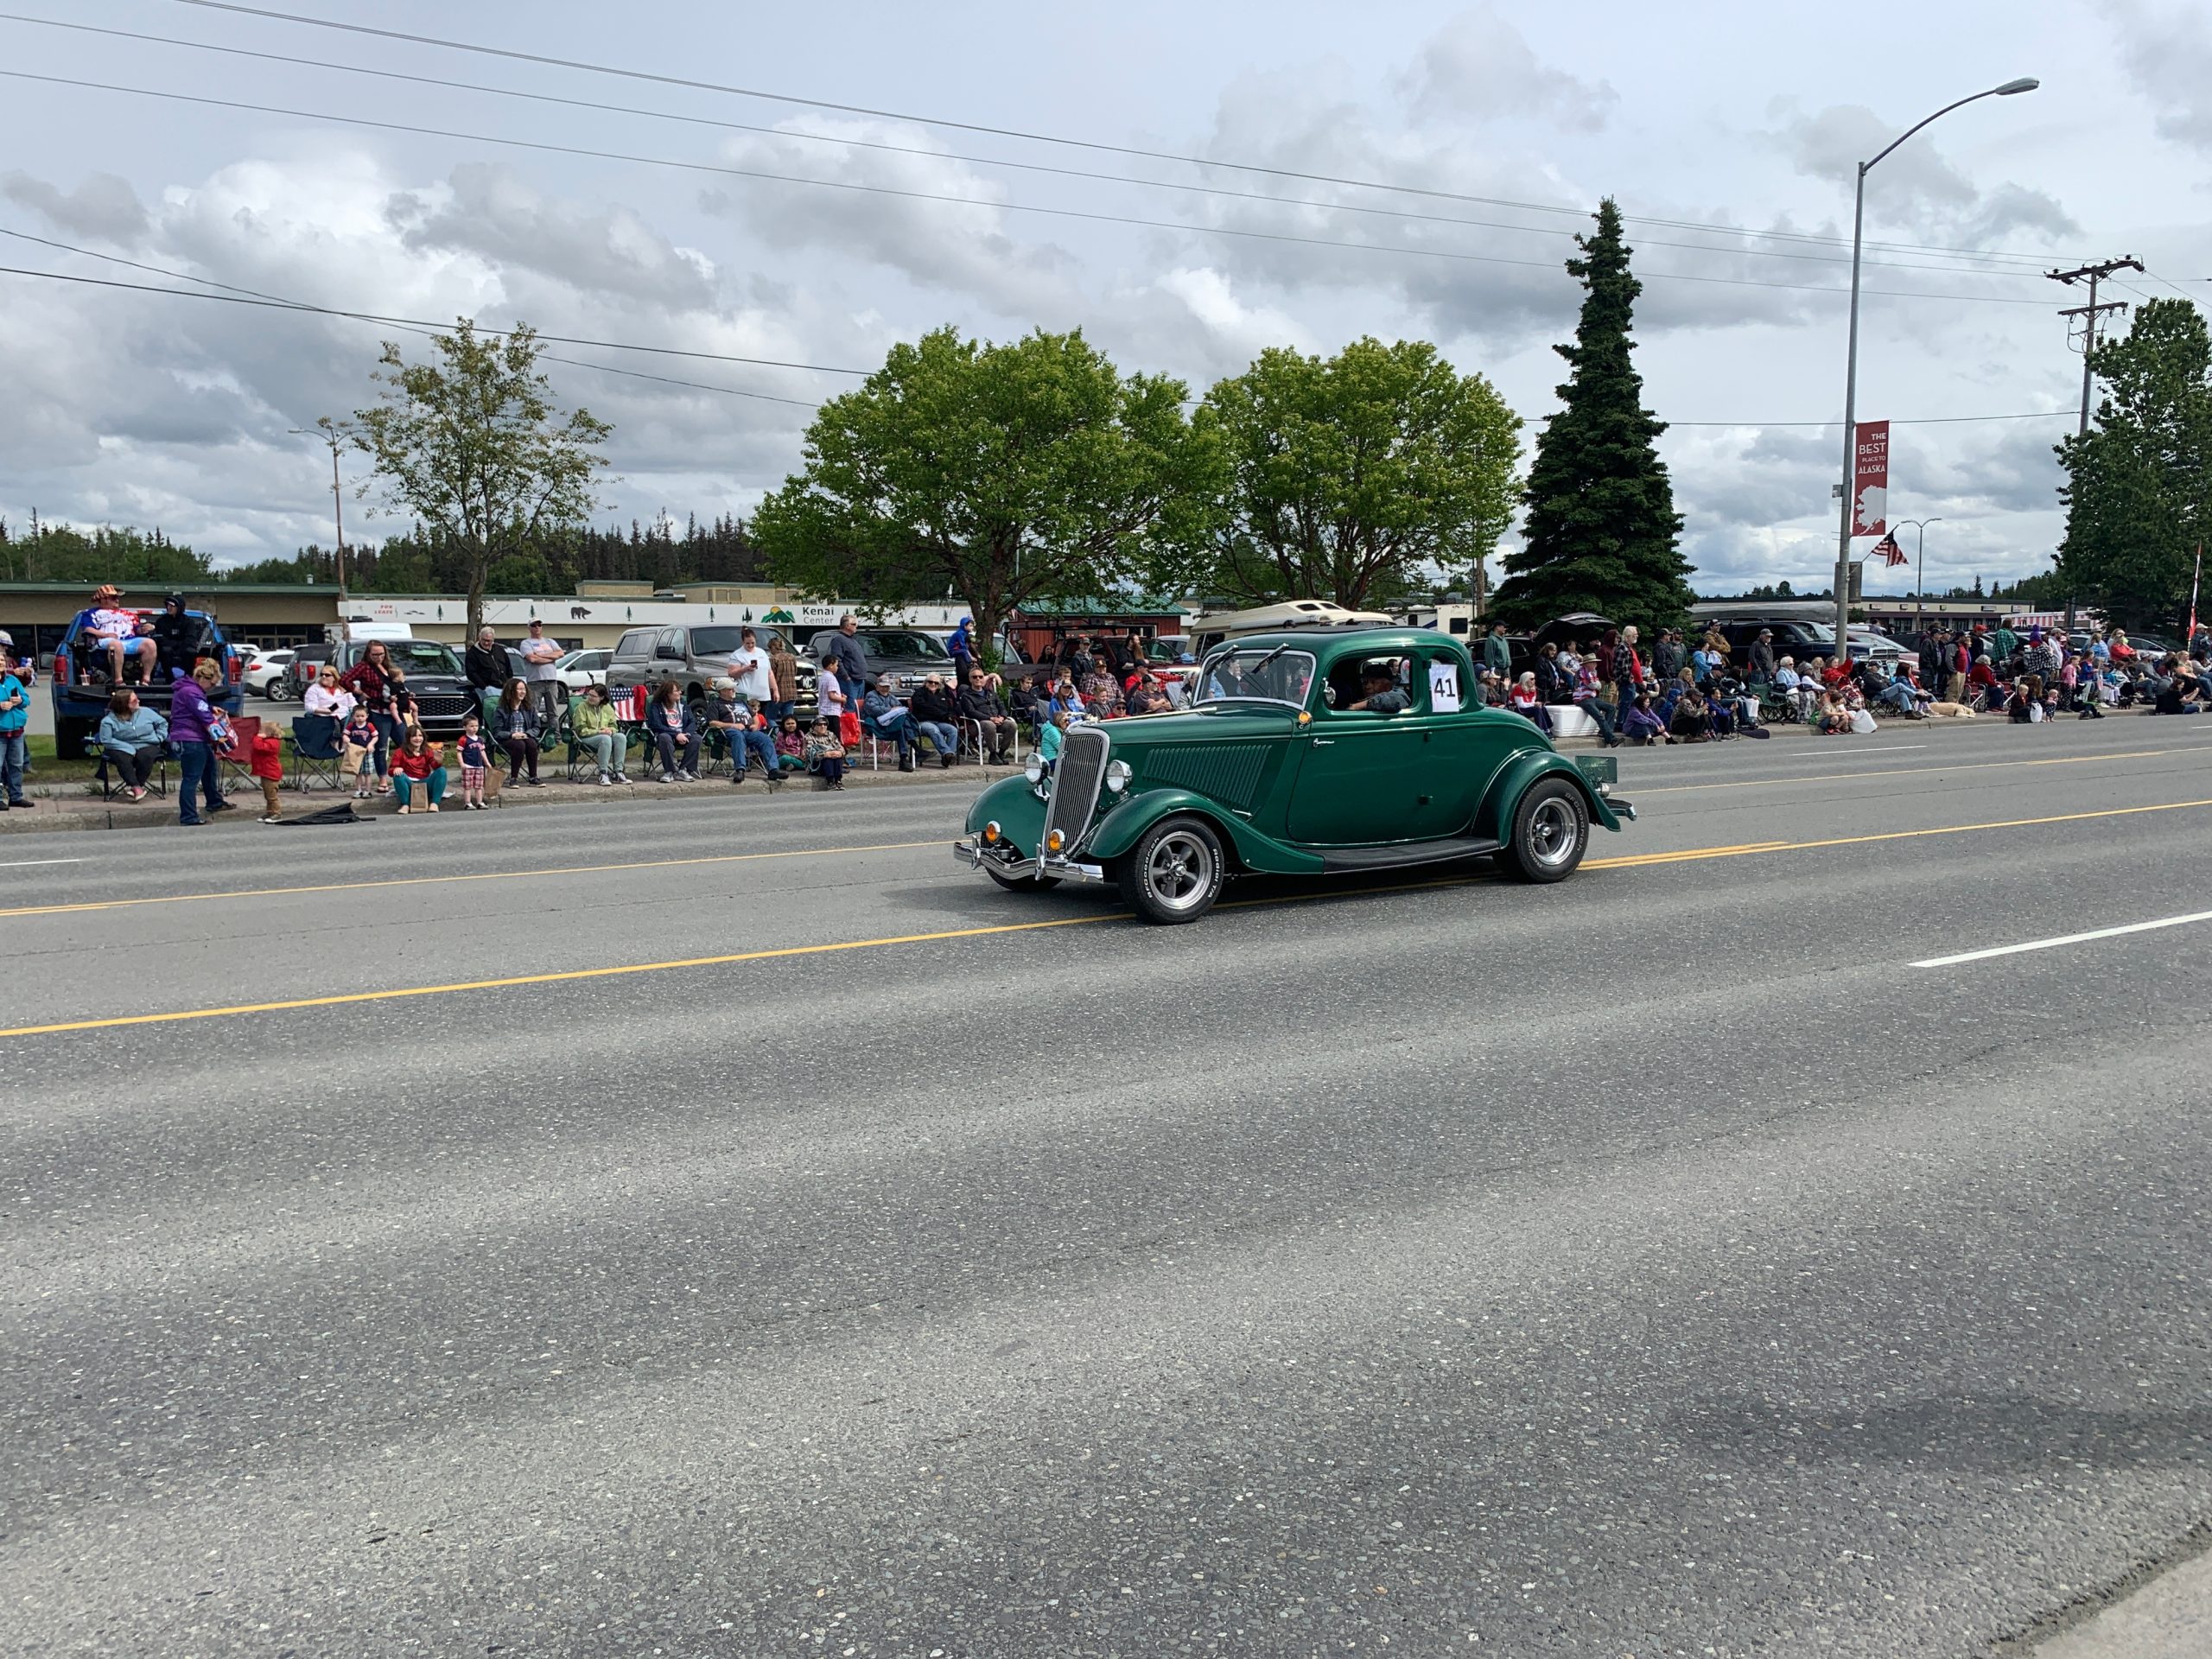
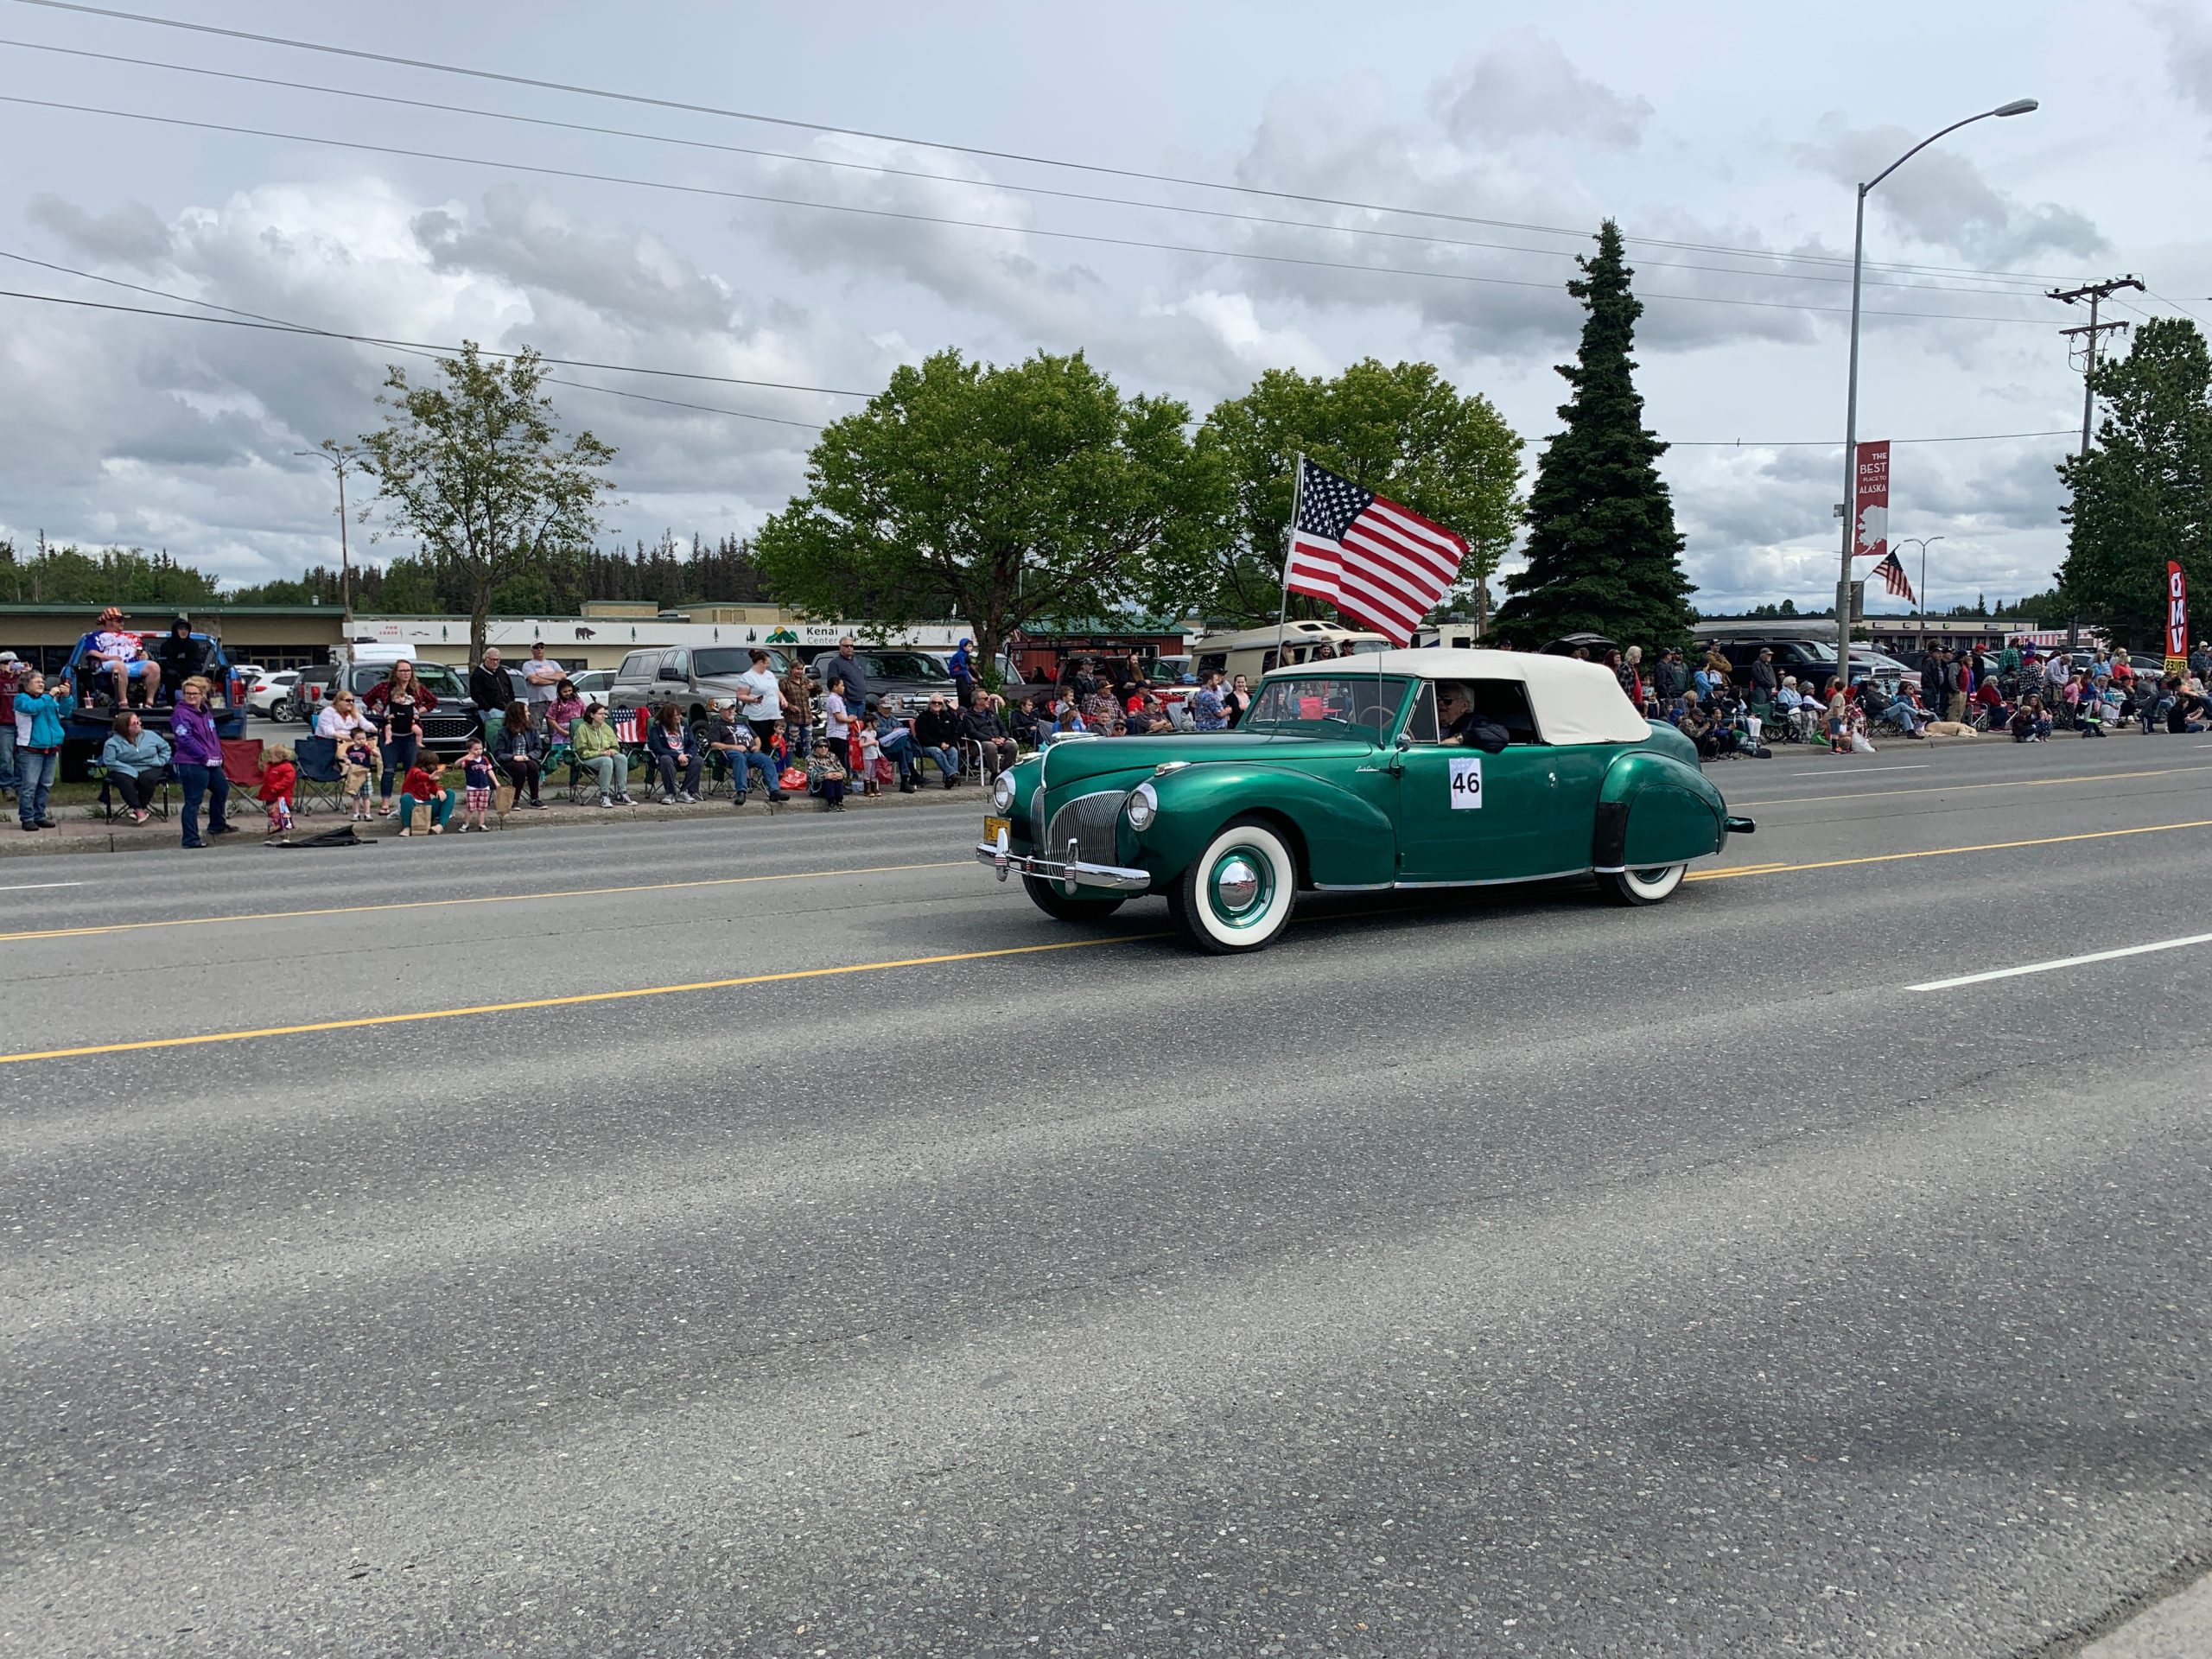
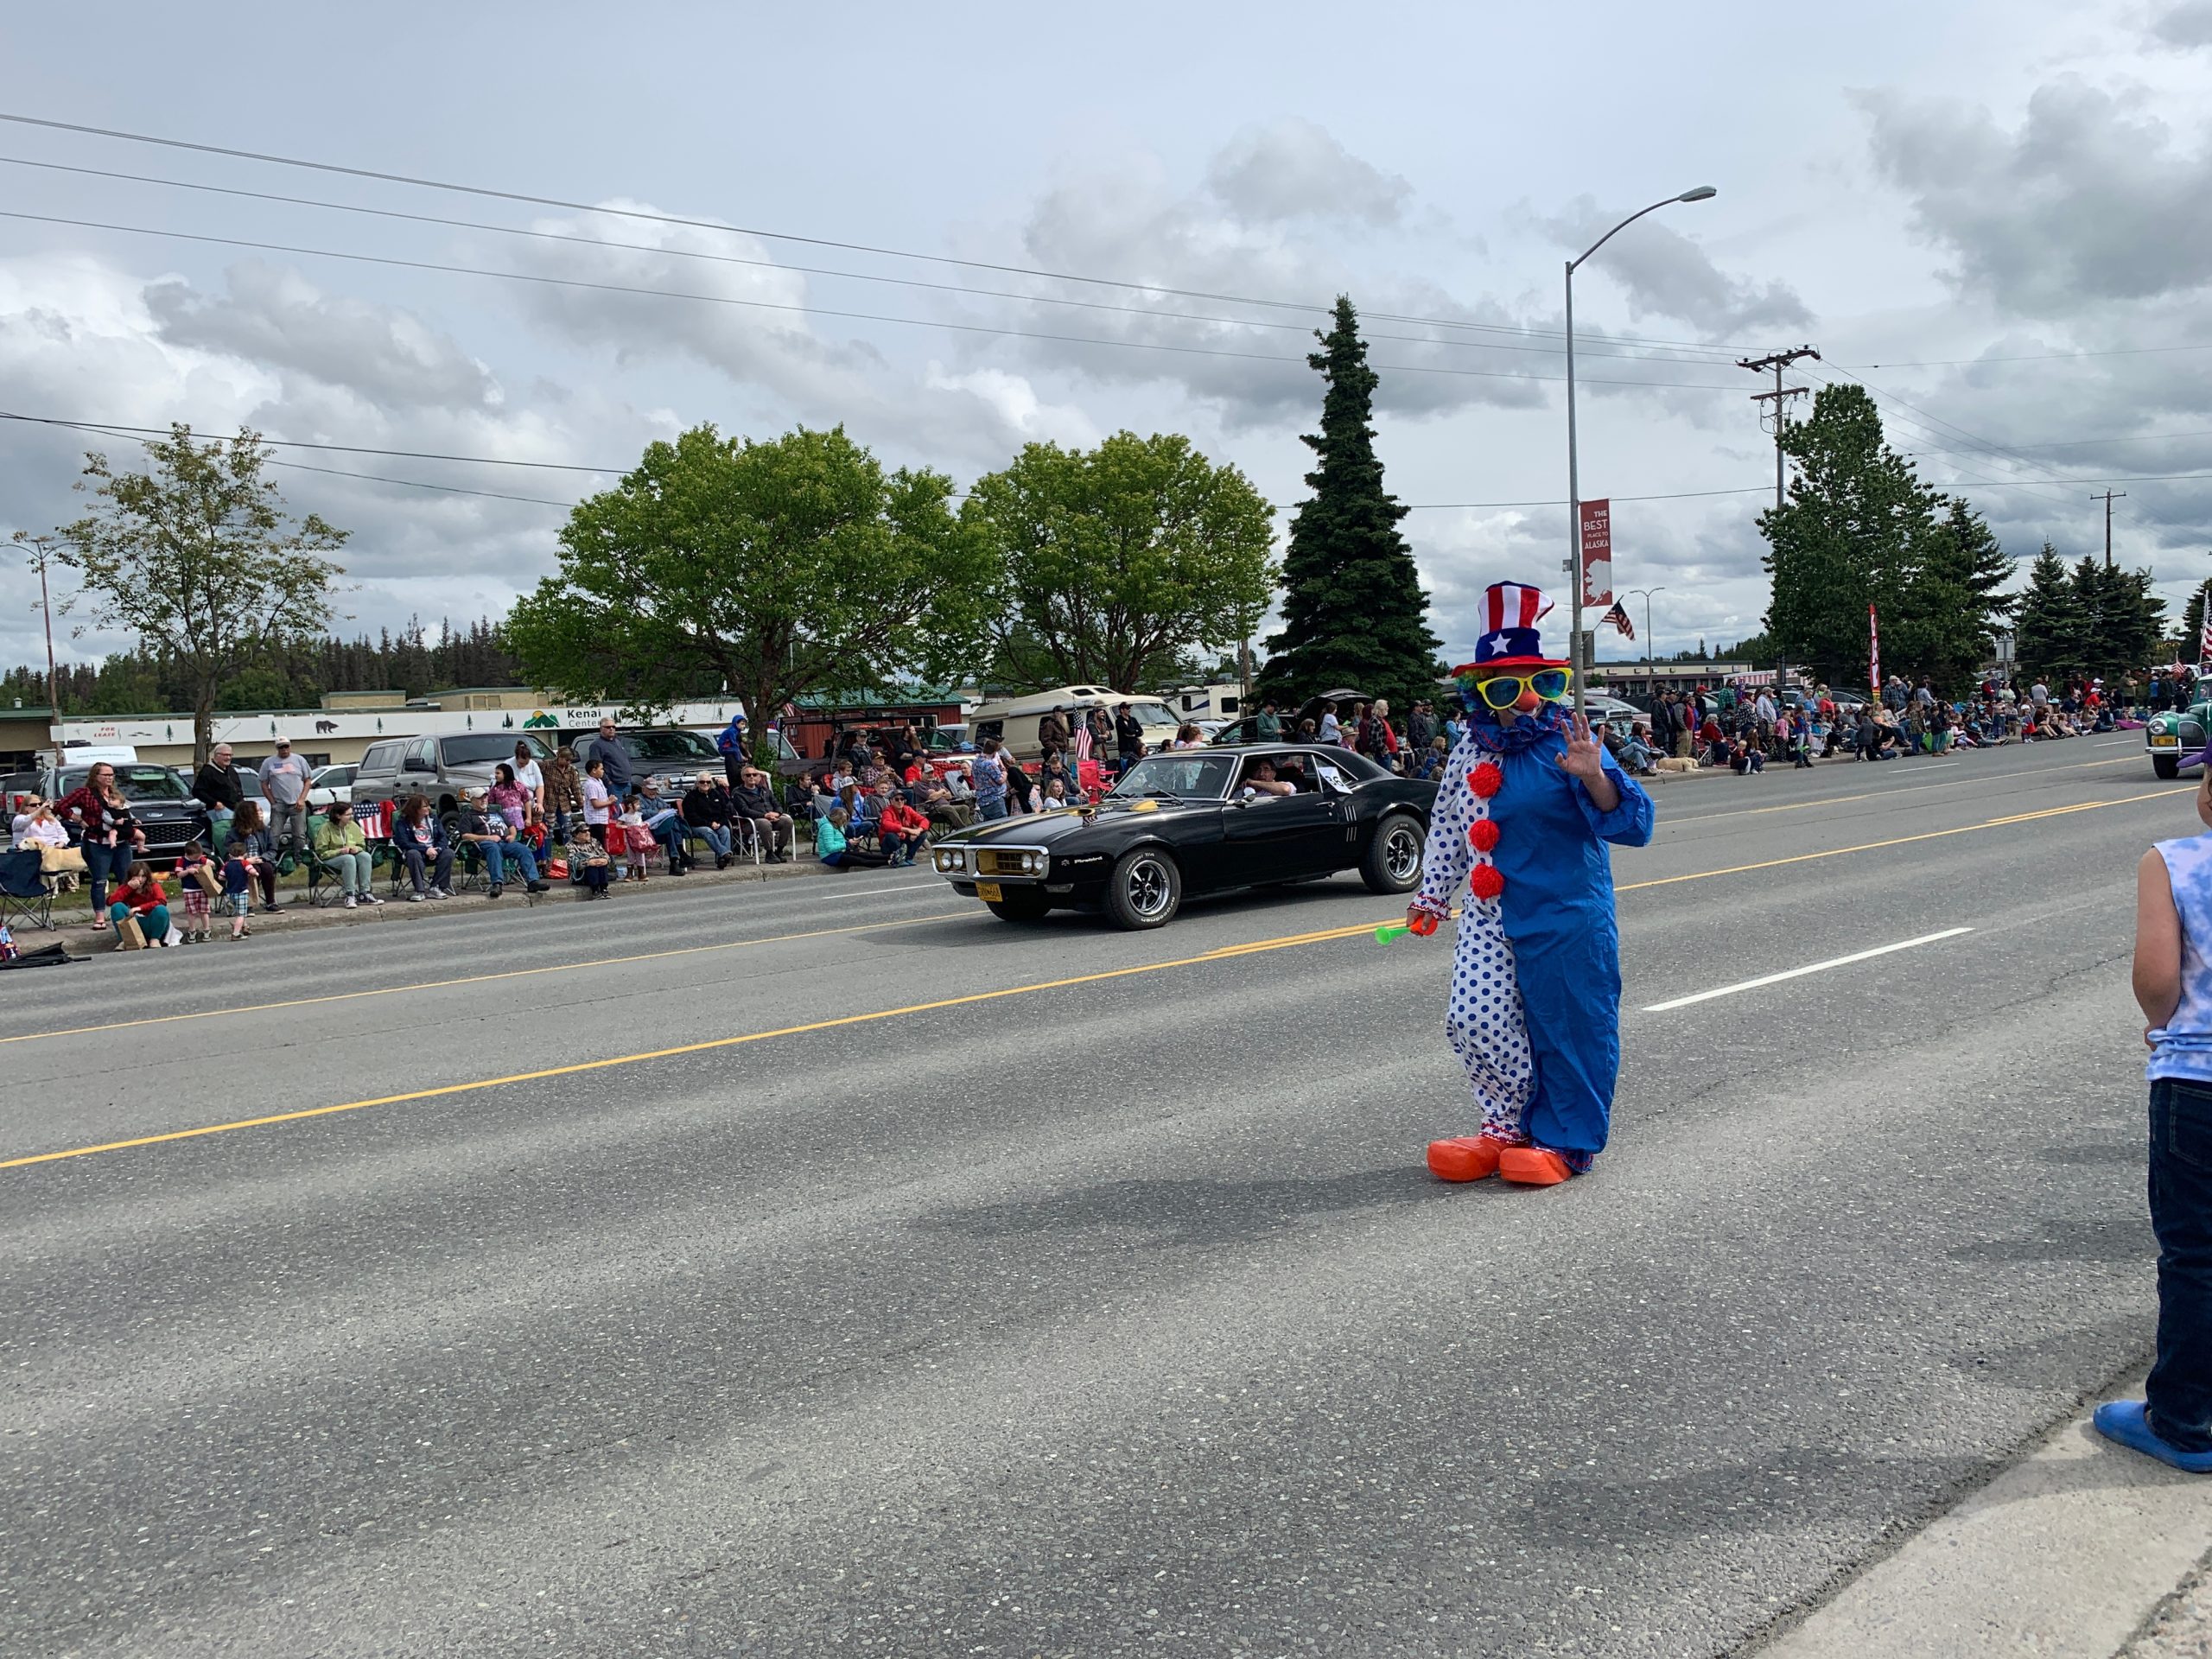
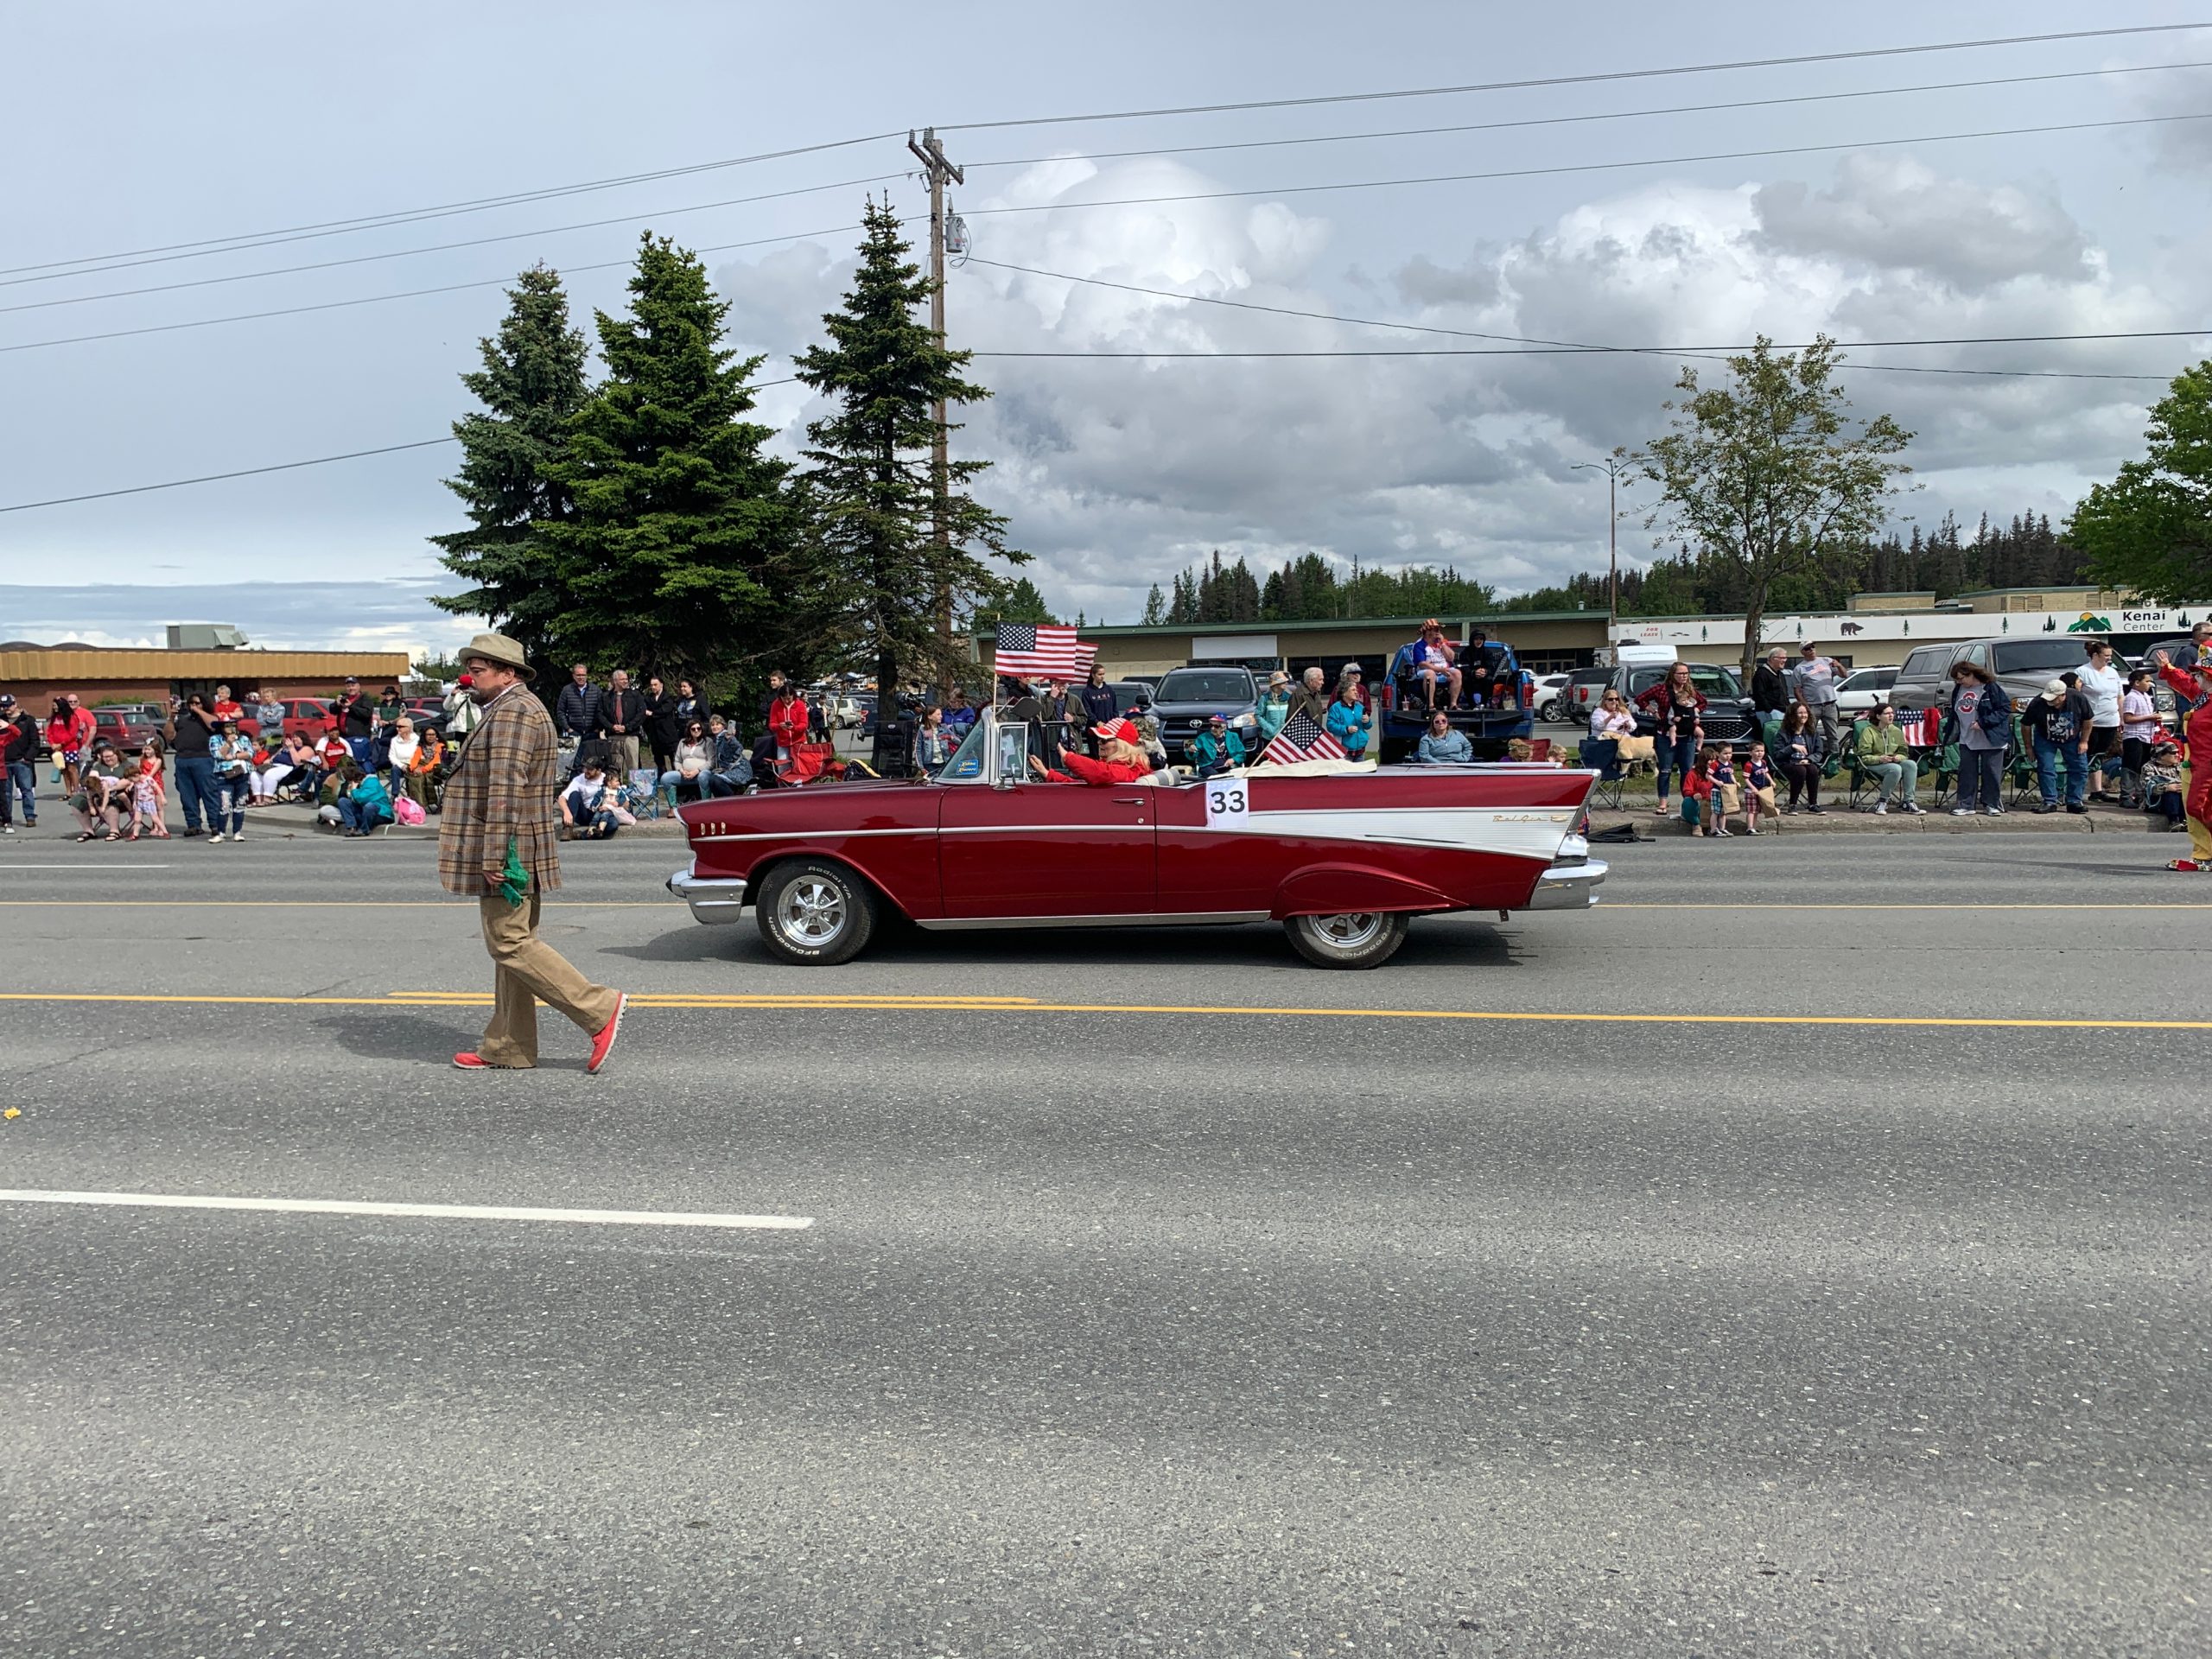
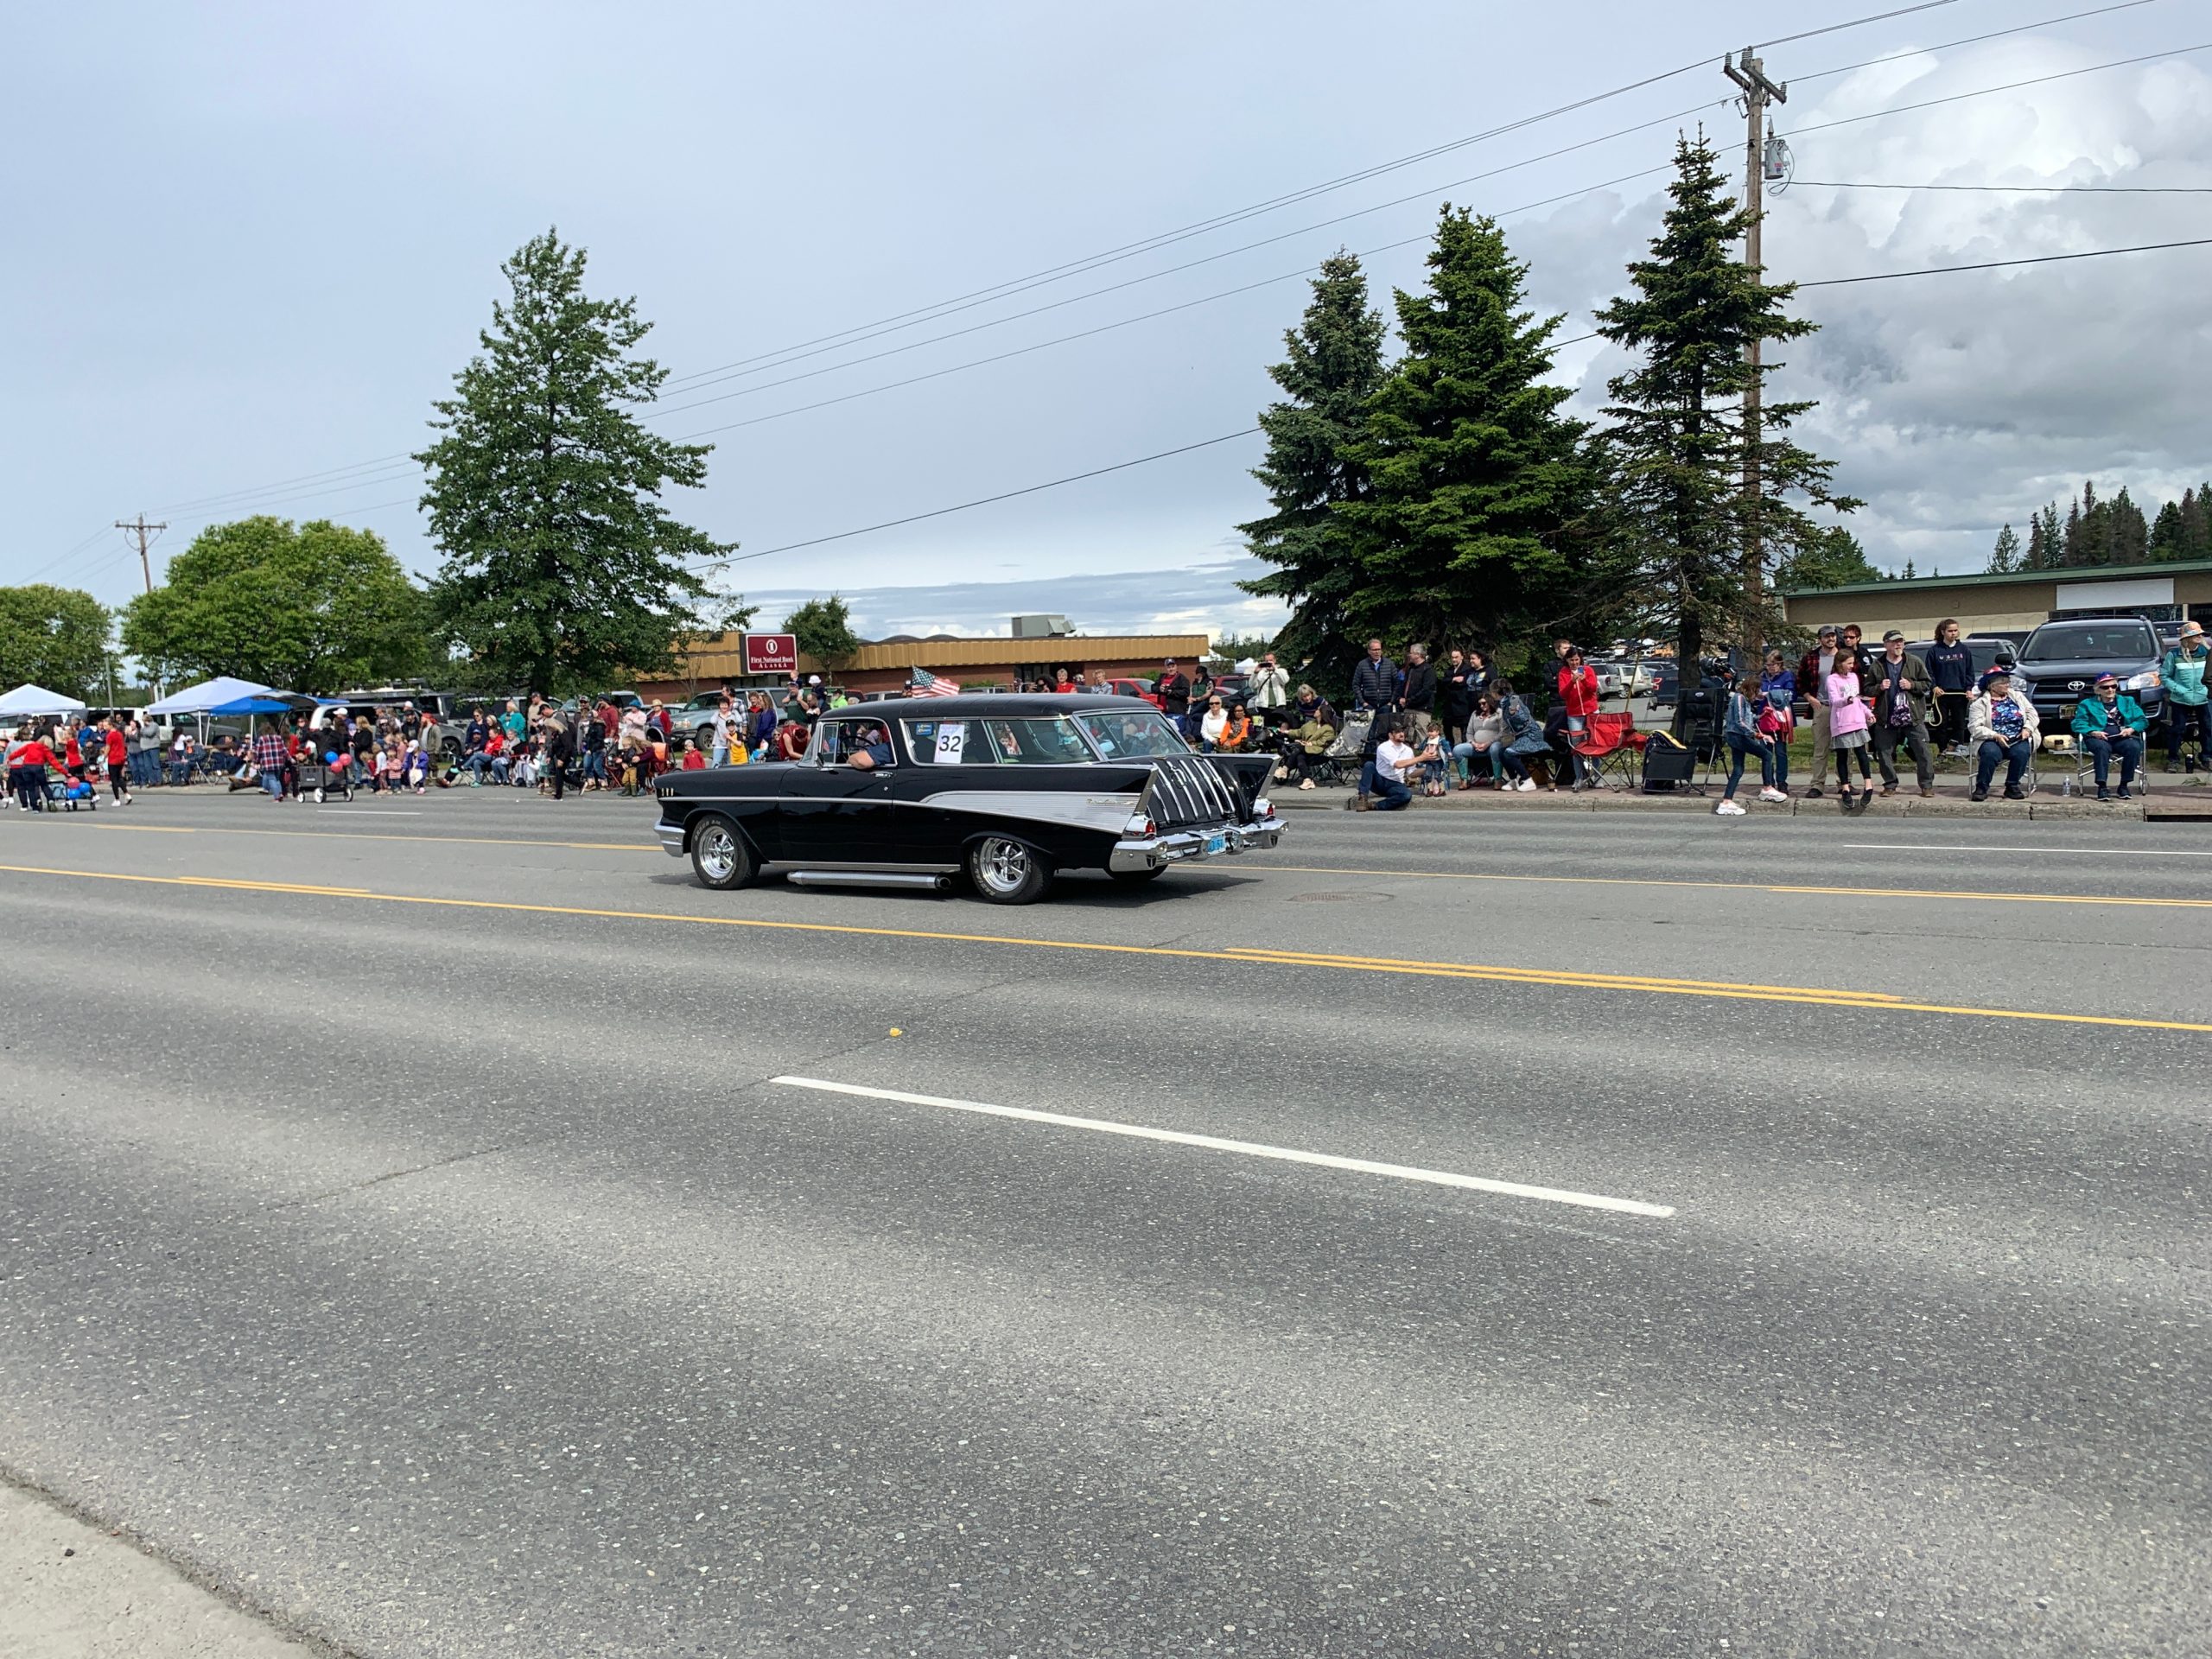
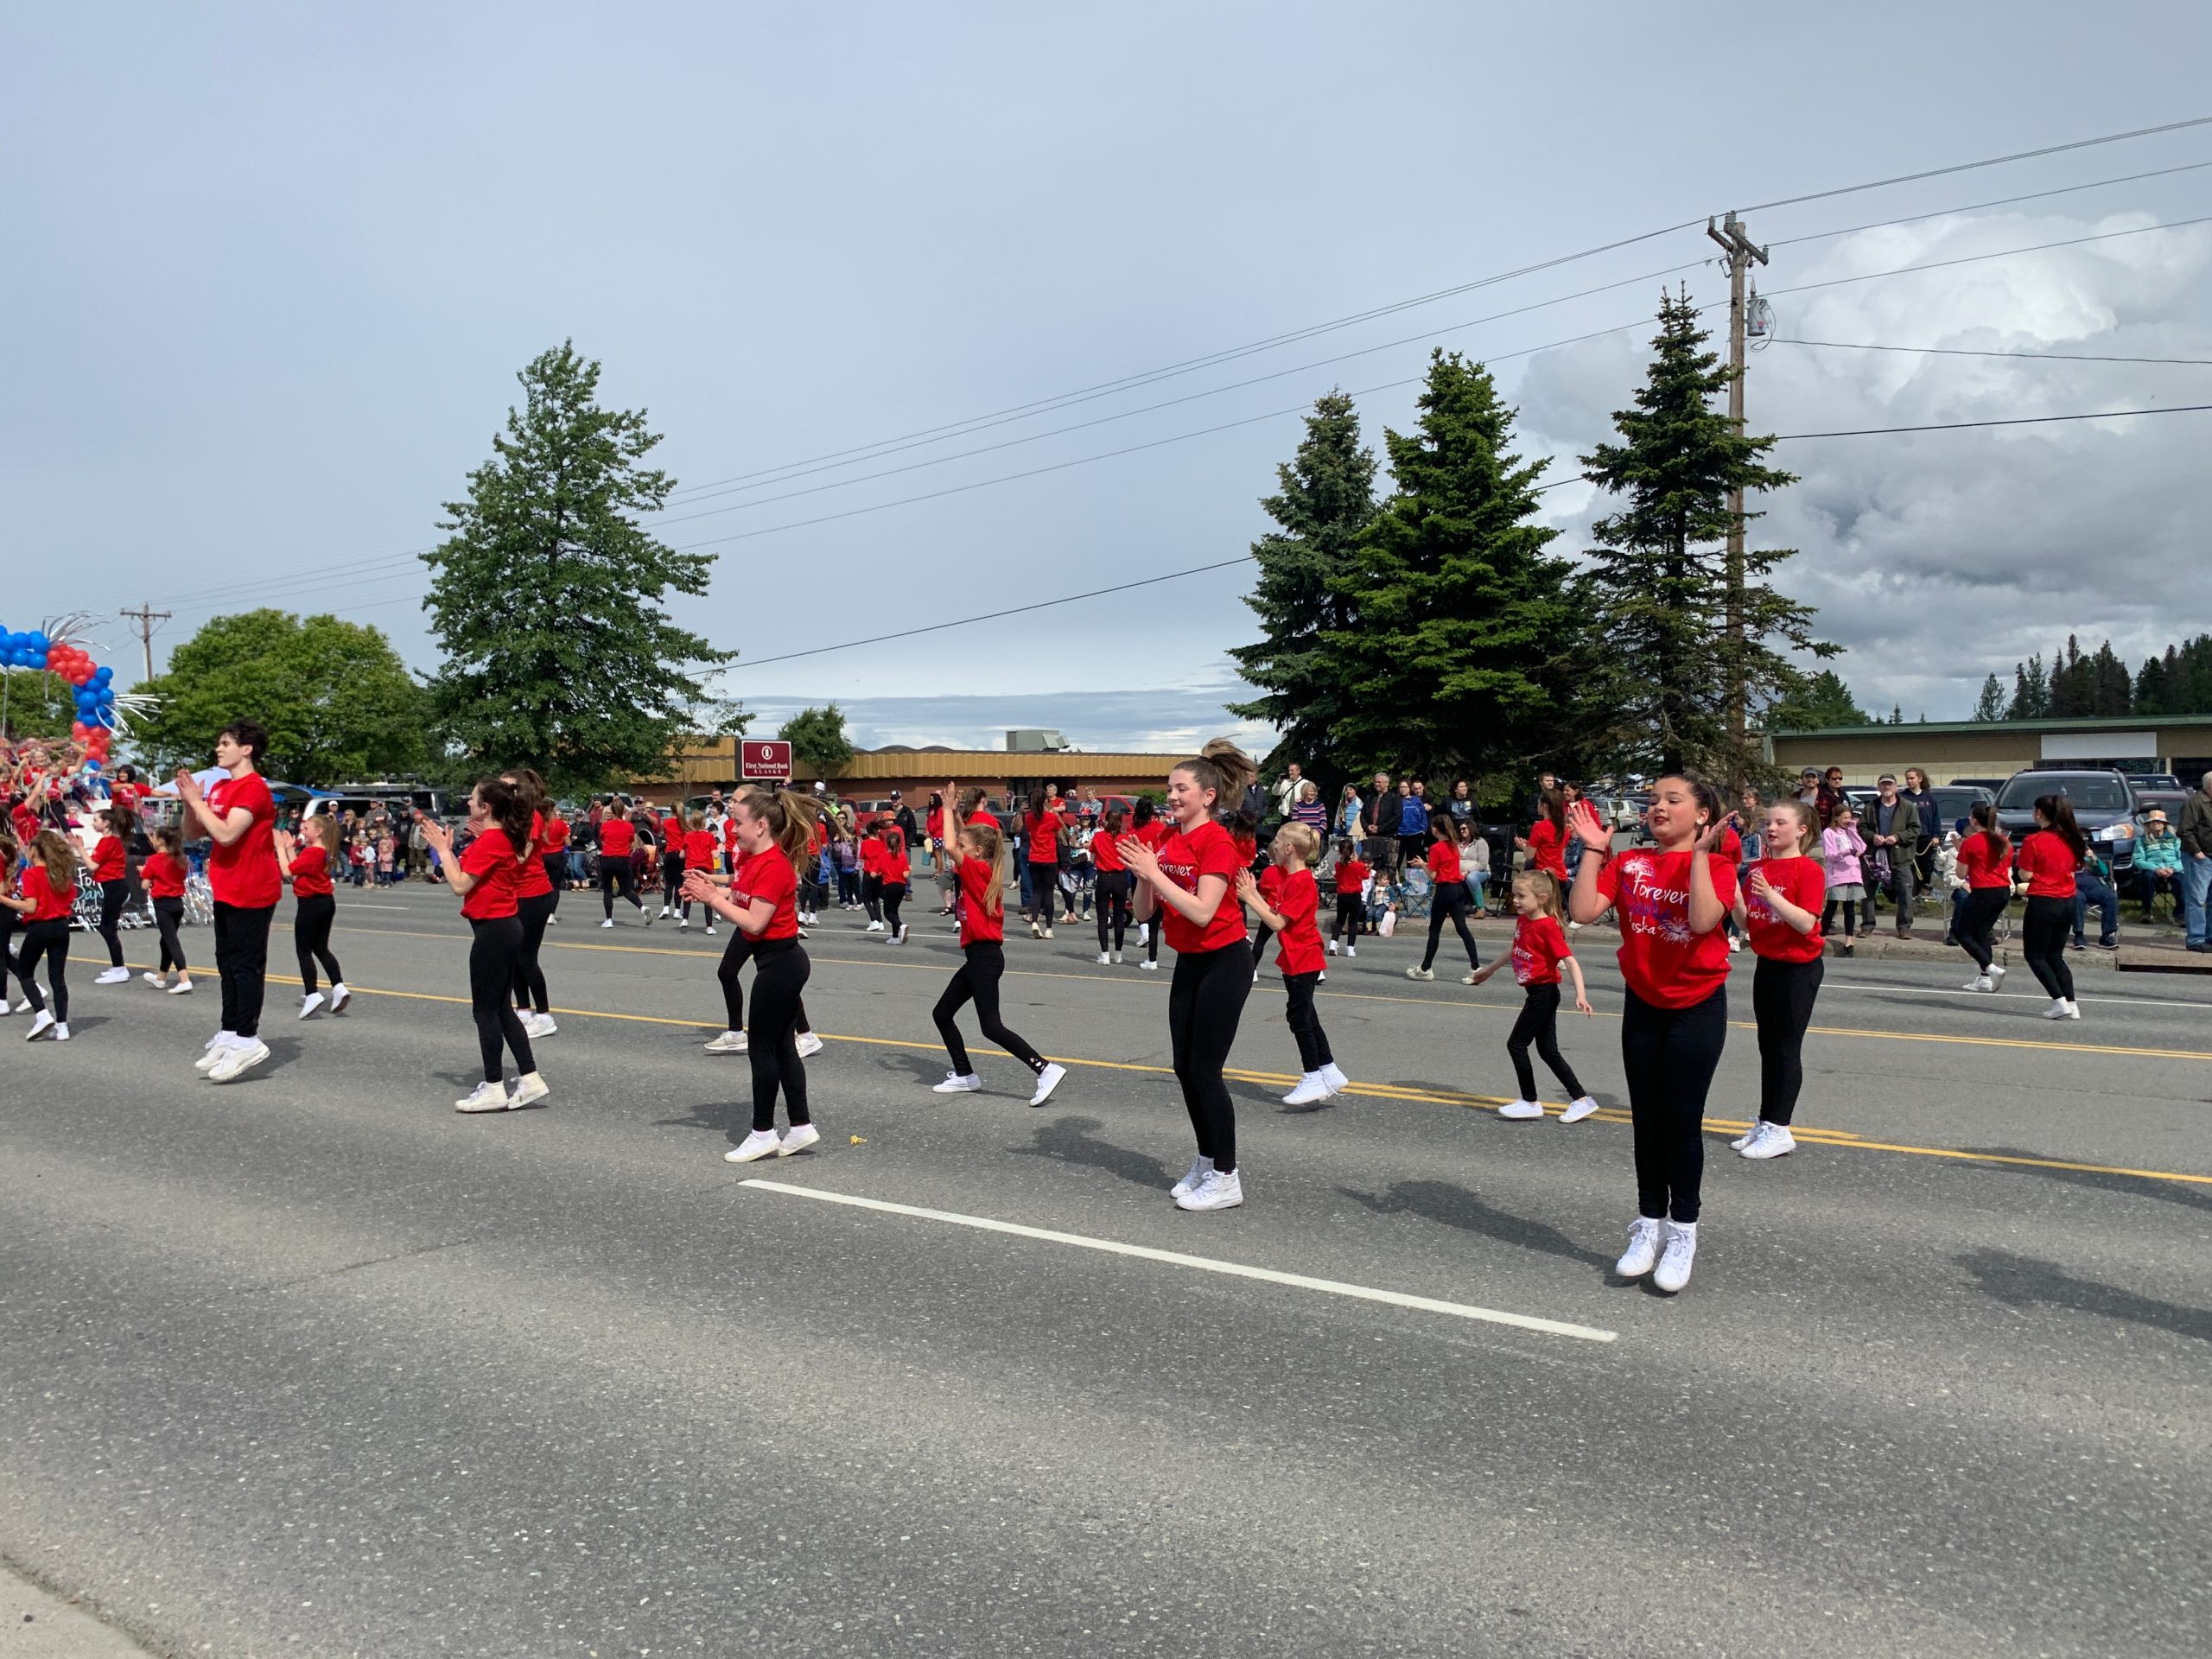
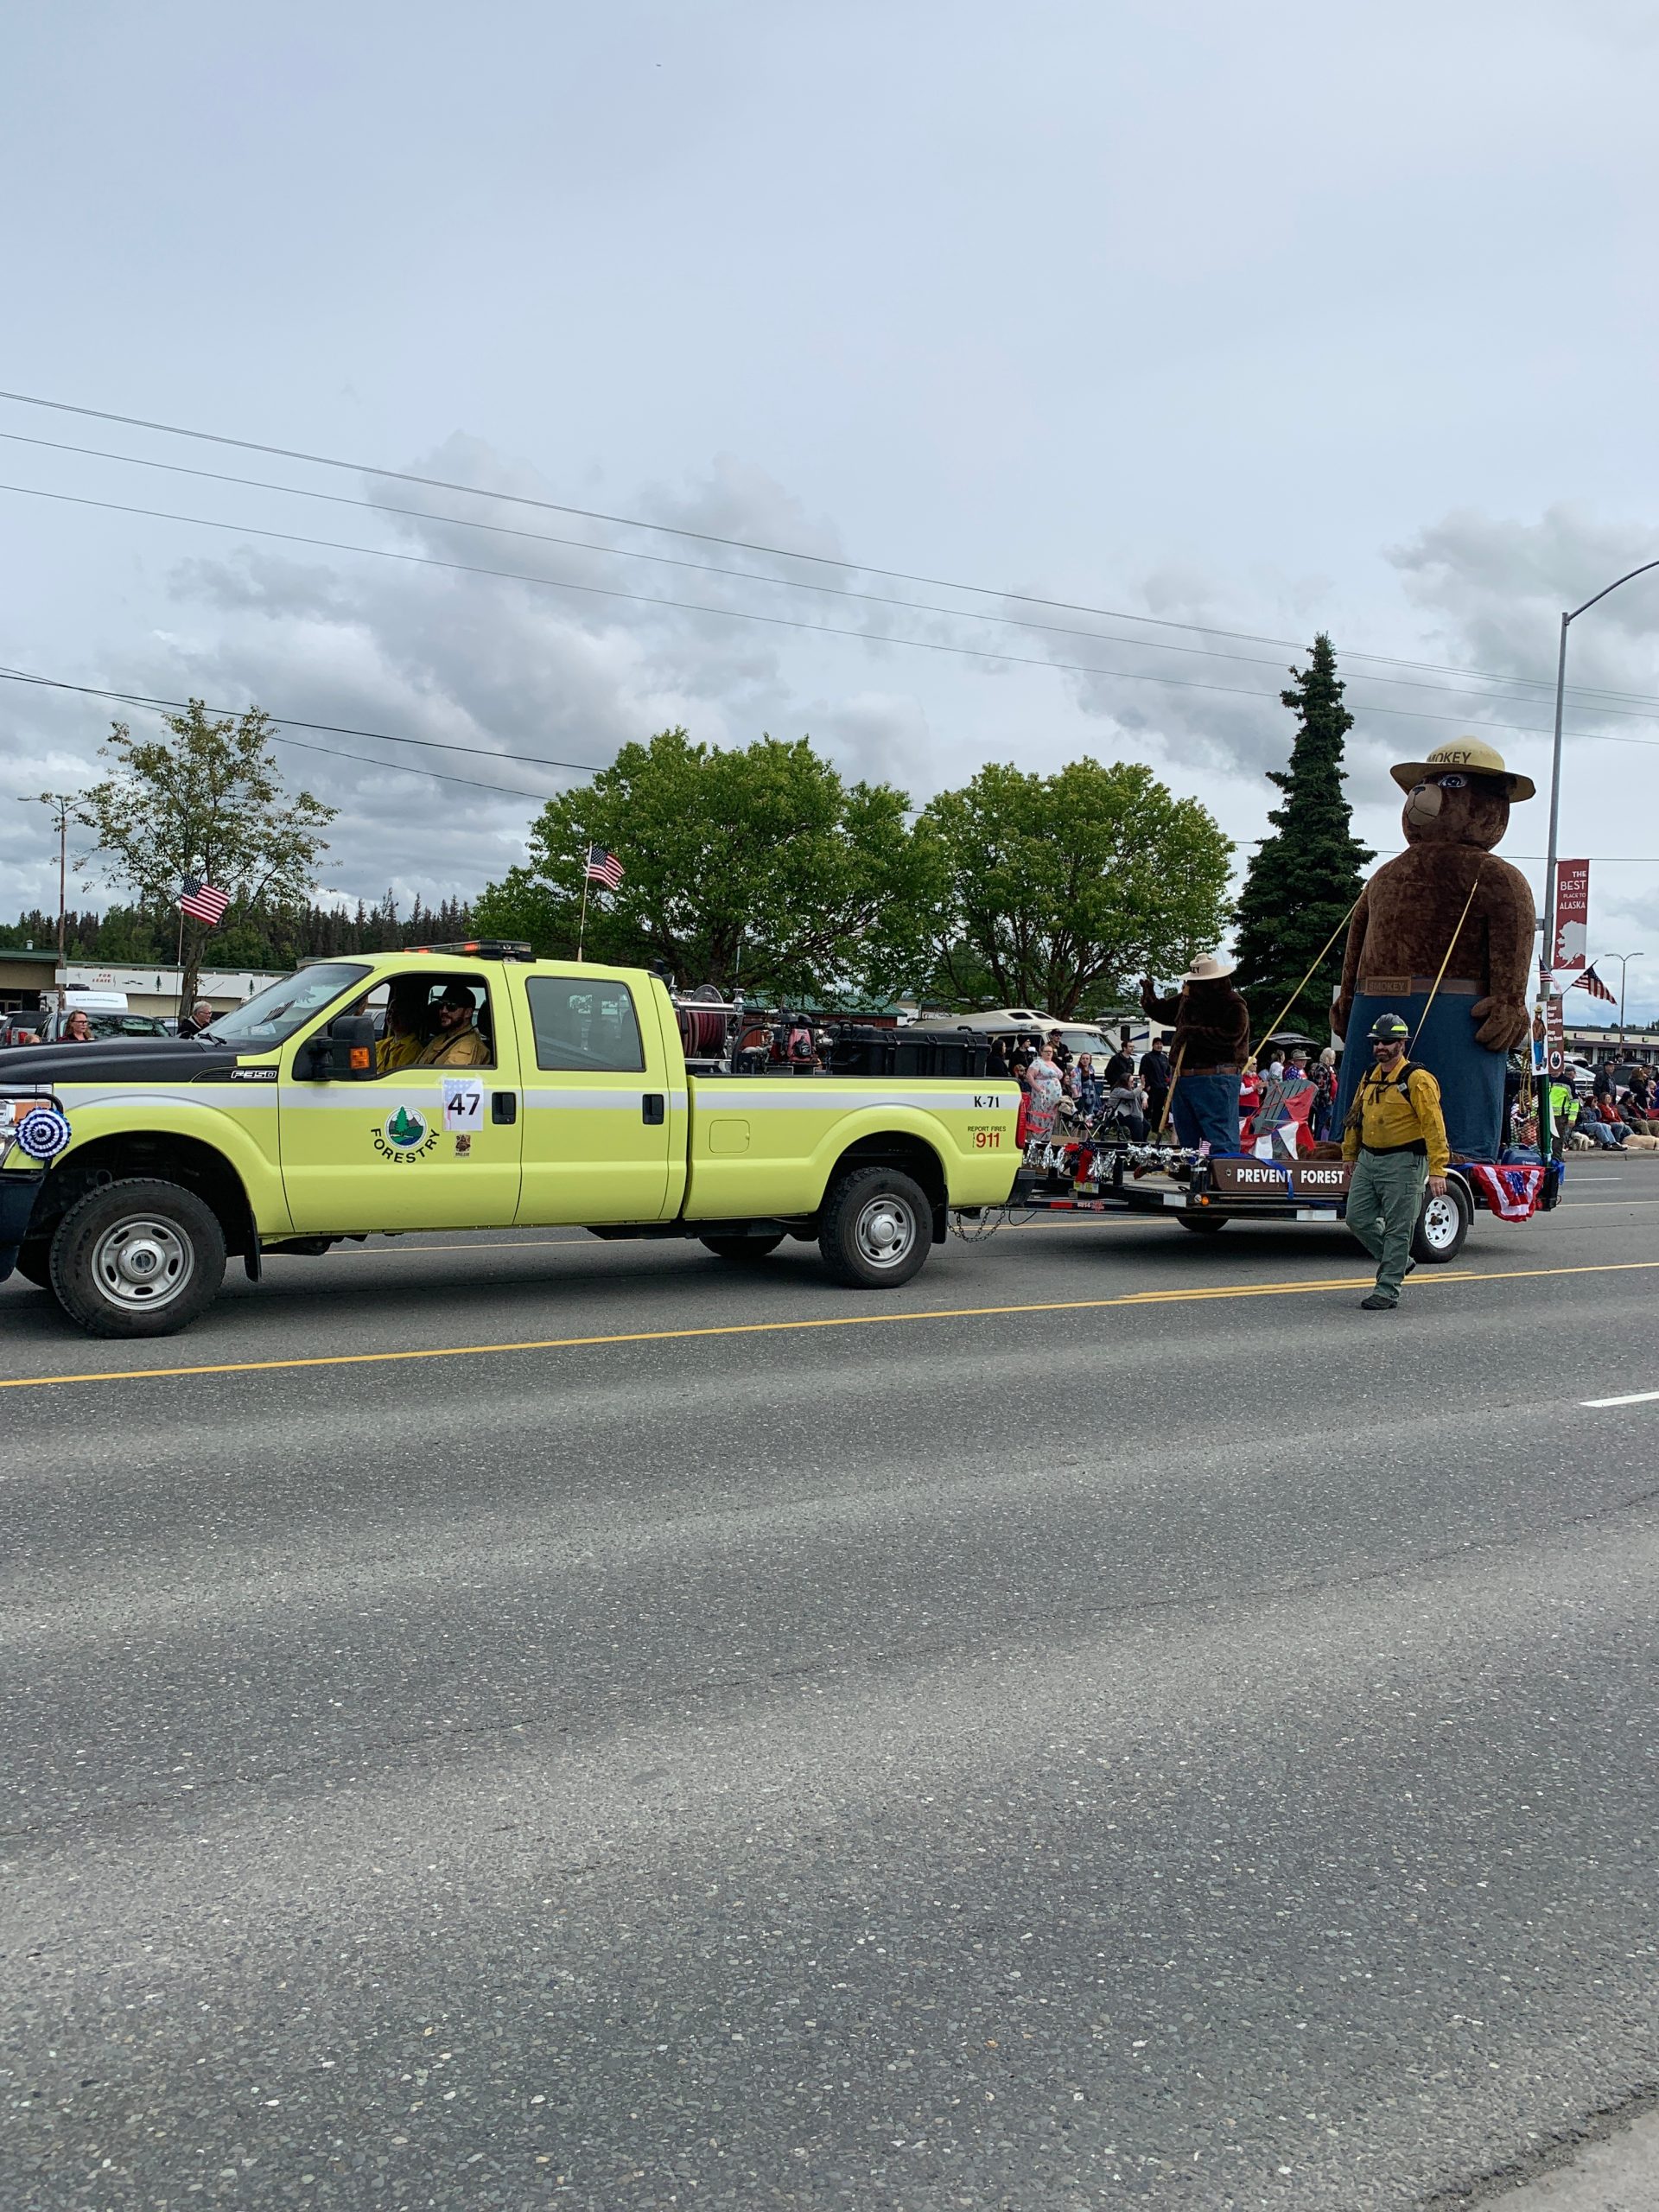
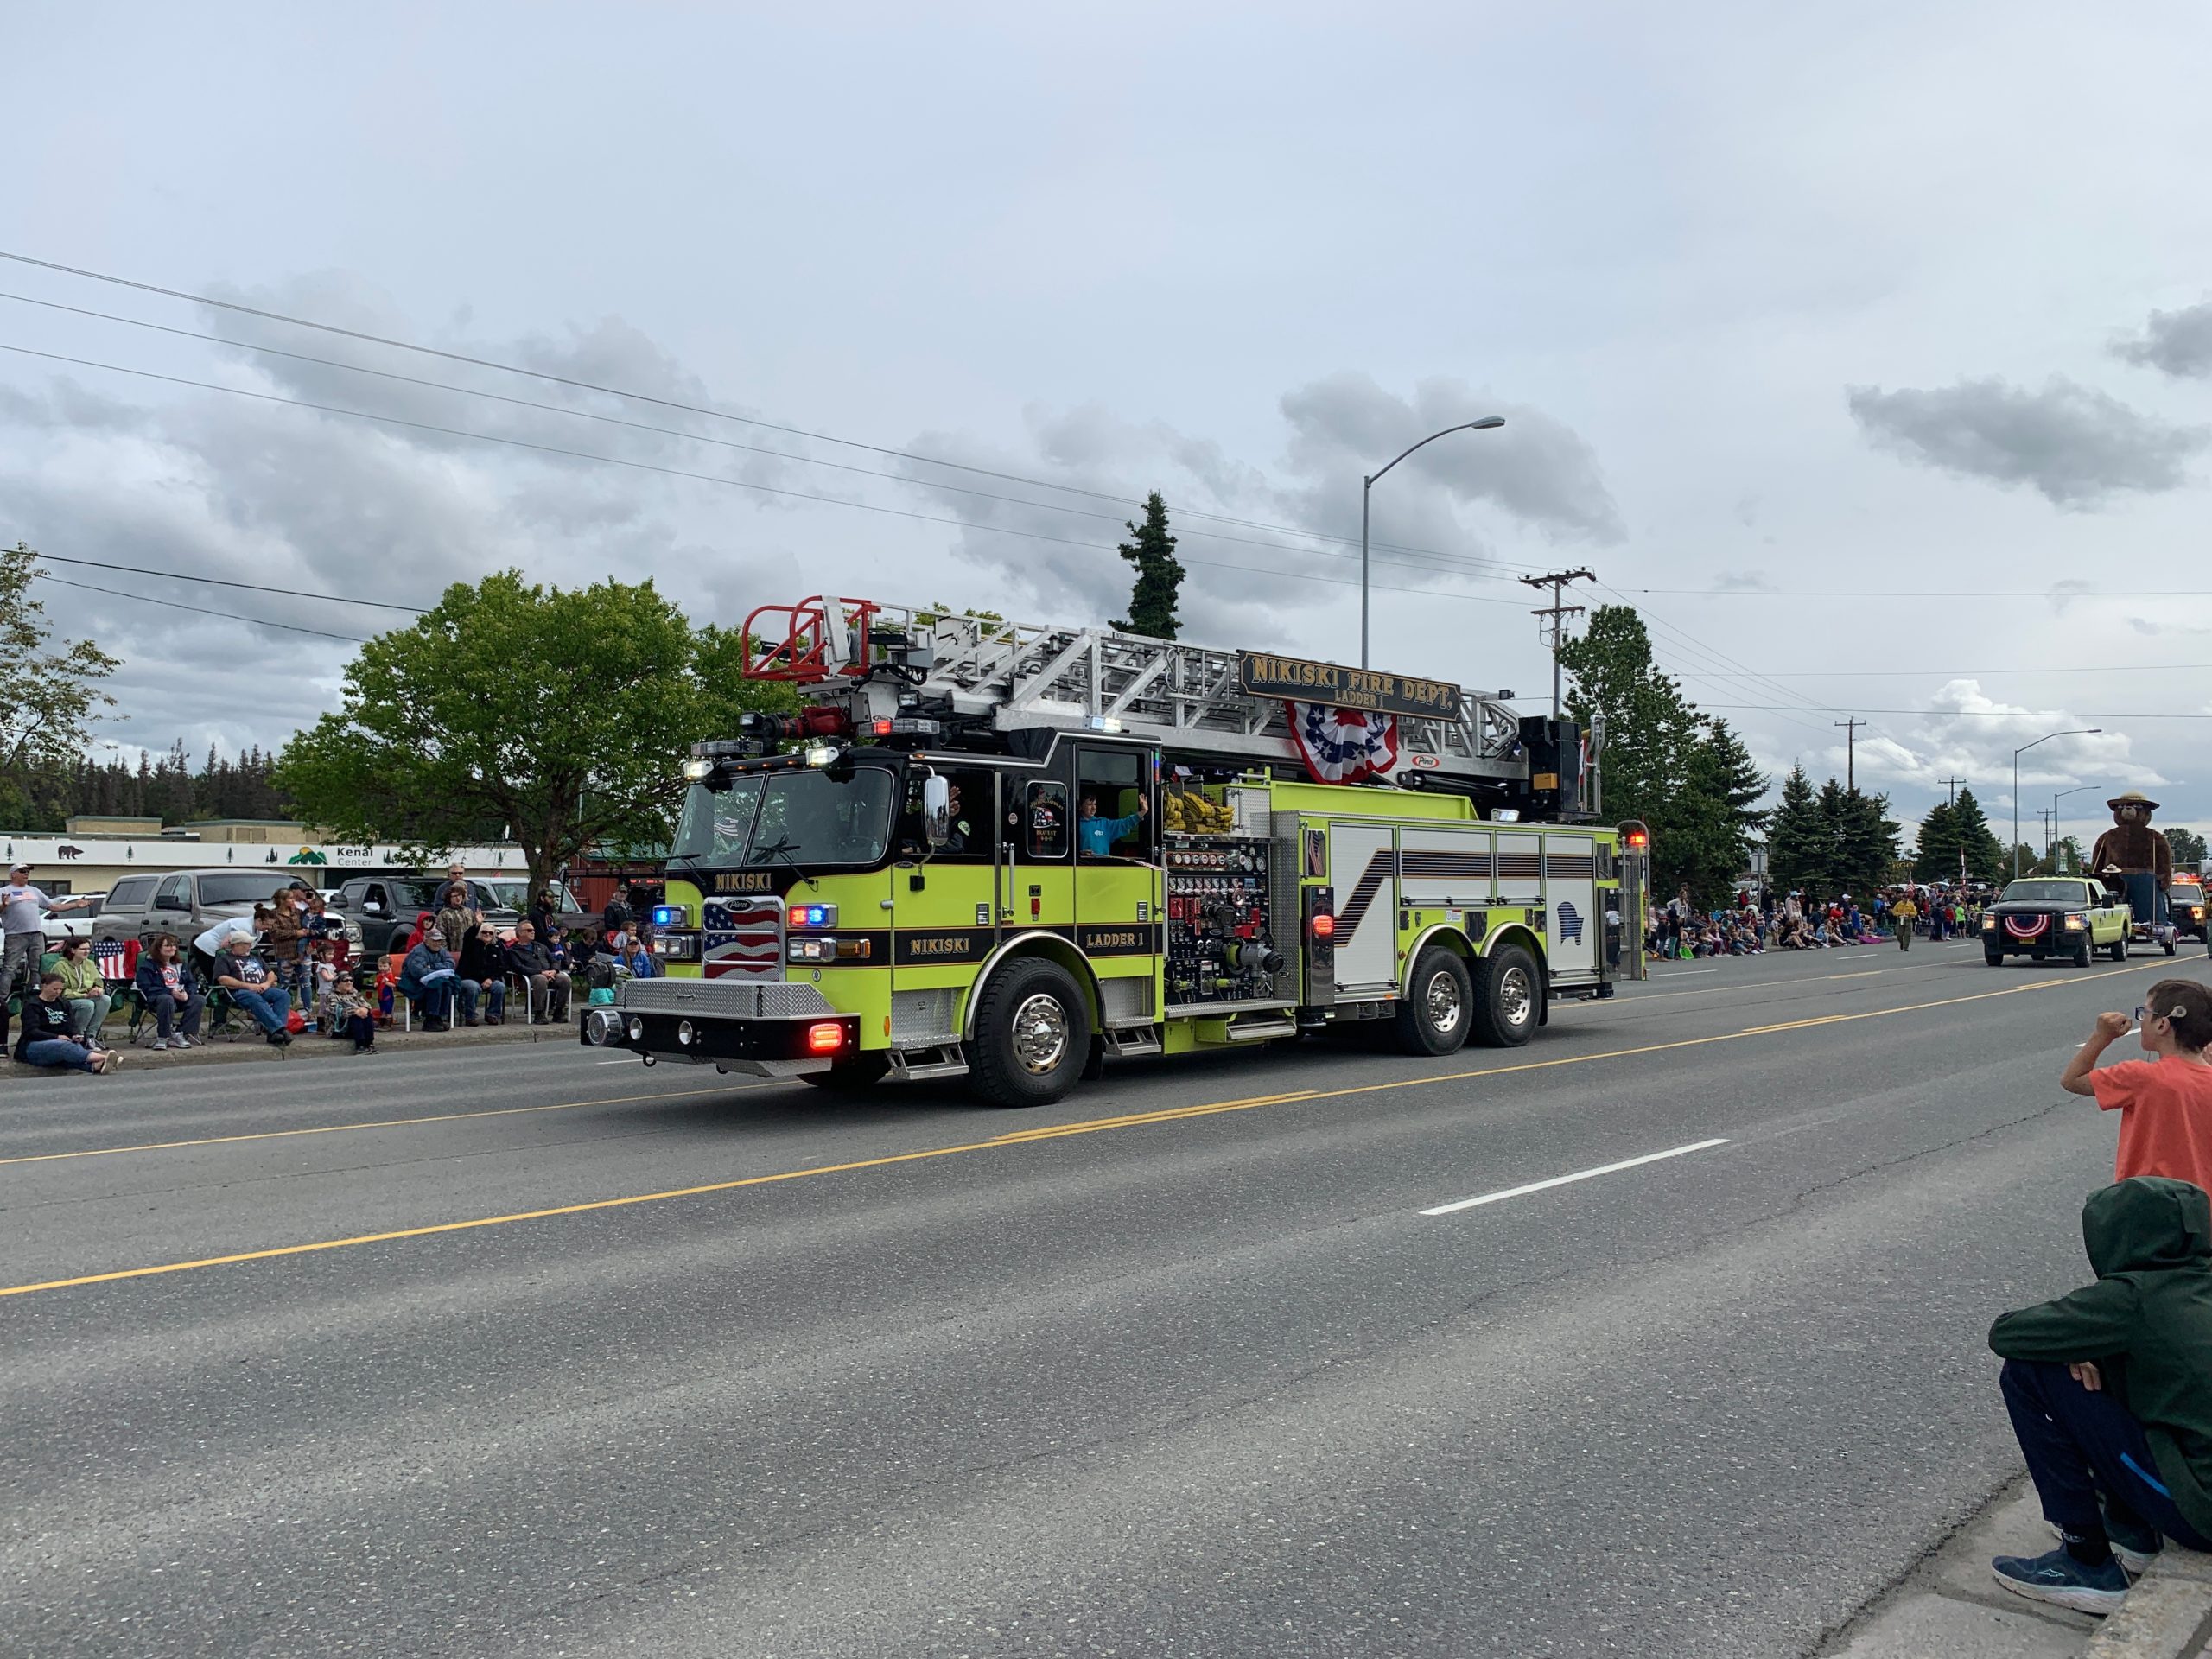
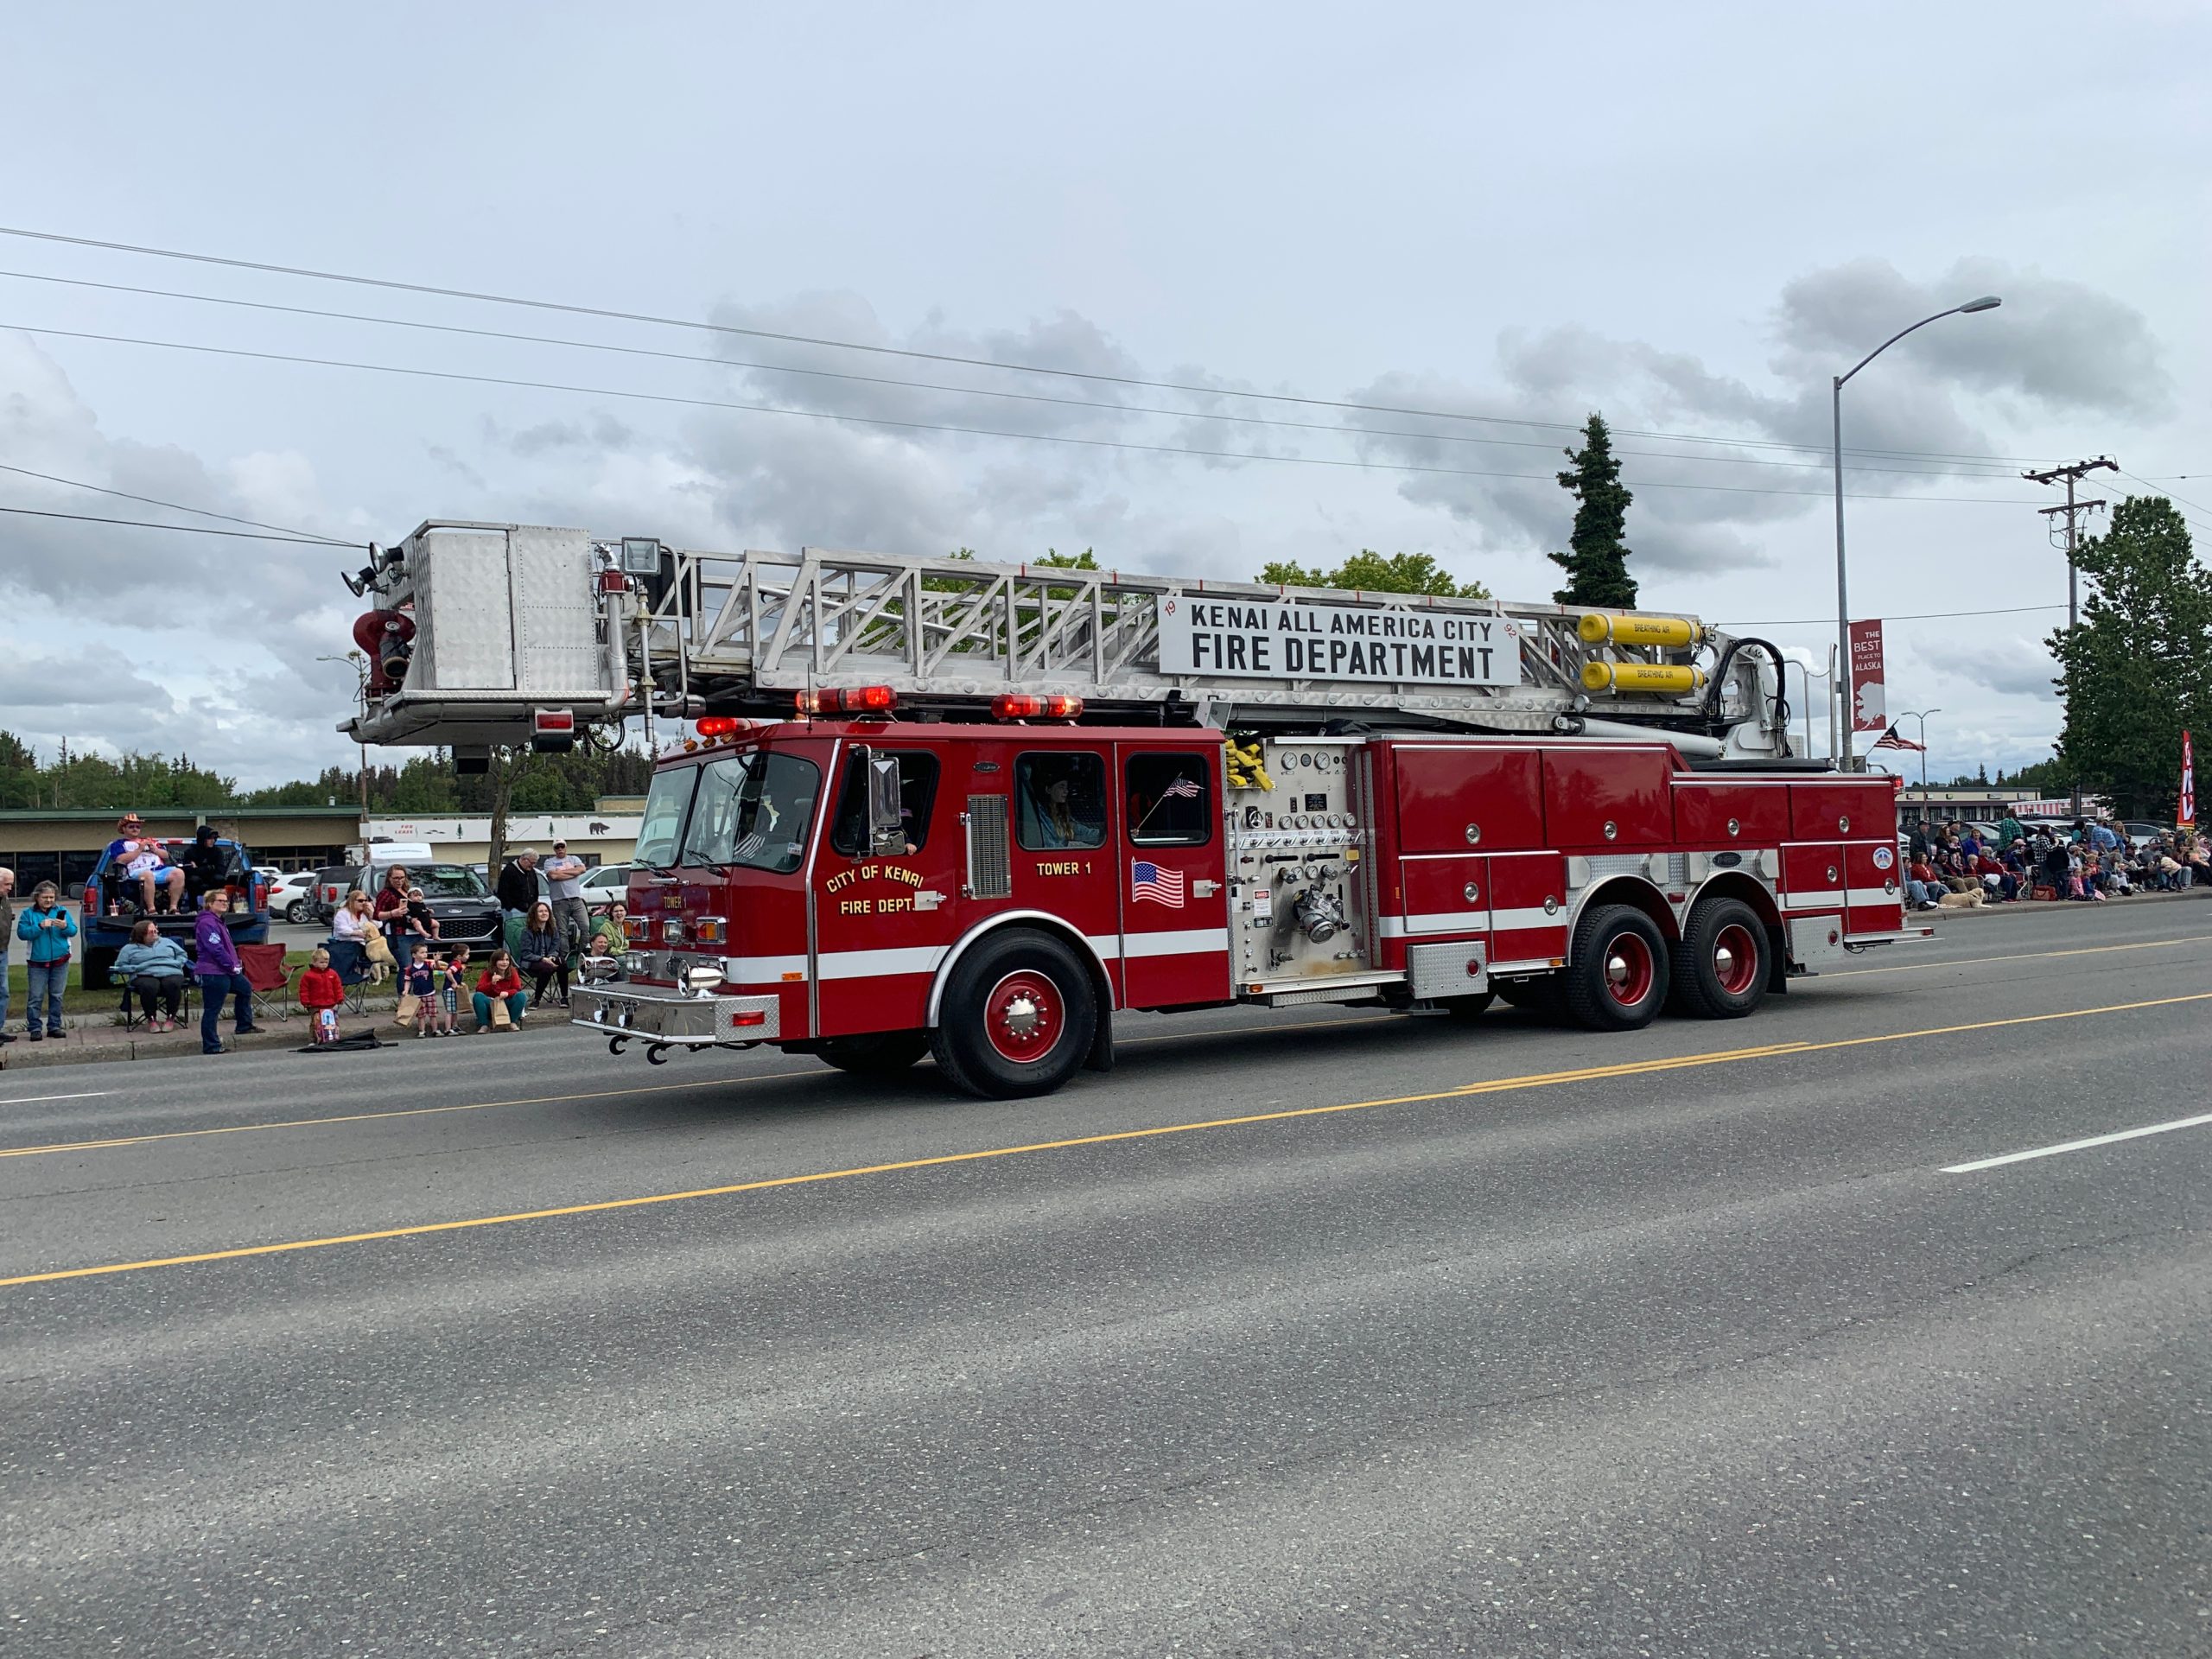
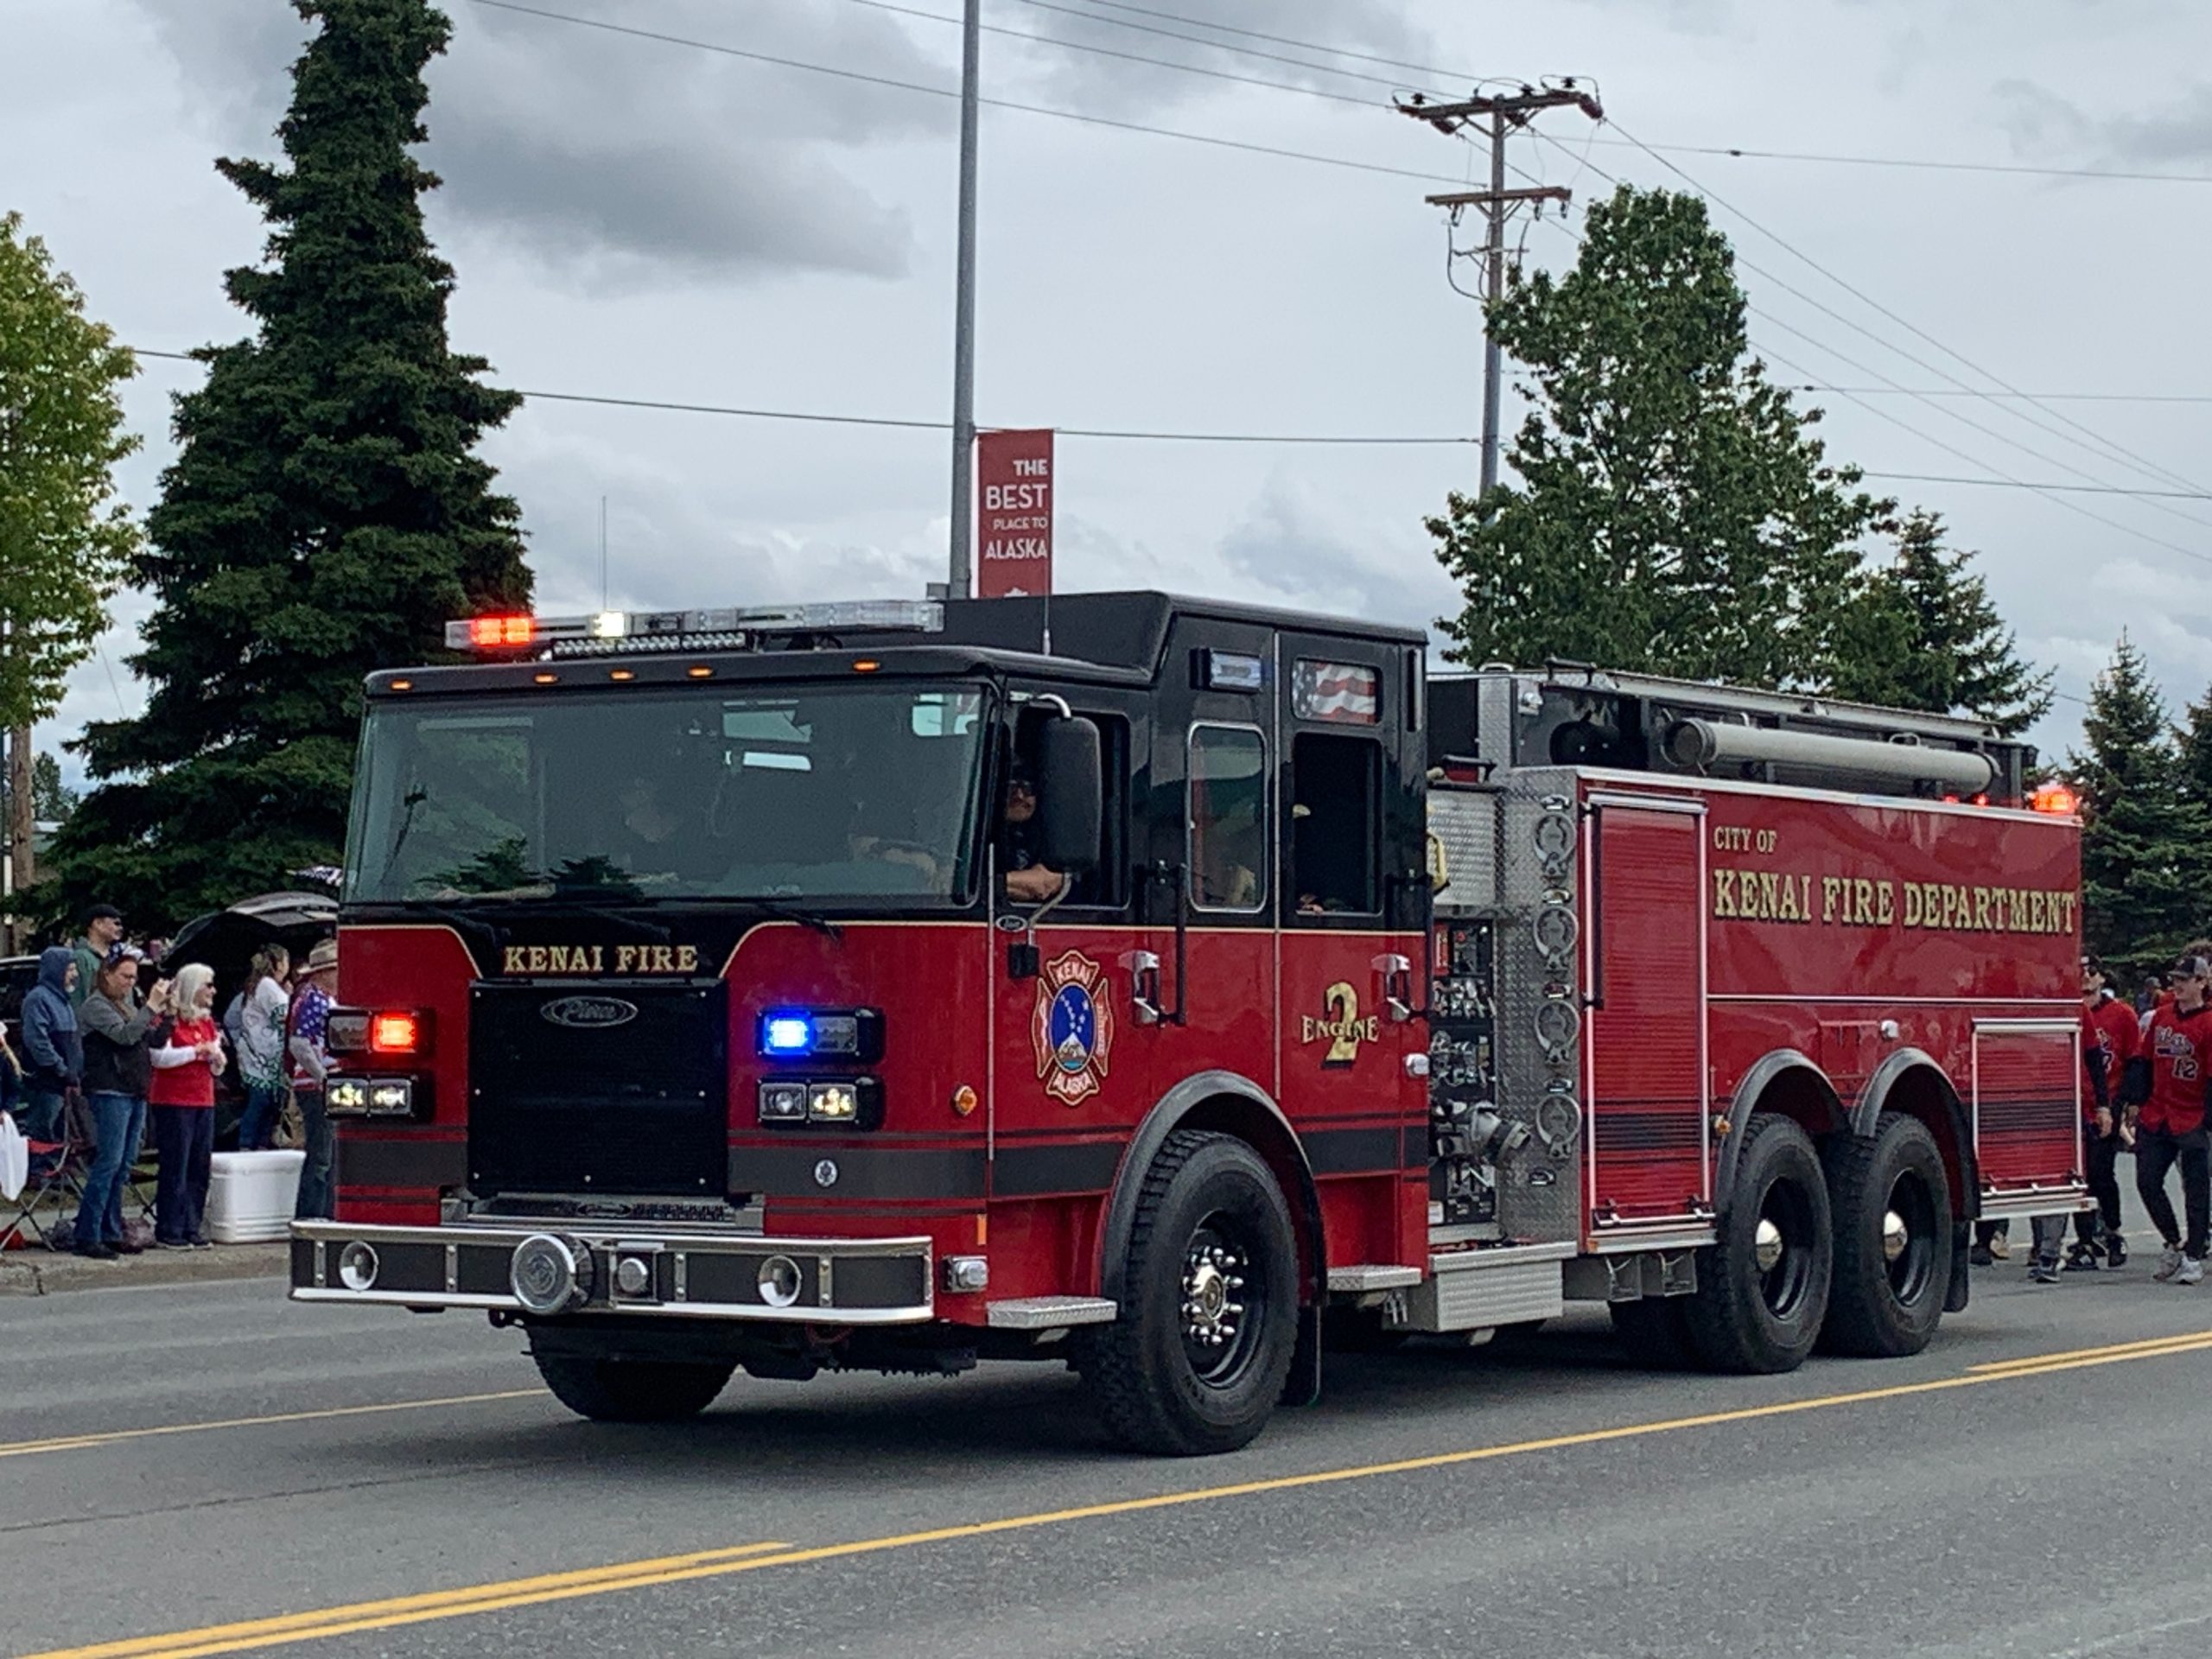
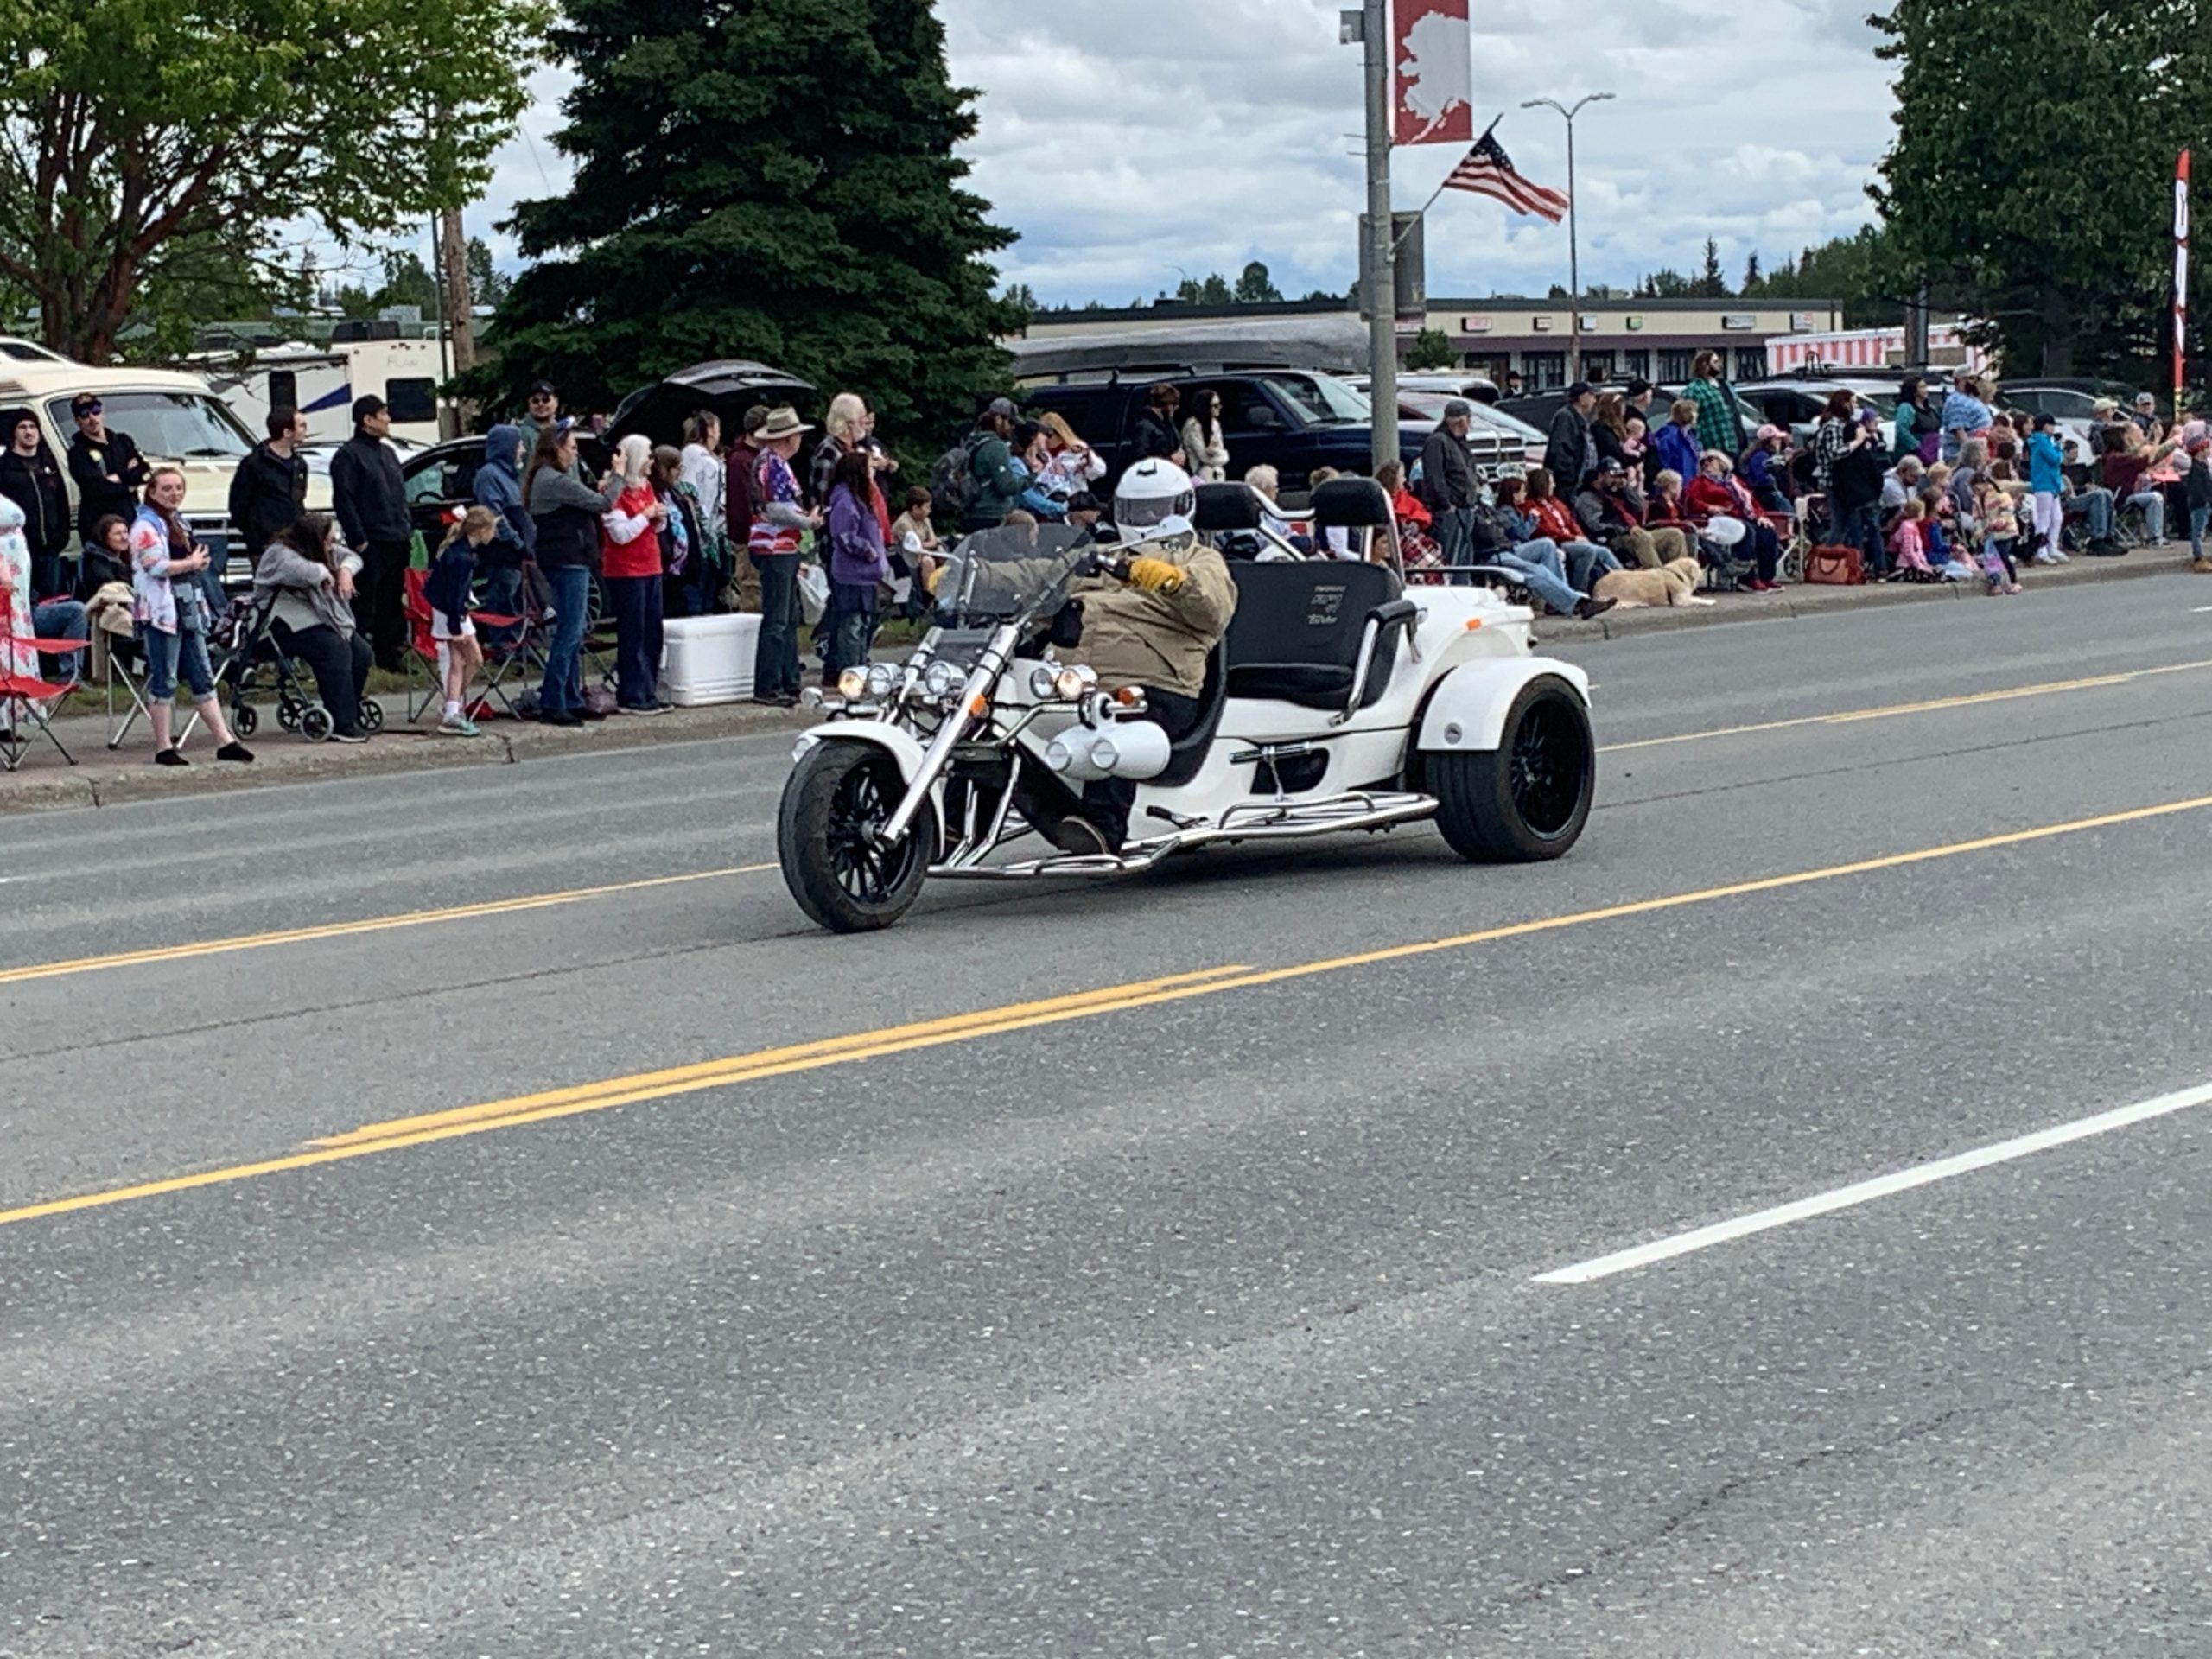
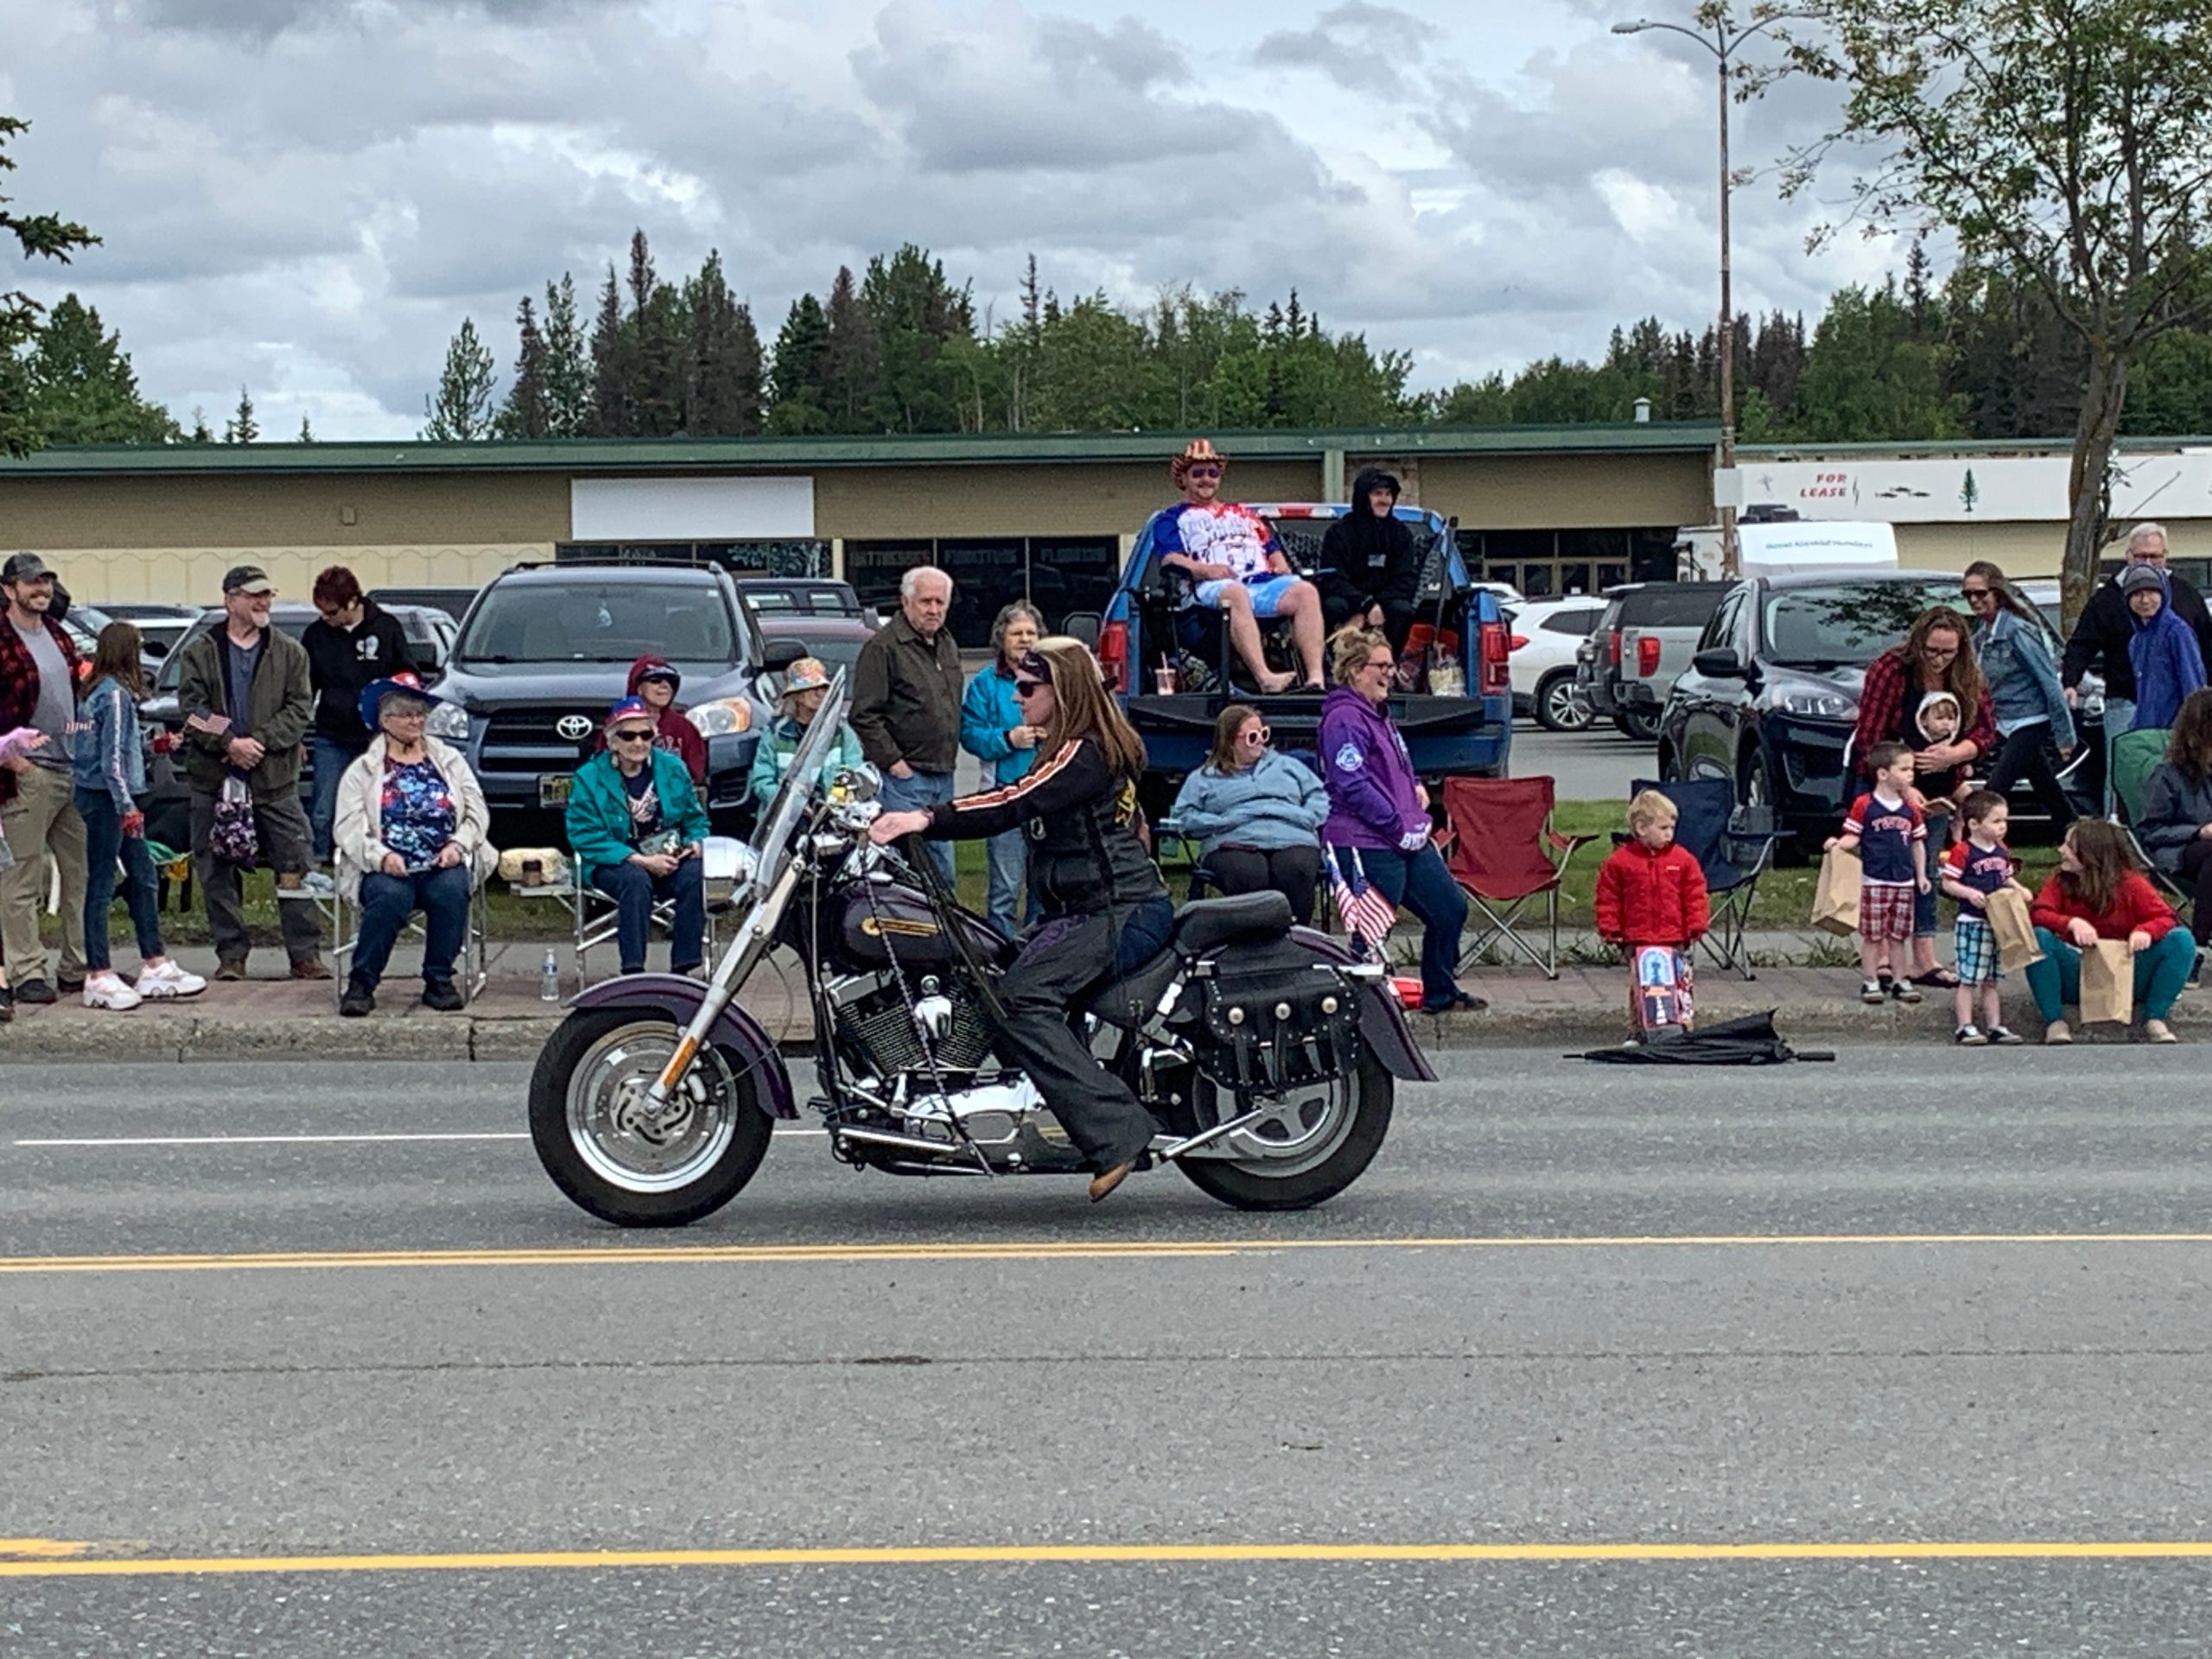
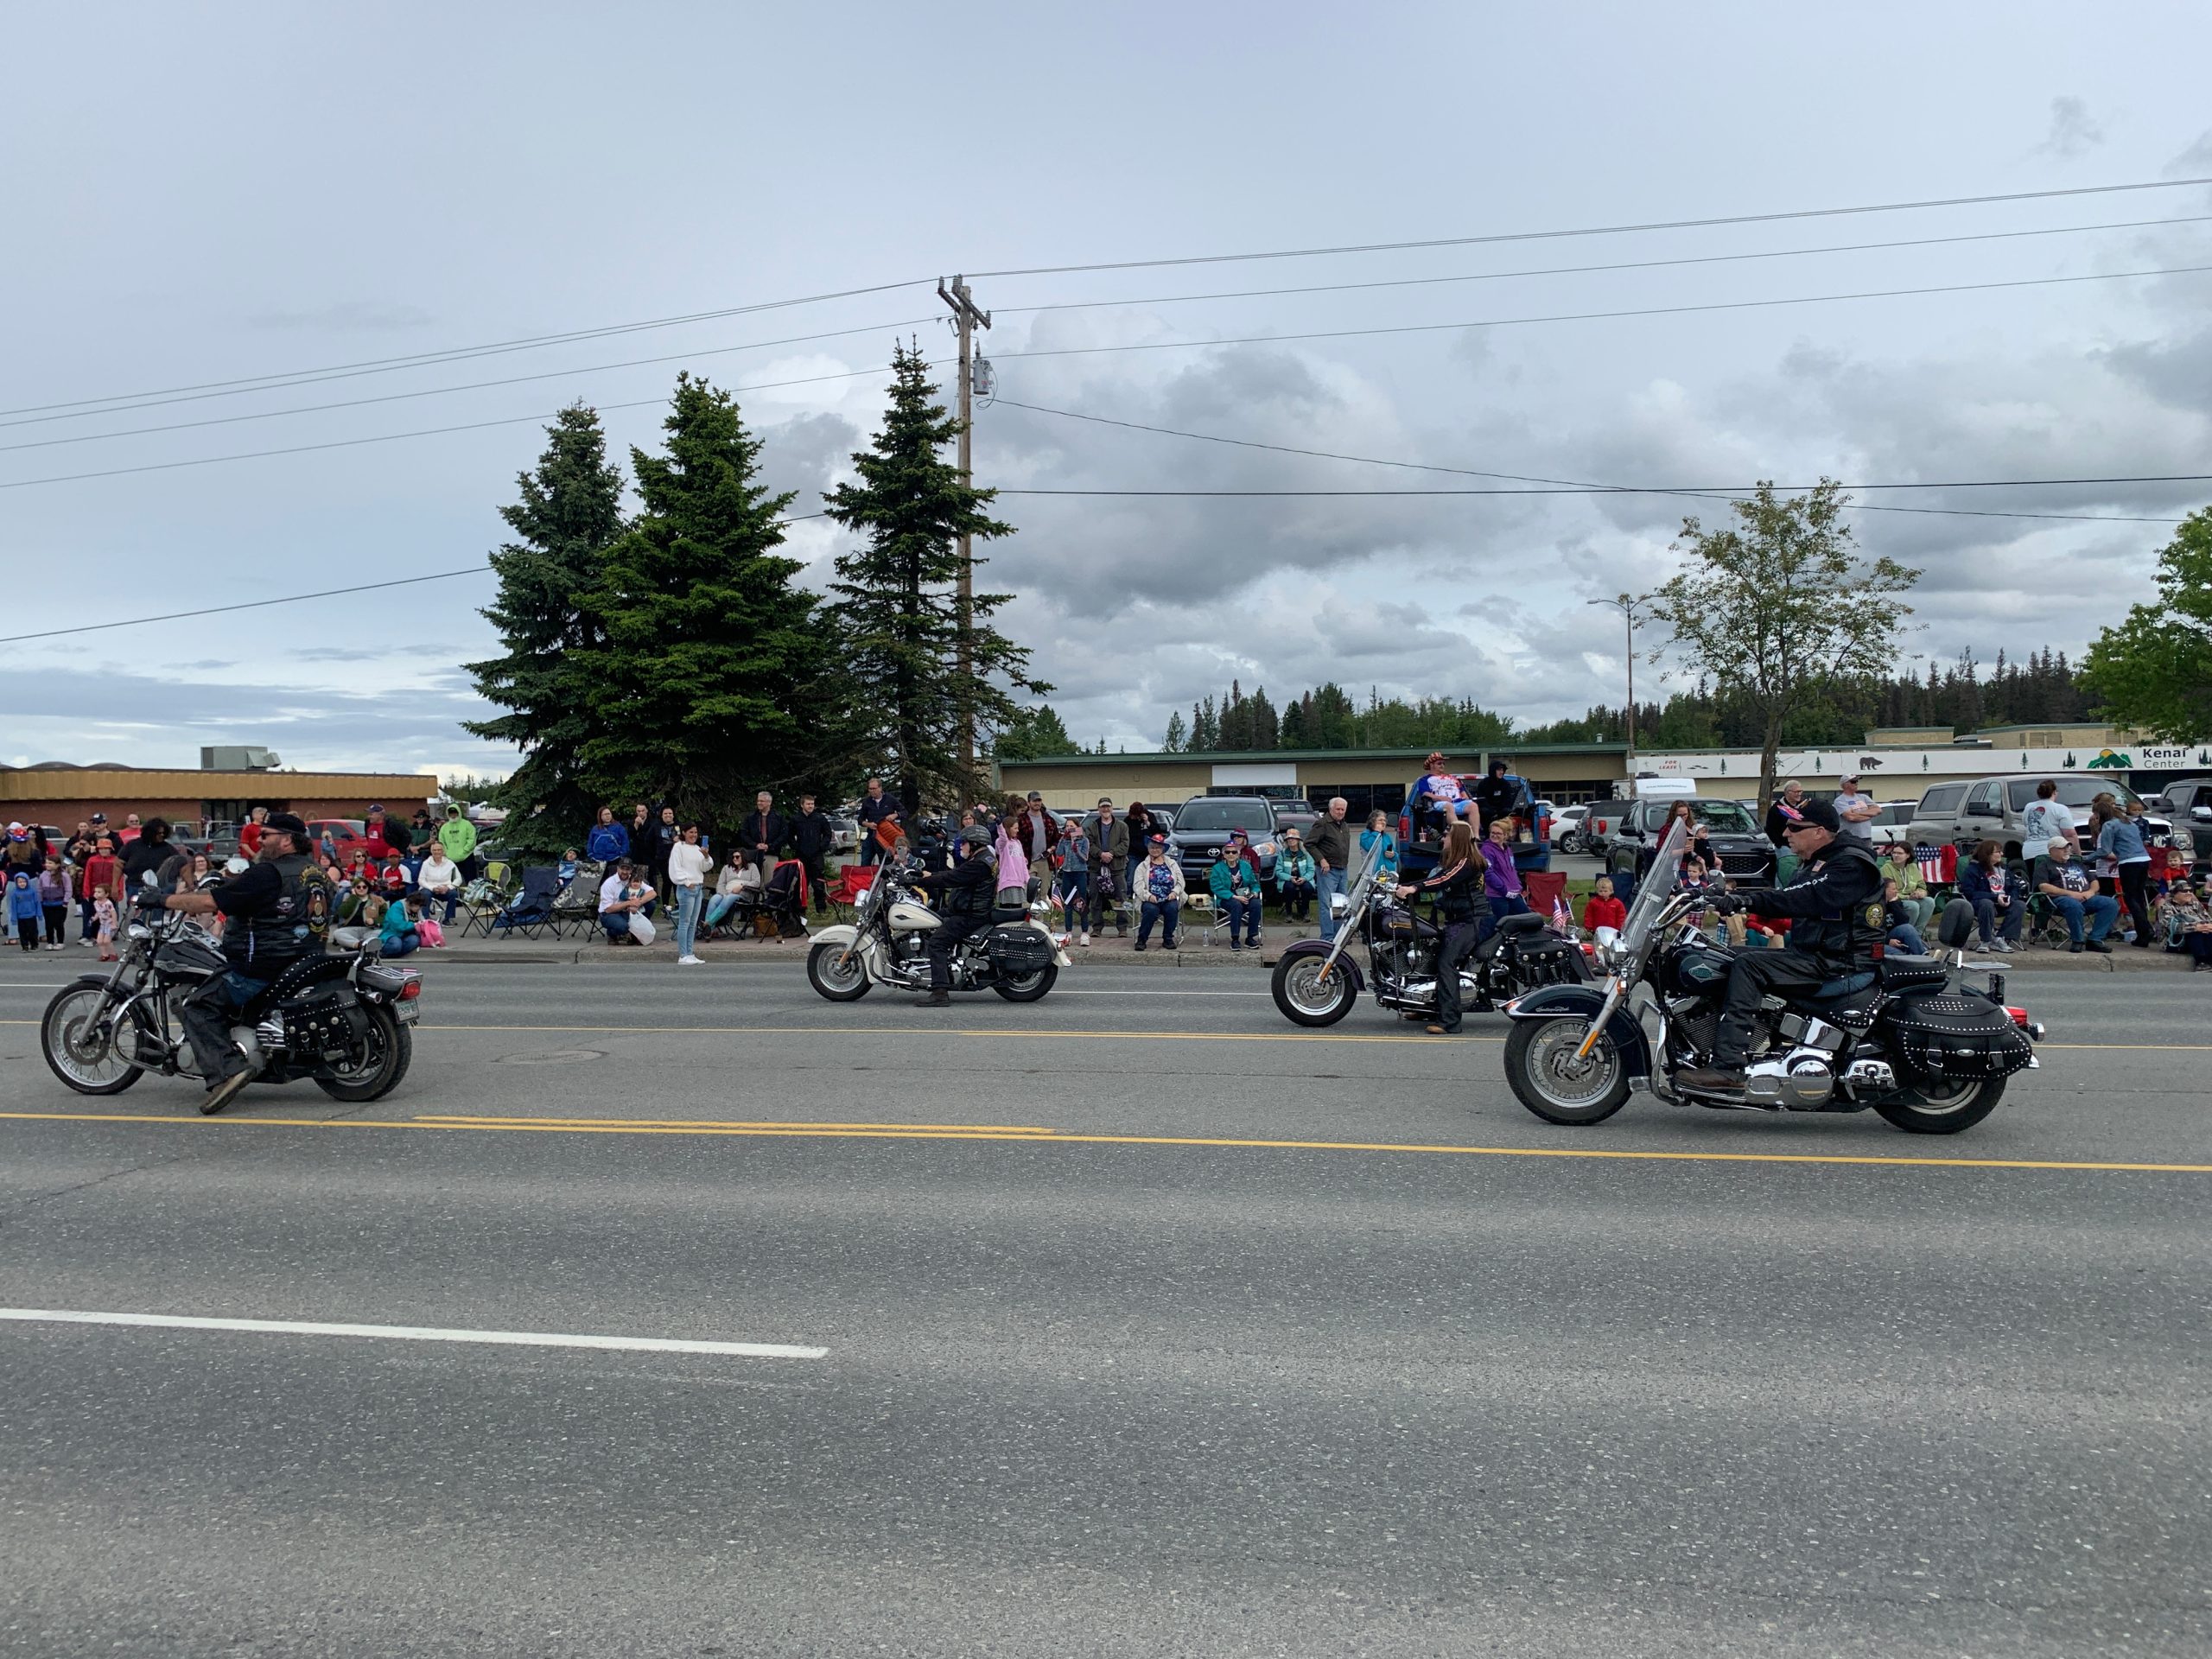
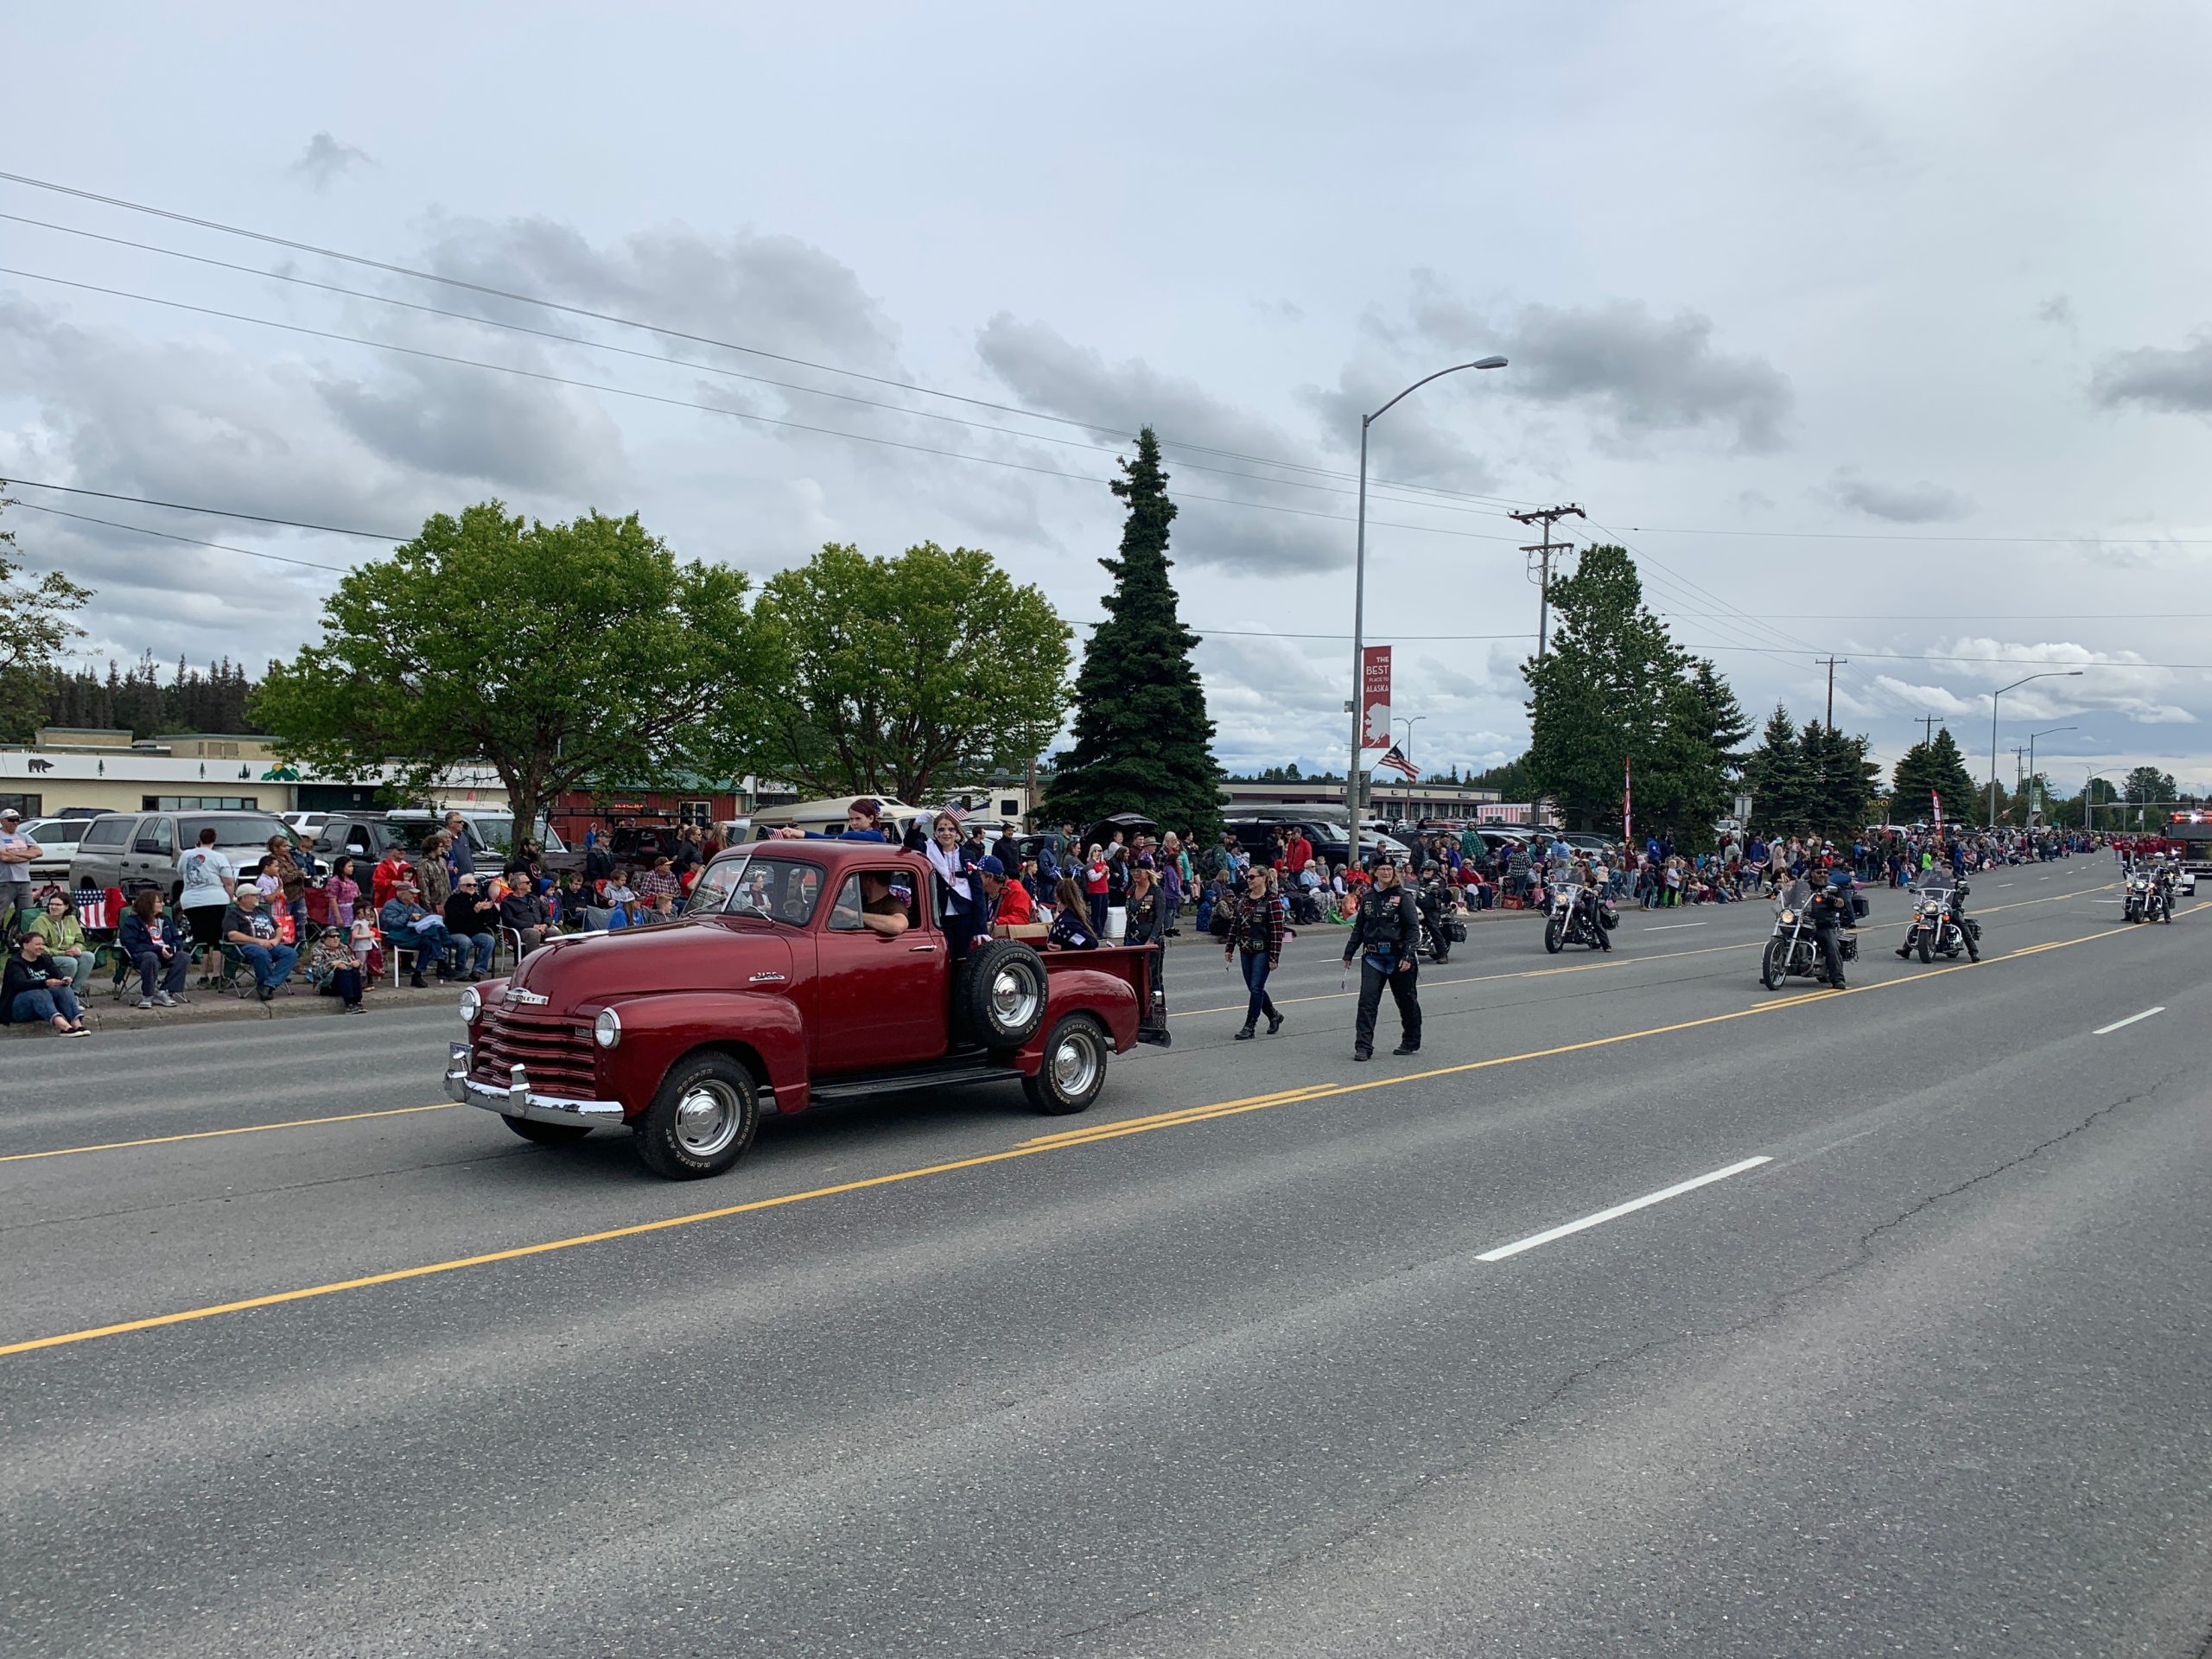
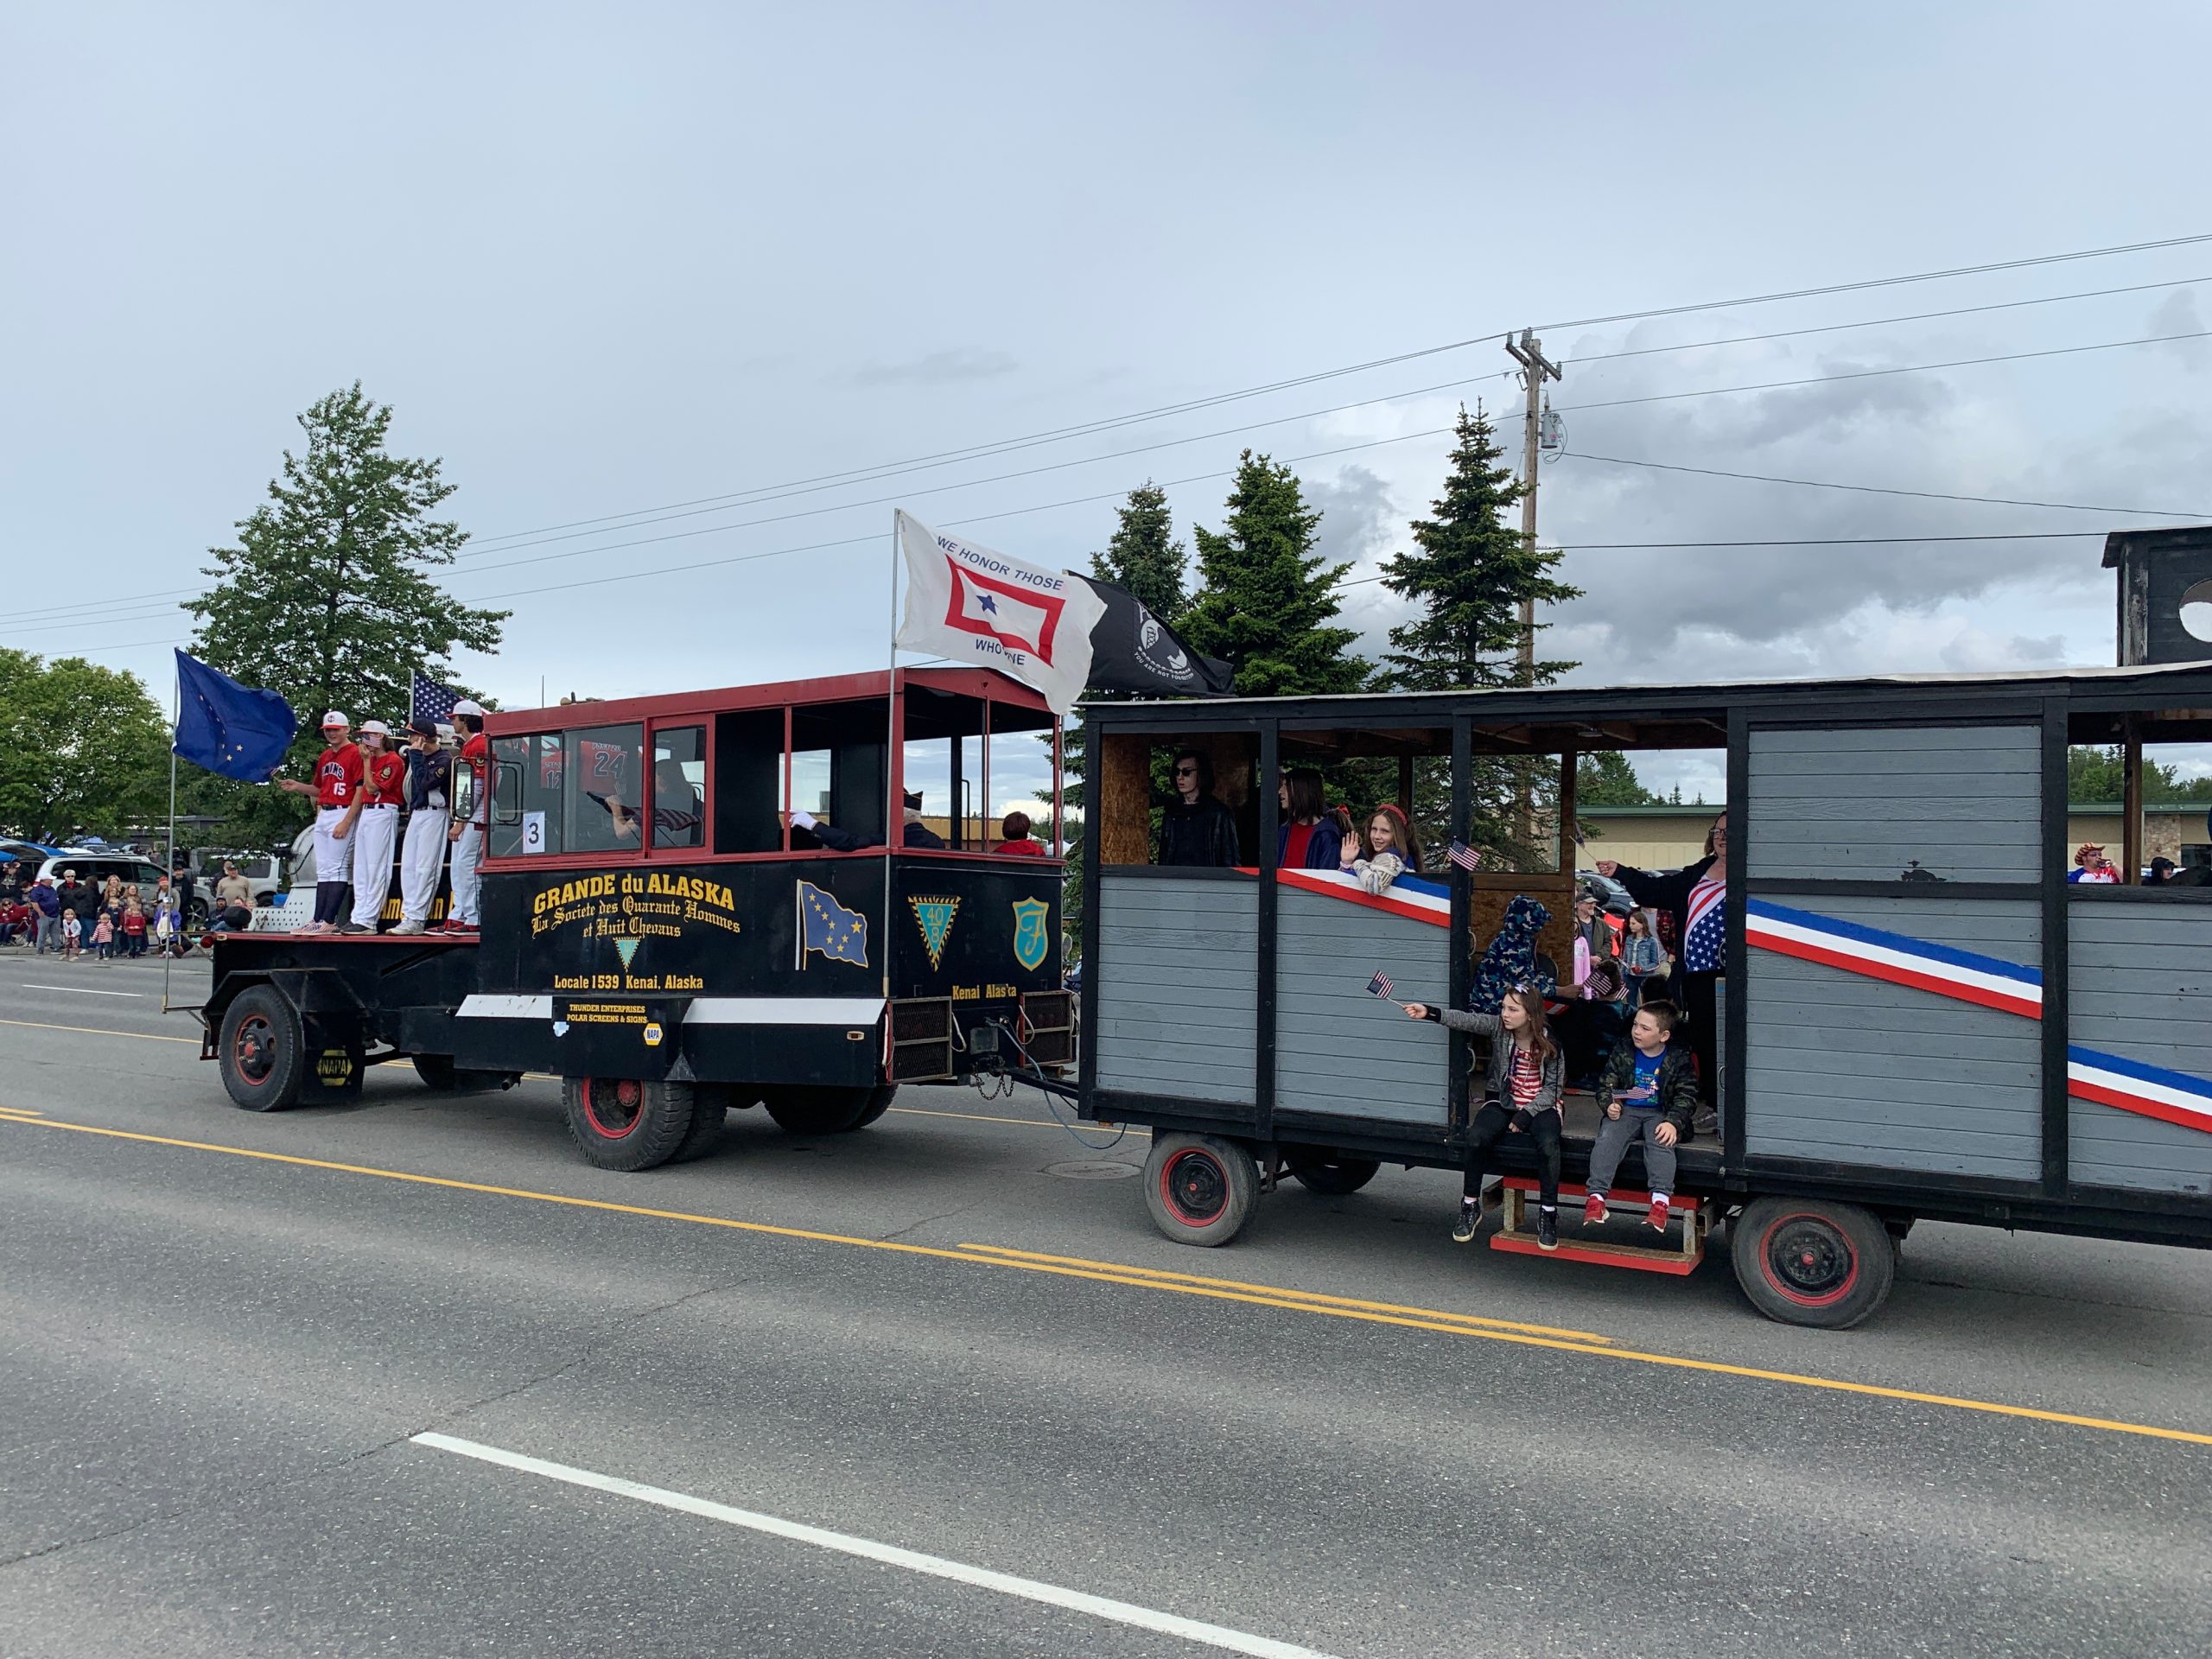
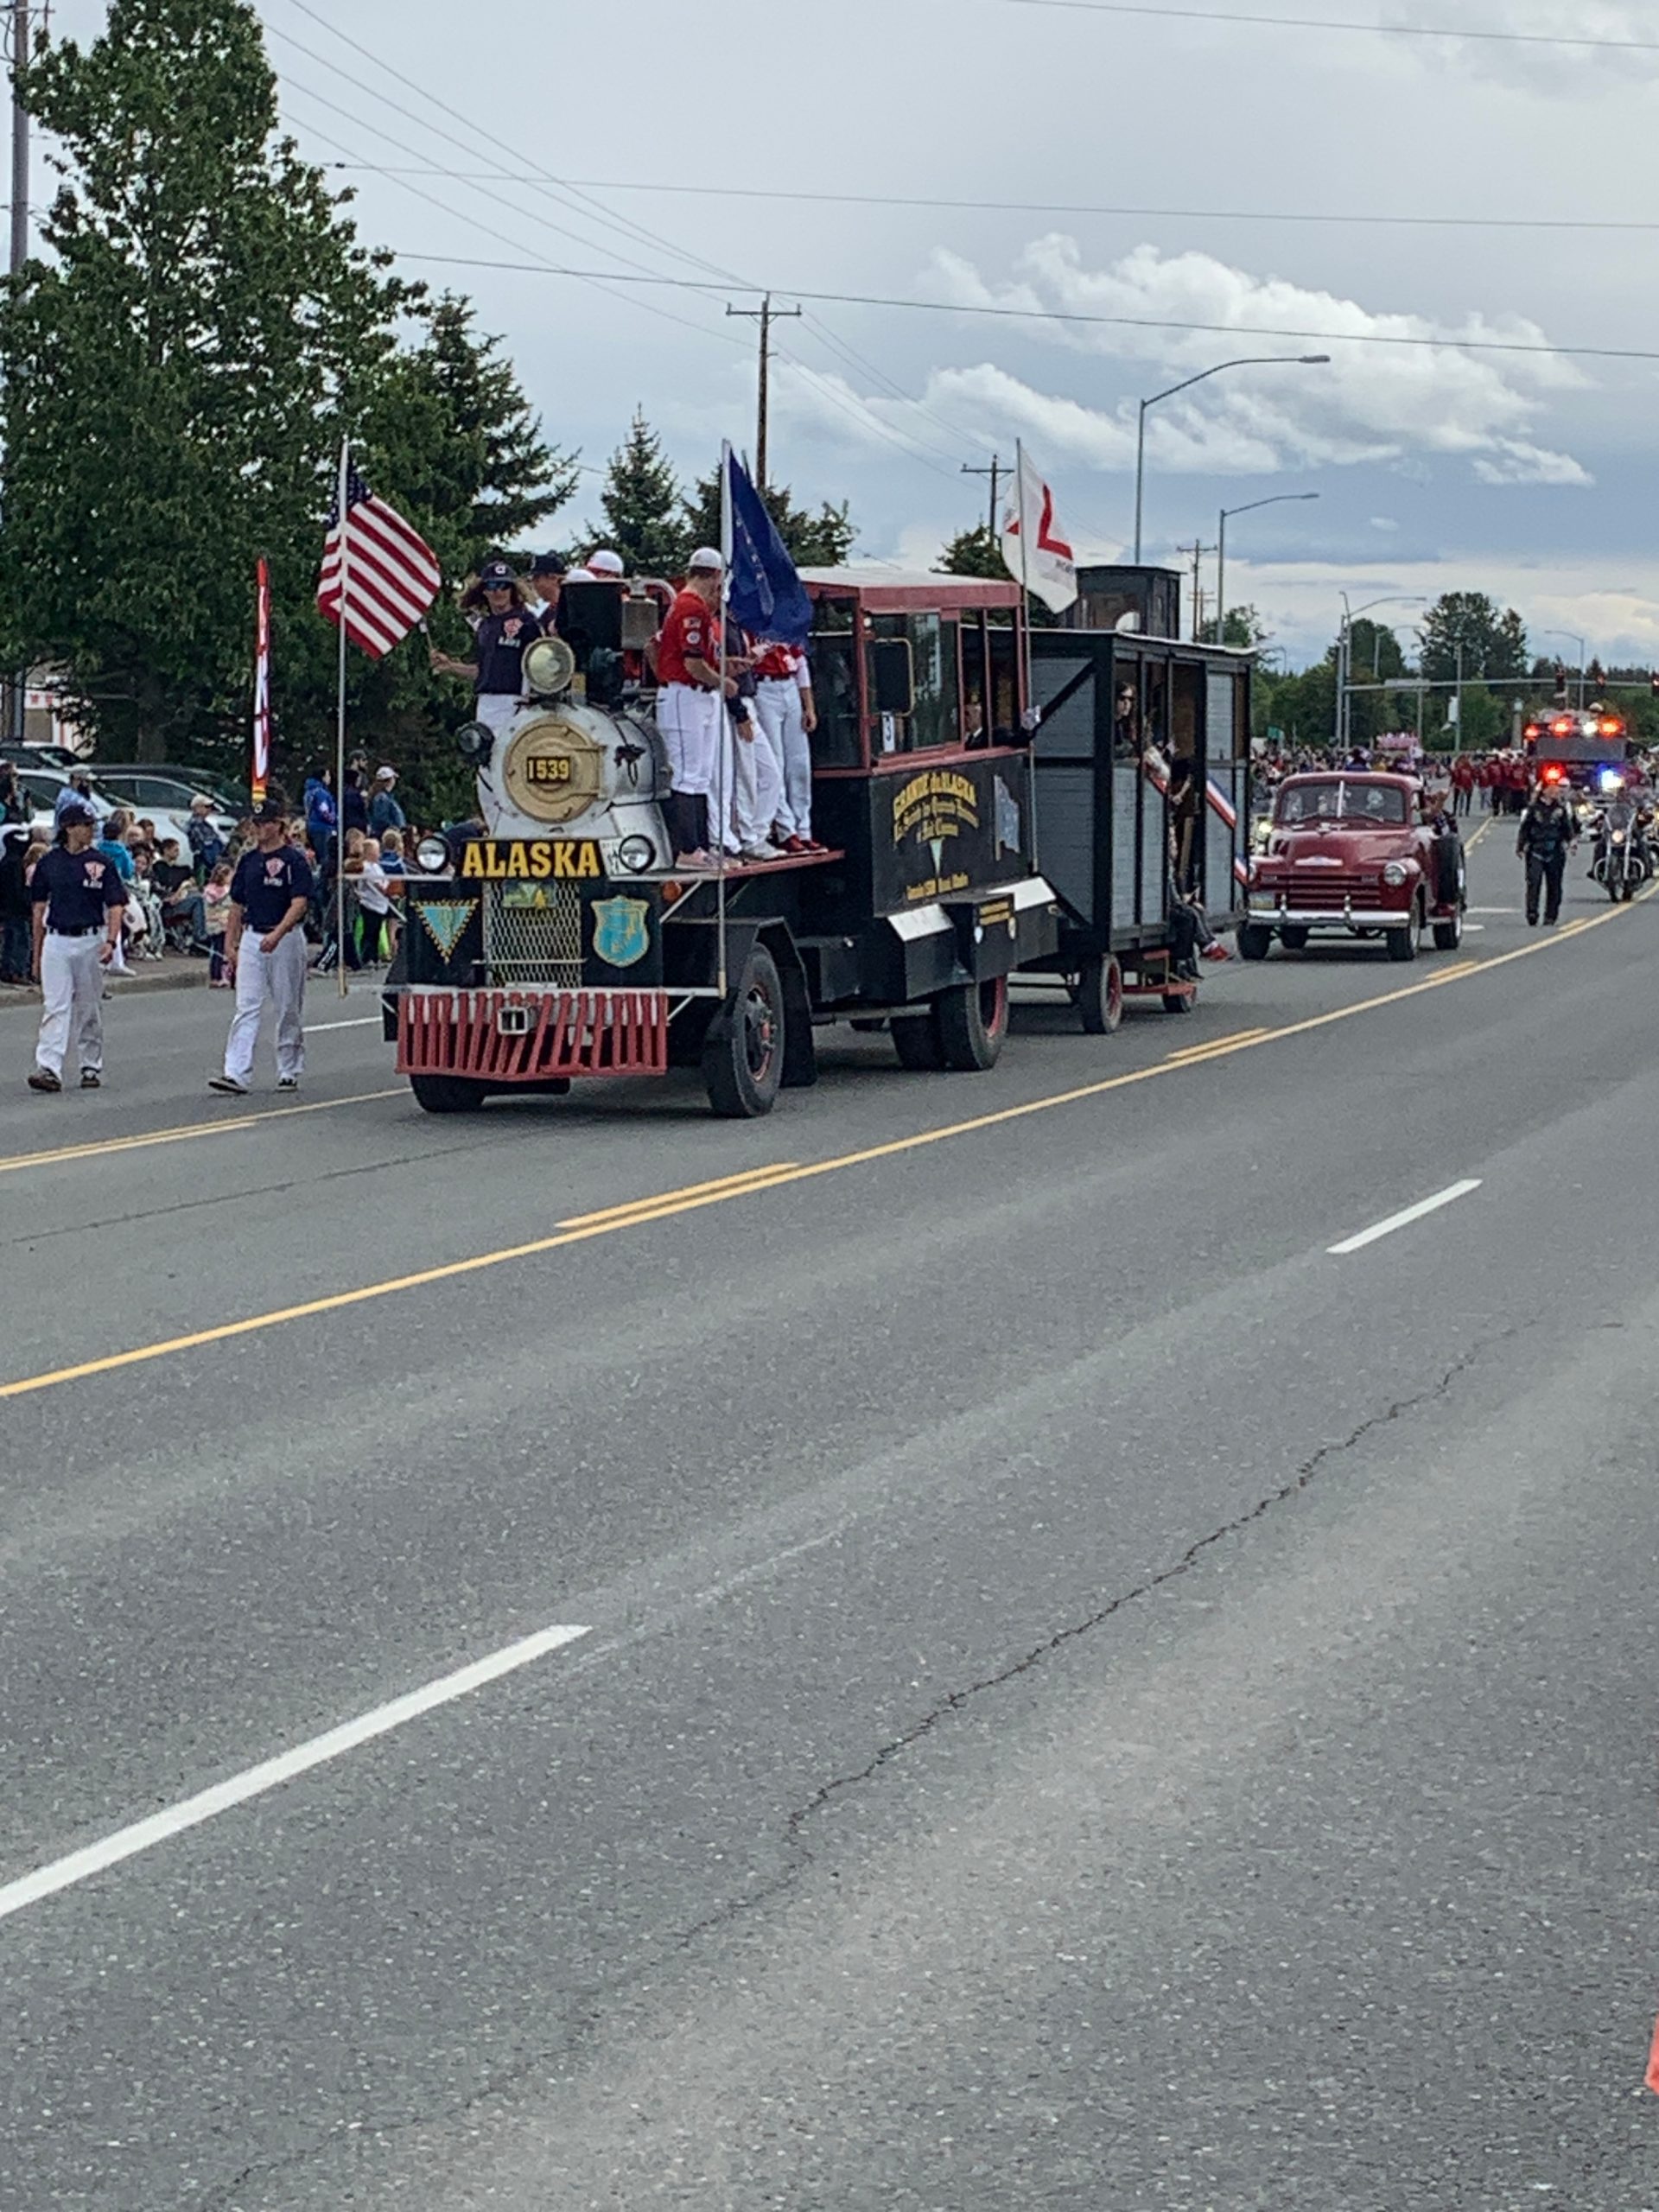
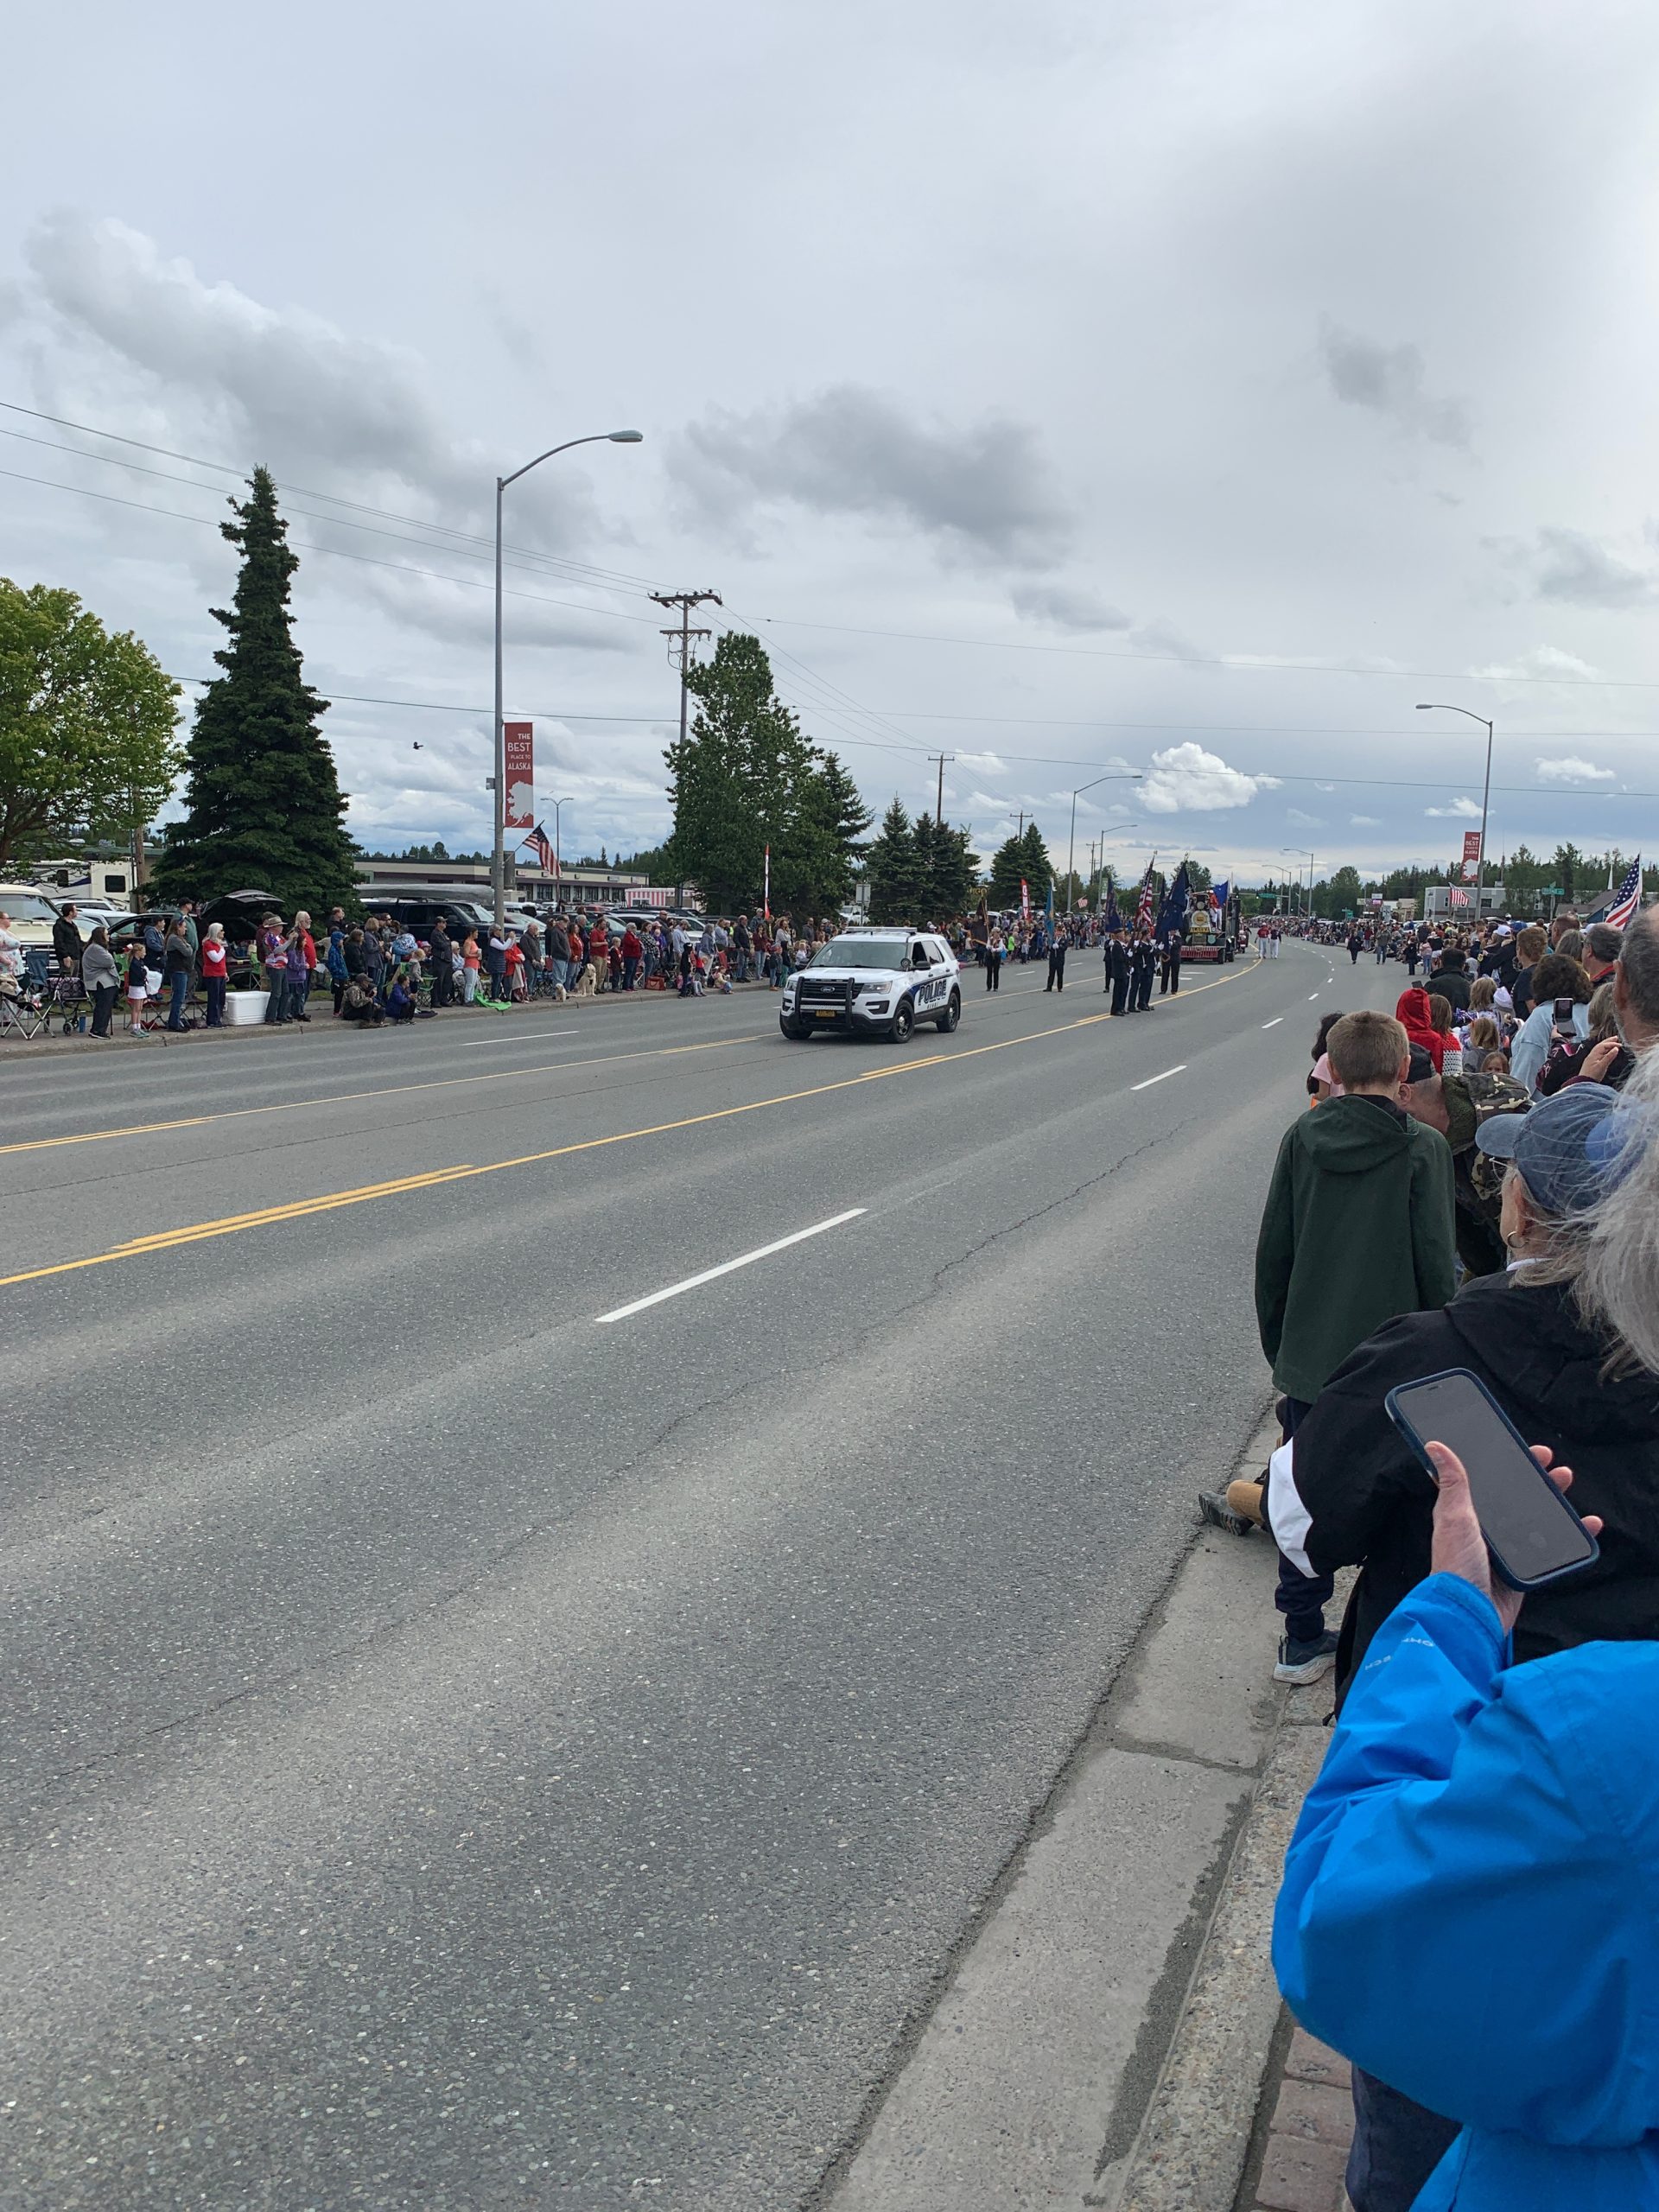
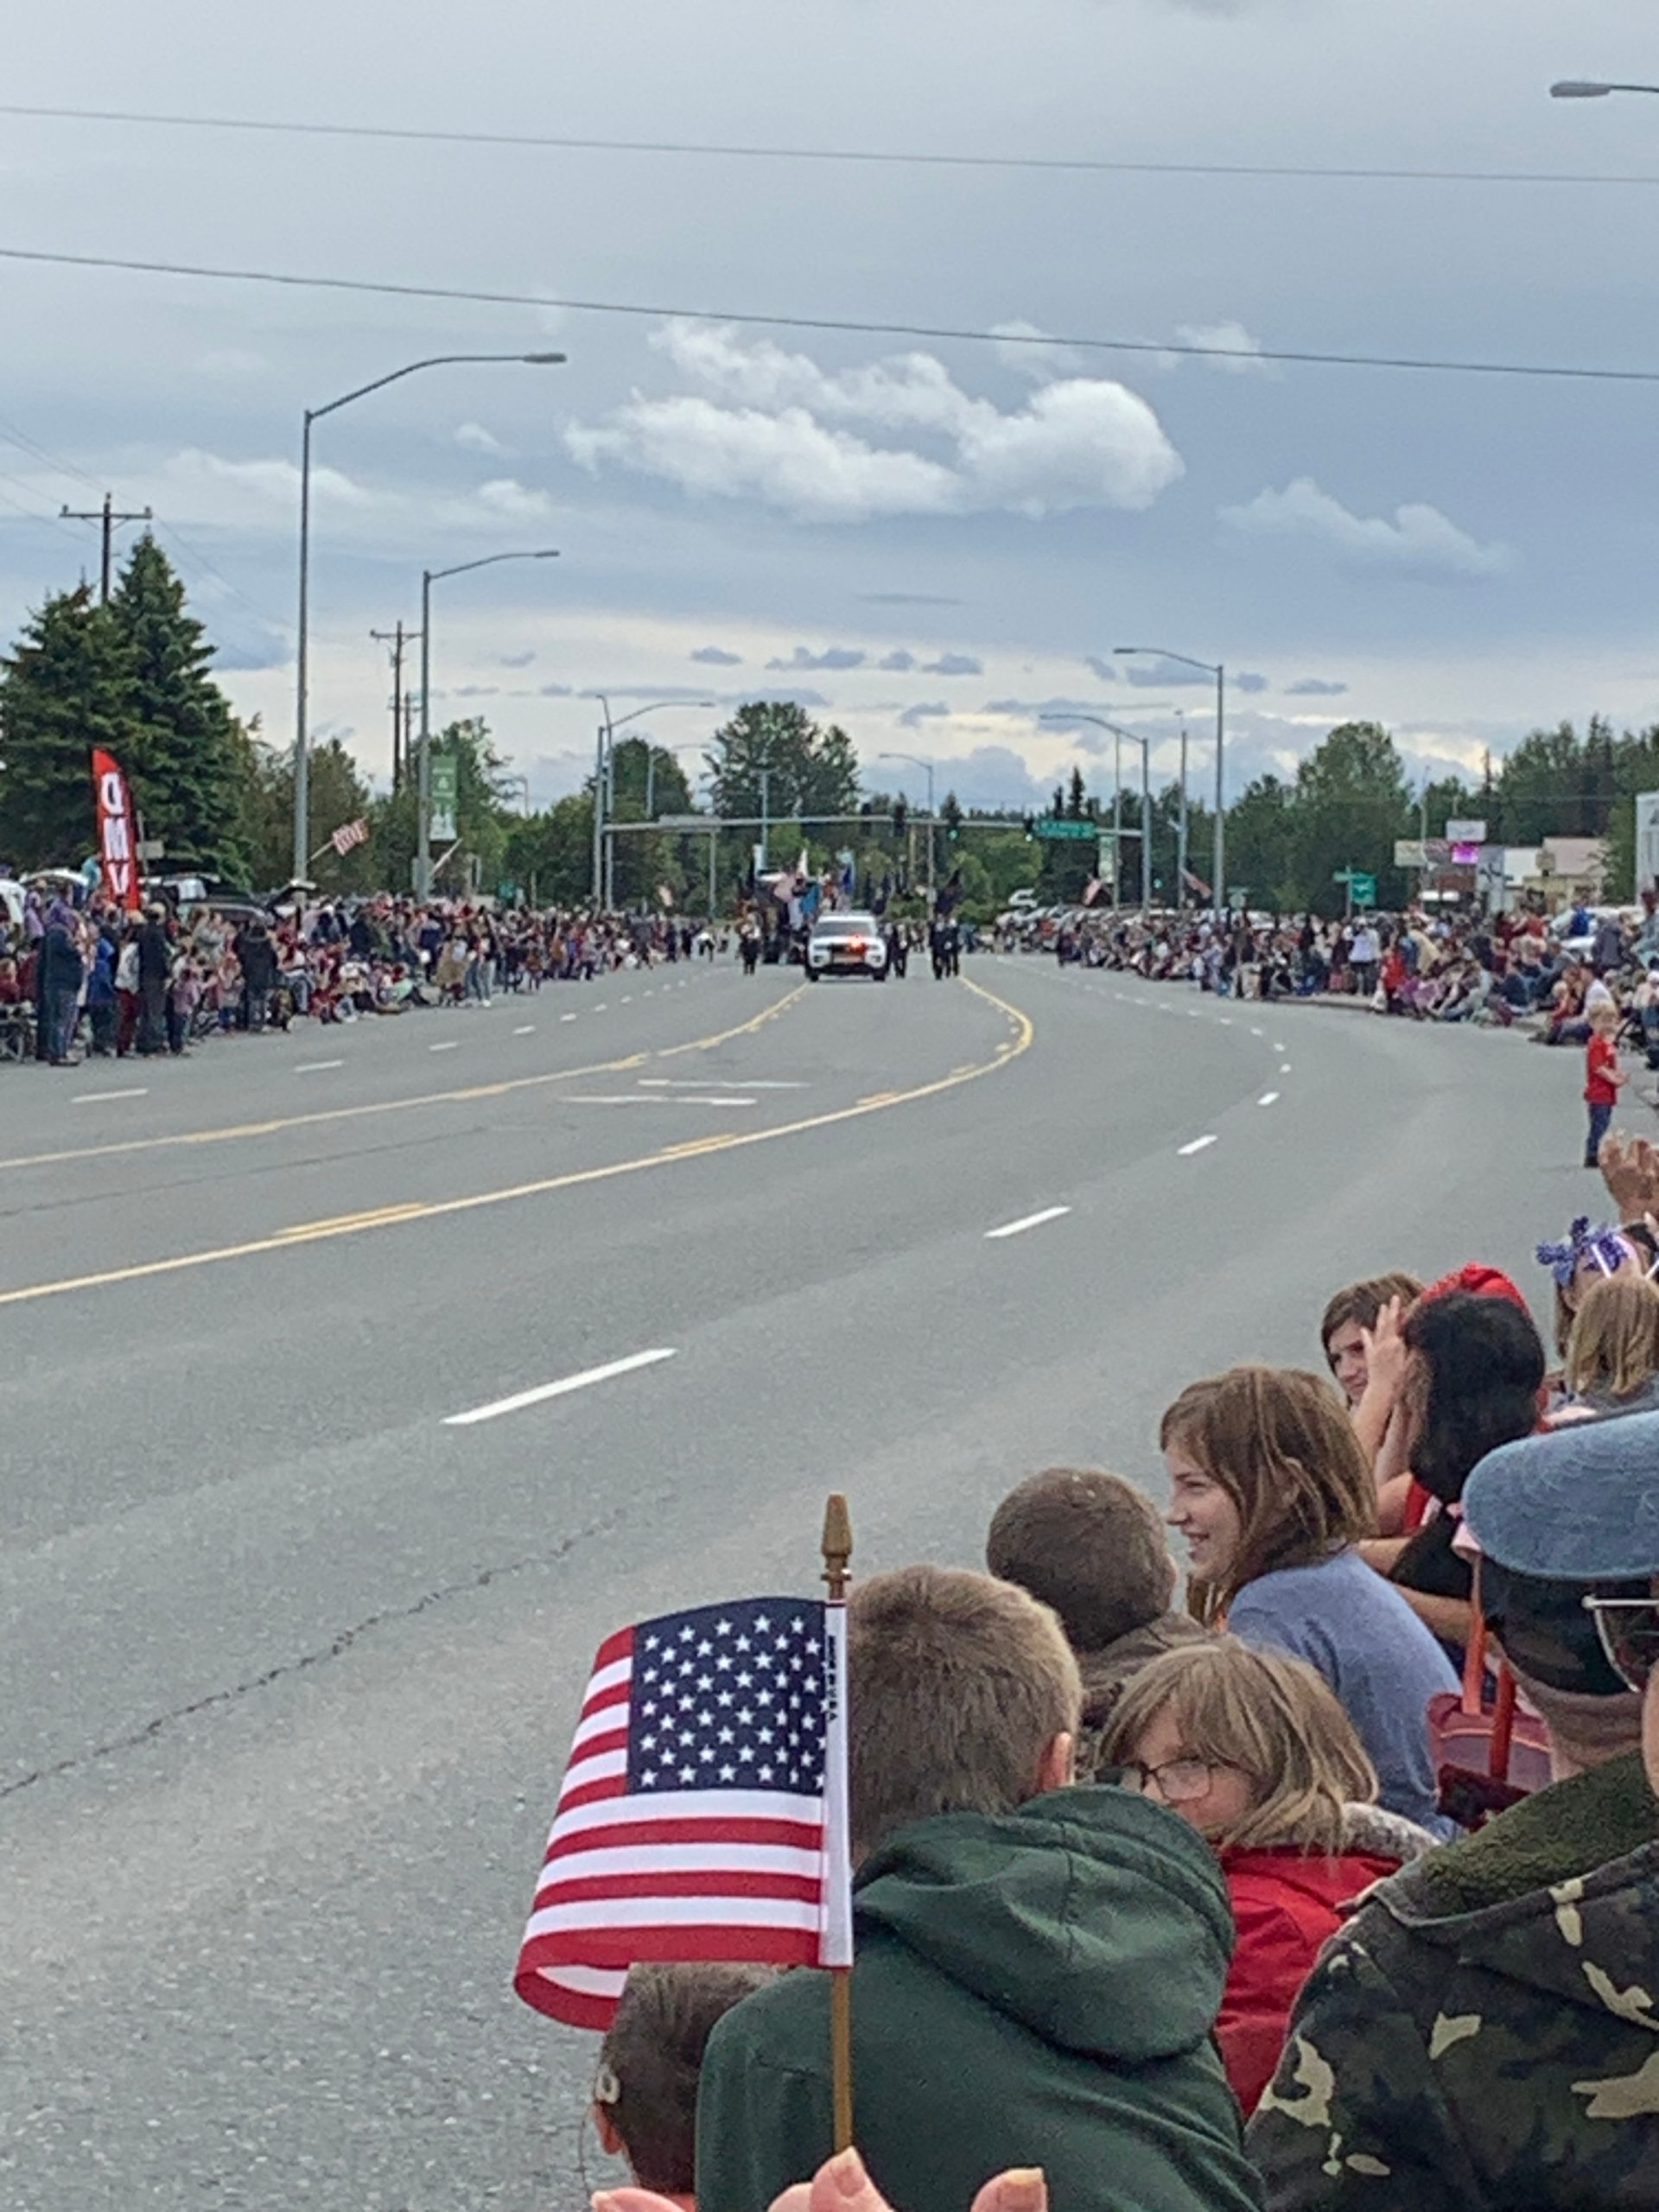
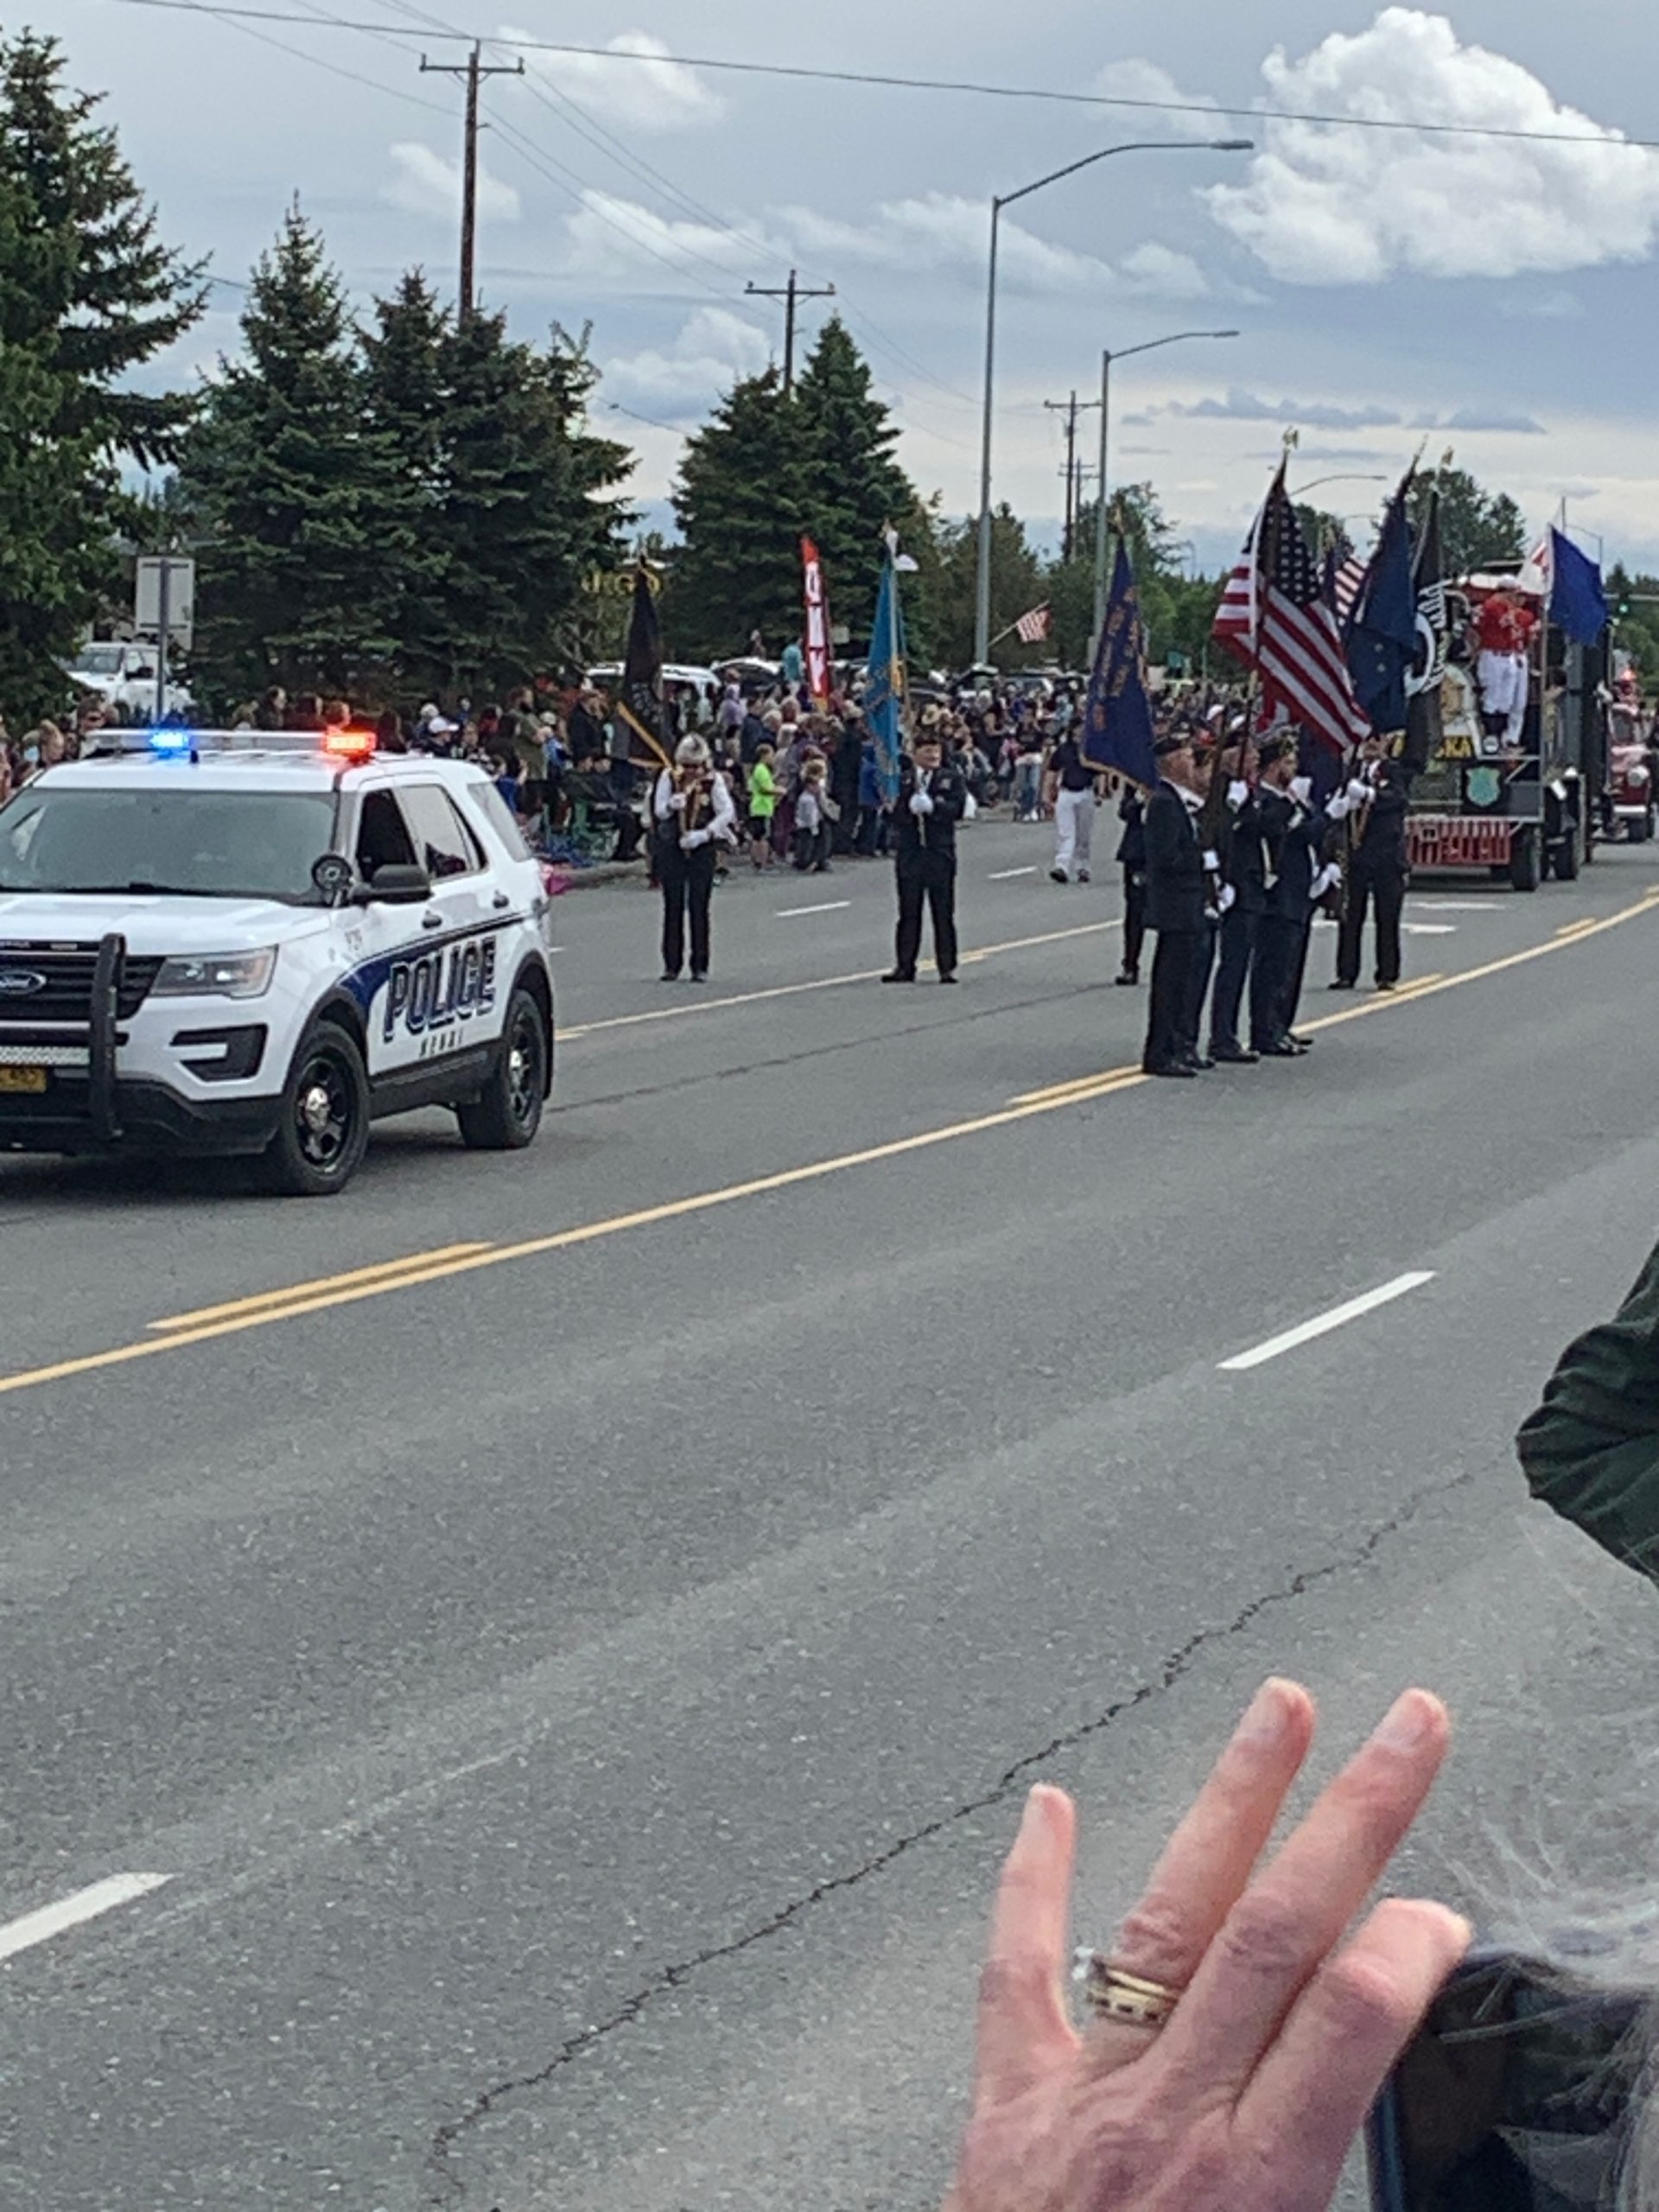 We were there the July 4th week, so we drove over to the 4th of July Parade in Kenai City with our chairs. It was a pretty long parade that had lots of things not seen in other
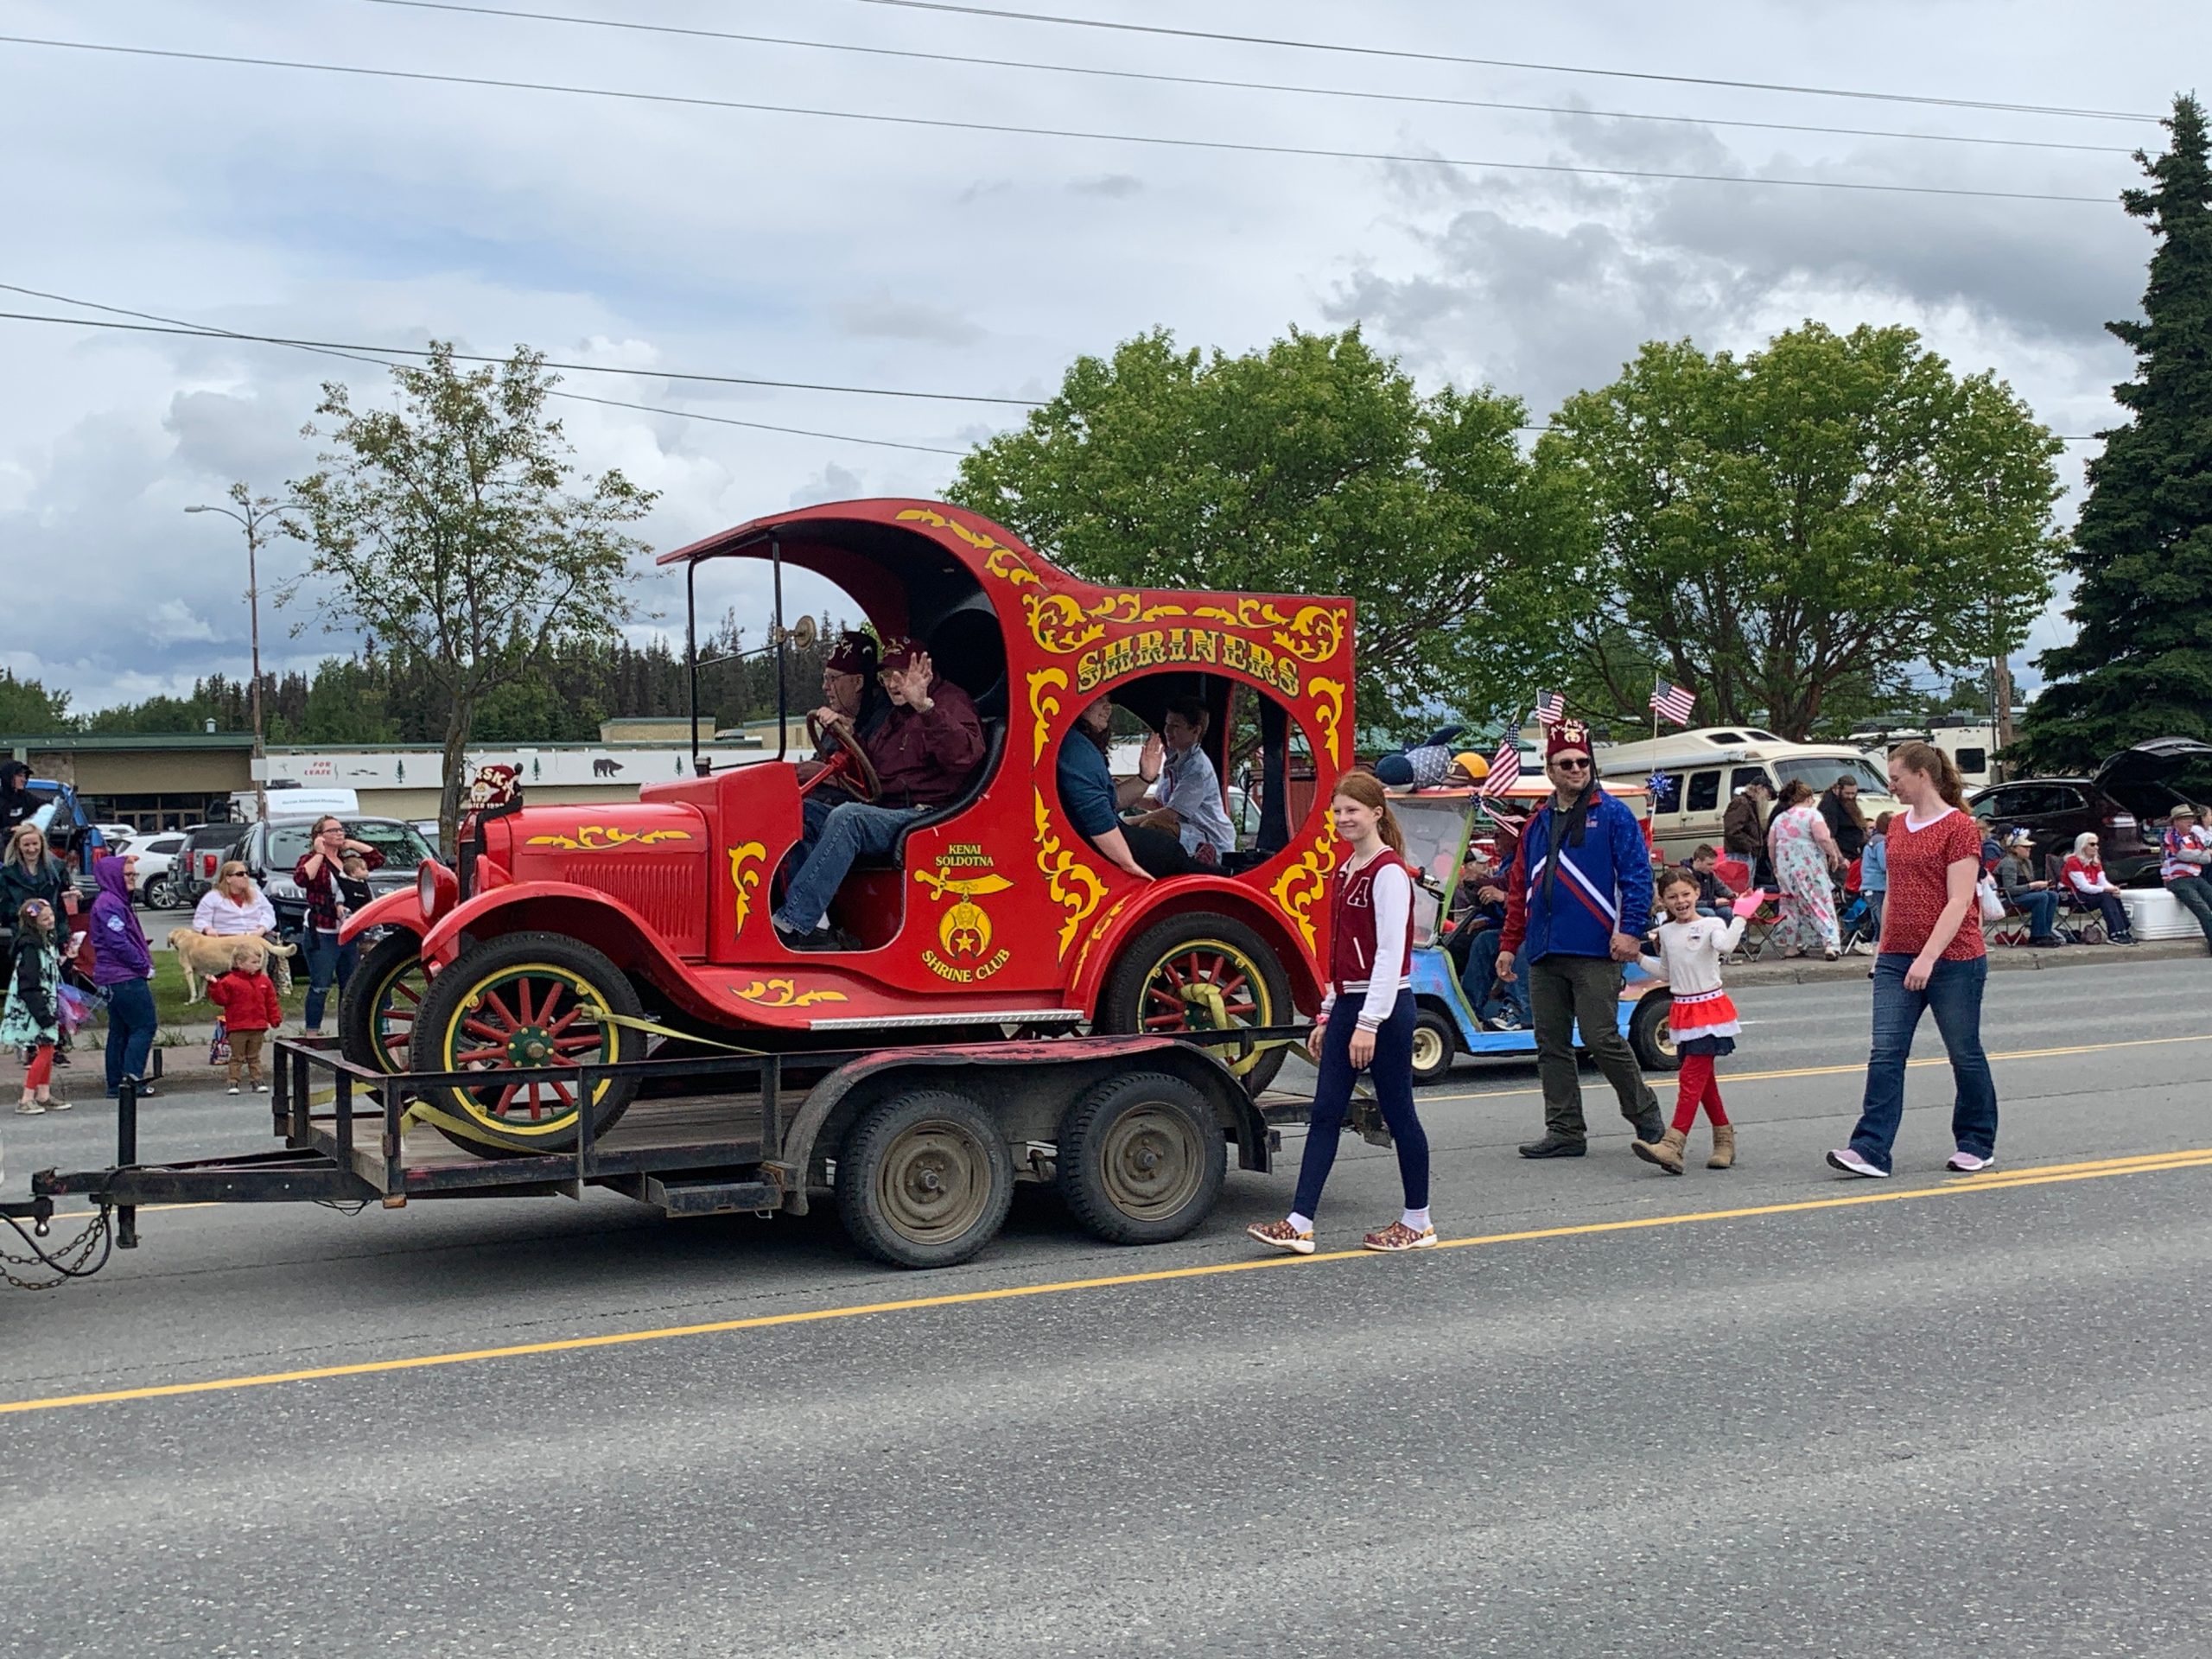
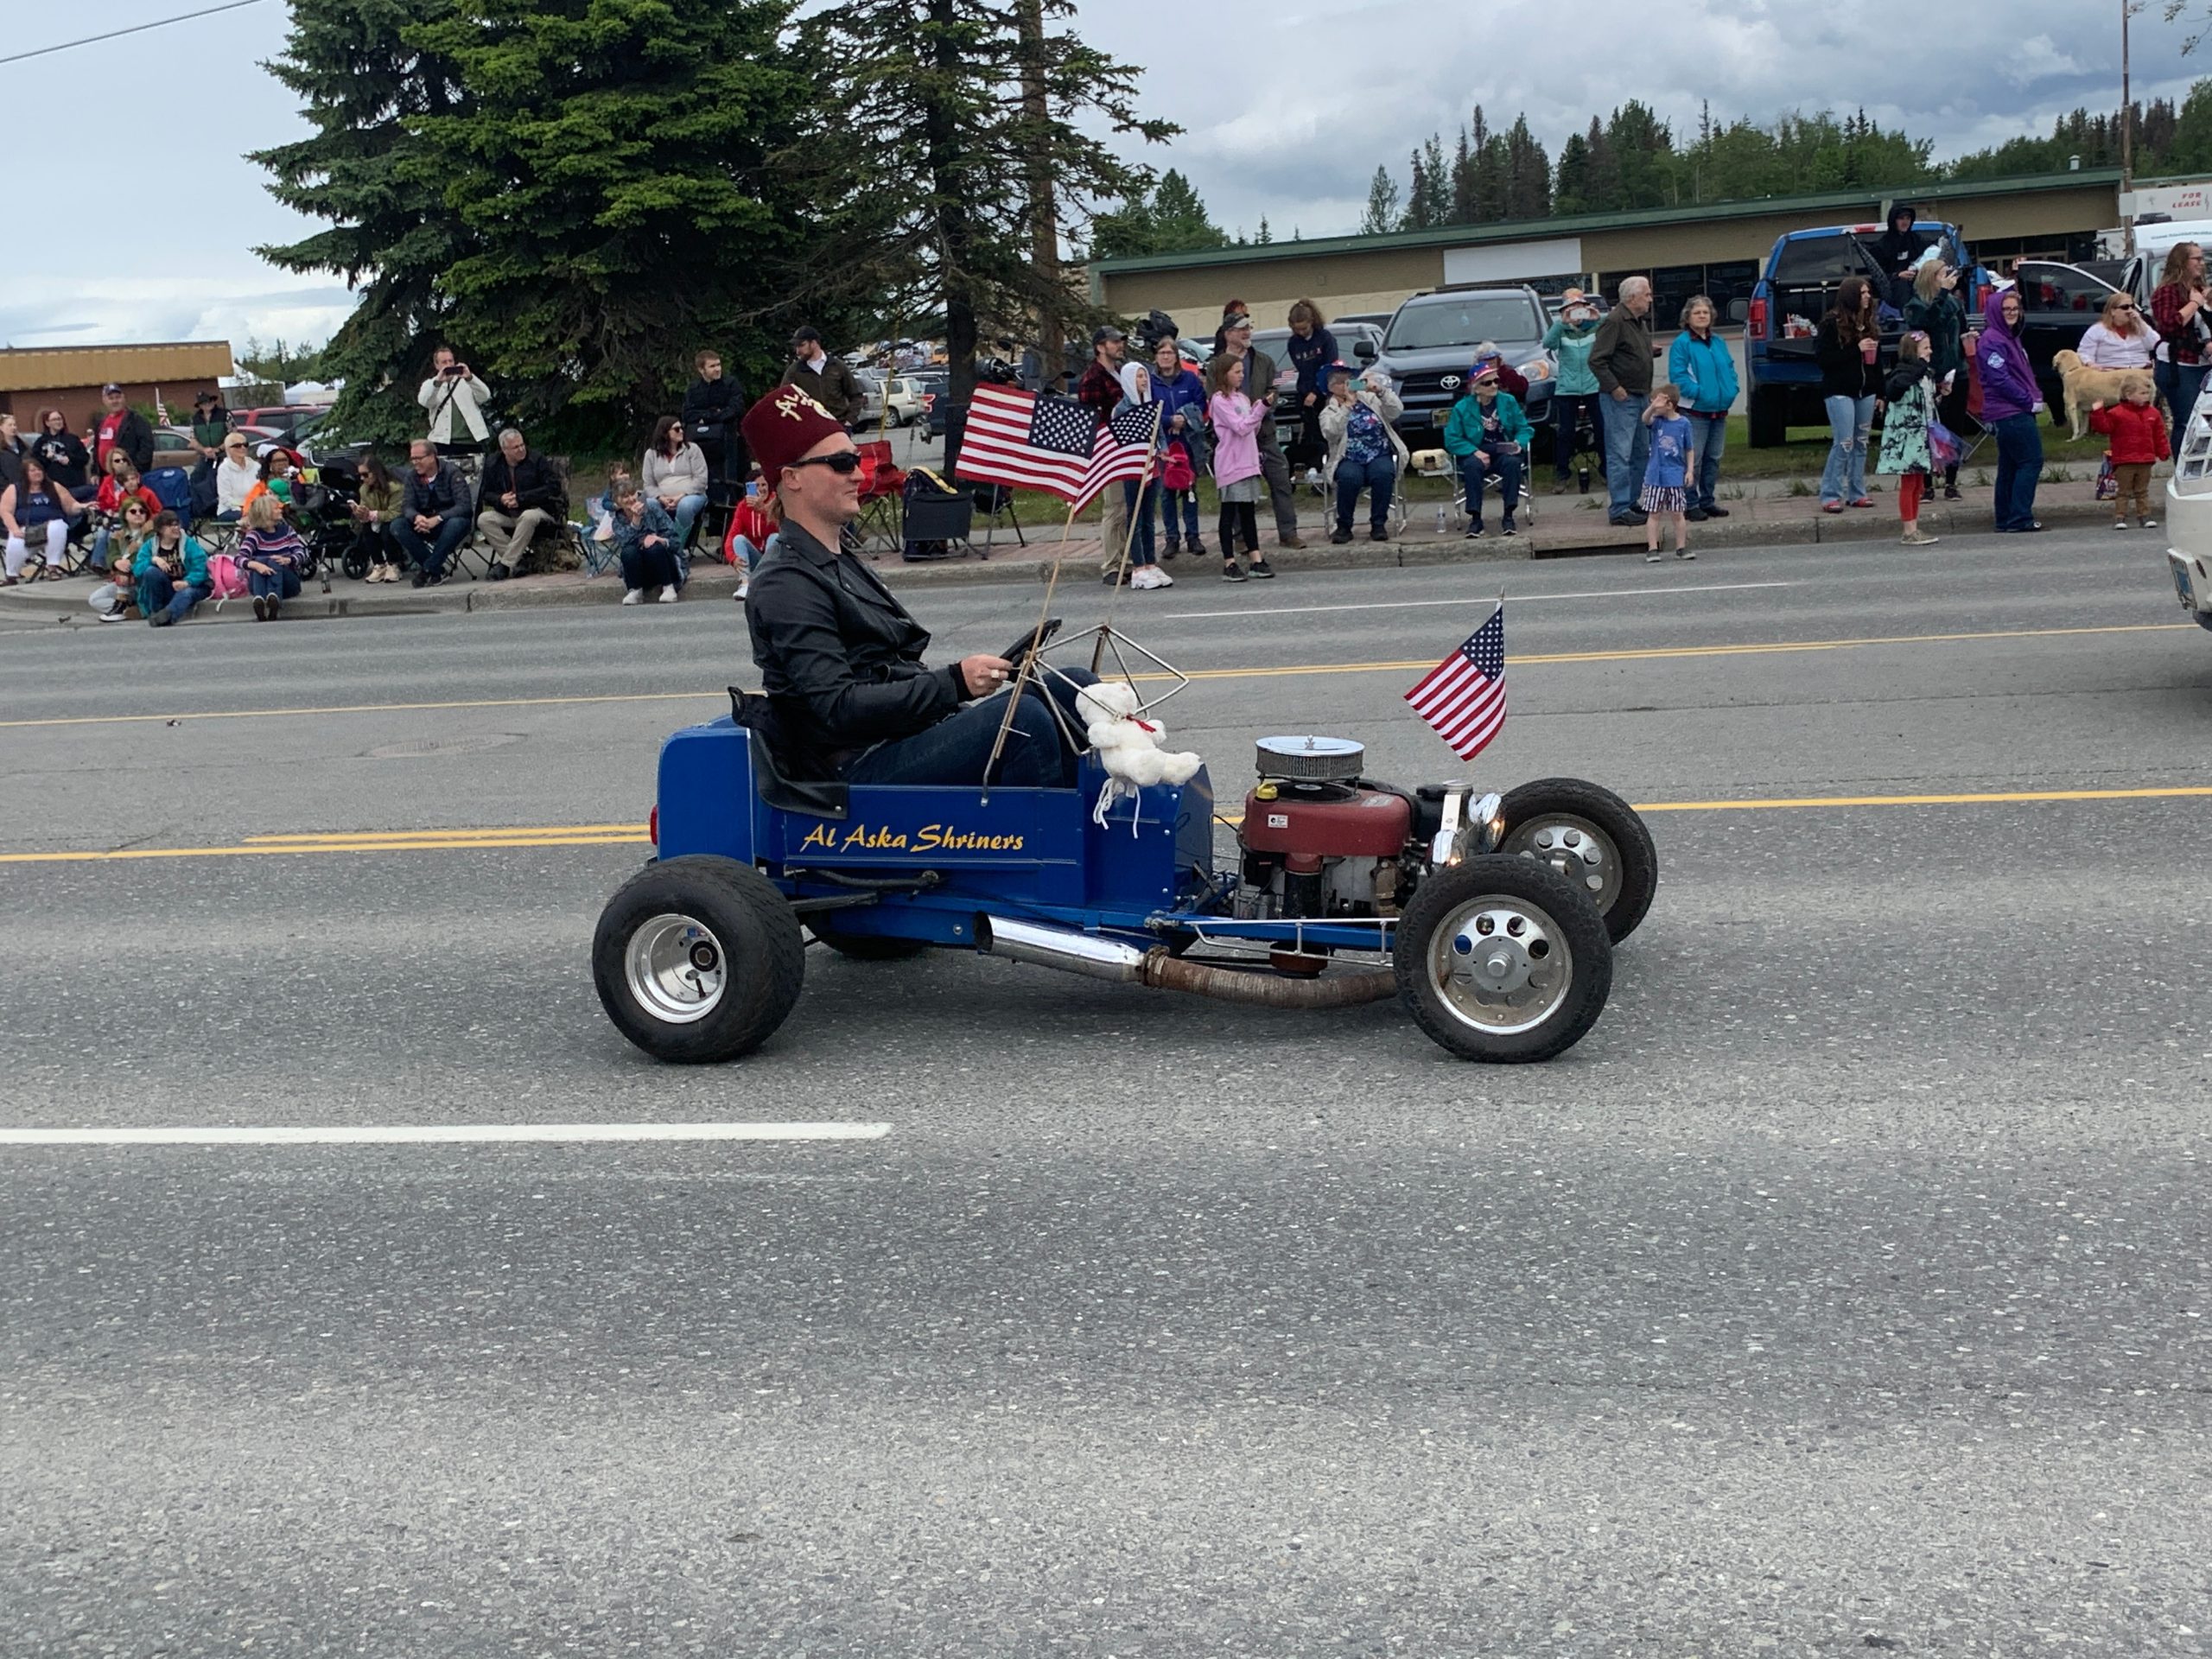
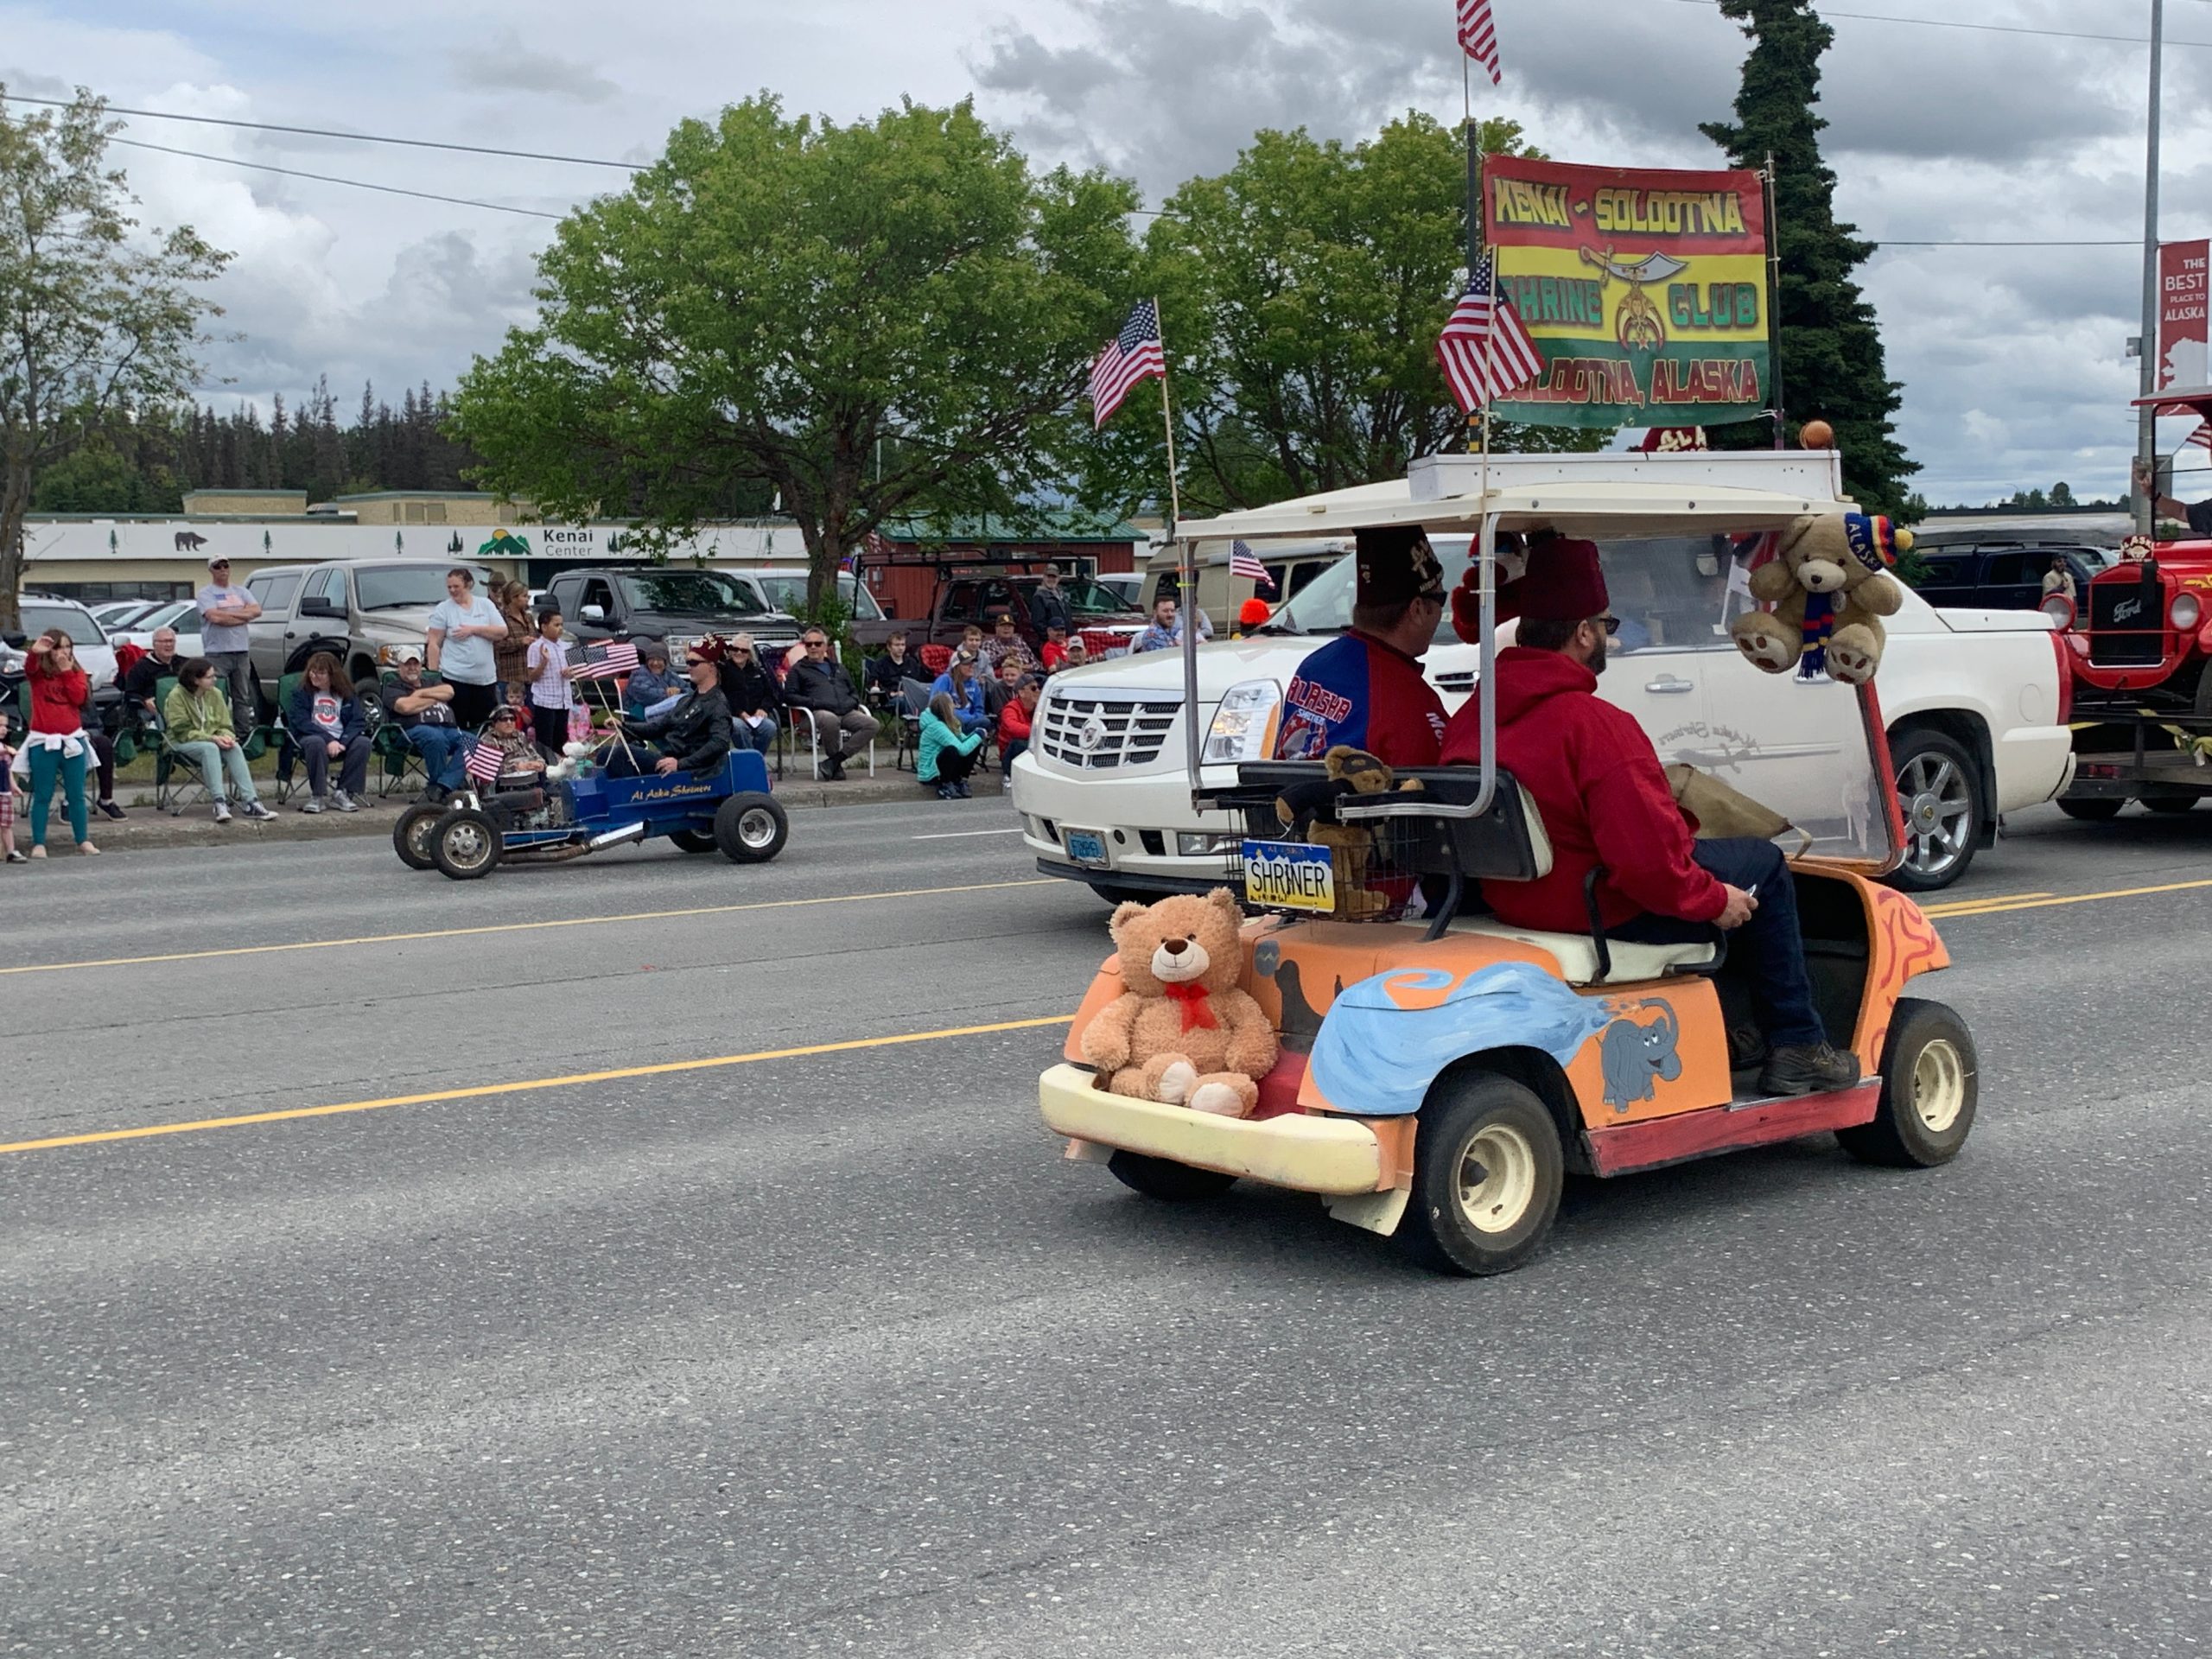
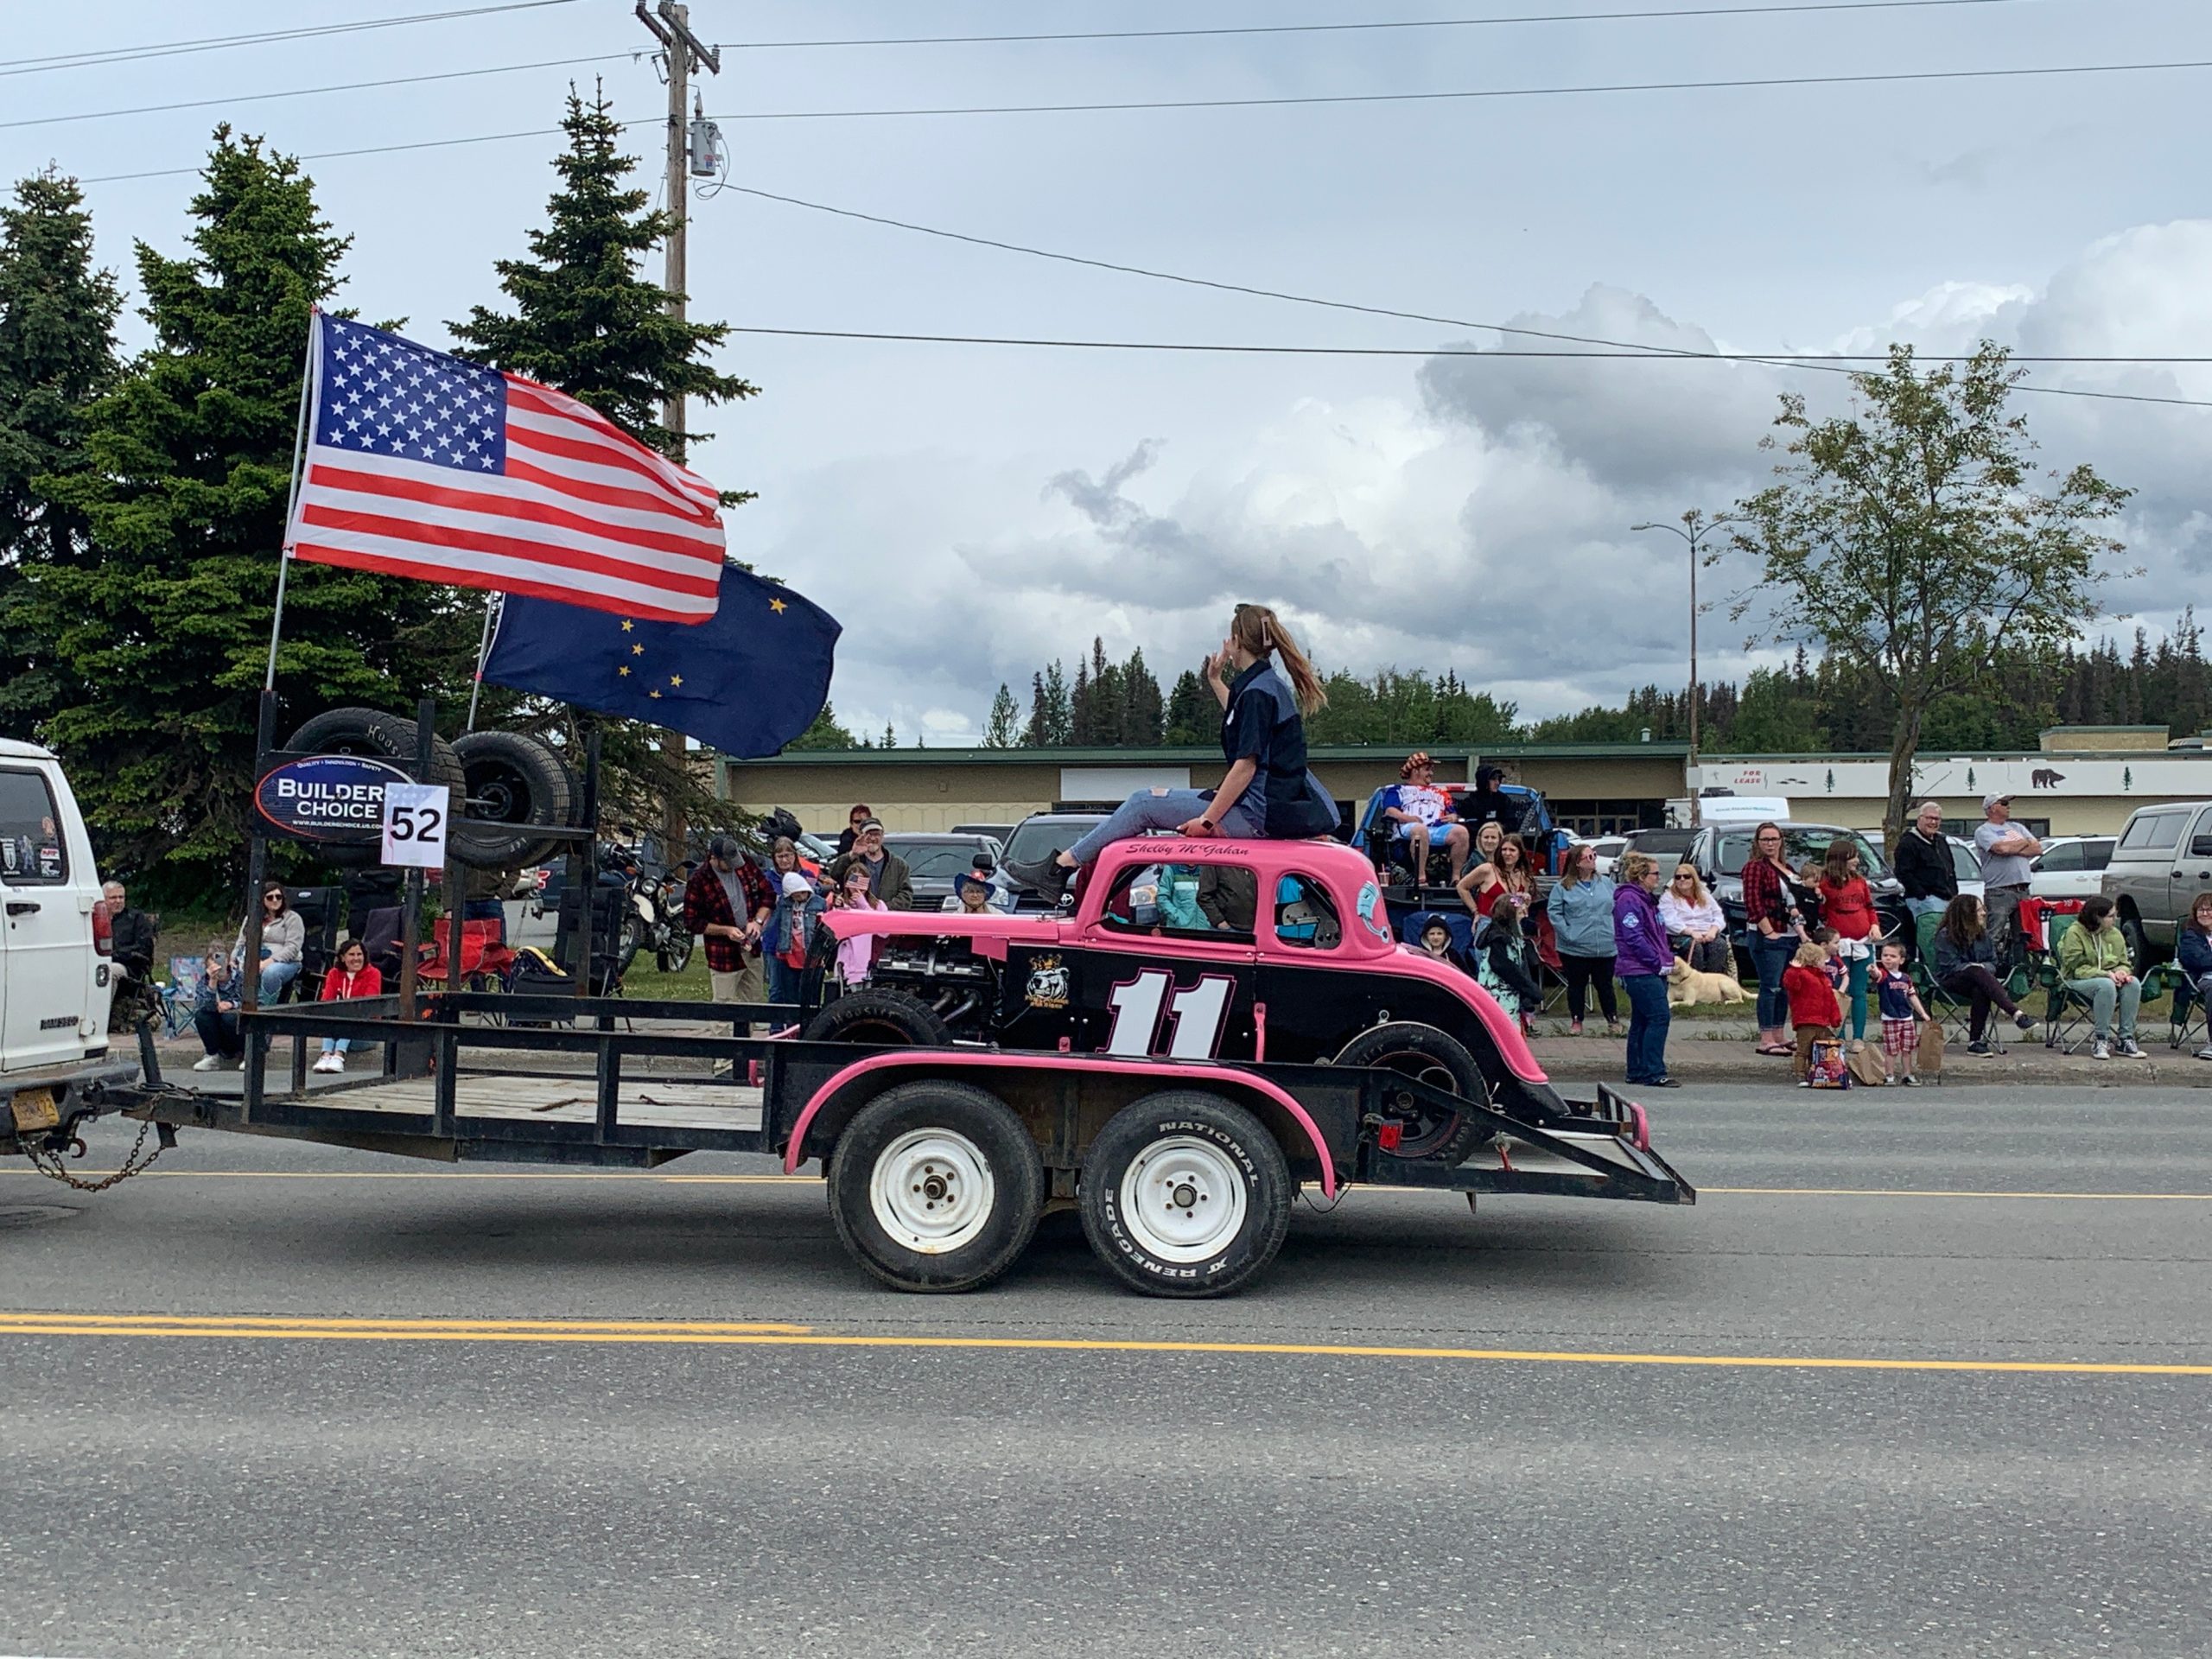
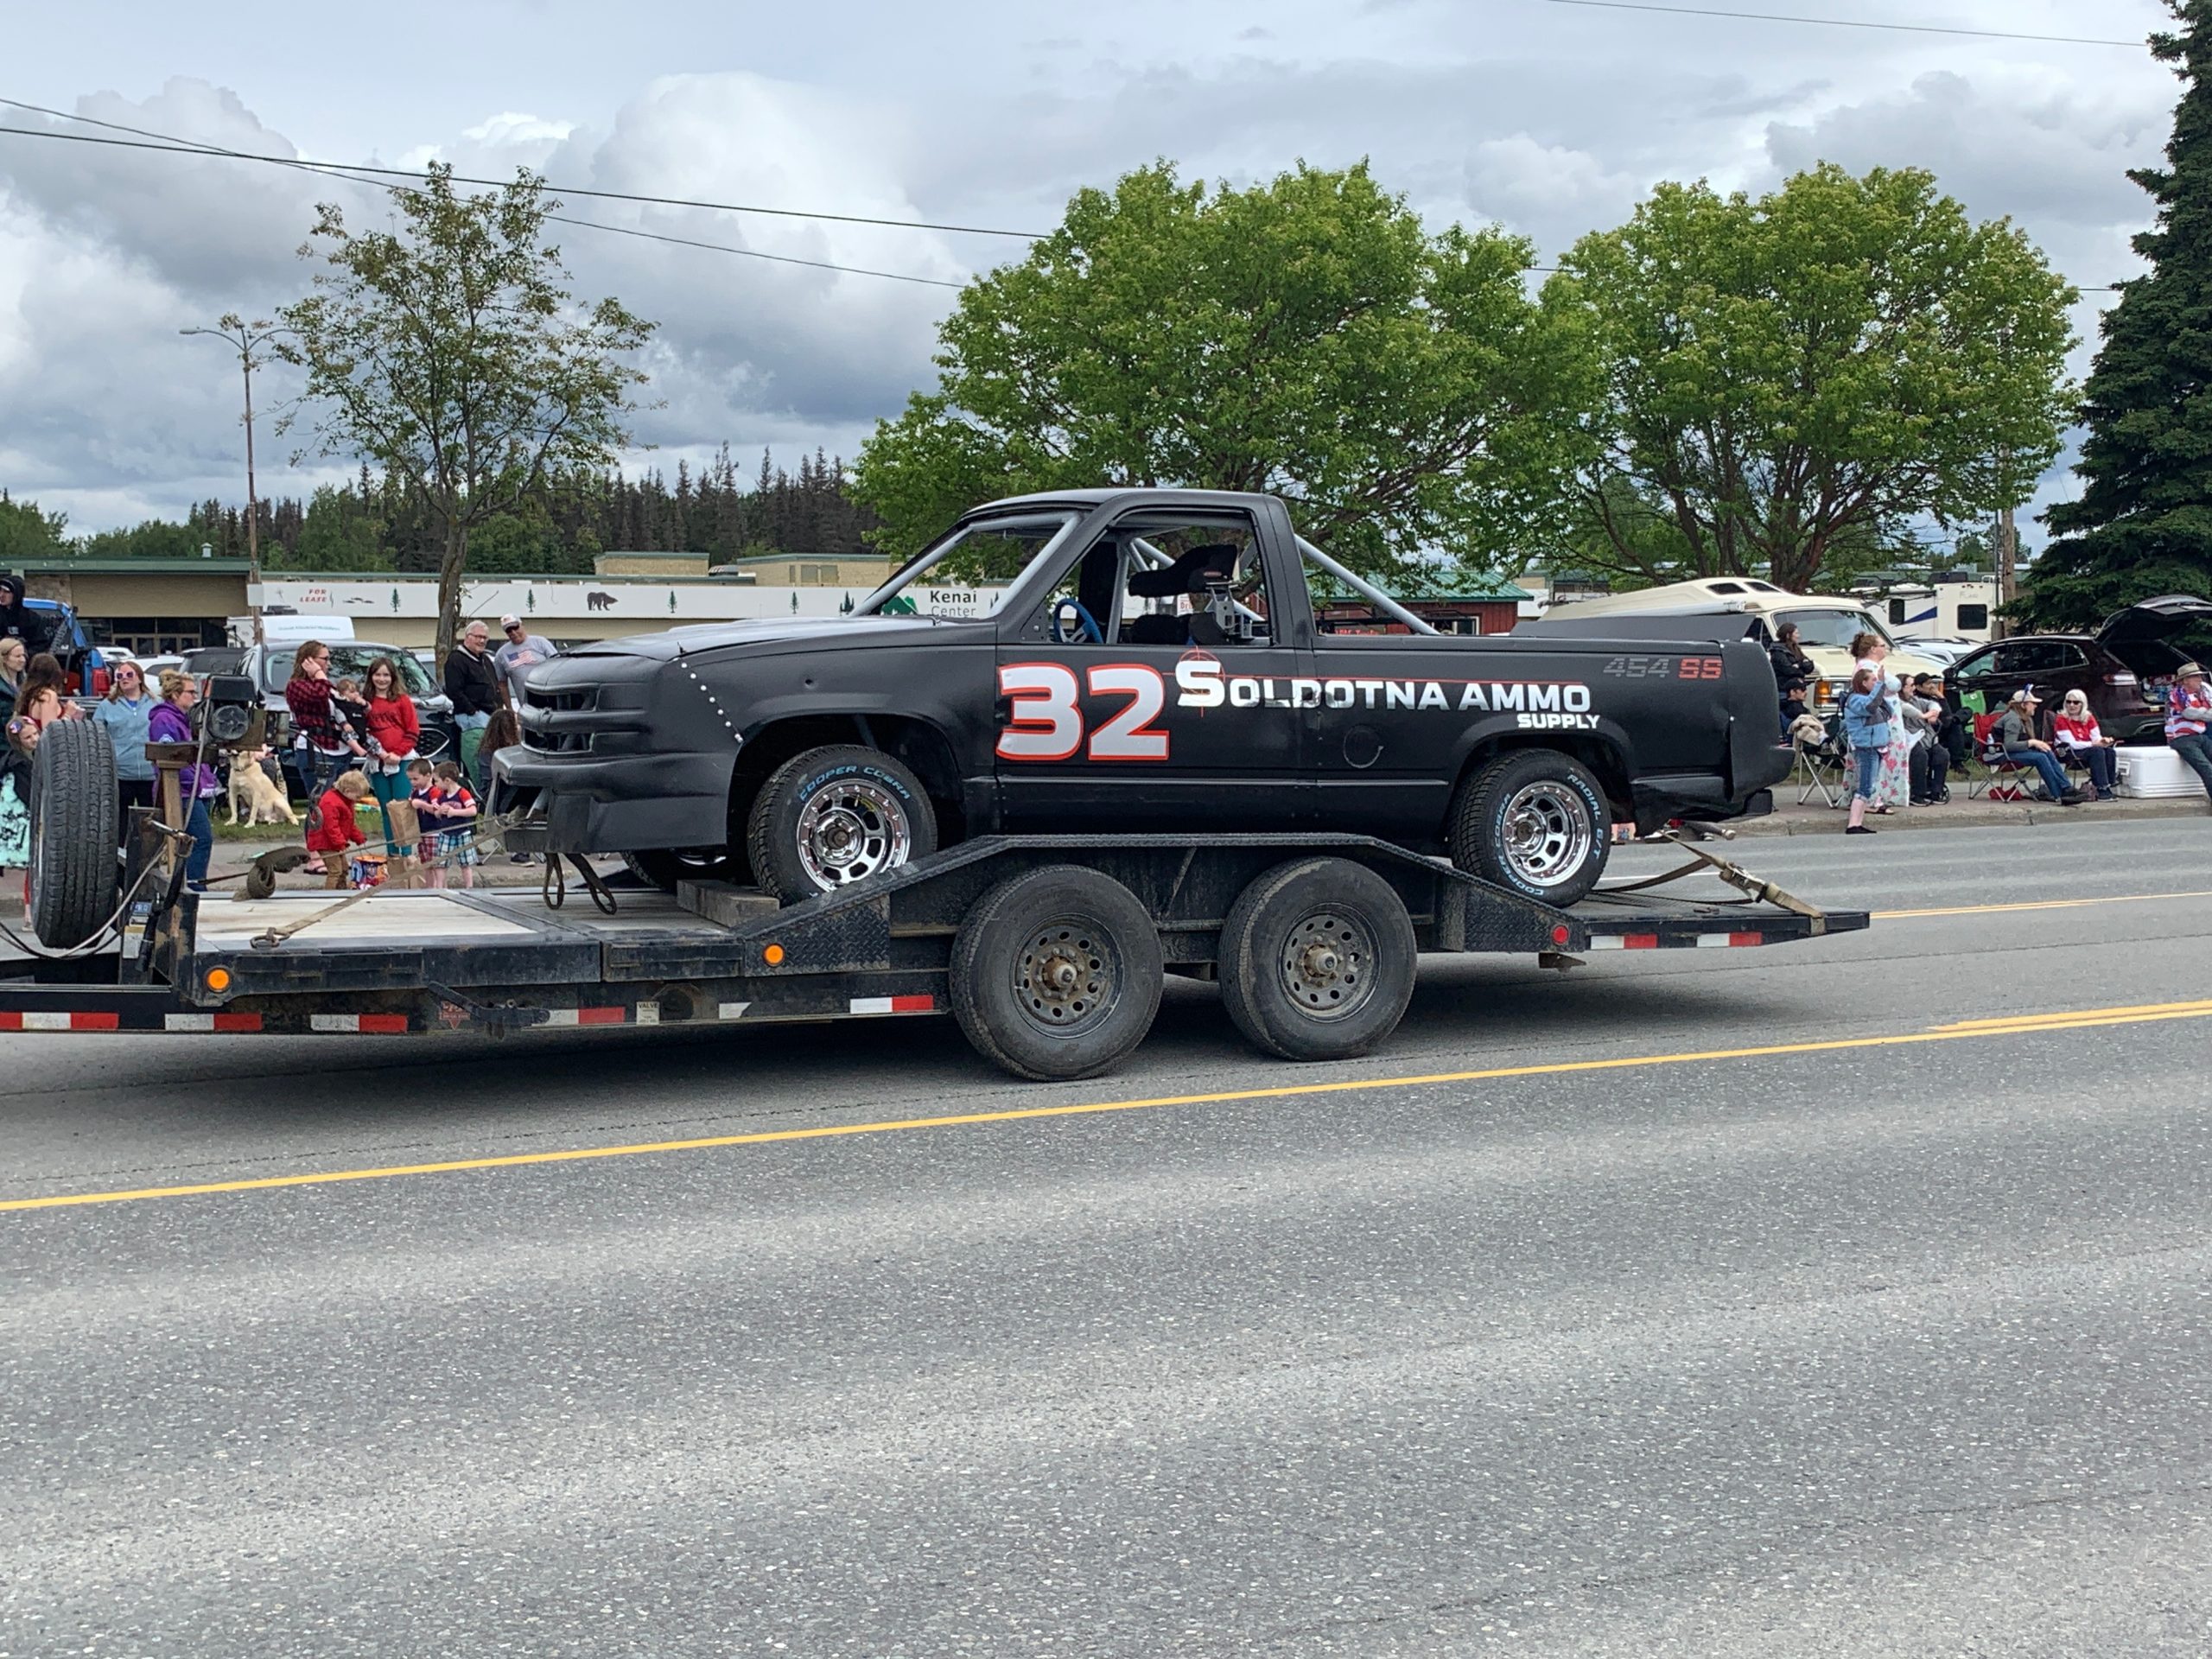
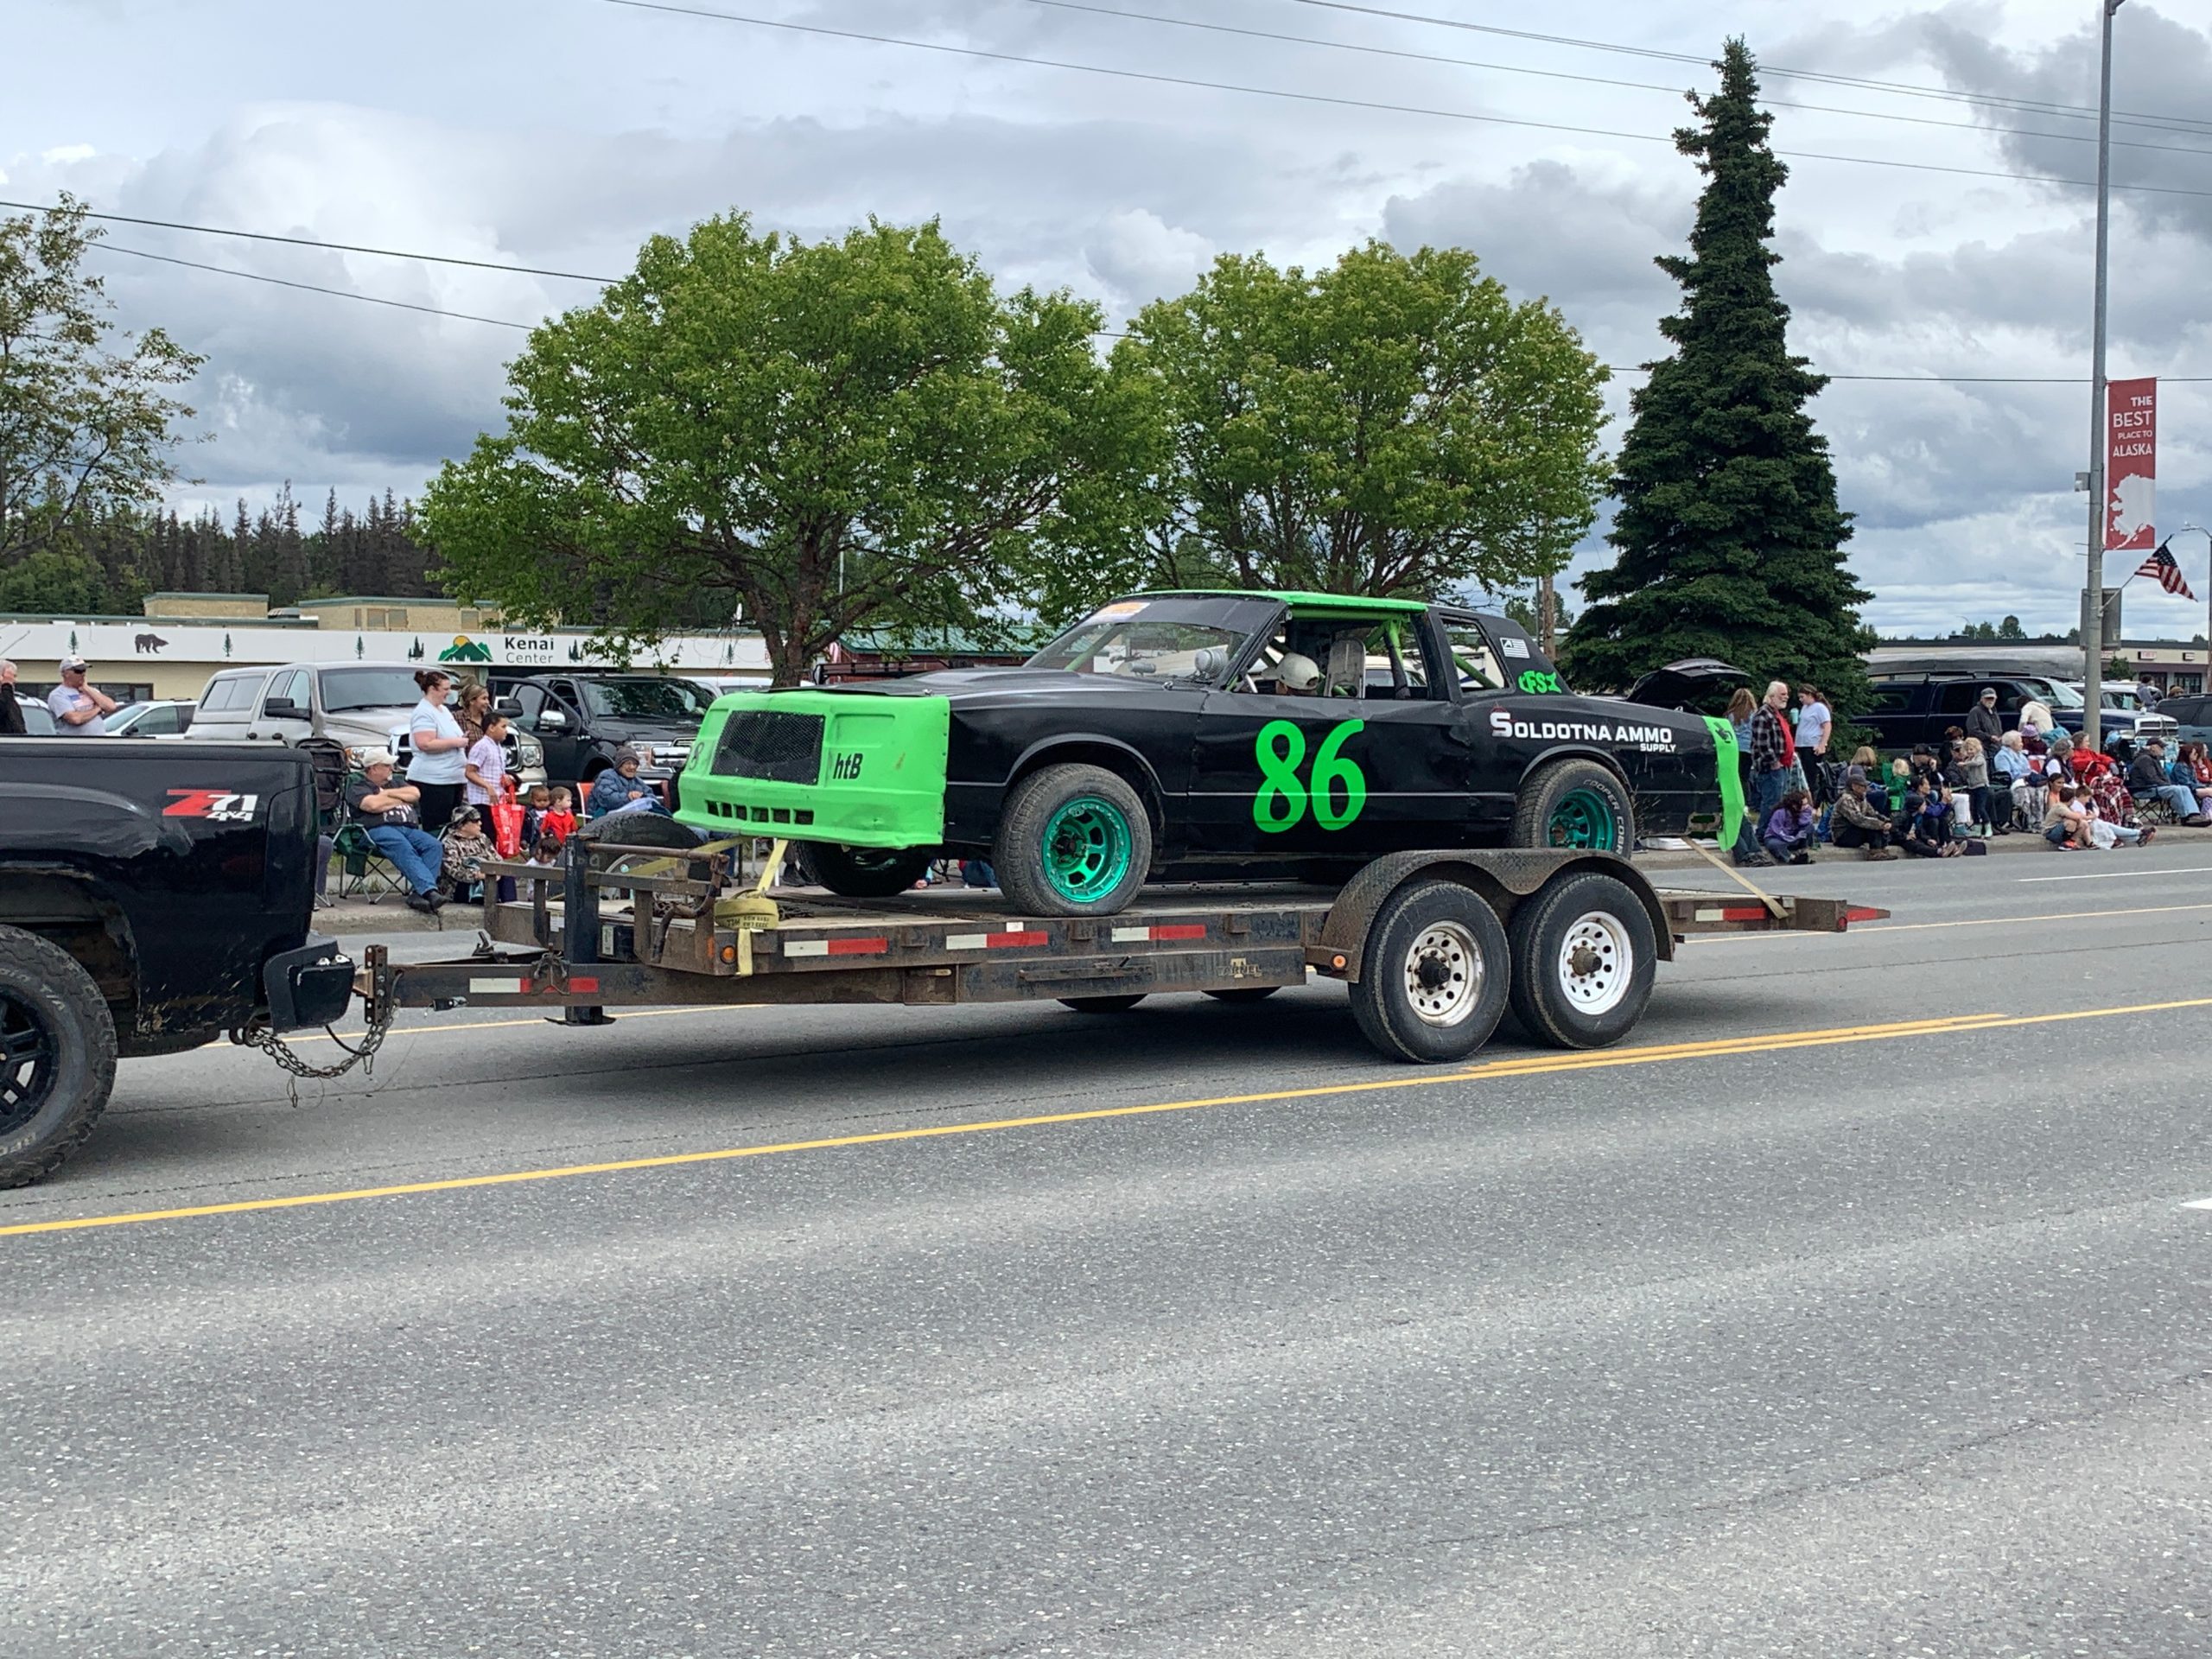
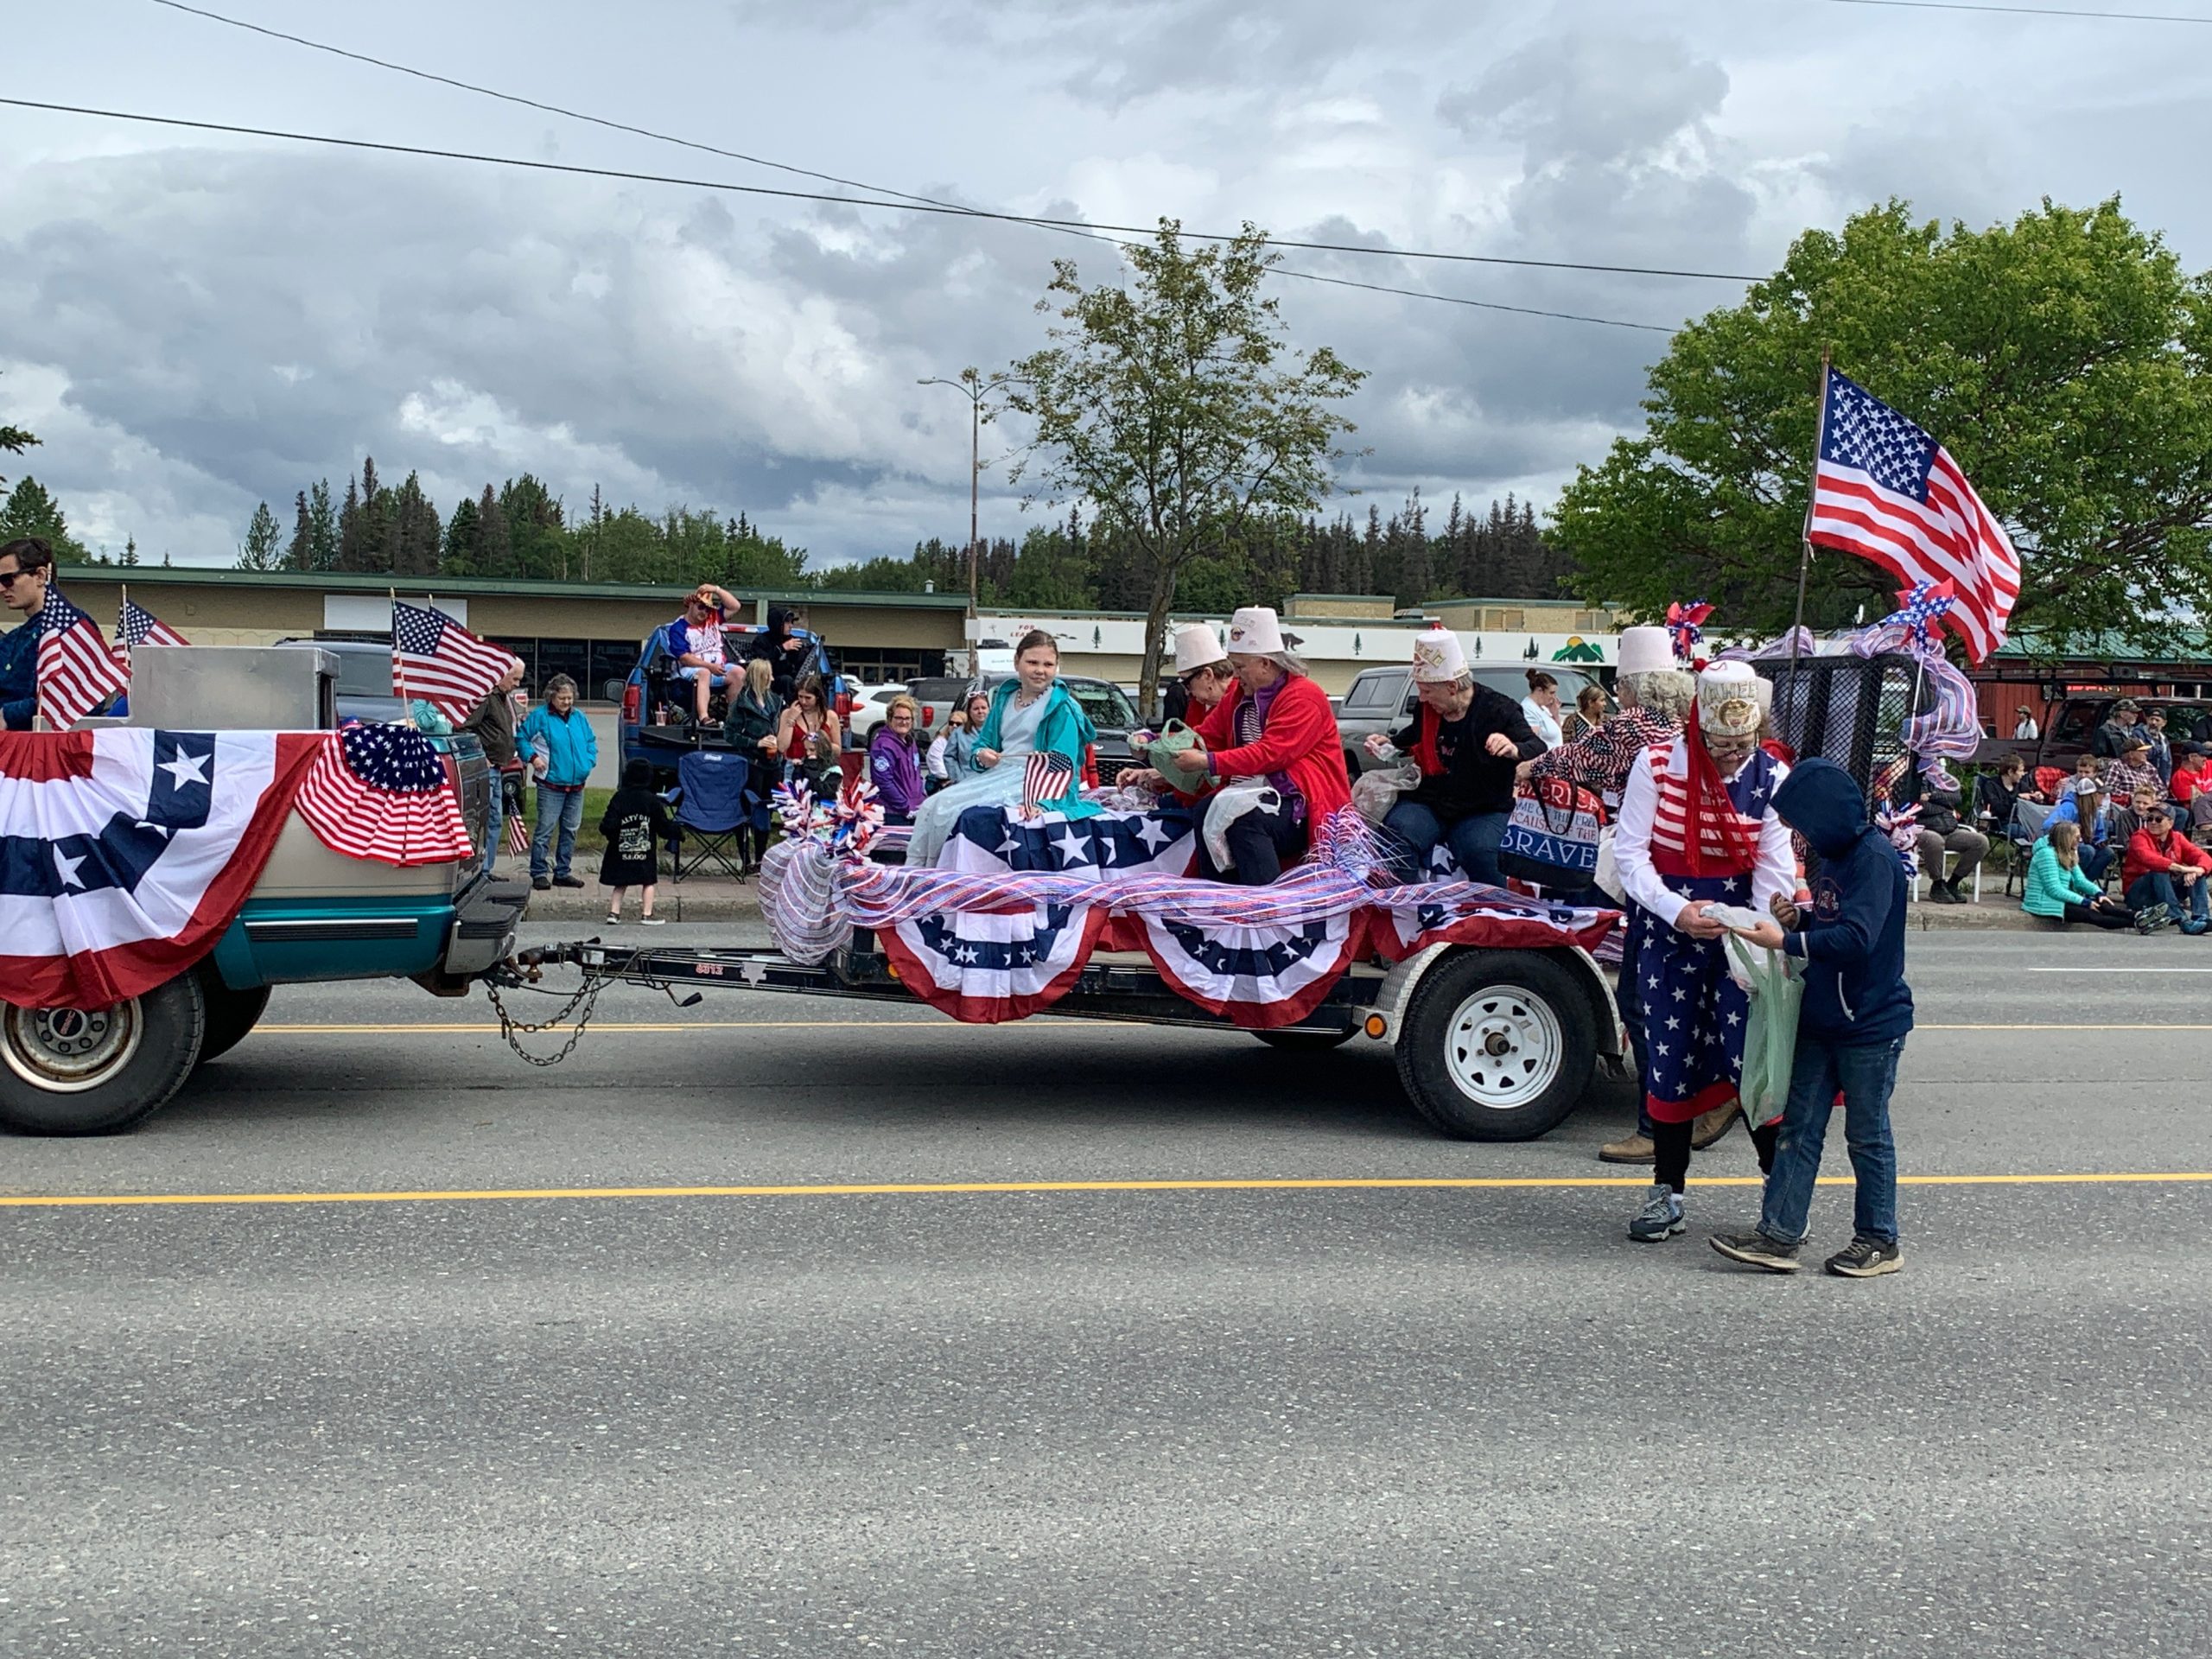
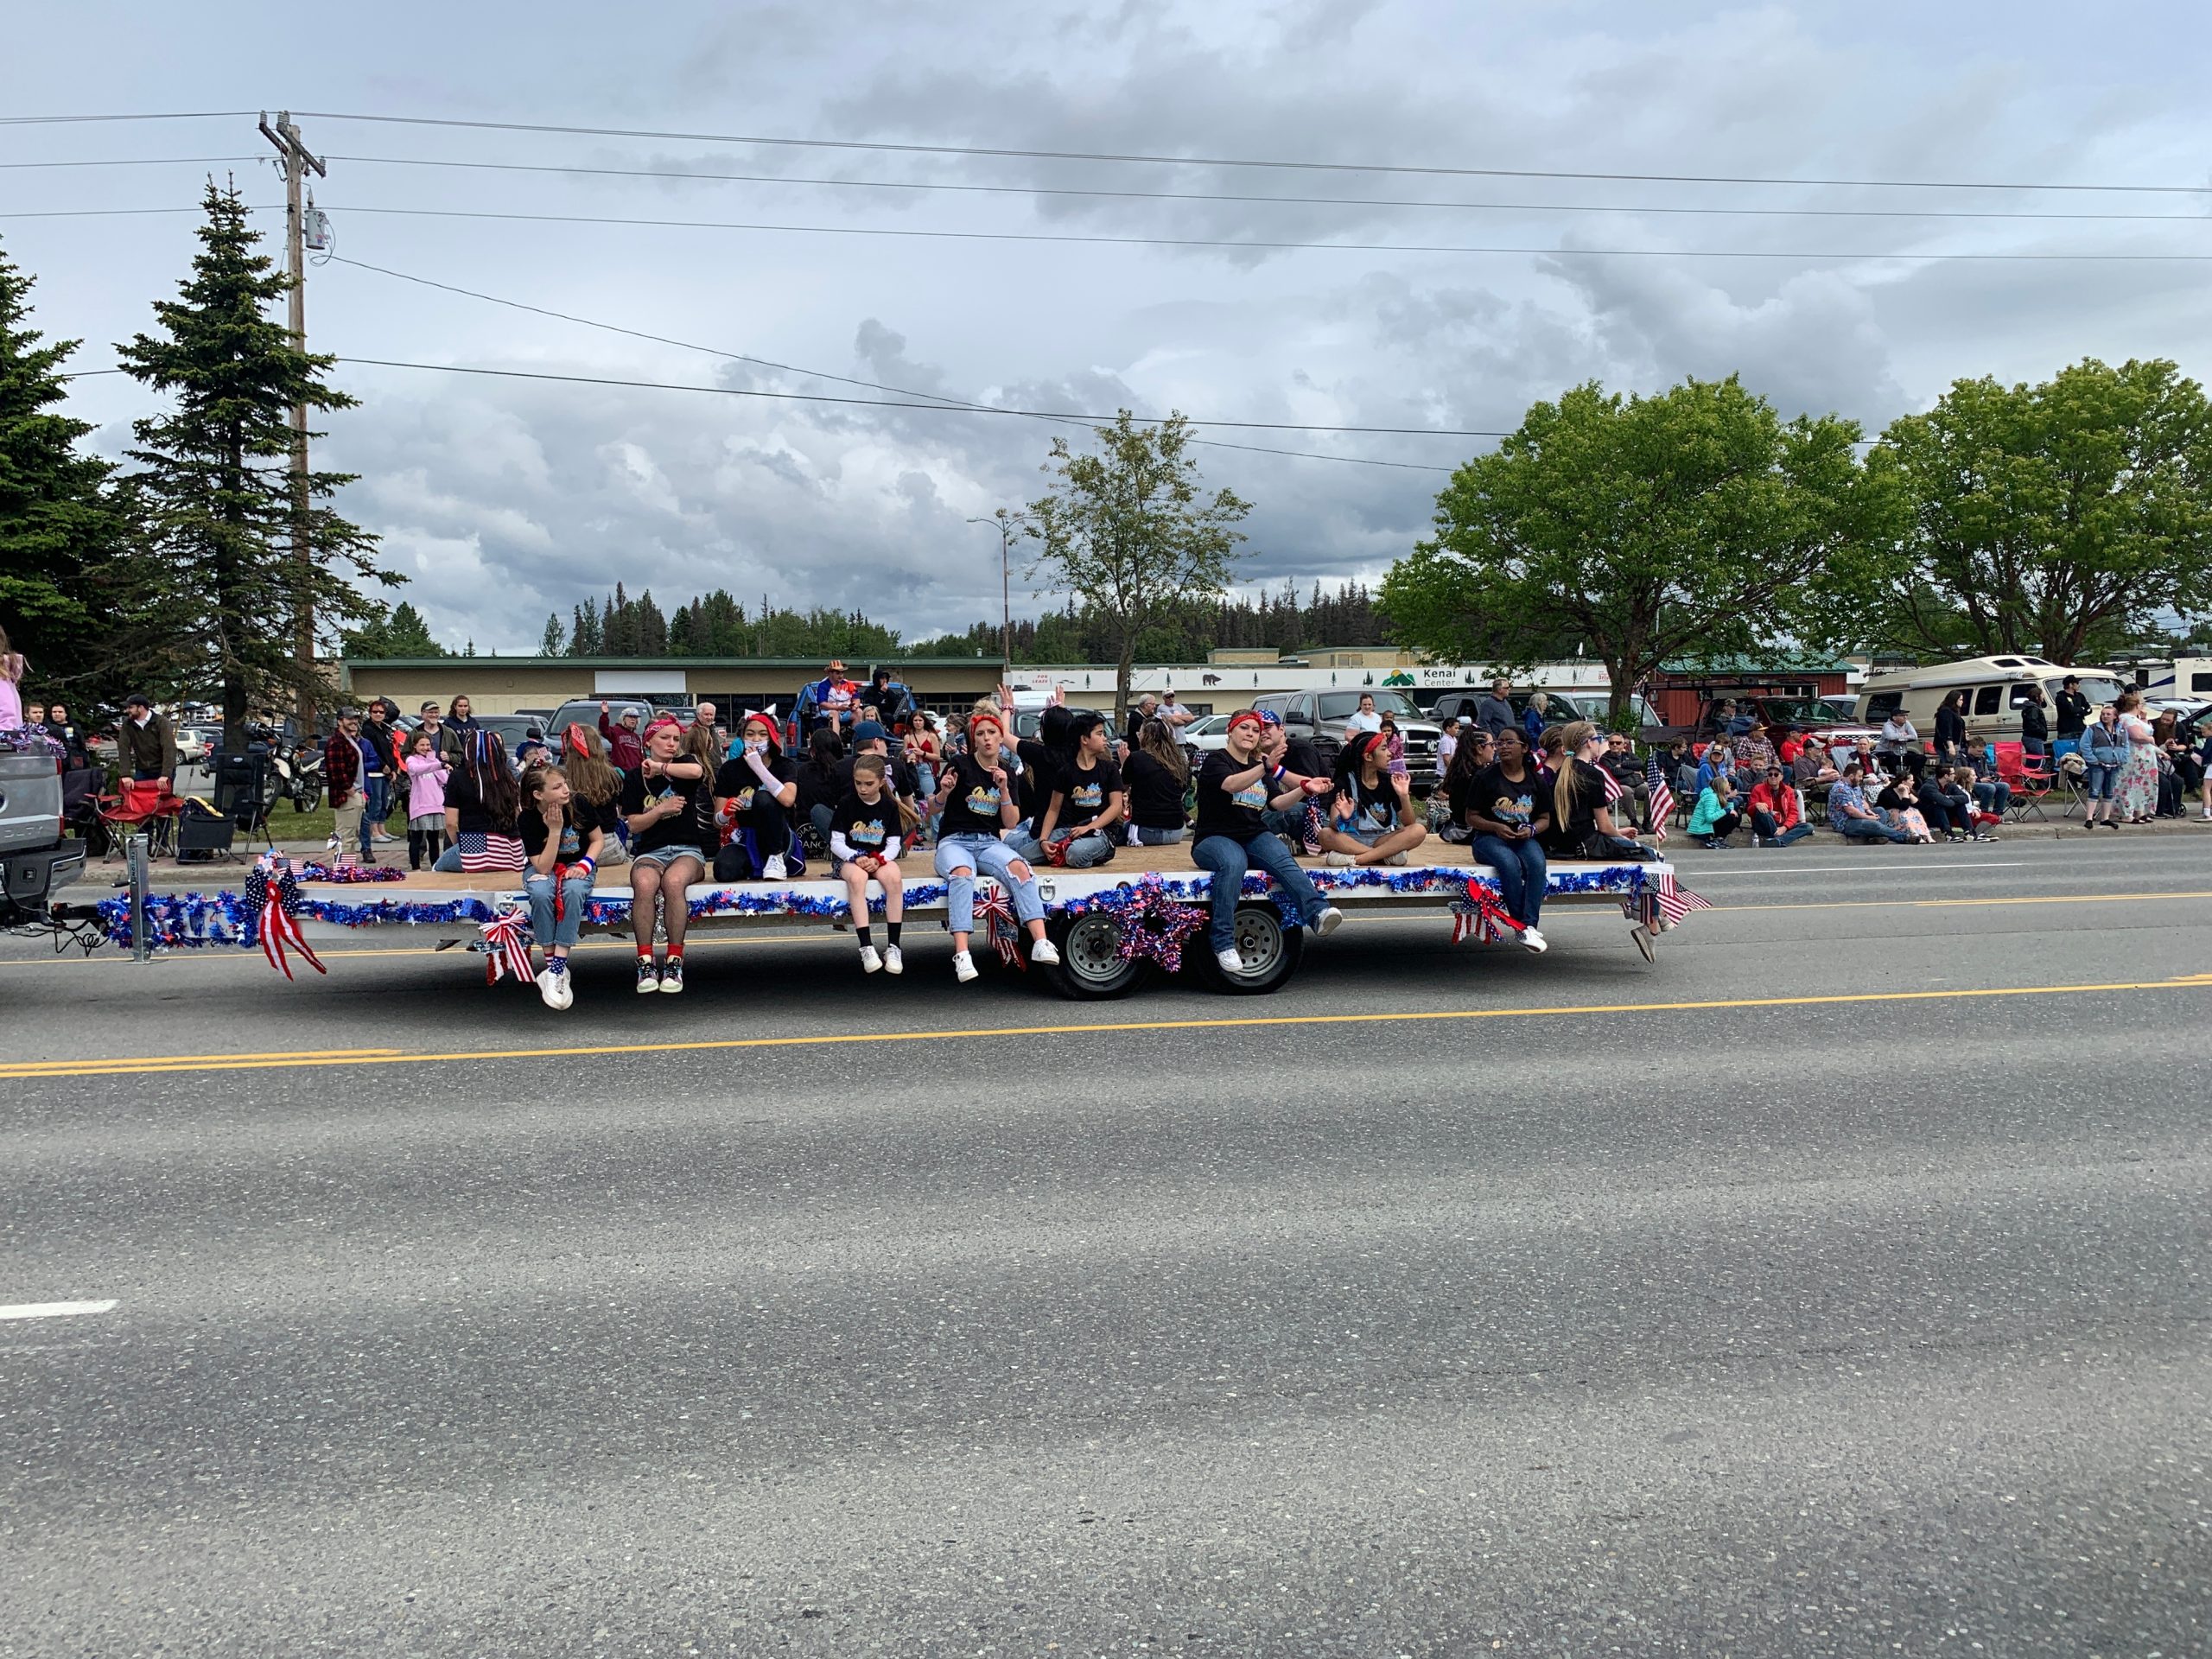
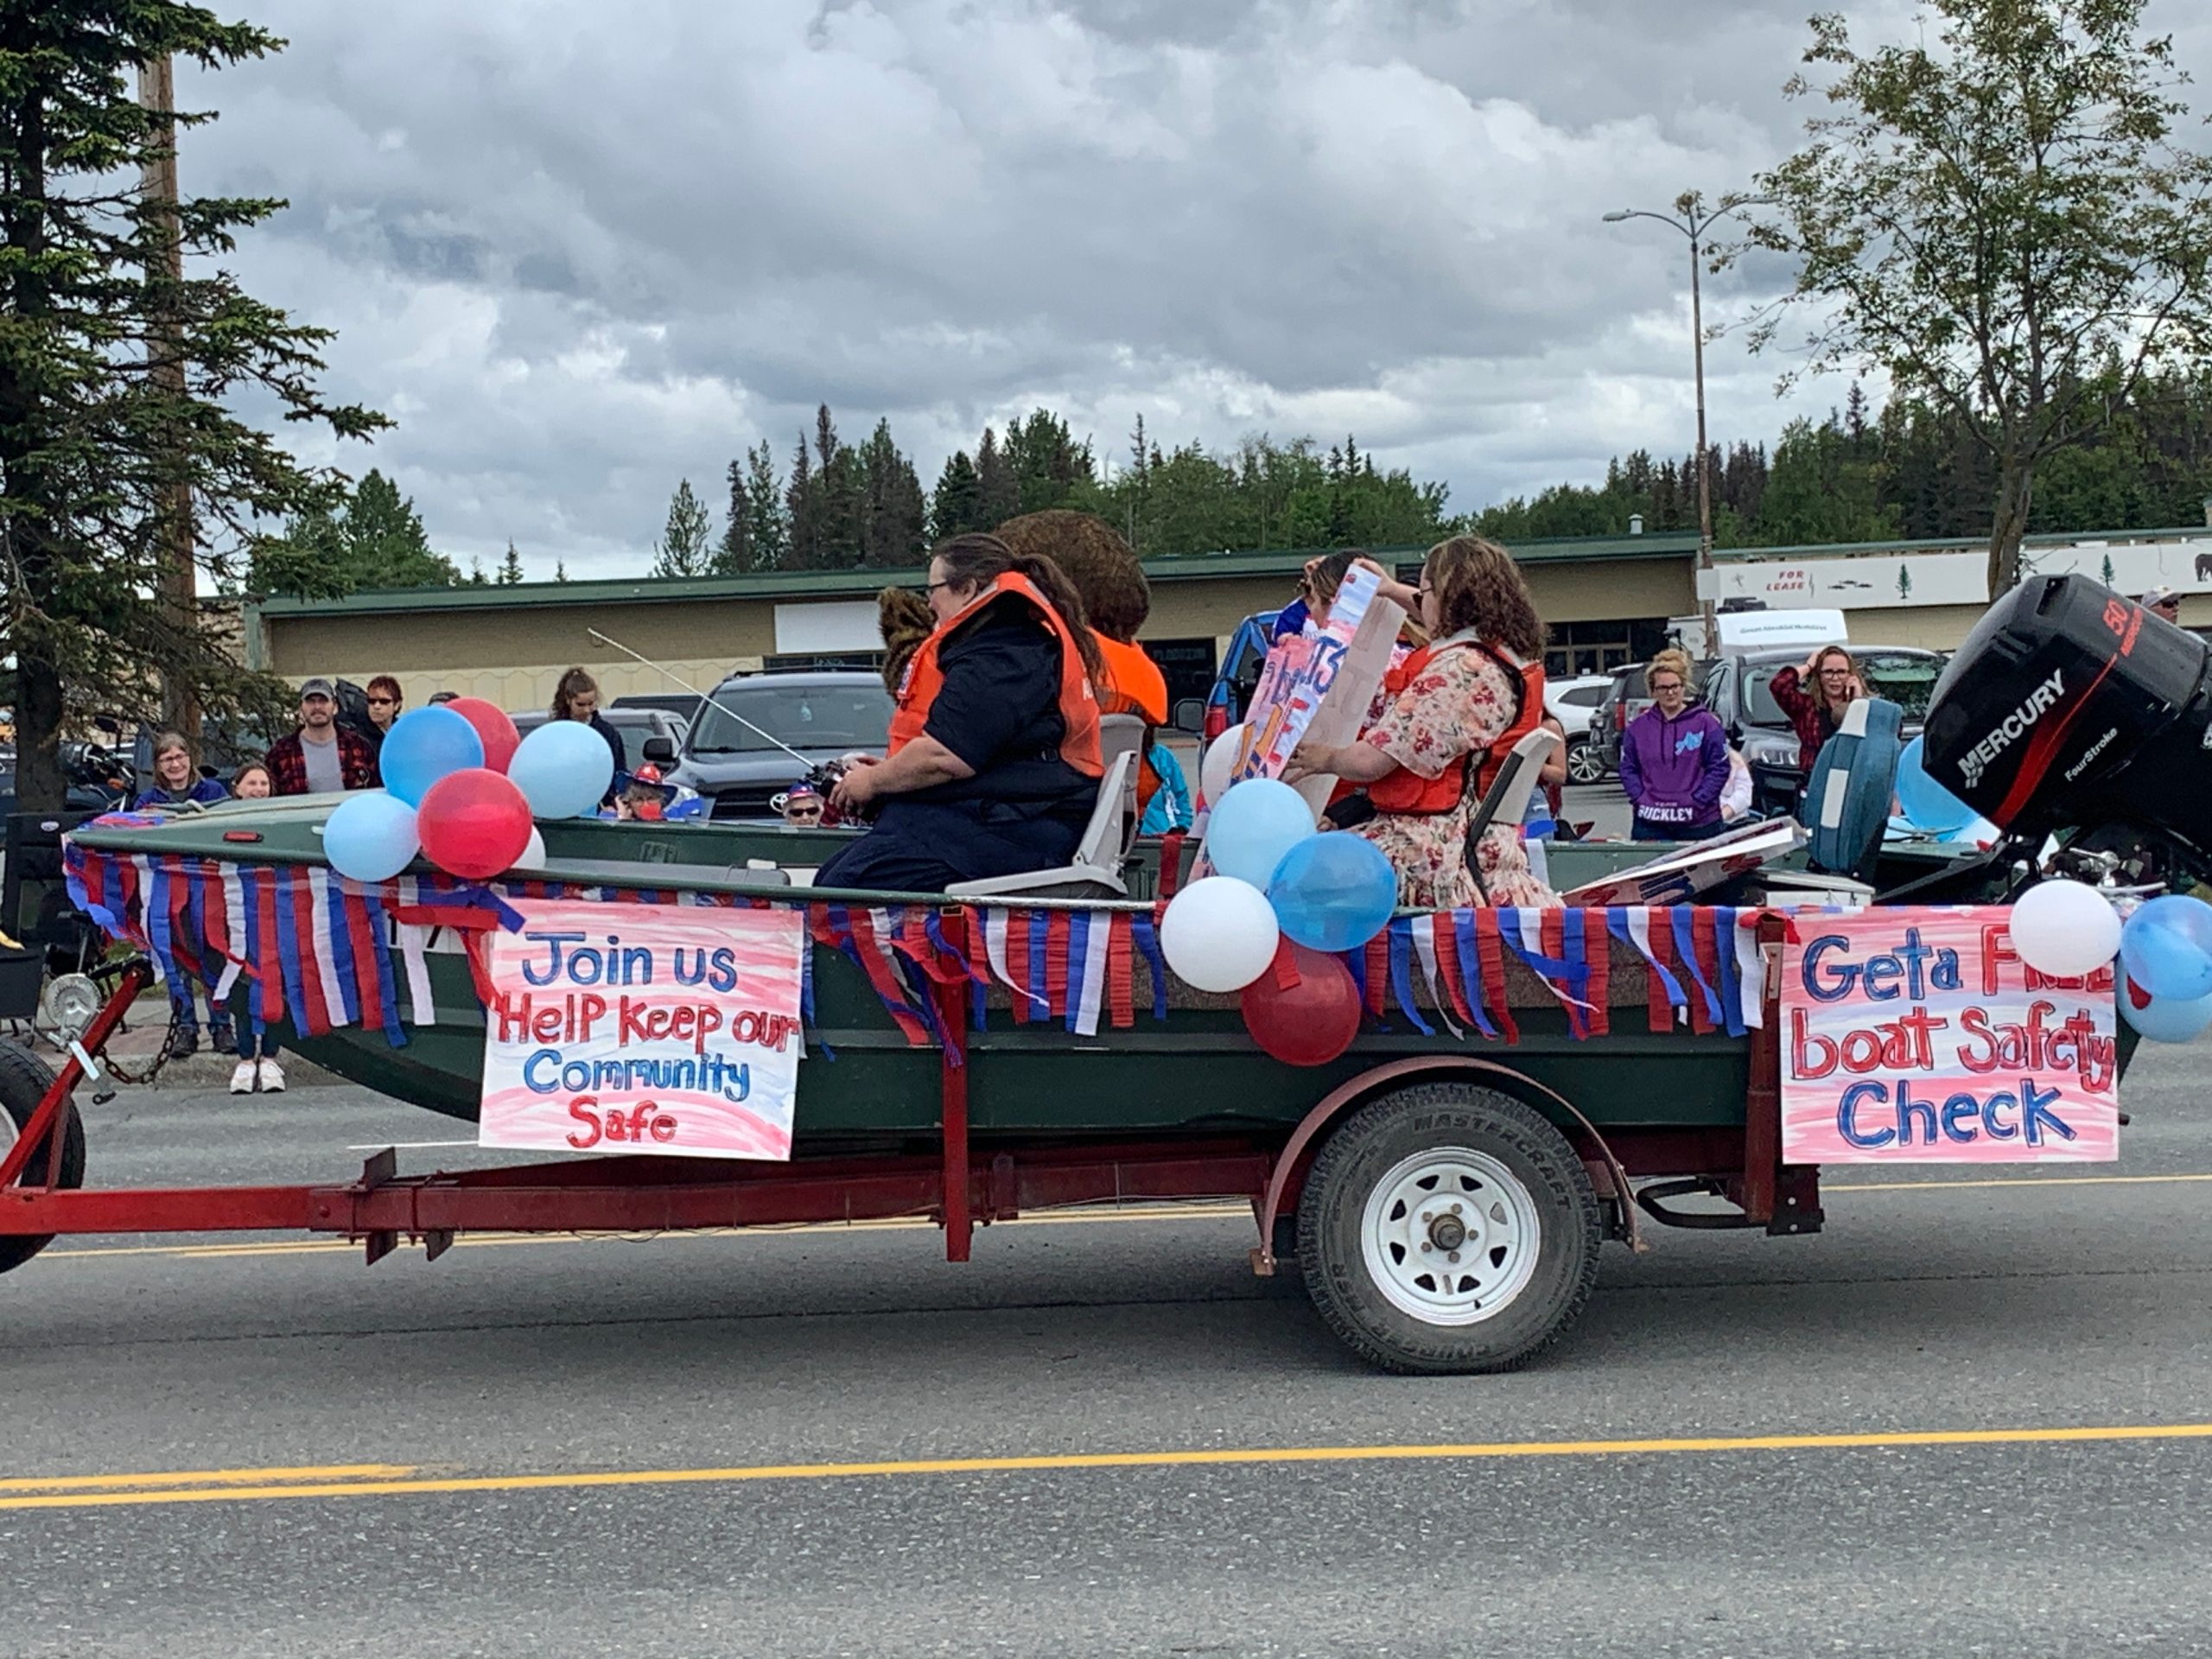
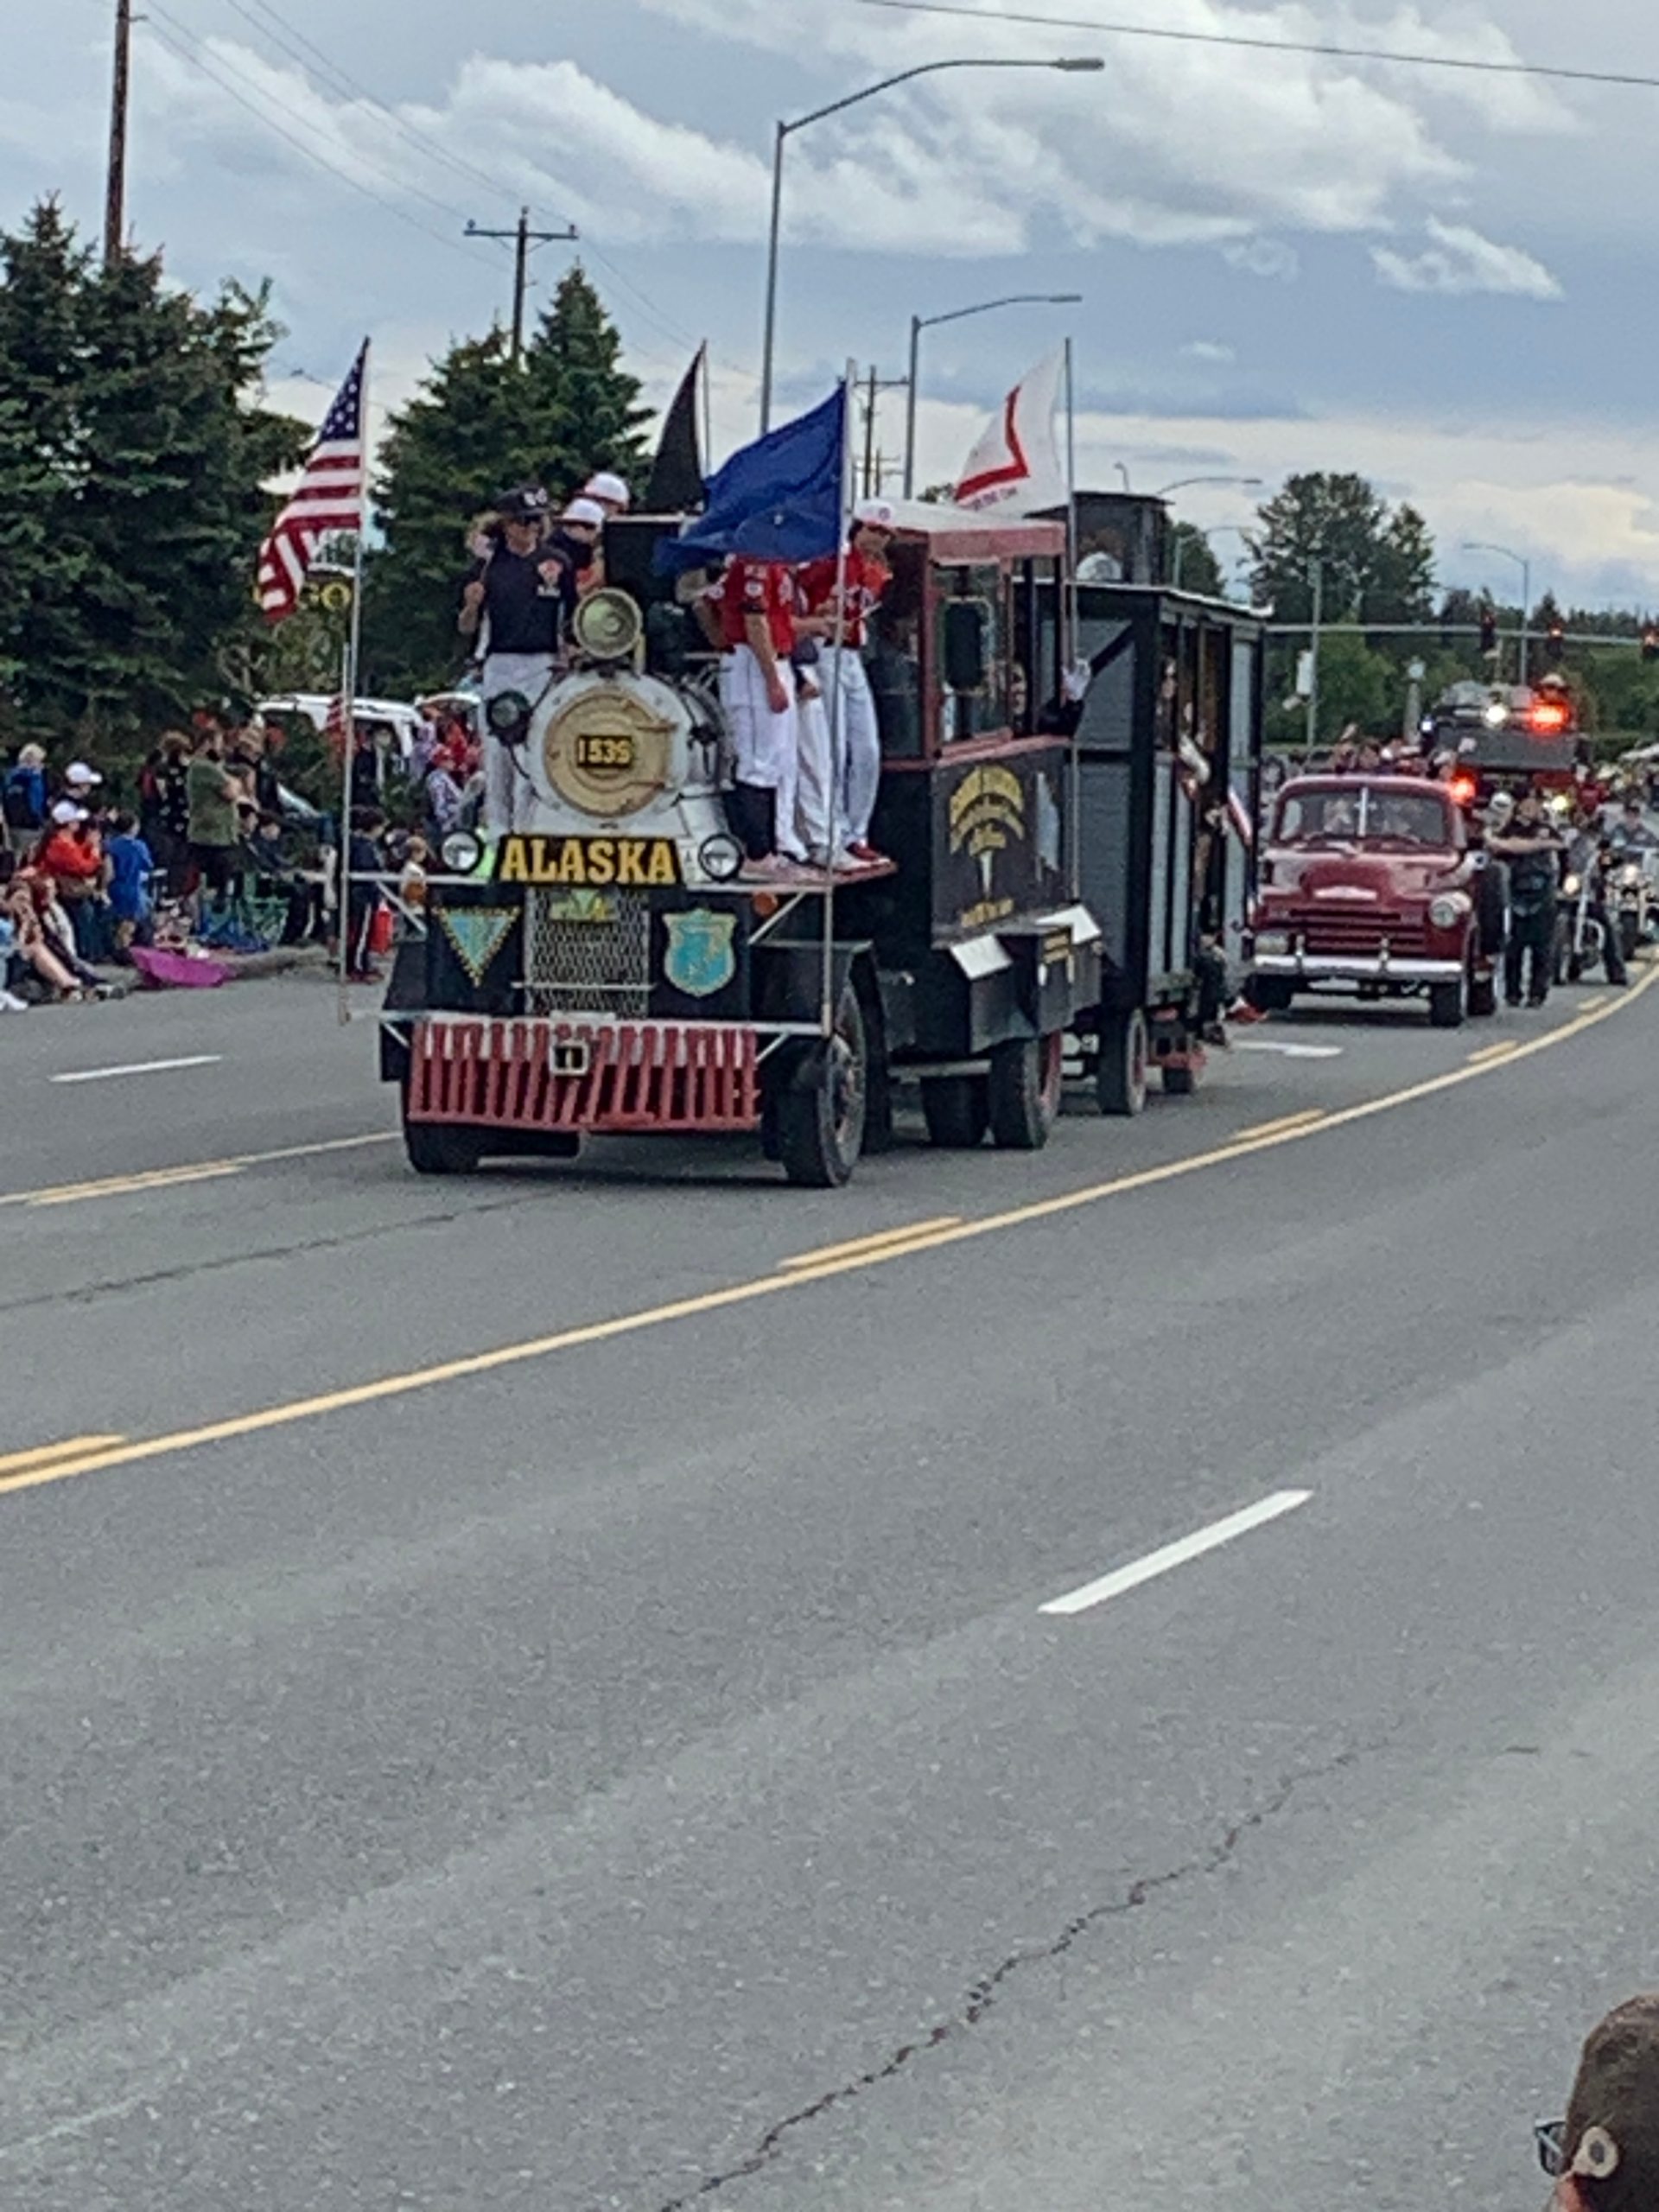 4th parades in my past, specifically, tow trucks and race cars and even small children in go carts. The one thing we missed was marching bands. There was not even one. I guess that’s what happens when music class is cut from school curriculum’s. At least the Shriner’s were there in their odd little cars. Hard to imagine a 4th of July Parade without the Fez’s.
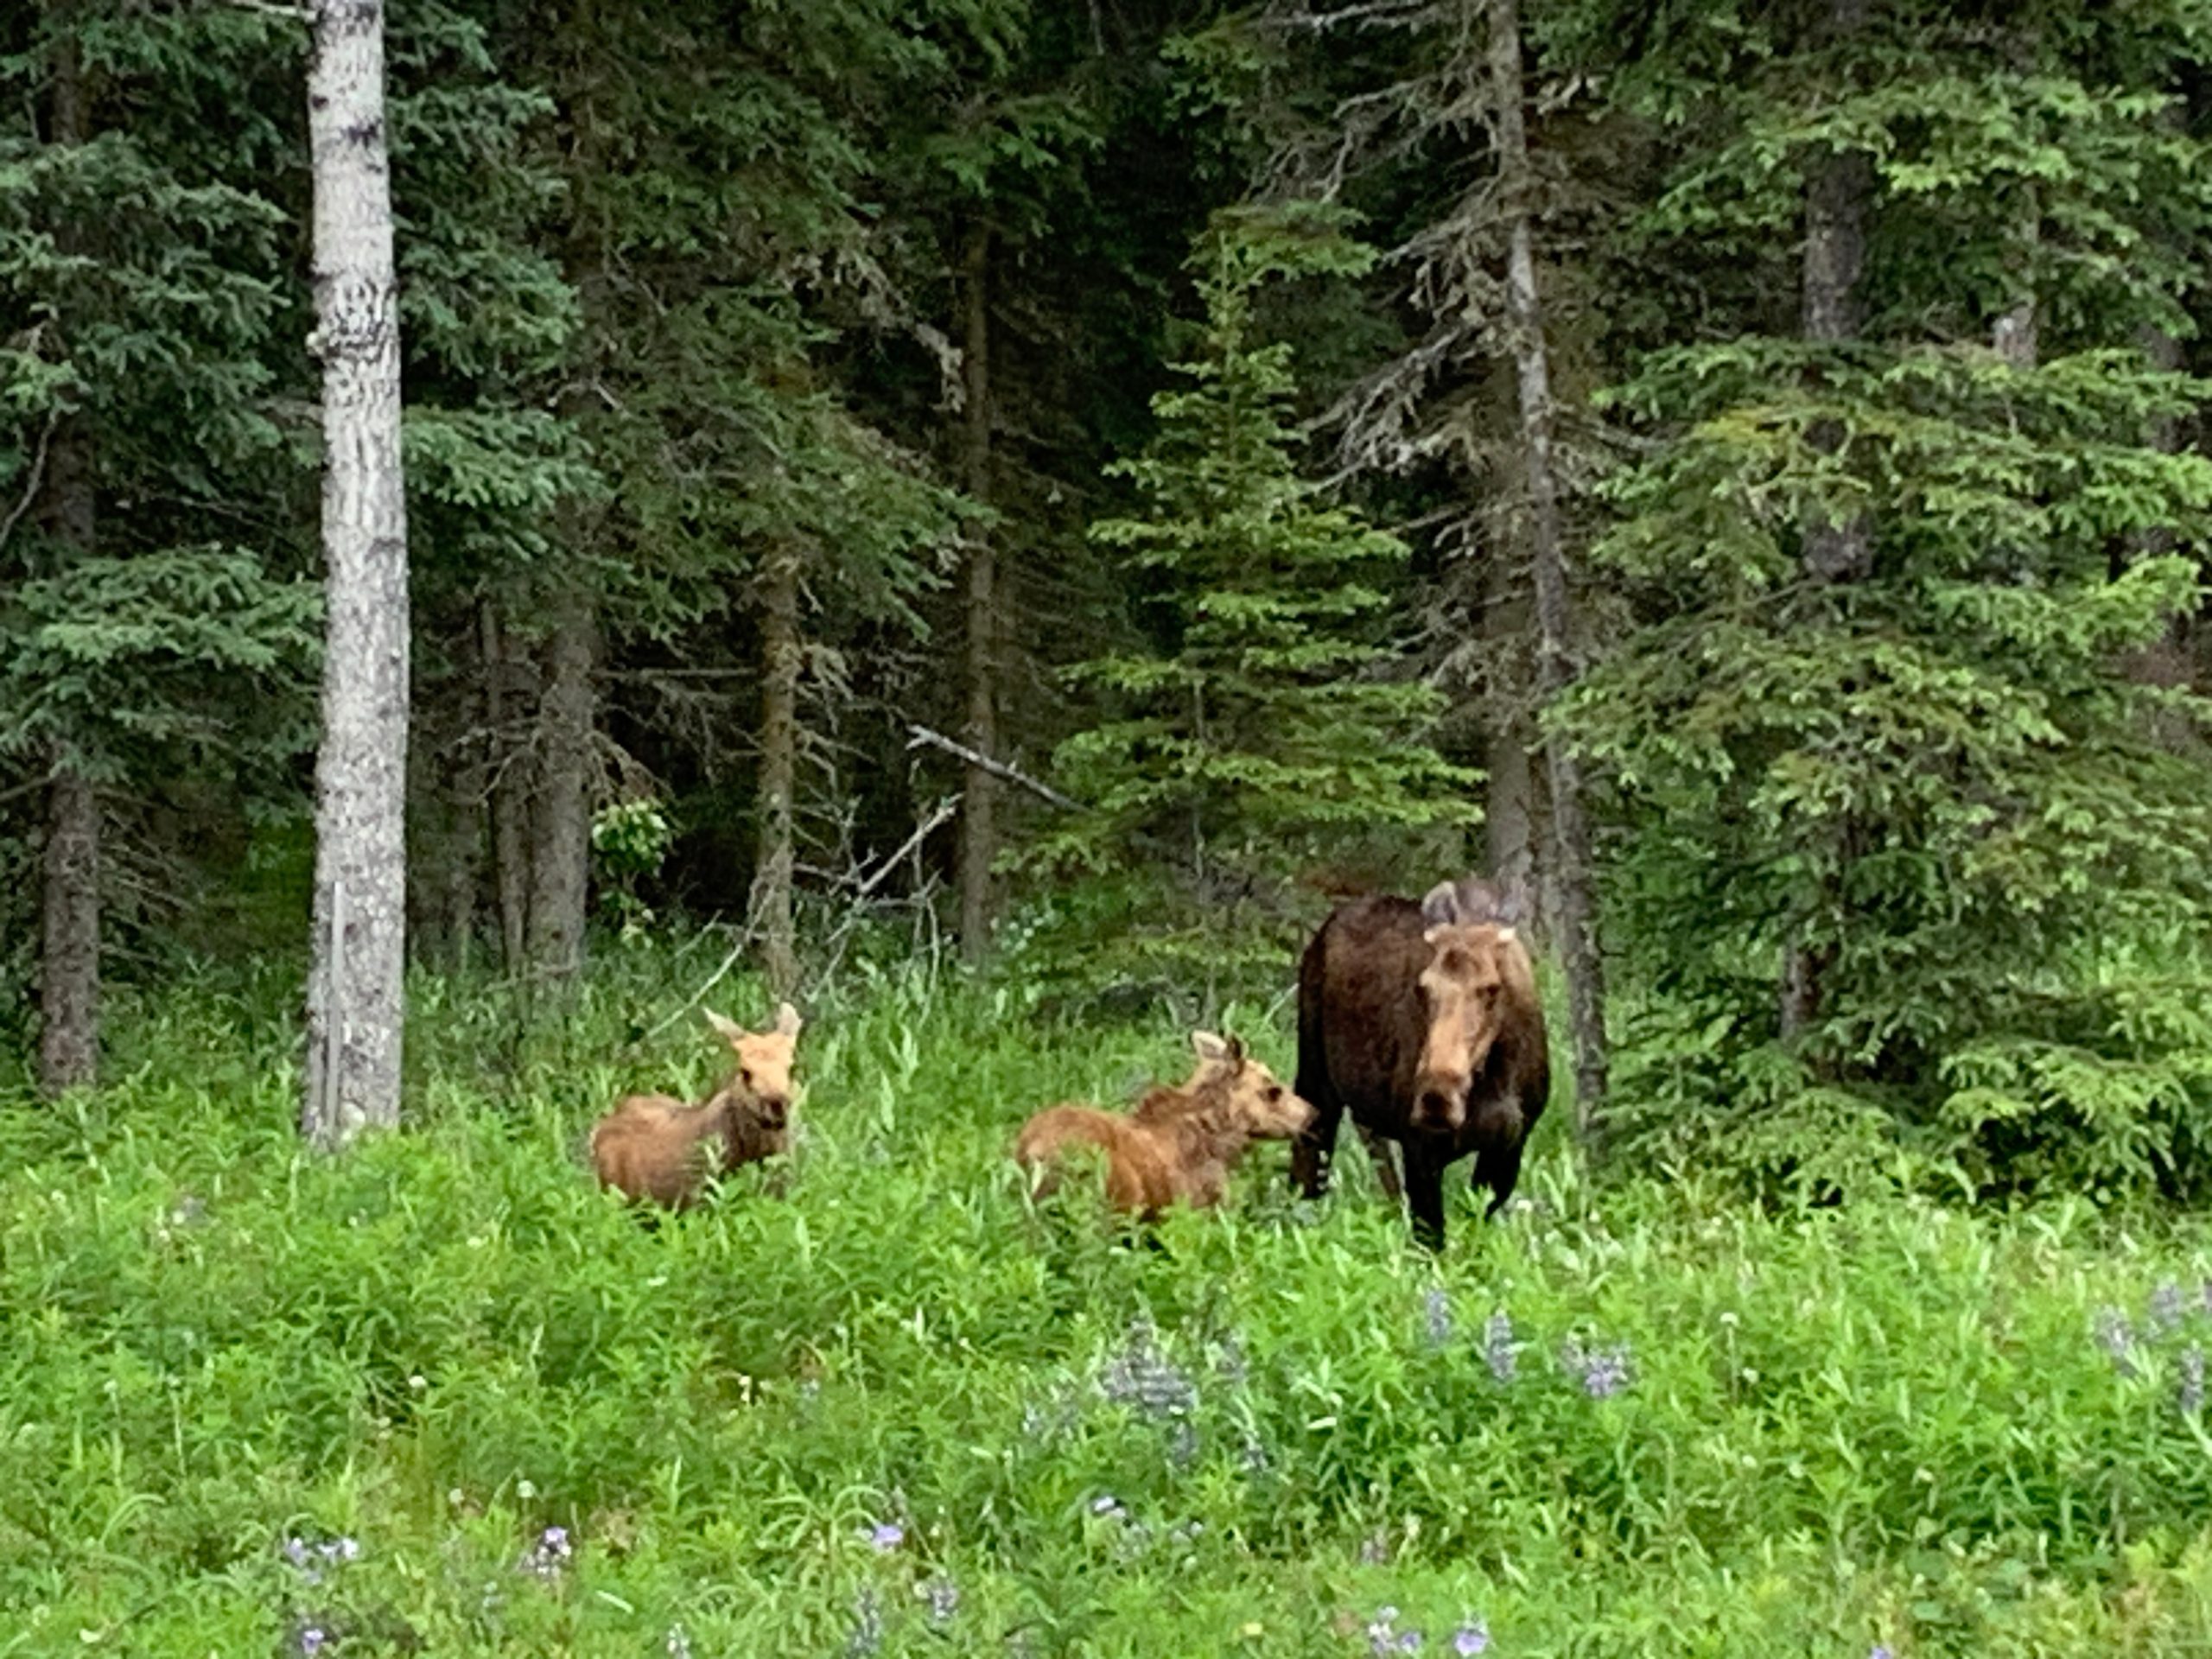 One afternoon we decided to take a drive to the beach, it was almost sunny and a bit cold but we braved it anyway. Figured it might take an act of god to get us out of the car. We headed south on Kalifornsky Beach road. We went past Kalifornsky Beach and all the way down to Kasilof Beach Dipnetting fish camp. It was a couple days before Dipnetting season but there were hundreds of cars, tents and trailers lining the road down to the beach. We drove all the way down, to a spot that I figured was far enough as after that it looked like loose beach sand. Got turned around and headed back toward Kenai City. Along the route Kathy spotted 3 moose along the tree line near the road and I was able to slow down and she got a few pictures. I was one cow moose and two baby moose. Then about 10 minutes further up the road there was a very large bull moose just a foot off the road, by the time I saw him i was concerned he might jump in front of us. He didn’t, but I looked back and he was meandering across the highway behind us. Yikes. He had to be 9-10 feet tall. Having that coming thru your car windshield could ruin a lot more that just your day.