Getting the correct information about this new SL In-Motion option was not as easy as it should have been. I read a lot of blog posts and watched a lot of half baked youtube videos. Every one of them left out the two most critical pieces of information I needed to make sure this was feasible: How large of a hole do you need to get the cable into the motorhome and any information about using a third-party router without using that low-spec SL router.
I watched one video of an installer drilling a 1.5″ hole in his roof for the cable from the Dishy. He apparently didn’t know the other side of that cable was a .6″ connector. Slightly larger than a 1/2″ hole was all that was needed. And this In-Motion Dishy comes with an Ethernet cable built in, which was perfect to plug into our Max Transit.
I finally got to see what comes in the box while attending Escapade Tucson in March, and I was able to measure the cable hole size requirements with a tape measure and also look at the Ethernet cable it comes with so you can leave the obsolete SL router in the box. After that I was ready to pull the trigger.
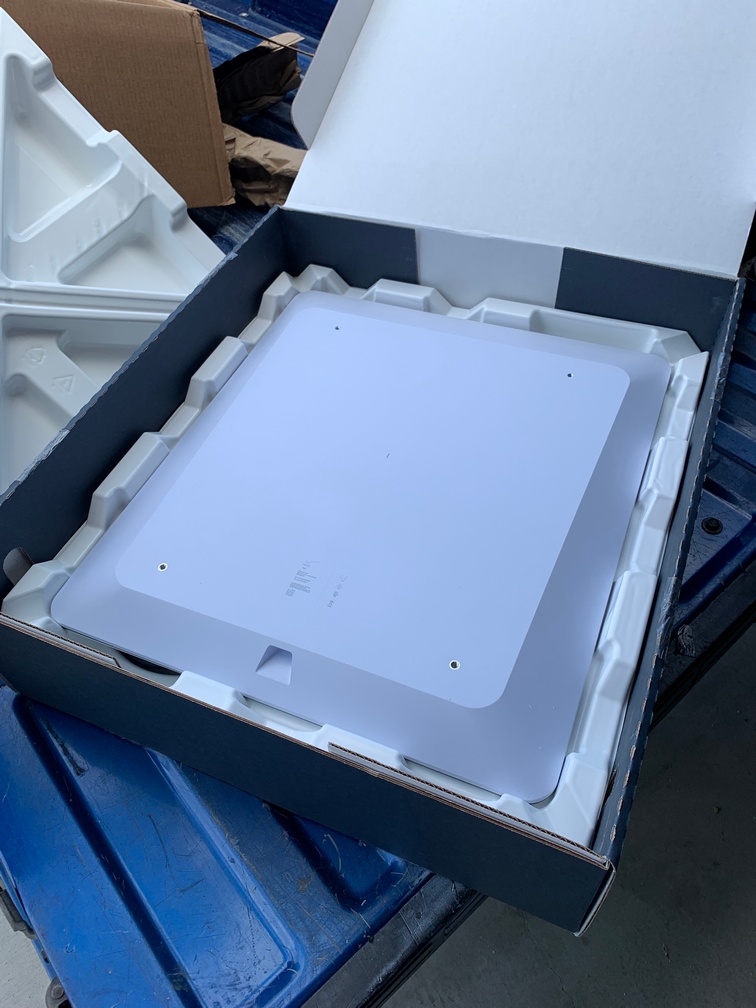 When we got home, I ordered mine thru MobileMustHave.com. It drop-shipped via Fedex from Winegard the next day. It arrived in San Diego less than a week later. When I got home, I unboxed it immediately as there was a hole in the box. I wanted to make sure everything was in good shape and all the cables I expected to be there were there!
It all looked good. I set up a table out front on the driveway and hooked 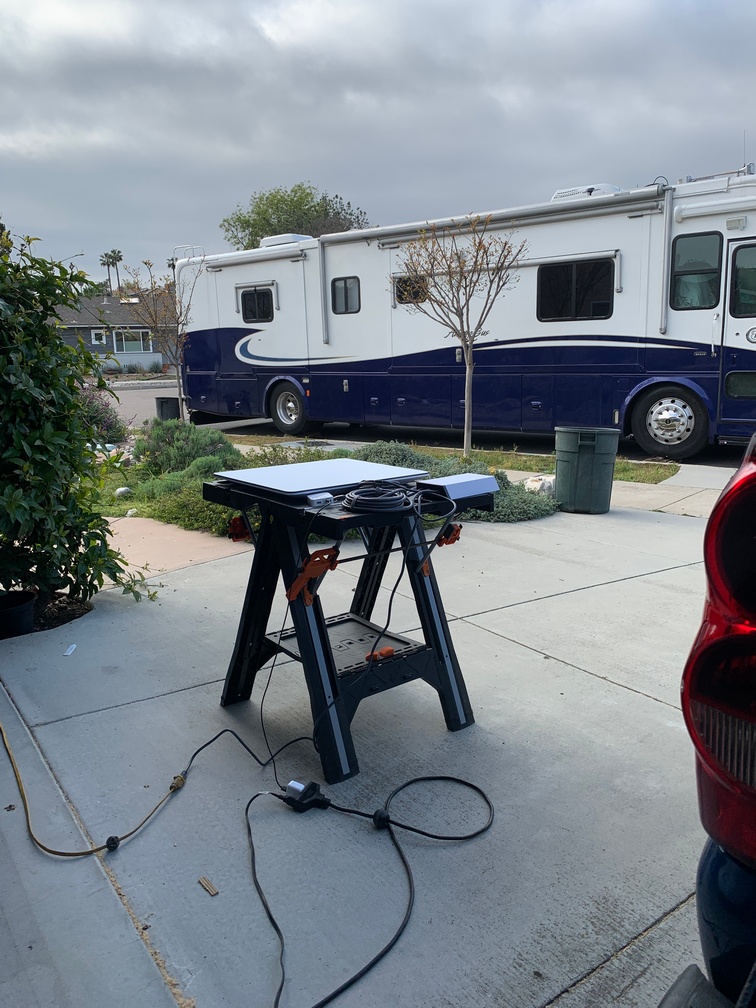 it up with a small travel router I’d used in the past. It started working within minutes and I was a happy camper! I figured I would let it run till it got dark out, then bring it back in the garage. Then I’d deploy it in the backyard in the morning for a few days to “burn in” while I got the motorhome roof ready to mount it.
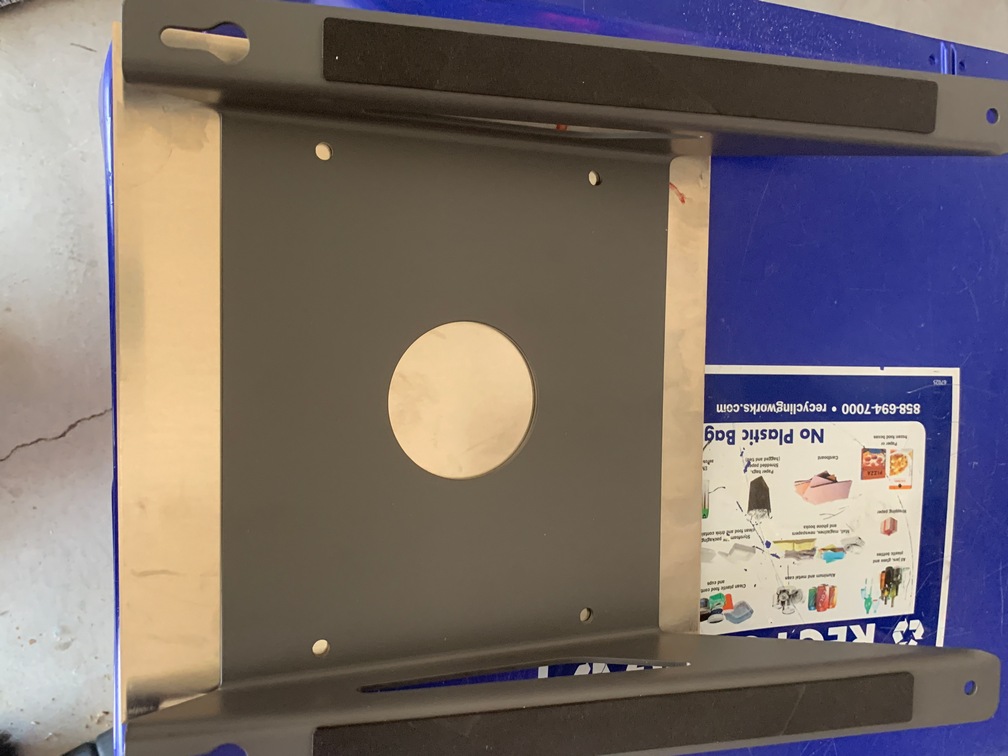
I decided to 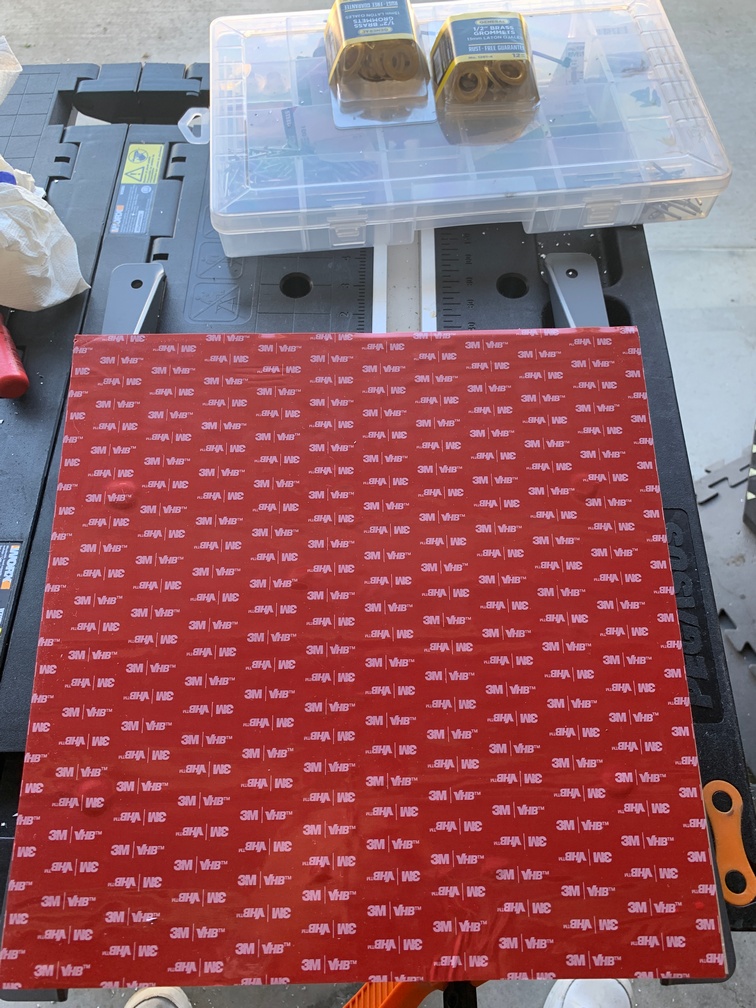 use a 12″ square piece of 5962 VHB from Digikey.com. 5962 is slightly thicker. That would give me 144 square inches of bond. The wedge mount was a bit smaller than that size,
 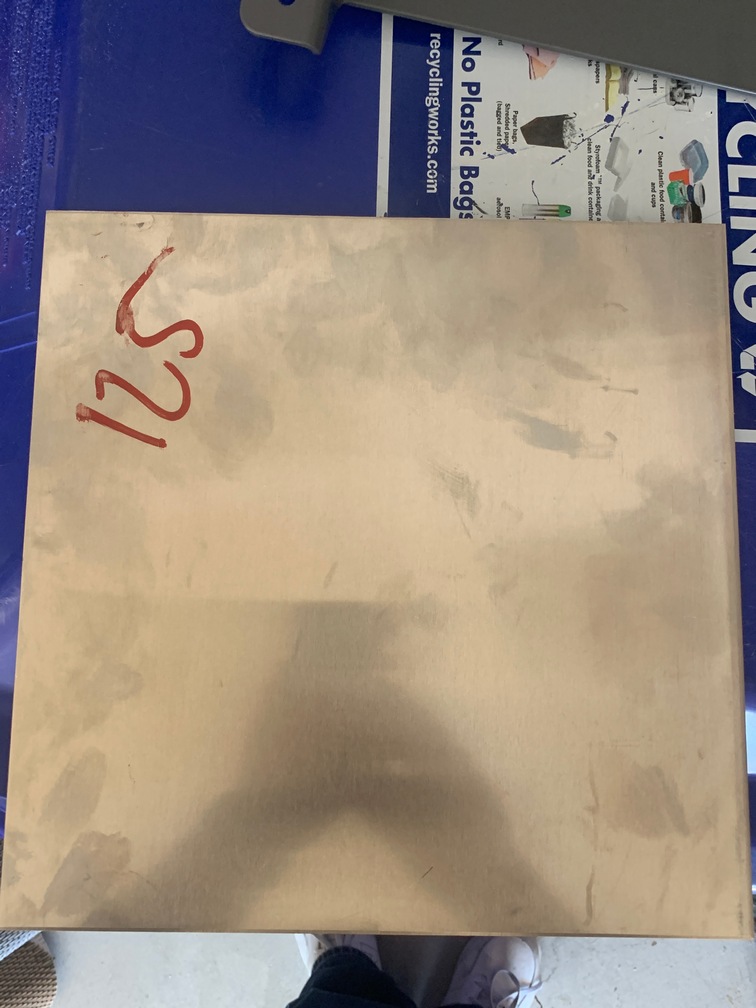 so I purchased a piece of 5150 1/8″ sheet aluminum and counter sunk some flat head screws from the bottom up thru the wedge mount and locked them with Nylock nuts. Now I had the
 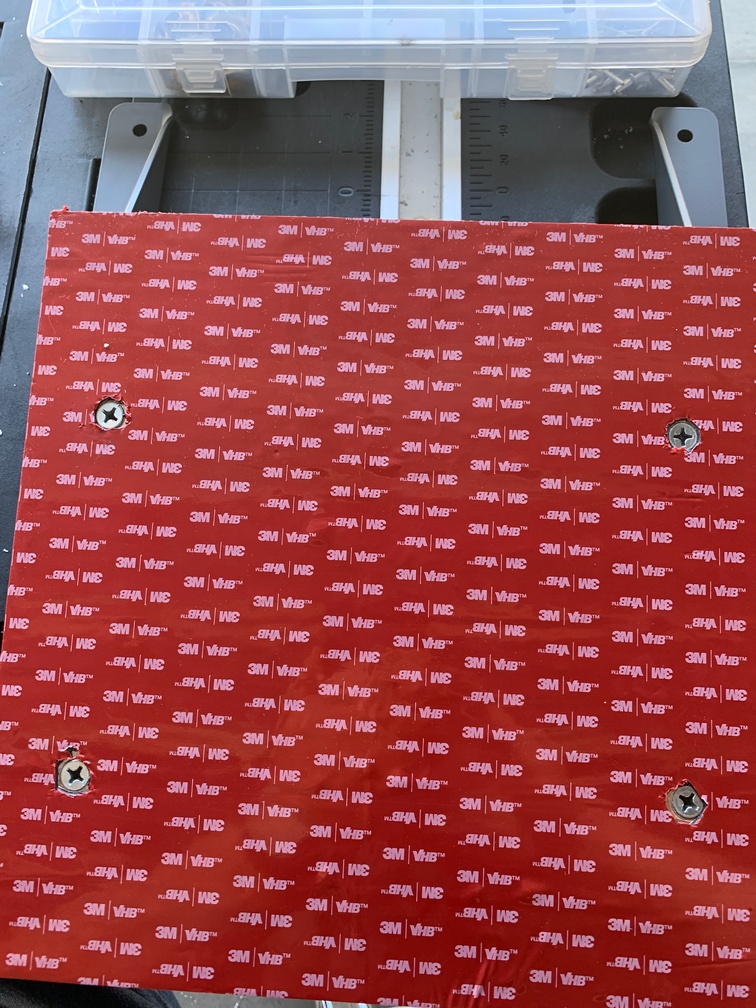 12×12 square that would hold the SL In-Motion Dishy to the roof and it would be difficult to remove. I used CSL silicone to surround it and over the nuts to prevent water from trying to get under it and possibly pop it off if I was ever in a spot that it could freeze.
I cleaned the area of the roof a few days prior with Acetone and then the day of with alcohol and roughed it up with 200 grit sandpaper. It was as clean a surface as I was going to get it. Then I brought up the wedge and placed it where I thought it should go, brought up the Dishy and mounted it to look at clearances for the A/C and spotlight. Both were far enough away to not be part of any obstructions to the view of the Dishy and it looked straight from the ground way in front of the coach. I then marked the roof with a Sharpie so I knew where it needed to be glued down.
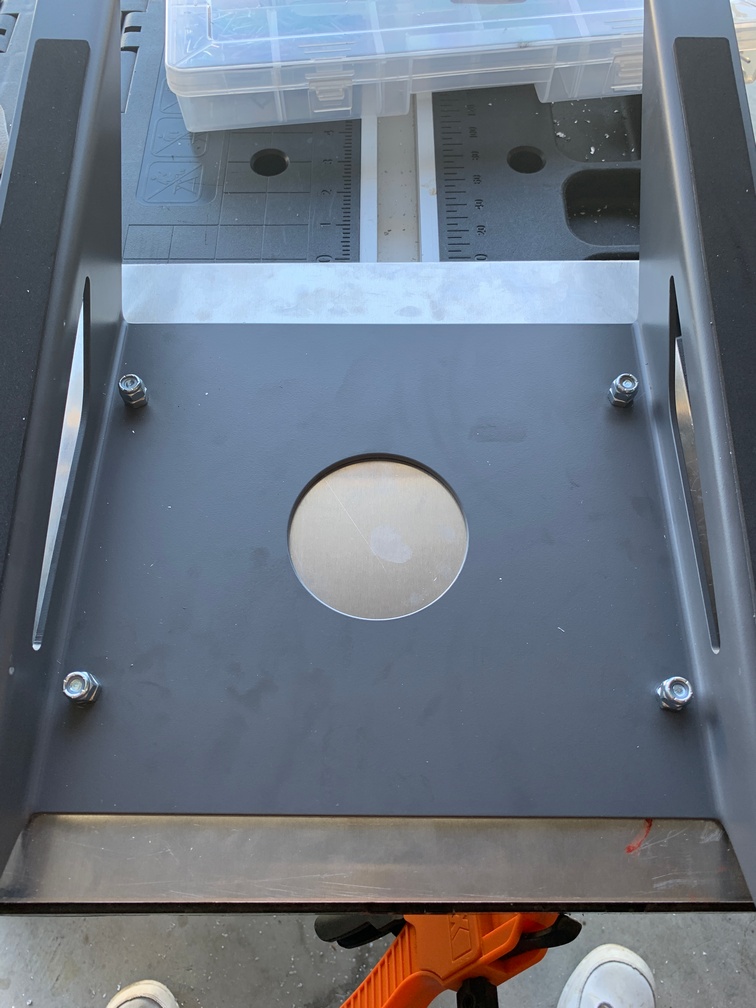
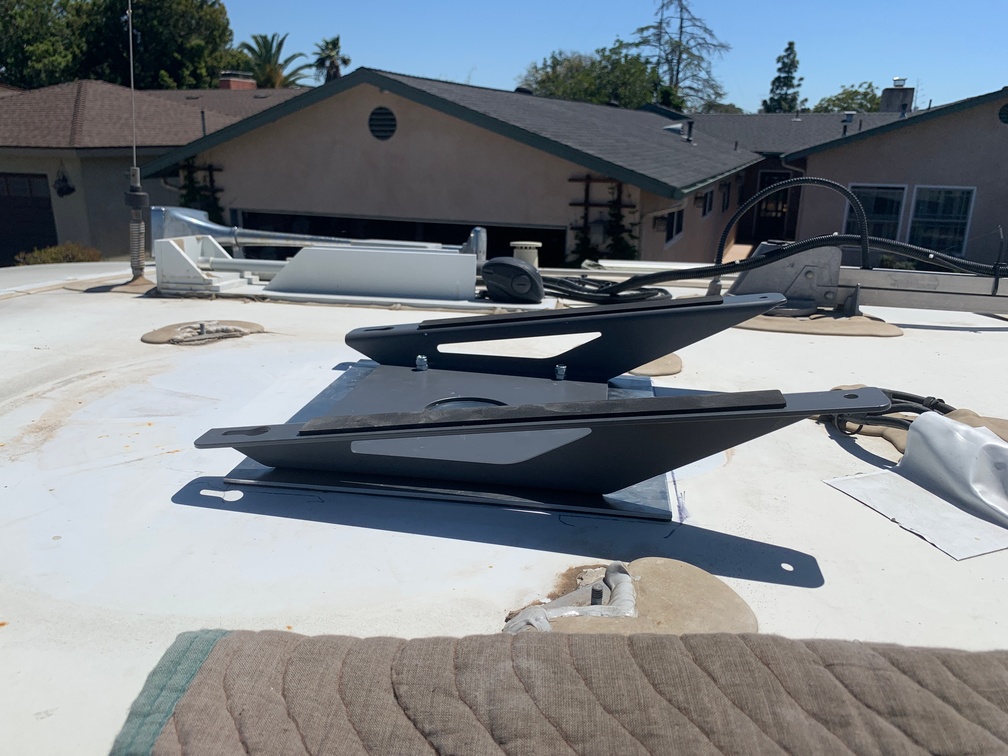 It was a nice warm day, probably 80 degrees, perfect for the VHB to bond to the fiberglass; so I put it in its place and slowly pealed off the red cover a little at a time to make sure it stuck in the correct spot. I used some heavy tool steel to hold it down after I was done pushing it down for a while. A few hours later I gave the wedge mount a yank and realized the roof would probably come off first before the wedge did. It was well bonded. If I needed
 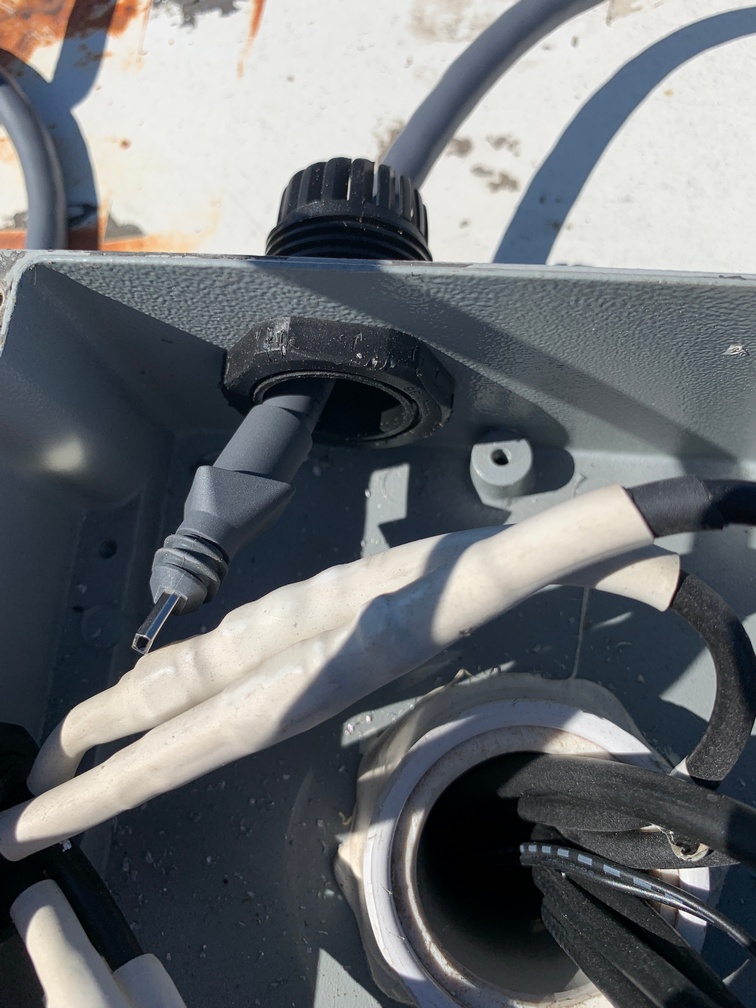 to get that wedge off, I will need to cut off the bolts.
The next 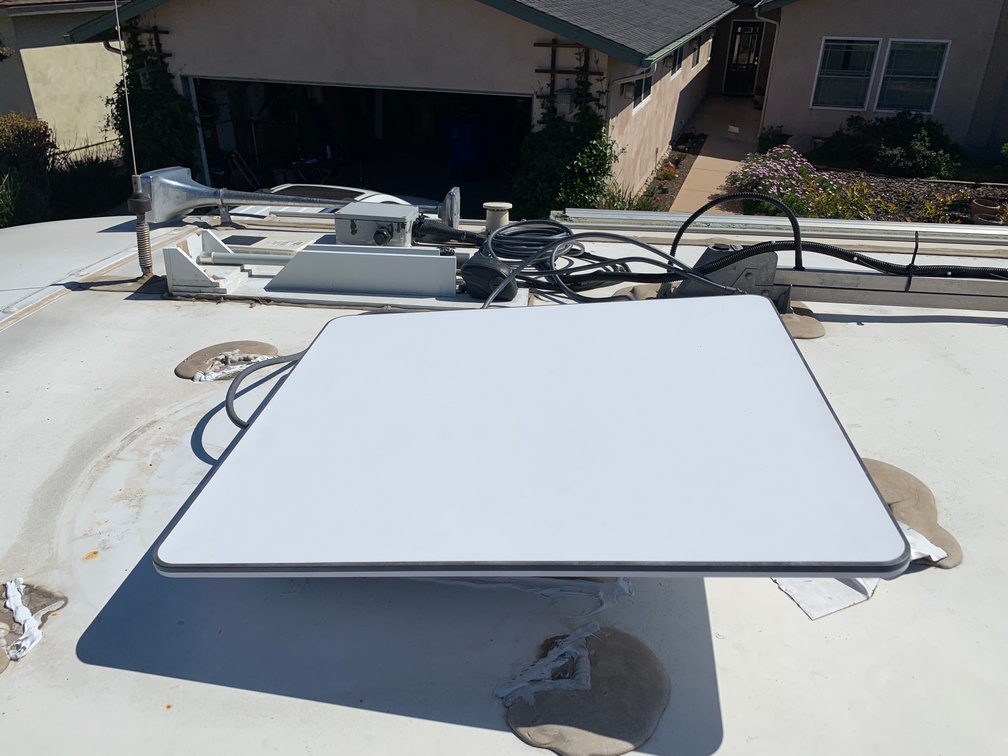 morning I installed the Dishy on the wedge and wired it up and put the small end thru my roof access port and snaked that wire over to the cabinet I installed the POE device in that it plugs
 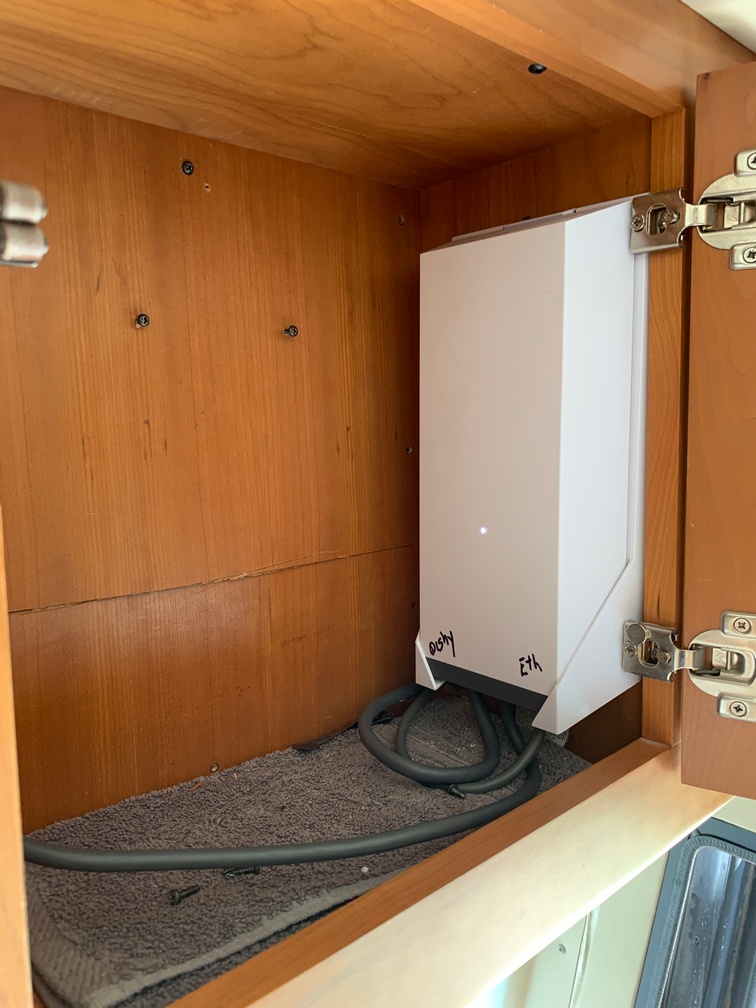 into. That POE device is plugged into an outlet that is supplied by the inverter. It’s a really large device that uses 80 watts of power almost all the time. If you use the Dishy’s sleep mode, that cuts the power by 1/2, to 40 watts, which isn’t really a light load for something that can be running on batteries often.
The next part of the project was to connect the Starlink into my existing internet system, namely, making it a WAN connection on my Max Transit cellular router. The most interesting part of the equation was the Starlink was providing internet access thru the Max as soon as it was connected, no configuration other than the WAN wired port was in the Priority 1 position beforehand.
Then I started testing the SL app on the phone and noticed it would only connect using its “remote” feature. It wouldn’t connect as local. Without the local function, some of the Dishy configuration was not accessible.
I could find nothing about getting it to work via the Max. A few days of posting on the Peplink forum, I got a response from a vendor out of Texas that sent a picture of a part of the configuration that allowed my app to connect local. I had to edit that WAN connection and add an address. Then I had to add a DNS entry: dishy.starlink.com = 192.168.100.1 Once done, my app would connect local to the Dishy. We were done!!! ![]()
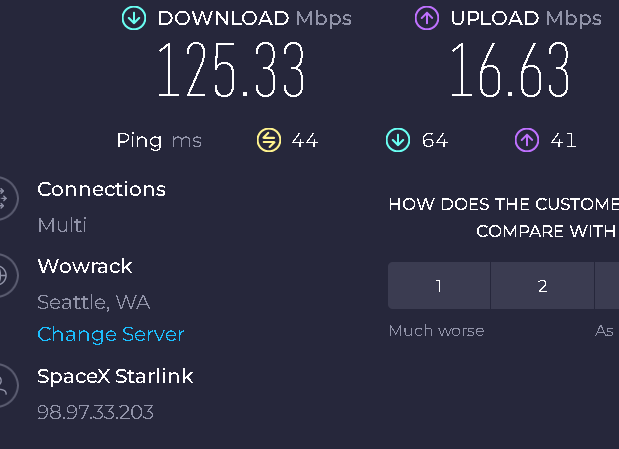
UPDATE 2 weeks into our Alaska trip we are in Glacier National Park in Canada. The In Motion Dishy has NOT lost connectivity yet. Which was totally unexpected camping in canyons and under trees many times during this journey so far. As we get further north I expect that to change as the Starlink 3rd party maps show very few satellites in those orbital planes. We are camped in the Waterton Lakes Townsite Campground for the next three nights, surrounded by tall mountains, very close on three sides but the app says “no obstructions”. So far this very expensive piece of hardware is preforming way way better than expected. Here is a screenshot from Waterton Lakes…
UPDATE 5 weeks into our Alaska trip. We are outside of Watson Lake, Yukon. The In-Motion dishy has been a god send. The last 10 days we have been camping and driving the ALCAN. No cell service here, and no service most of the way since Dawson Creek. We have camped under trees and surrounded by mountains. Yes, some drops but phone calls were working and data was moving quickly. I am very glad I opted for the $2500 hardware and not the $600 option. I am parked under trees as I write this update.
This thing rocks! [06/07/2-23]