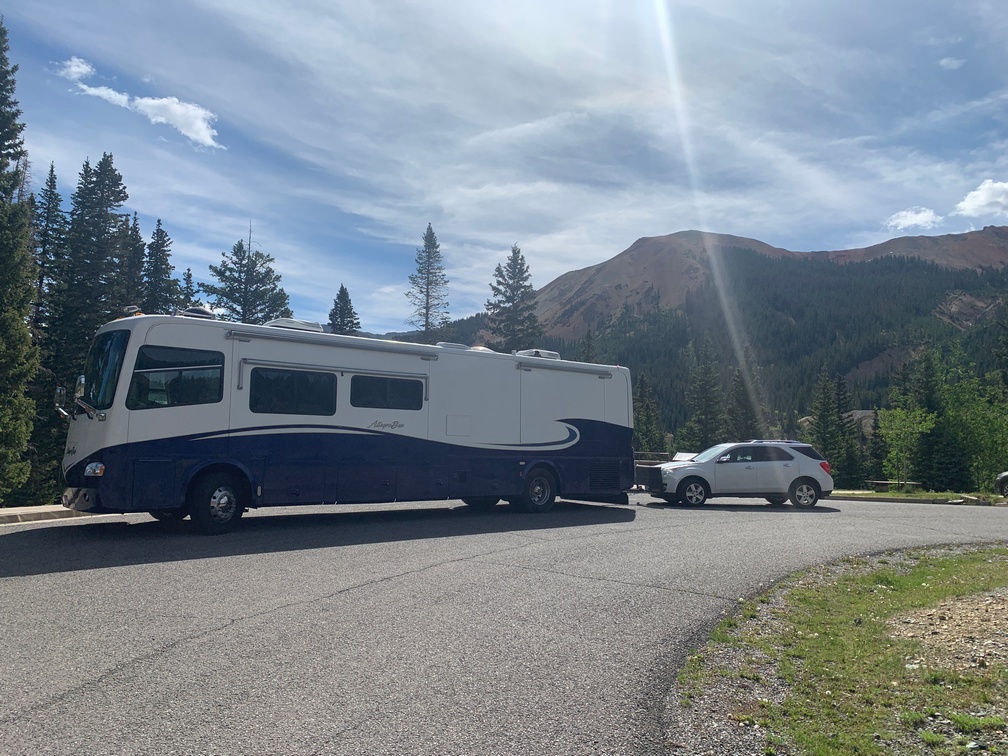
After our second week of dry camping, both Kathy and I are ready to have our batteries charged by sunshine instead of the generator. It might be a quiet diesel, but it still makes noise and some vibration inside the coach.
Having installed the Bogart Trimetric Meter prior to our first dry camping trip last winter, and now after the second dry camping trip, we know that we need to replace about 180-200 Ah of power to the batteries each day. That means I need to try to get about 50 amps to the batteries to charge them, so I will start off with two 300 watt panels that would produce somewhere between 30 and 50 amps or hopefully 180-240 Ah a day. Due to flat mounting them on the roof, I might need one or possibly two more, but that will only be known after we spend some time with those panels. Since I built a portable set, I need to make sure I can add them to the string when needed. That will take a bit more questions as I am not an electrical engineer. But I know one!
I really liked these mounts: AM Solar tilting Solar Panel Mount Kit, but the price is outrageous. Each panel mounting set is as much as the 100 watt panels I bought to make the portable suitcase though. I also like their combiner box, AM Solar Combiner Box, and it too is very pricey, As I am probably going to hook the panels up in series, I may just be able to use a $20 gland instead of the combiner box.
As for the future path for the cables down to where the controller is mounted in the passenger side rear-most bay, my best guess right now is I’ll mount the combiner/gland at the rear of the coach near where the ladder connects to the roof. I have verified with other owners with my particular coach that there is room back there to bring the cabling straight down inside the rear cap and connect it thru the back of the inverter cabinet. I also found out there isn’t any insulation back there, I had assumed that after noticing how warm the rear closet gets when the sun is shining on the back of the coach.
There was an an oddly mounted add-on fan at the back of the engine compartment that was pushing air out the PS engine door louvers. I pulled that out and the electronics that controlled it from inside the inverter cabinet. I guess the original coach owner didn’t understand that he needed to keep the engine revs up around 2,000 RPM on long, steep grades to keep the engine running cool, so he must have had that fan installed.
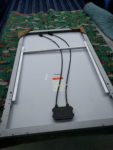 As our NorthByNorthwest trip is getting closer, I decided to build a portable setup first. I purchased two
 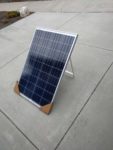 grape solar 100w panels at Home Depot for $89 each, and I finished making them into a portable suitcase with hinges on the long side. I originally picked up one of these Victron 75/15 MPPT controller off amazon. It was only $118, including built-in Bluetooth, which is something I really wanted. It was just a test setup as it will just handle
 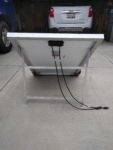 the two panels rated amps based on the Victron configuration calculator sheet on a cold and sunny day.
 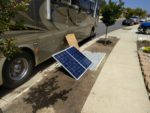 I am not worried I will ever get them to create the max amps. I ended up going with the MPPT for the Bluetooth as none of the PWM controllers had a Bluetooth option that I could find. An added benefit was the ability to set up the panel in series instead of parallel, allowing a longer run of 10 AWG wire and keep the voltage drop below 1%.
It made more sense to me to put the controller inside the coach instead of where I see all the other portable panels mount it. If you mount the controller out on the panels like every other one I have seen so far, then the long cables from the panels are running at a lower voltage and higher amps, creating more voltage drop than you probably want; or you need to run thicker (heavier) cabling, which on a portable is probably not what you want. I know I didn’t. Having the long cables carrying the higher voltage and lower amps (serially connected) seems like a much better solution to me, so that is what I did.
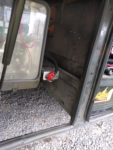 I mounted a Quick Connect Plug behind the battery compartment door, where it also covers a smaller open space just aft of the battery compartment where the HWH leveling controller lives and was a perfect spot to mount the Quick Connector. It’s hidden, but easy to get to when you open that battery bay door, just pull the panels’ wire under the lower bar and up to the connector.
The mounted connector is wired with more 10AWG wire that enters the Inverter compartment and hooks up to these 30 AMP Circuit Breakers which will do double duty, protecting the circuit and allowing me to turn off the panels without disconnecting the quick connect. There is also a pair of those breakers, but at 50 amp on the output of the controller for providing the same options.
 During my week of testing, the Victron controller lived up to its claims. On the only cloudless day, my 200 watts of panels were putting out 210 watts of power, and according to the controller were pumping 15 amps into the batteries in Bulk mode. (The Bogart meter said it was 14 amps) The Bluetooth enabled Victron allows configuration from a Bluetooth app on my phone and has all the reporting capabilities built into it too. No snaking more wire through the RV. And no configuring it on a 1/2″ led screen while kneeling in the dirt or gravel in front of the cabinet.
On May 18th, I hooked everything up for a test run to make sure the panels and controller were working. I hooked up the Victron to my truck’s battery with some alligator clips, and that allowed me to set up the Bluetooth. Once I figured out that the pin was six zero’s and not four like most Bluetooth devices, it automatically downloaded and updated the software a few versions, then it downloaded and updated the controller firmware. That all finished in a few minutes.
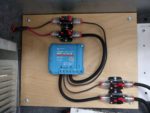 Afterward I configured the controller with my coach’s battery parameters, which are the same as the Magnum Charger set up for Absorb, Float and Equalize. Once that was done, I brought out the panels and leaned them against the side of my truck, pointing them toward the sun. (There really wasn’t any sun, total cloud cover at 4pm, guess I should have hurried more as there was plenty of sun 30 minutes before) I proceeded to cover them with cardboard so I could hook up the cabling. Once all the cables were tight, I removed the cardboard, and to my surprise, I was getting 24 watts at close to 40 volts from the two panels that were rated at 18 volts each or 36 volts max. What was being produced translated to 1.8 Amps going to the batteries in Bulk mode. The voltage seems a bit low on the battery side, so I better check that out tomorrow when there is sun!
I finished the legs built from 3/4 aluminum angle, and installed the hinges and handles for carrying it. I made a special shelf in the coach basement to hold the portable suitcase.
After the initial test, I returned the smaller controller and used that credit to buy the controller sized for what I think will be needed. Once the new controller arrived, I wired it up in the inverter bay in the same place I had installed the smaller test one. The new controller allowed me to use 6 AWG wire from the controller to the 4/0 battery cables coming from the inverter/charger. Installed circuit breakers on both sides, PV and battery side. I also ran PV wiring over to right behind the battery bay door as previously mentioned. I affixed an Anderson type connector in there. That way I just open that door, pull the cable over from the panels up under the bottom rail and up to the connector. Then I can close the bay door and we are hooked up, throw both battery breakers on, give the controller a minute to wake up and sense the battery voltage, and then throw the solar panel side breakers on and watch the batteries get charged!!
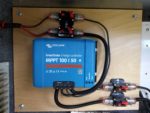 I ended up mounting the Victron 100/50 solar controller right above the Magnum 2800 watt inverter, allowing me to tap into the 4/0 battery cables from the inverter that charges the batteries. I have the new 50 amp circuit breakers so when I get some time they will replace the 30 amp ones pictured.
Can’t wait to boondock again so I can test out their full capabilities and look forward to getting the bigger panels on the roof! 🙂
