 After getting back from the NW trip I had a list of things I wanted changed or added before departing for the Balloon Fiesta trip. First modification was to move the living room TV/Couch from the driver’s side to the
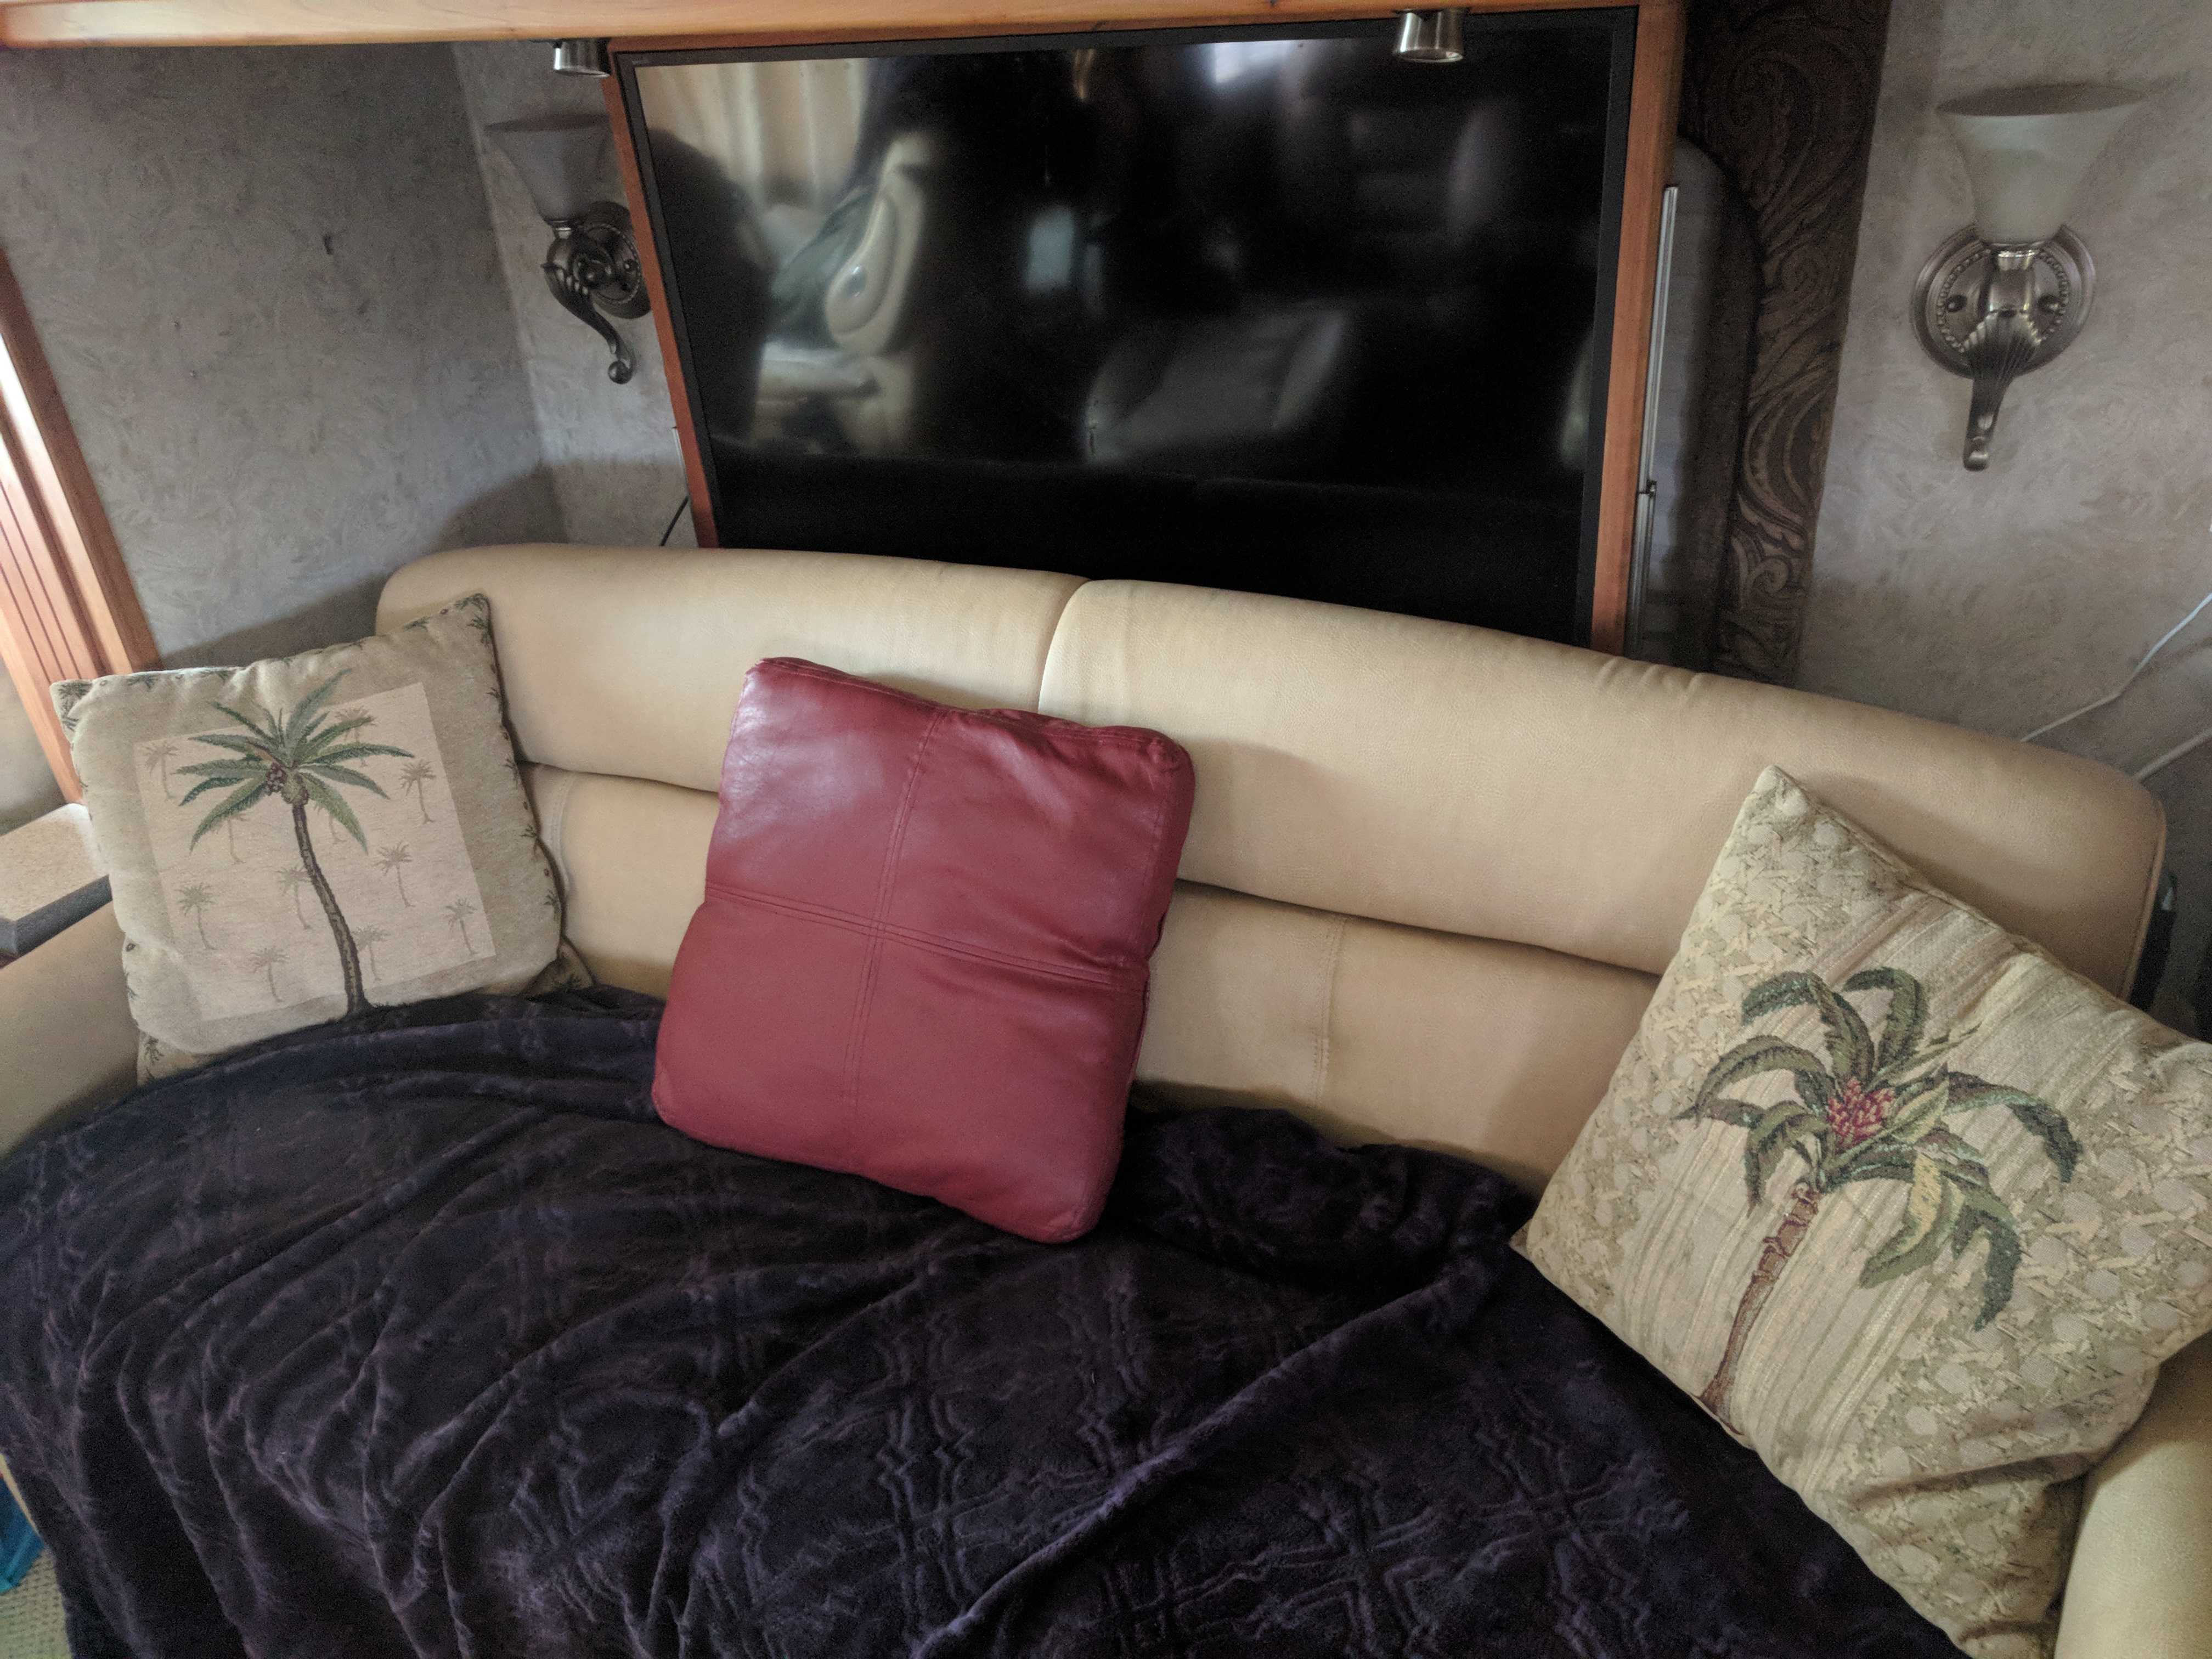
 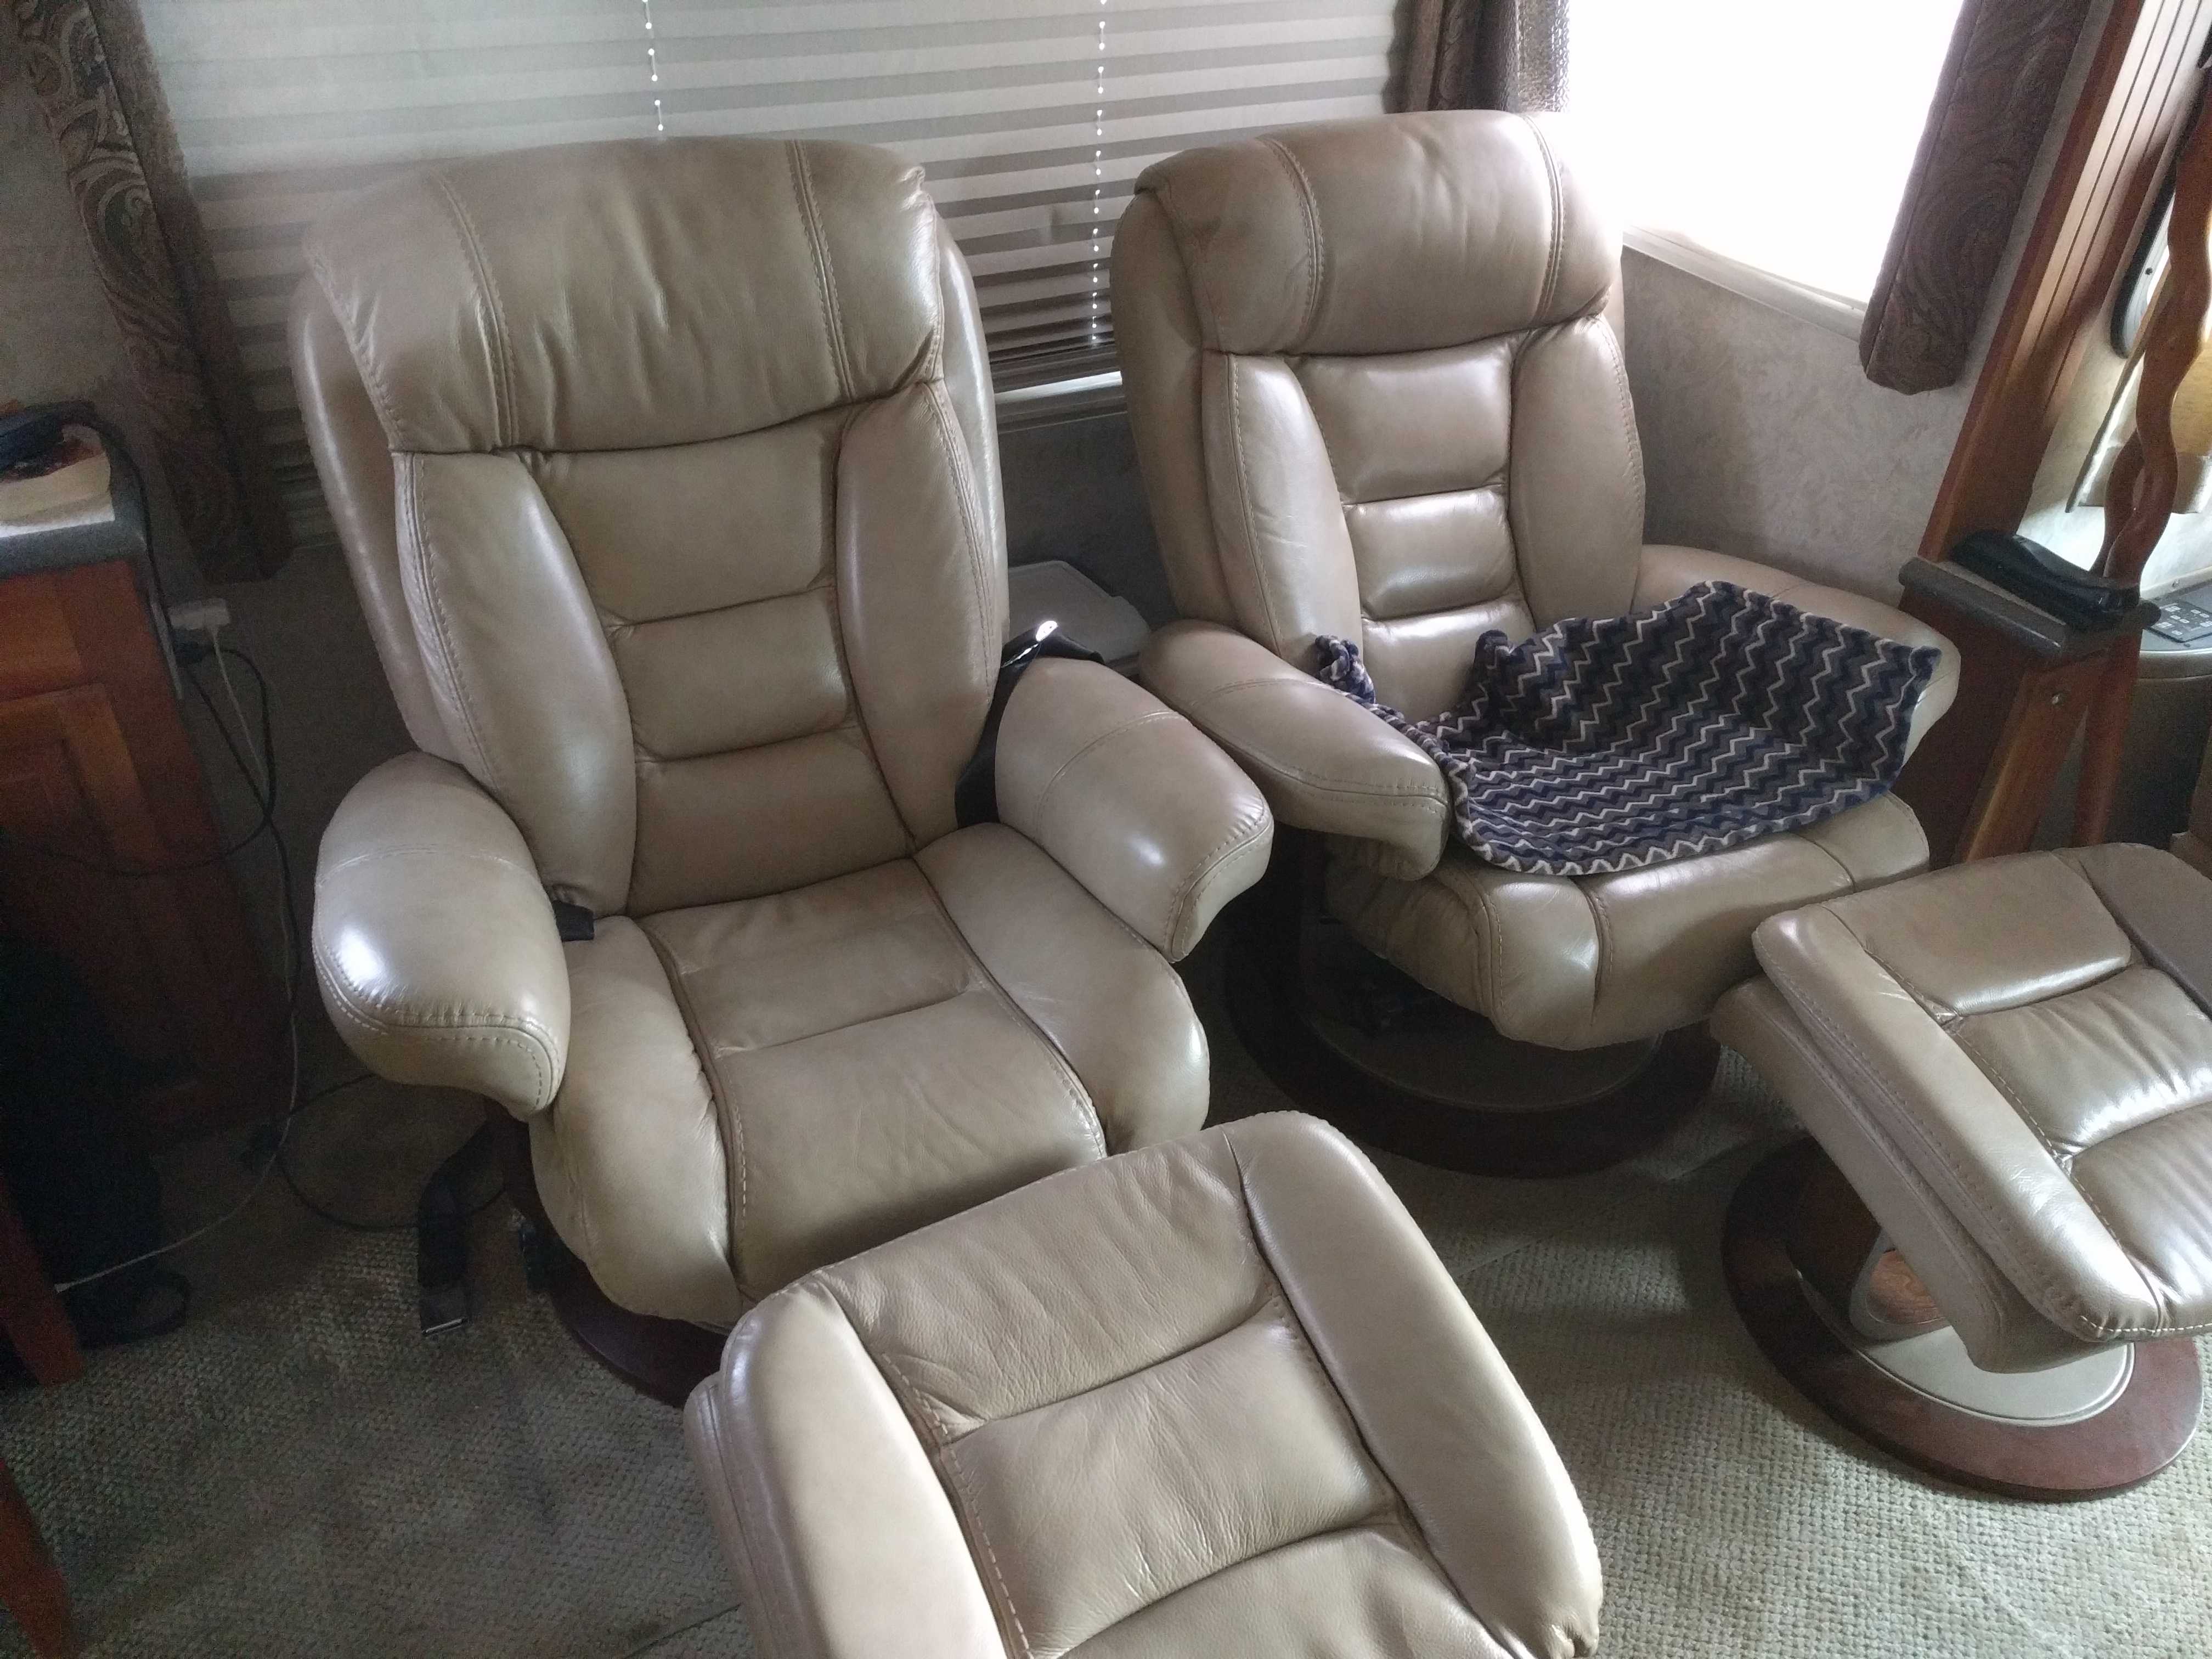 passenger side, thus allowing the chairs to be moved to the larger slide behind the driver. This switch simplifies the tasks needing to be done when arriving and departing. Also allows someone to sit in those chairs while driving now that there are seat belts although the ottomans are normally seat-belted in. Currently those seat belts hold on to the ottomans. I’d hate to get hit by one of those in an emergency stop.
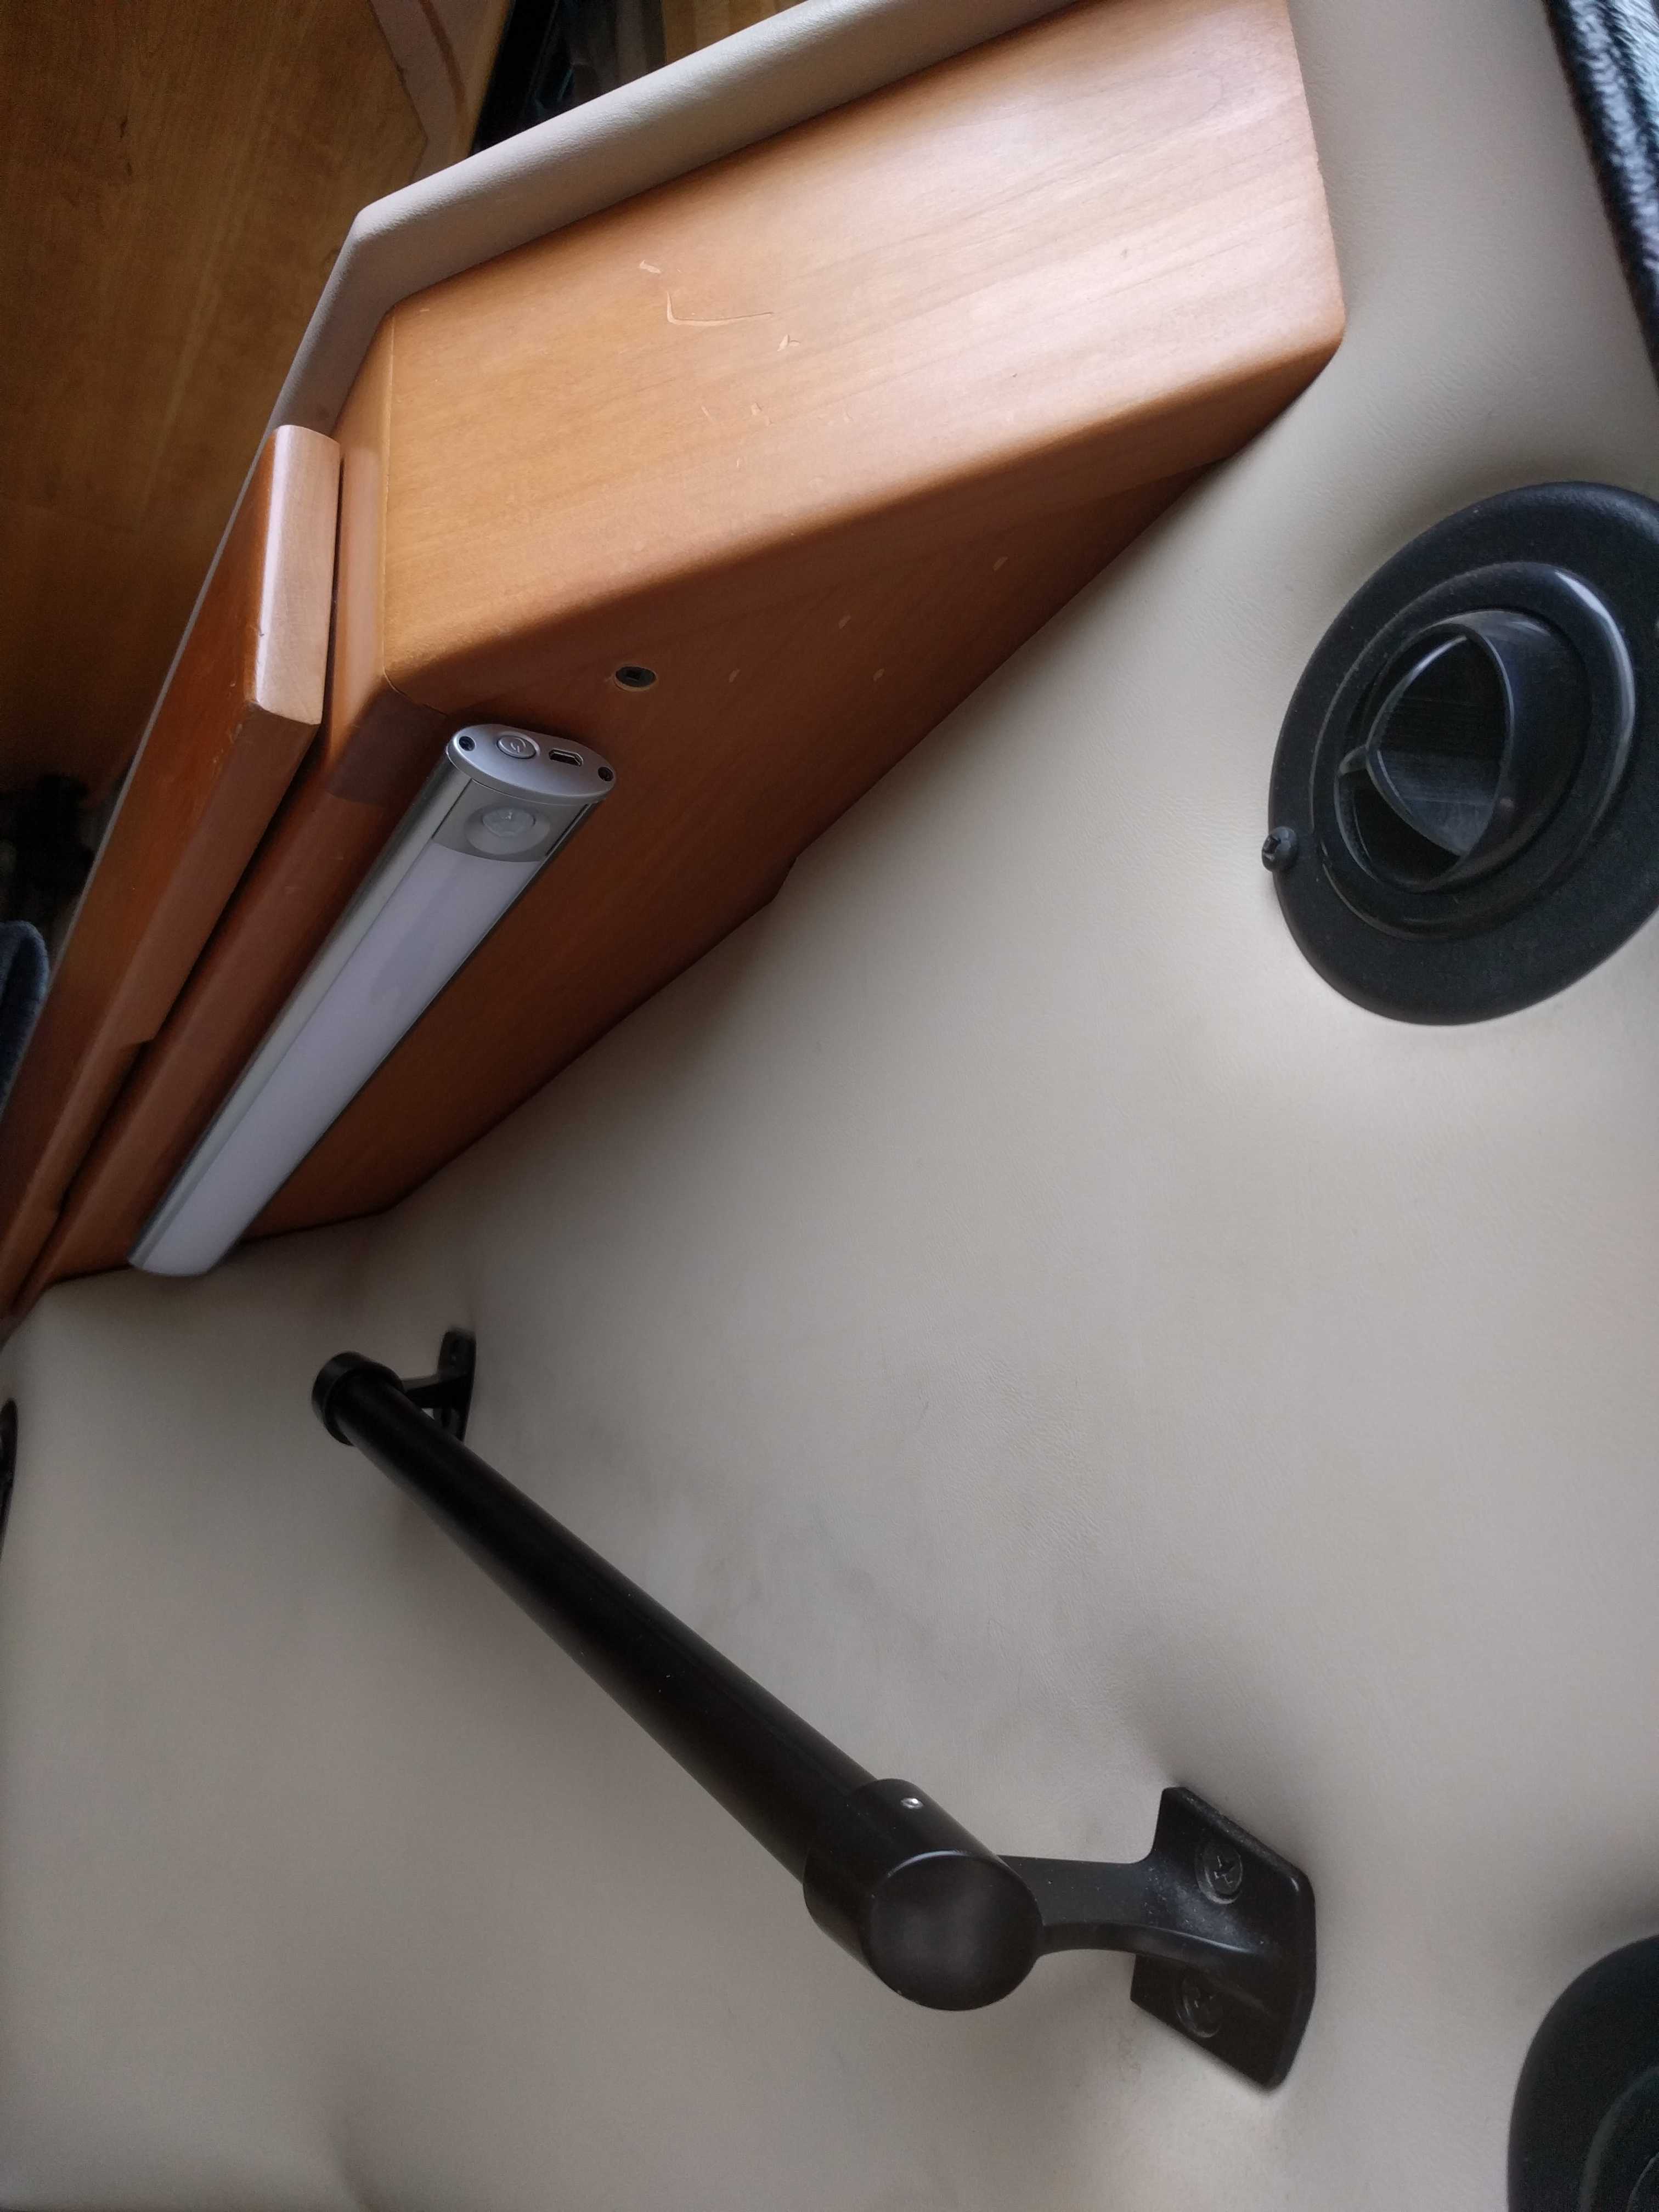 Next thing was to install a motion light by the inside stairs. I happened to find something on Amazon that now after using it a few days is the perfect solution. Motion LED light. It’s rechargeable via a micro USB cable. And to make it even simpler to install, it has a metal plate with 3M tape to mount it to your surface. Then you can remove the light at any time to charge it as it’s magnetically attached to the plate you installed. It only stays on 18 seconds, which is perfect for entering or leaving the RV. It’s affixed to a flat surface under the passenger-side pullout drawer. I like it so much I want to buy more, so I am trying to figure out where I need them first.
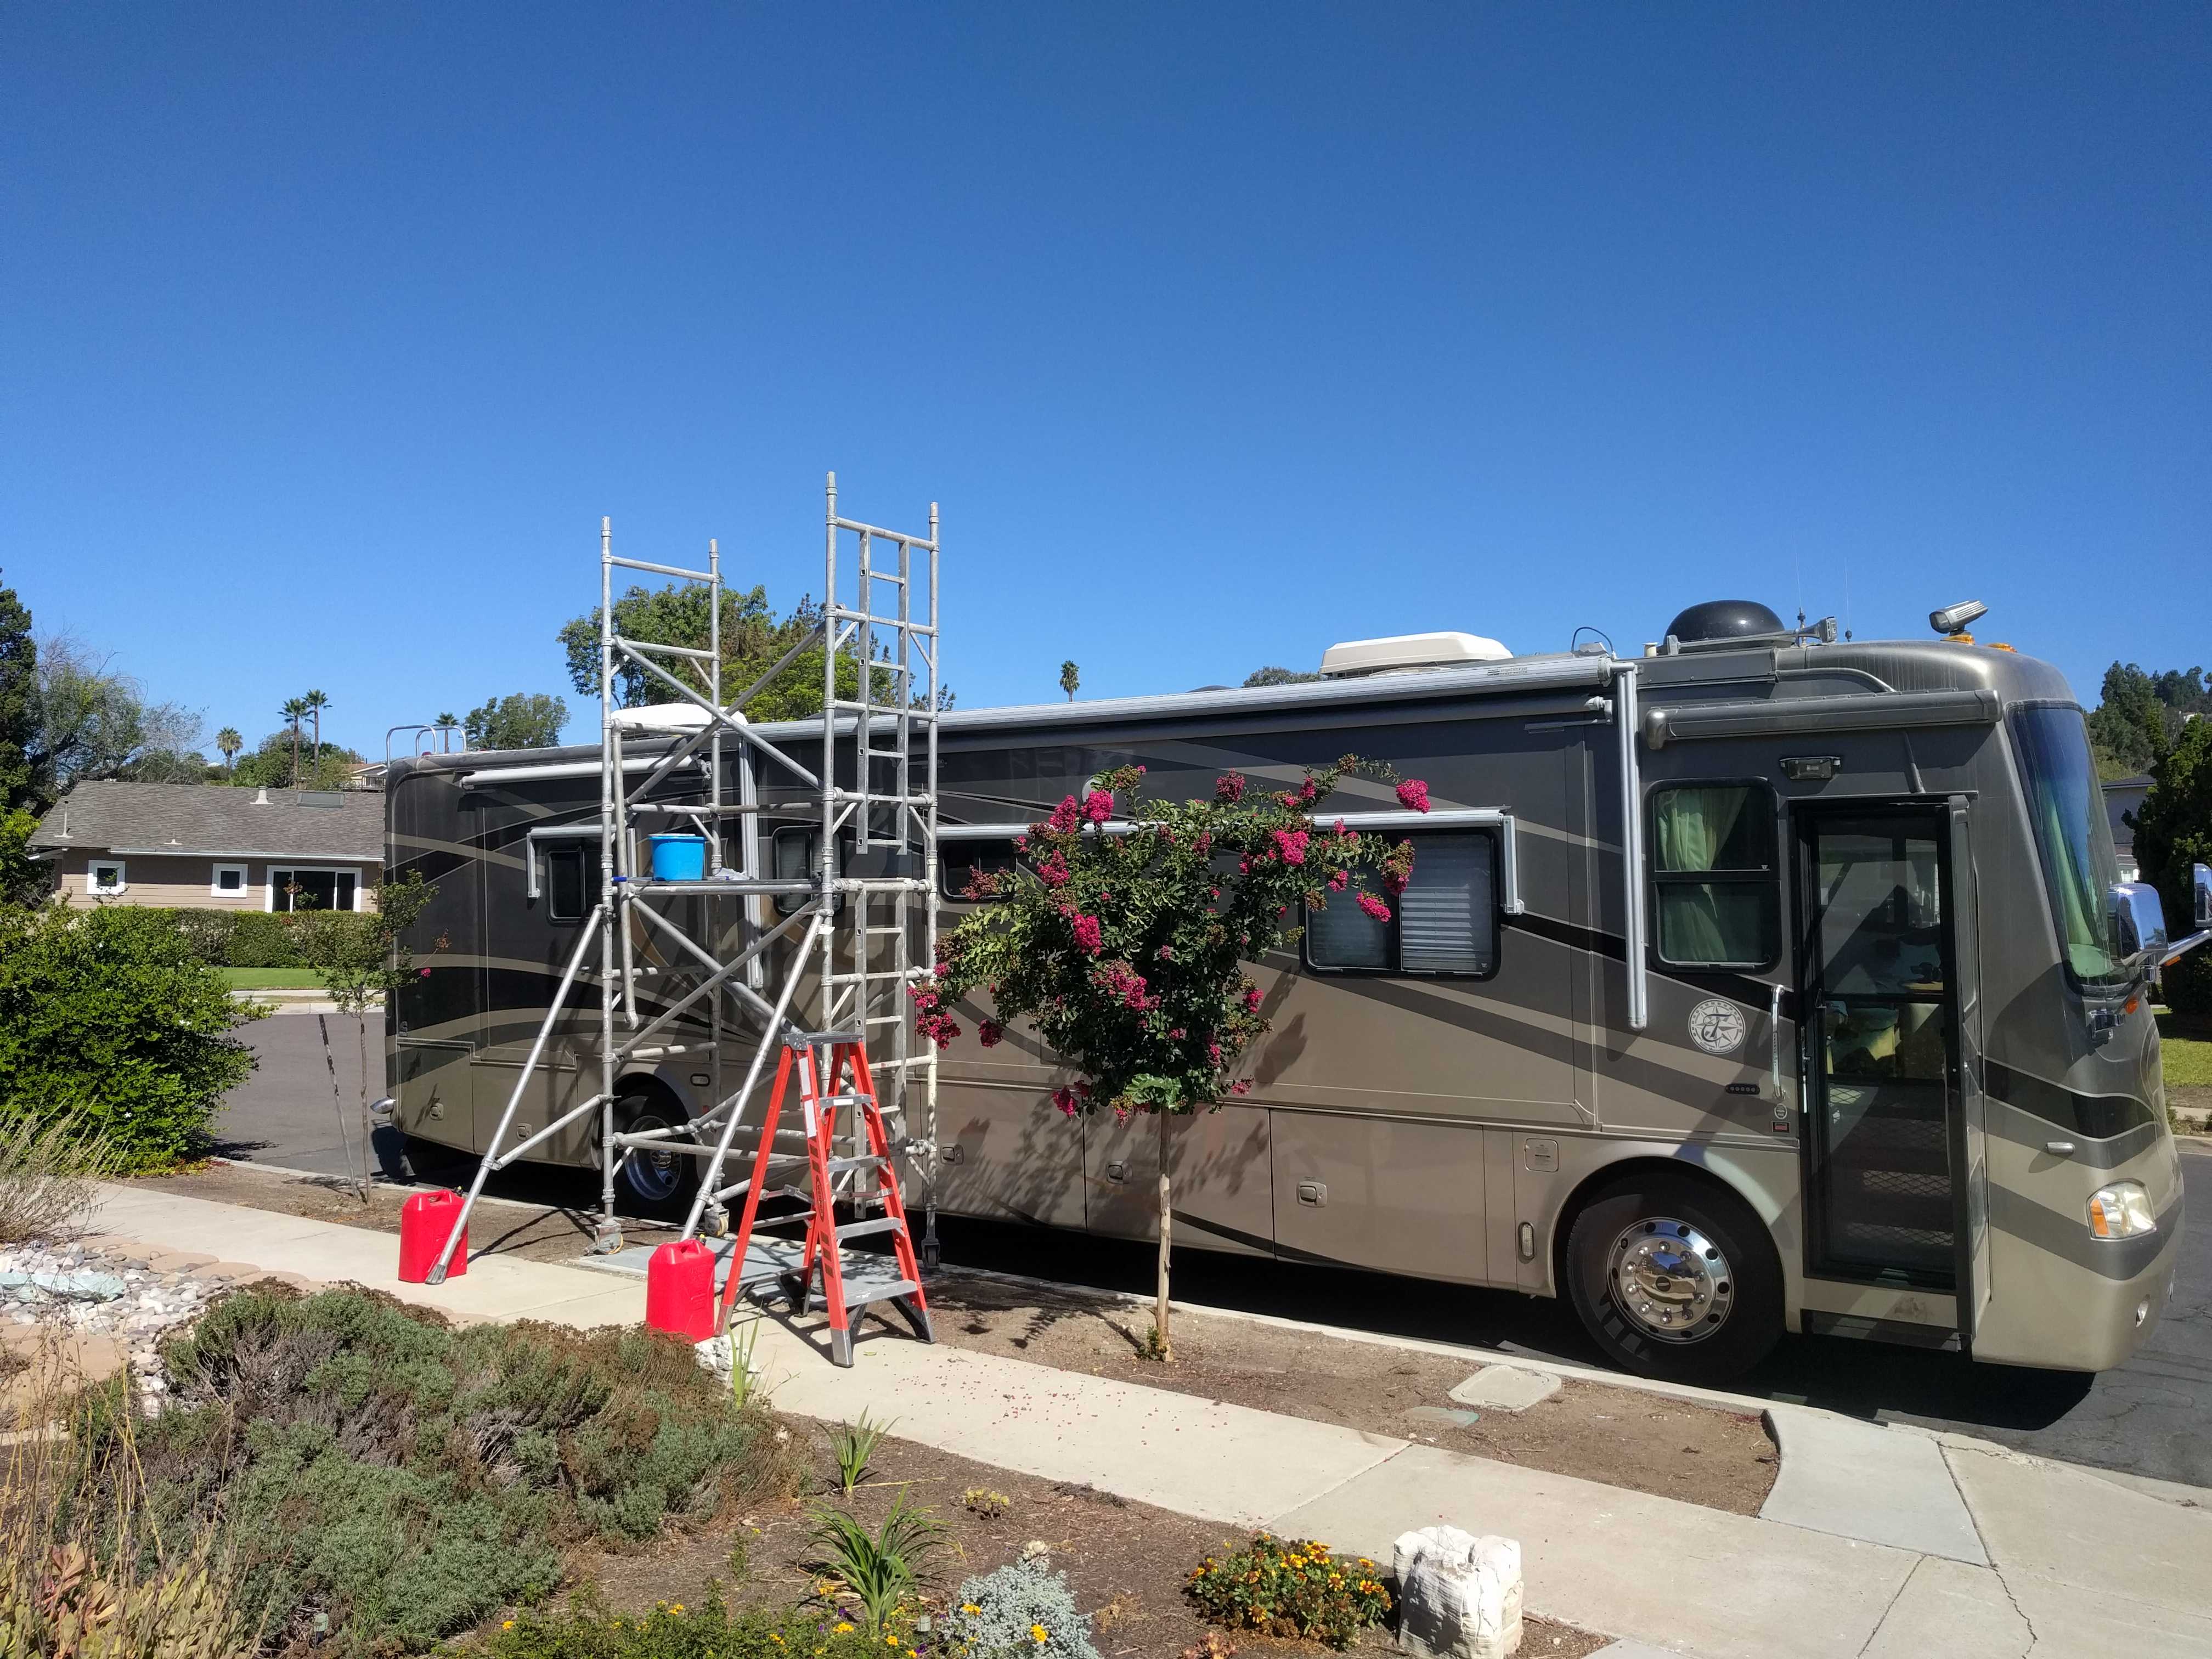
After installing that, I tackled installing some drip channel above the windshield. A buddy told me he had done that and it really helped keep that huge piece of glass clean while parked. Prior to adding this, water and dirt from the roof would streak down the windshield after just a day or so, making it necessary to clean it almost every day. Since adding that a week ago, I haven’t had any dirt streaks on the windshield at all. Now if I could only figure out a way to keep the bugs from splattering while driving!
 I then drilled a large hole in the dining room cabinet to install a power tower that can pull up or close down when not needed. The only outlet in that area was under the table,
 very difficult to get a plug into. Power Pop-Up Station, three outlets I also installed a small 8″ square piece of sheet metal on the roof to act as a ground plane for our Cell Phone Signal Booster
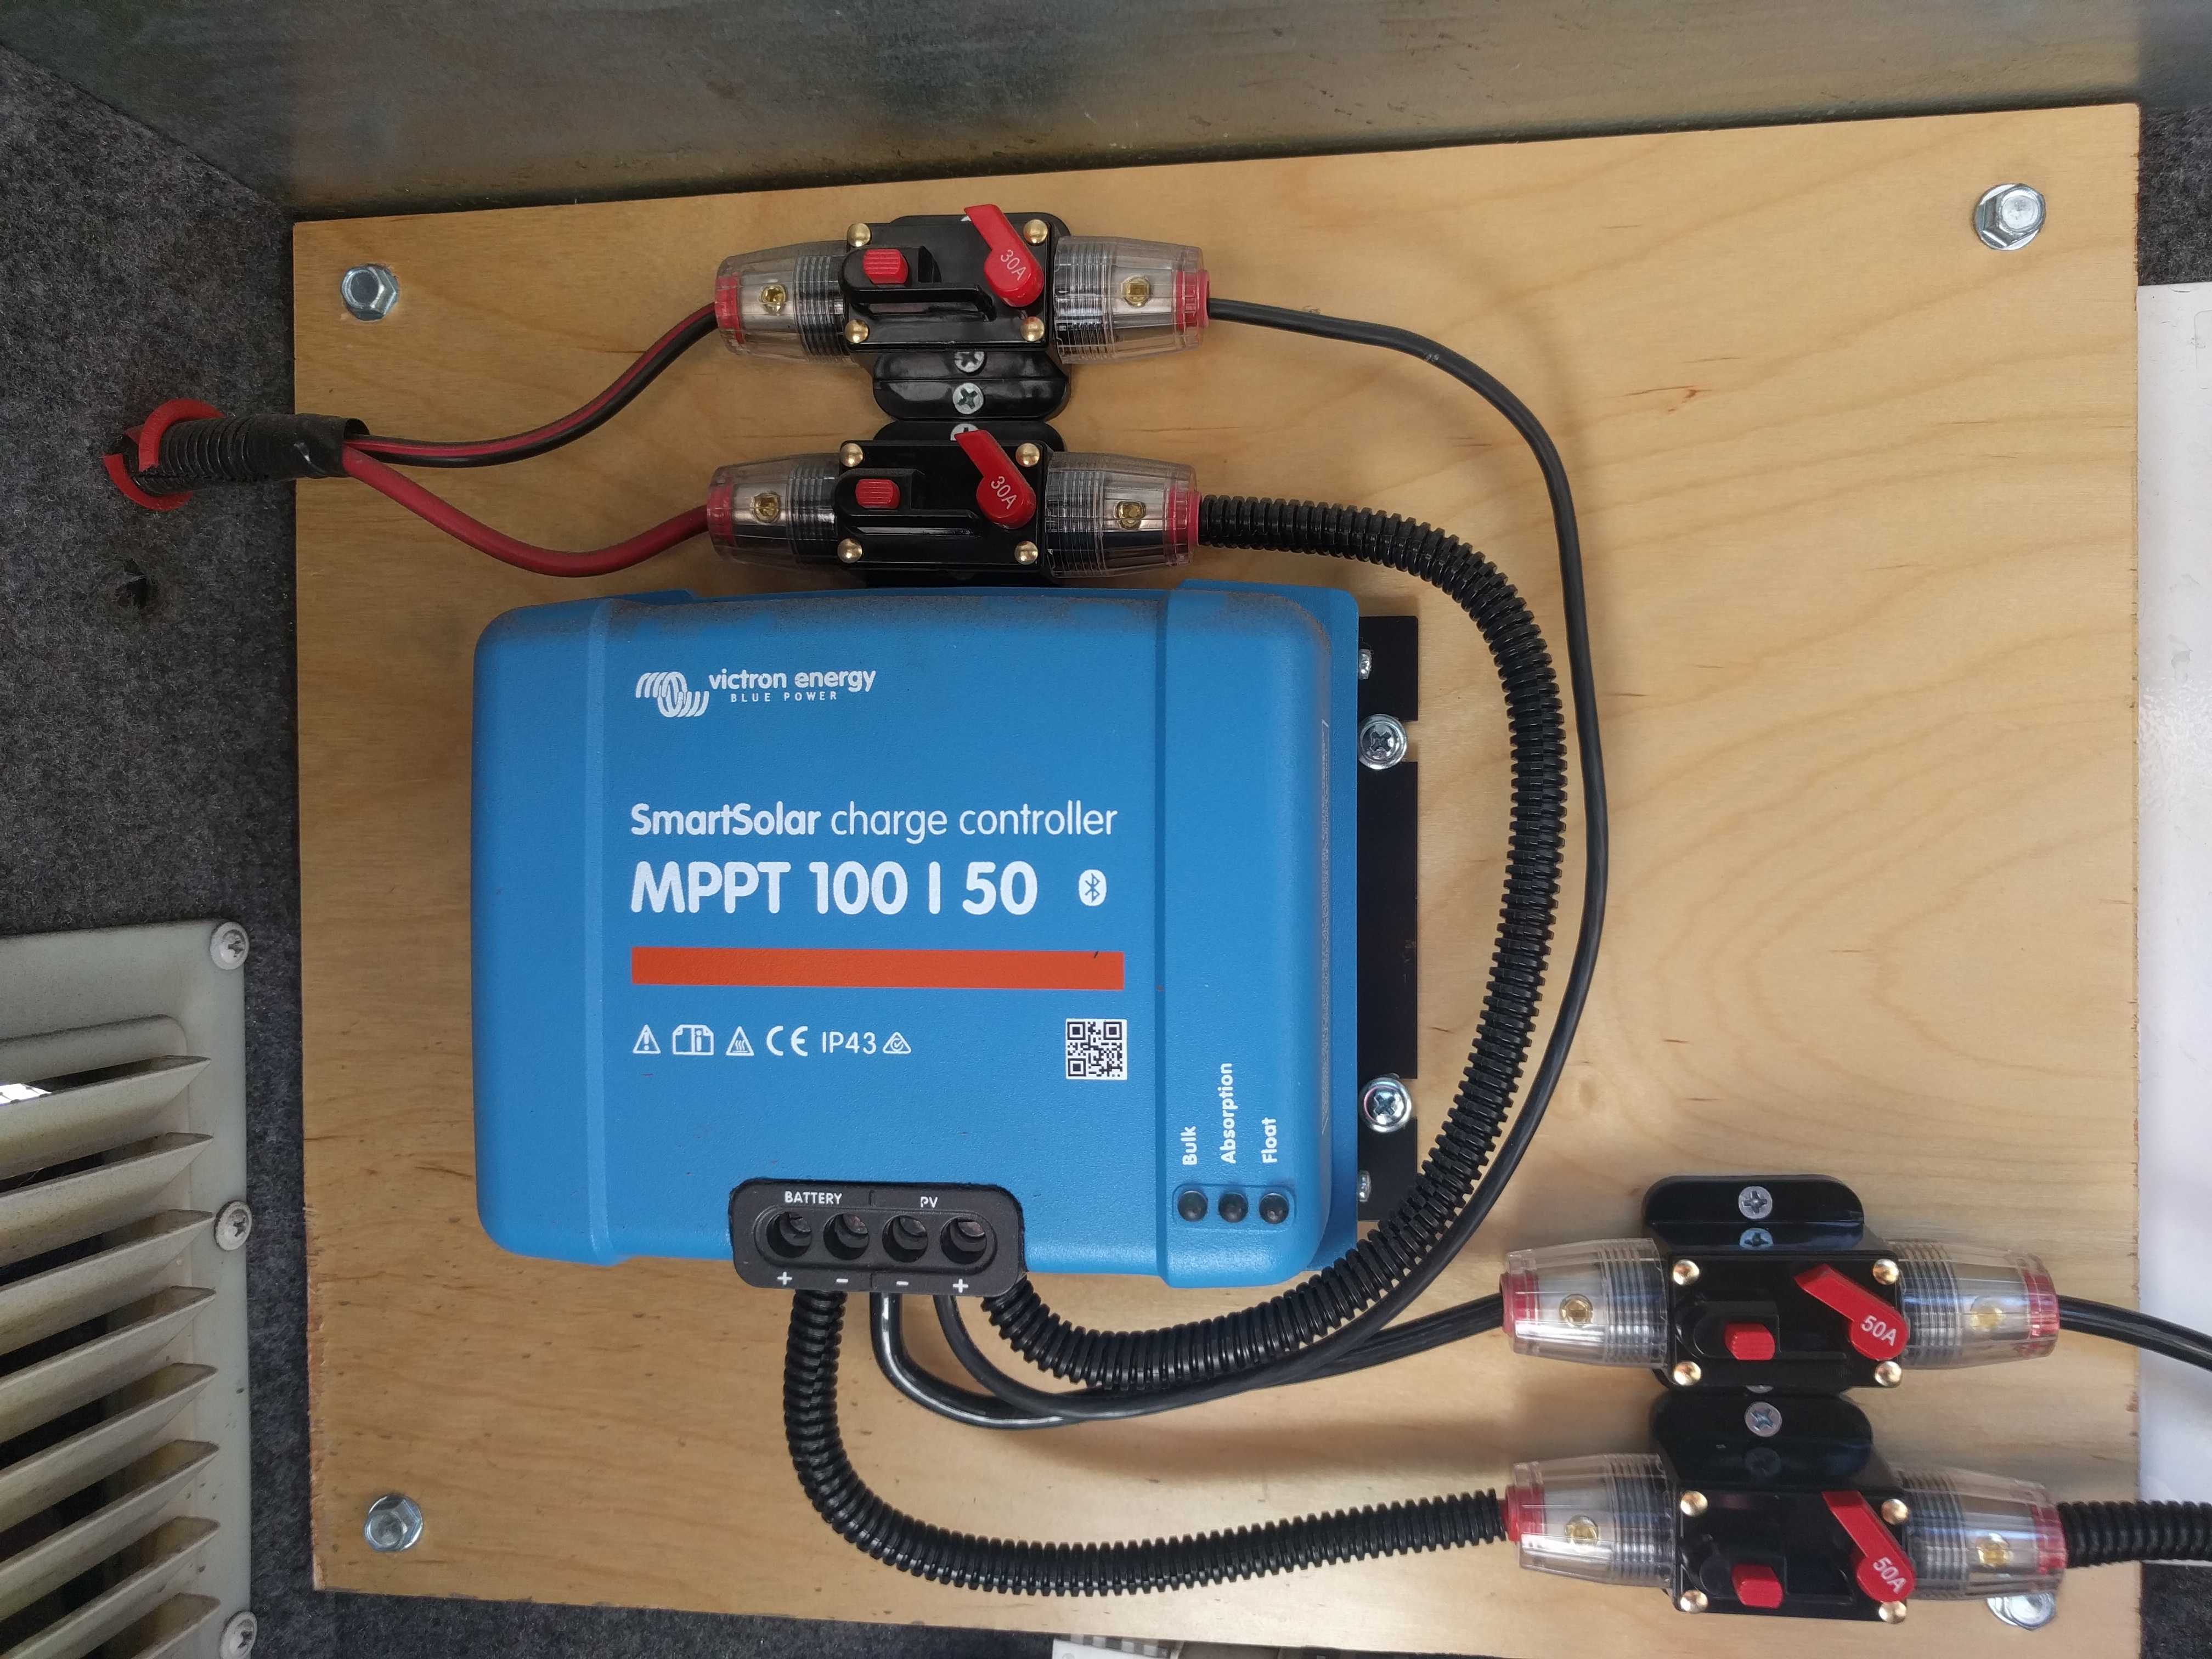
The last thing I accomplished during the time between trips was to install 640 watts of solar panels on the RV roof. Last year I installed a Bogart Trimetric Battery Meter that measures amps into and out of the house battery pack. That helped me determine how much energy needed to be put back into the batteries after a 24-hour period, giving me a starting point to determine what I might need. First I built a 200w portable suitcase, documented in an earlier post last spring. I sorted out the controller details and approximately how much wattage I needed. I then installed a controller in the coach that was sized for the panels on the roof; but while I did more research on what panels to buy, I could use it for the portable panels I have stowed in the RV basement till I pulled the trigger on the roof- mounted panels.
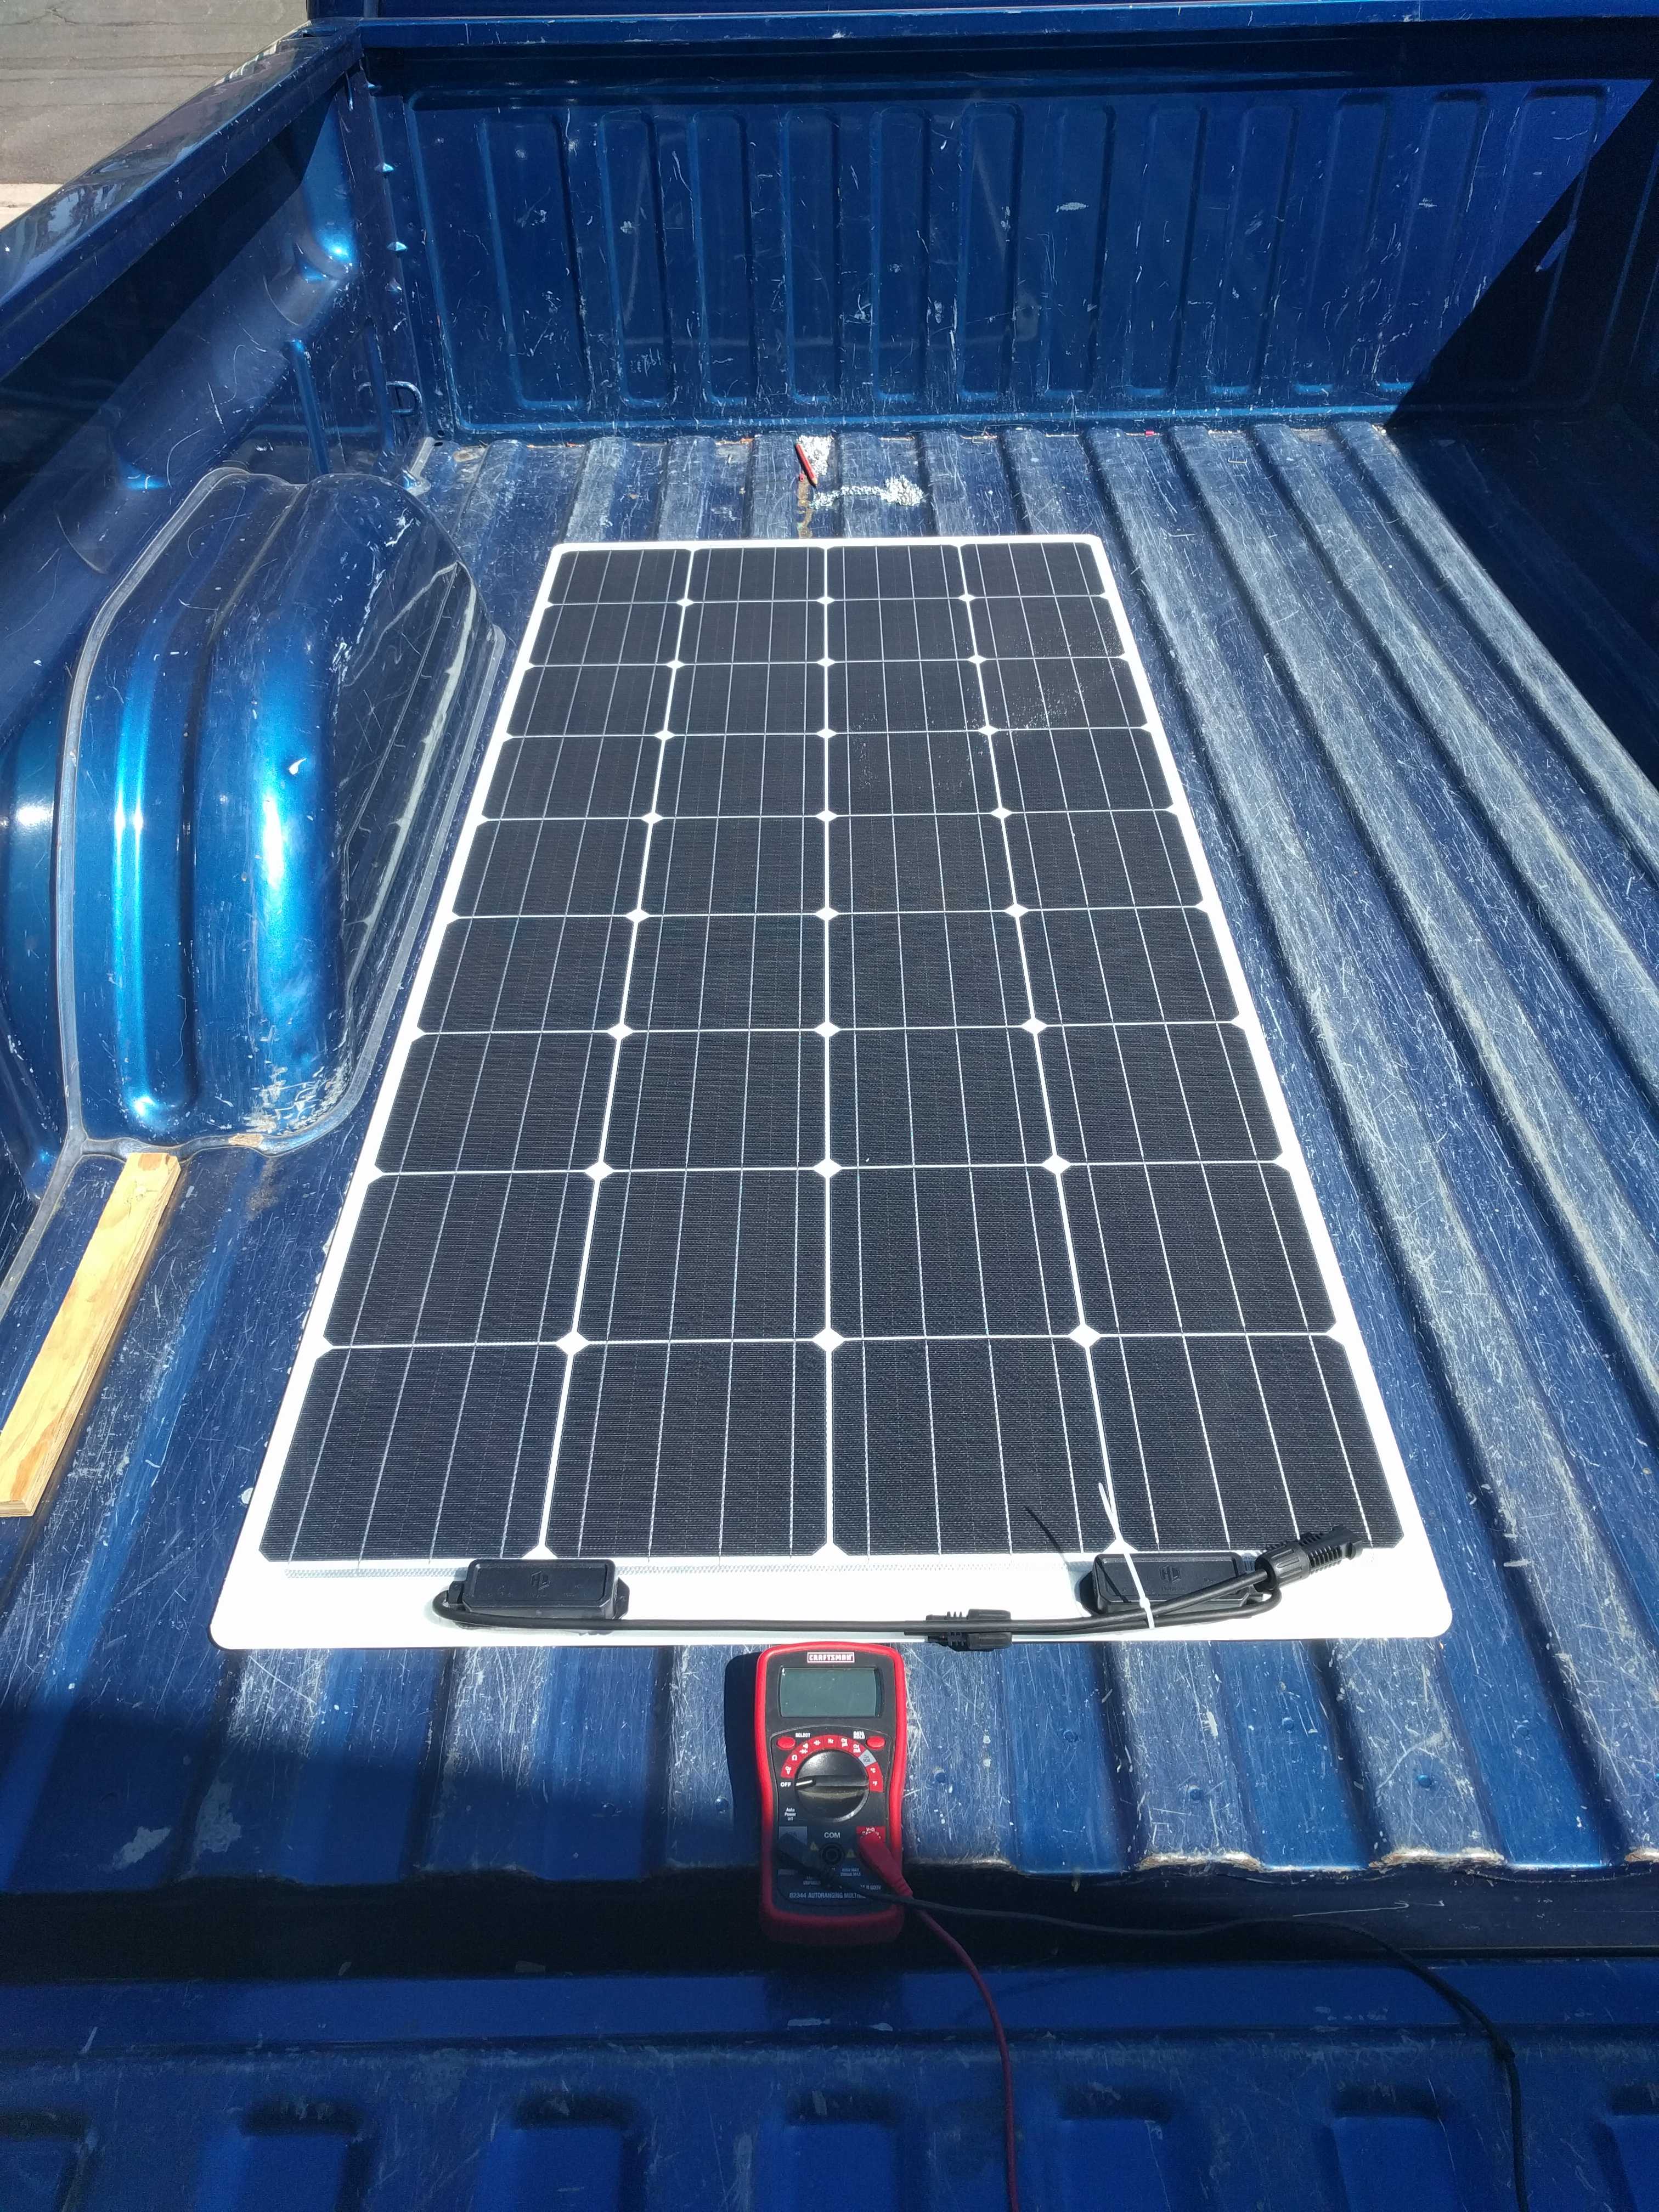 Fast forward to now. I first tested each panel with a voltmeter laying in the back of the pickup truck to see if I had any DOA panels. Then I did what I call a “sidewalk test”, laid
 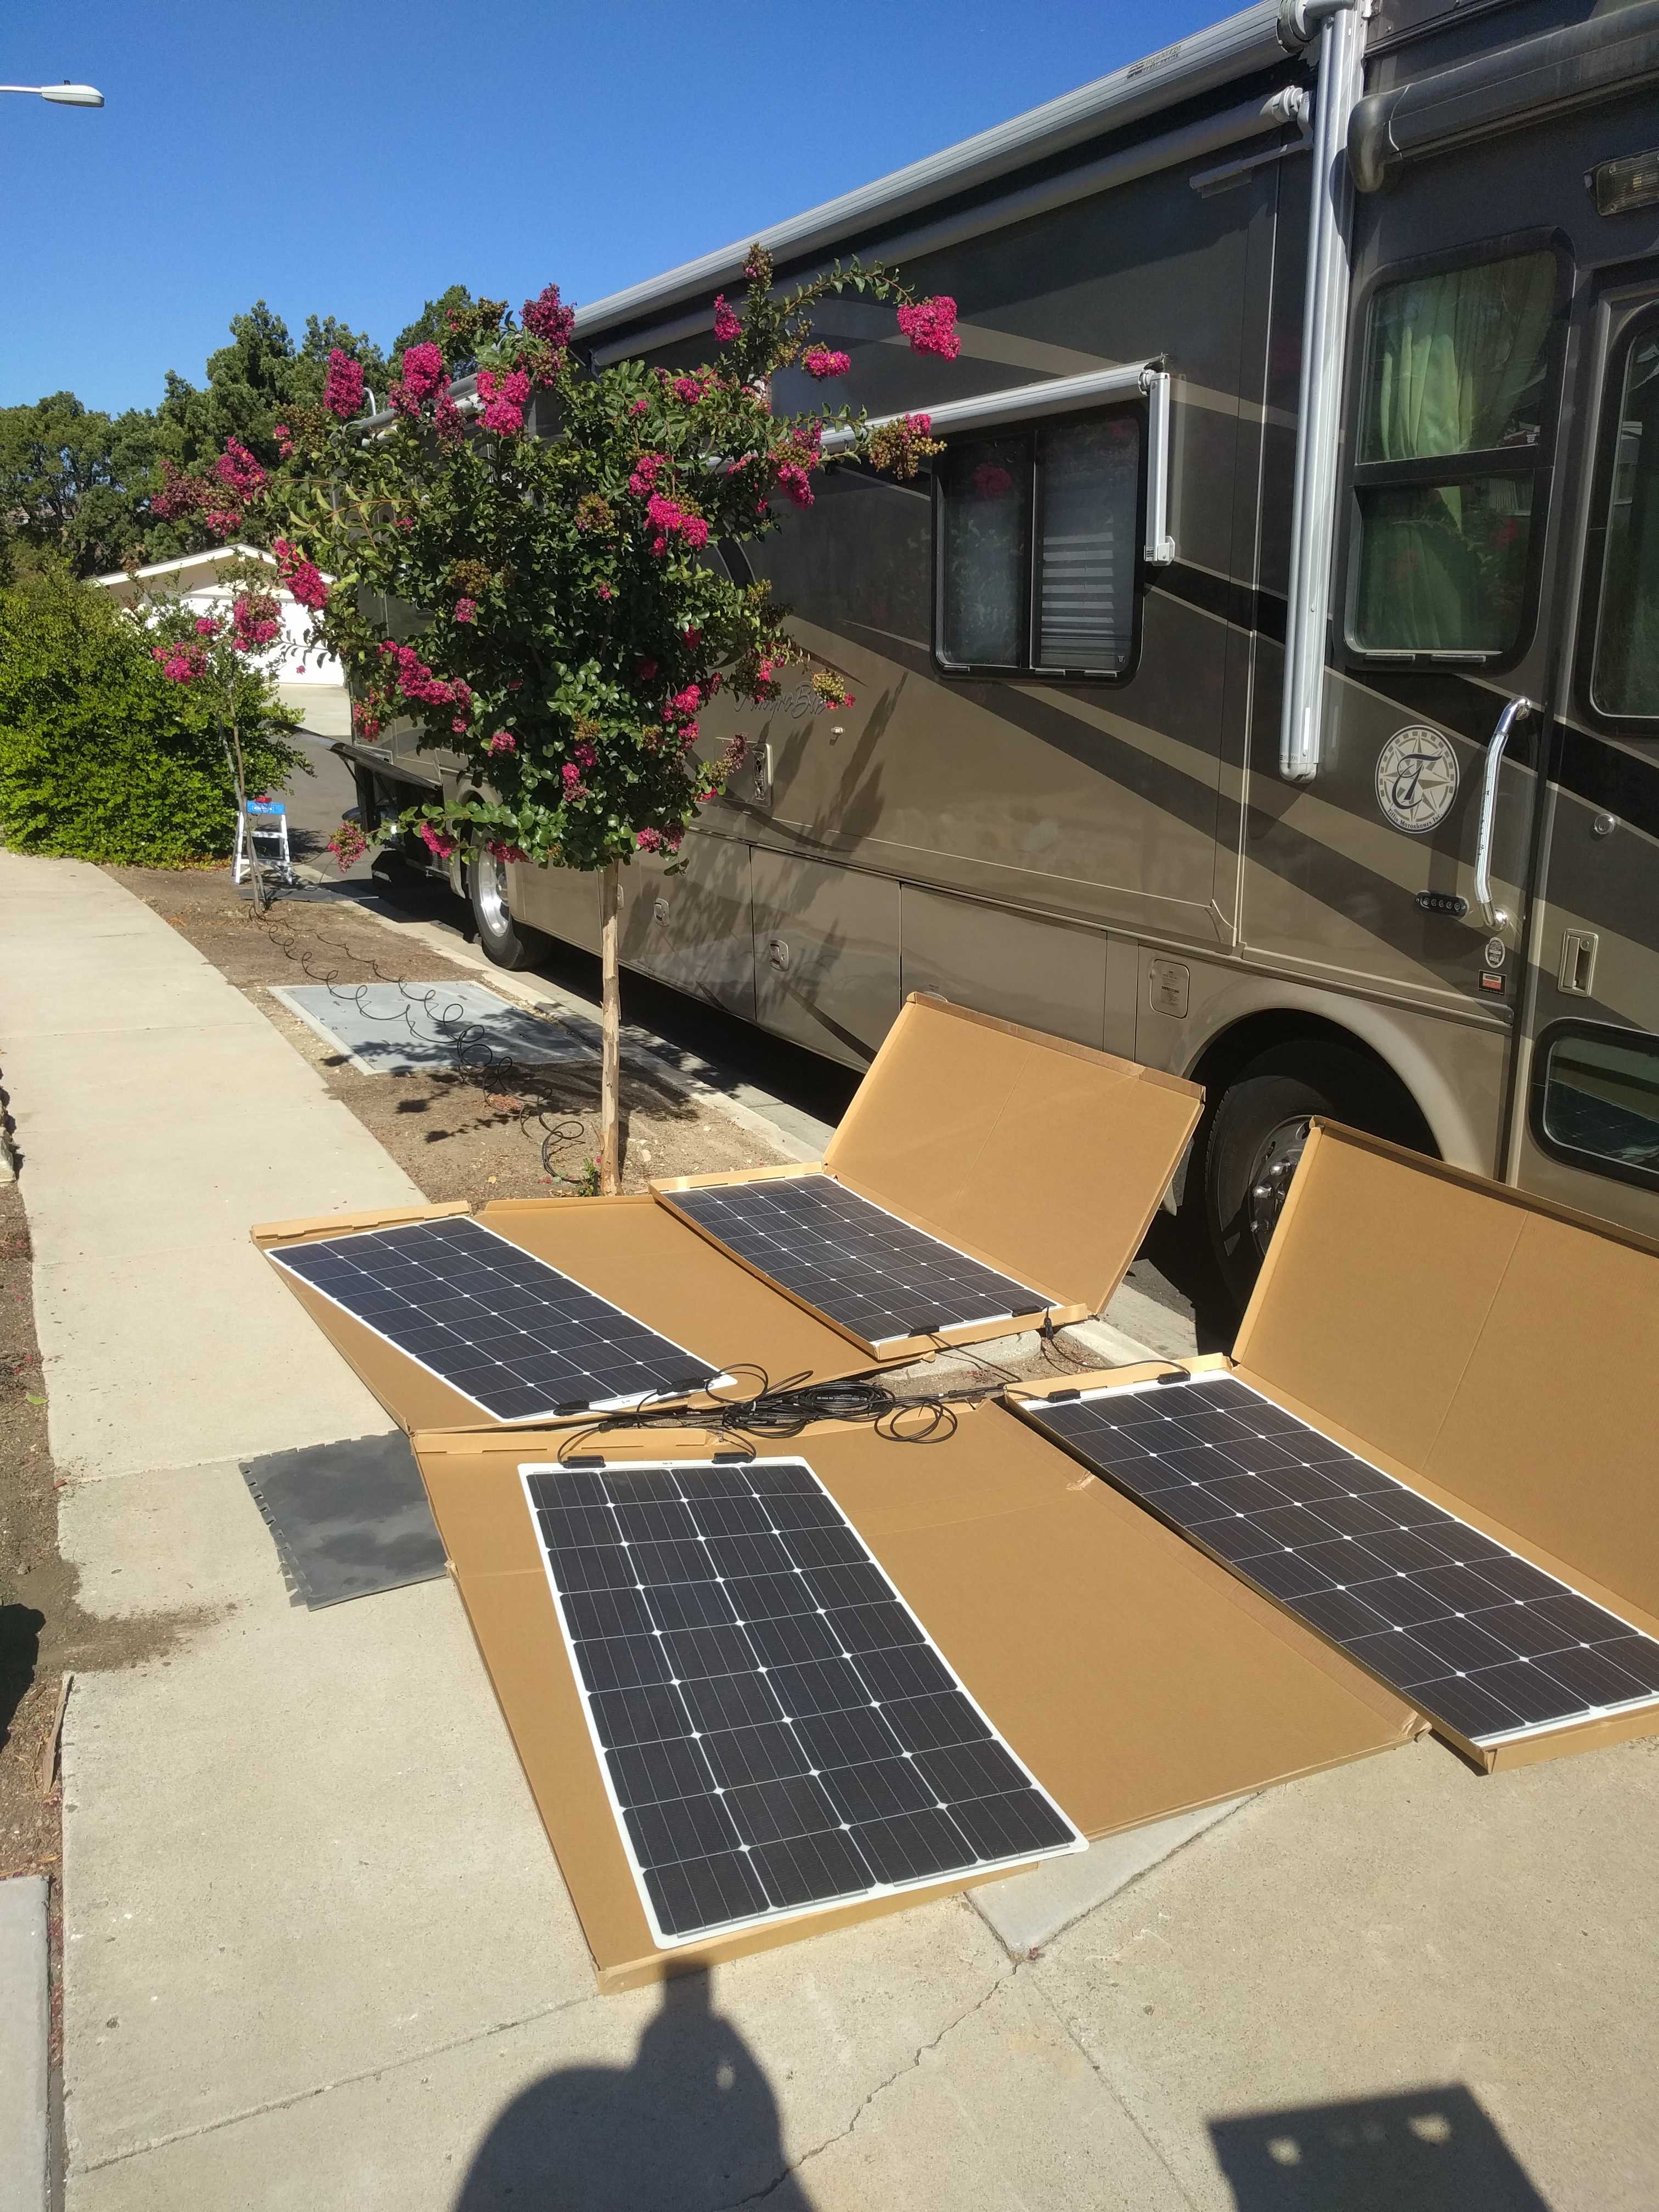 them out on the side walk one morning and hooked them up to the coach’s controller to see if they put out amps.
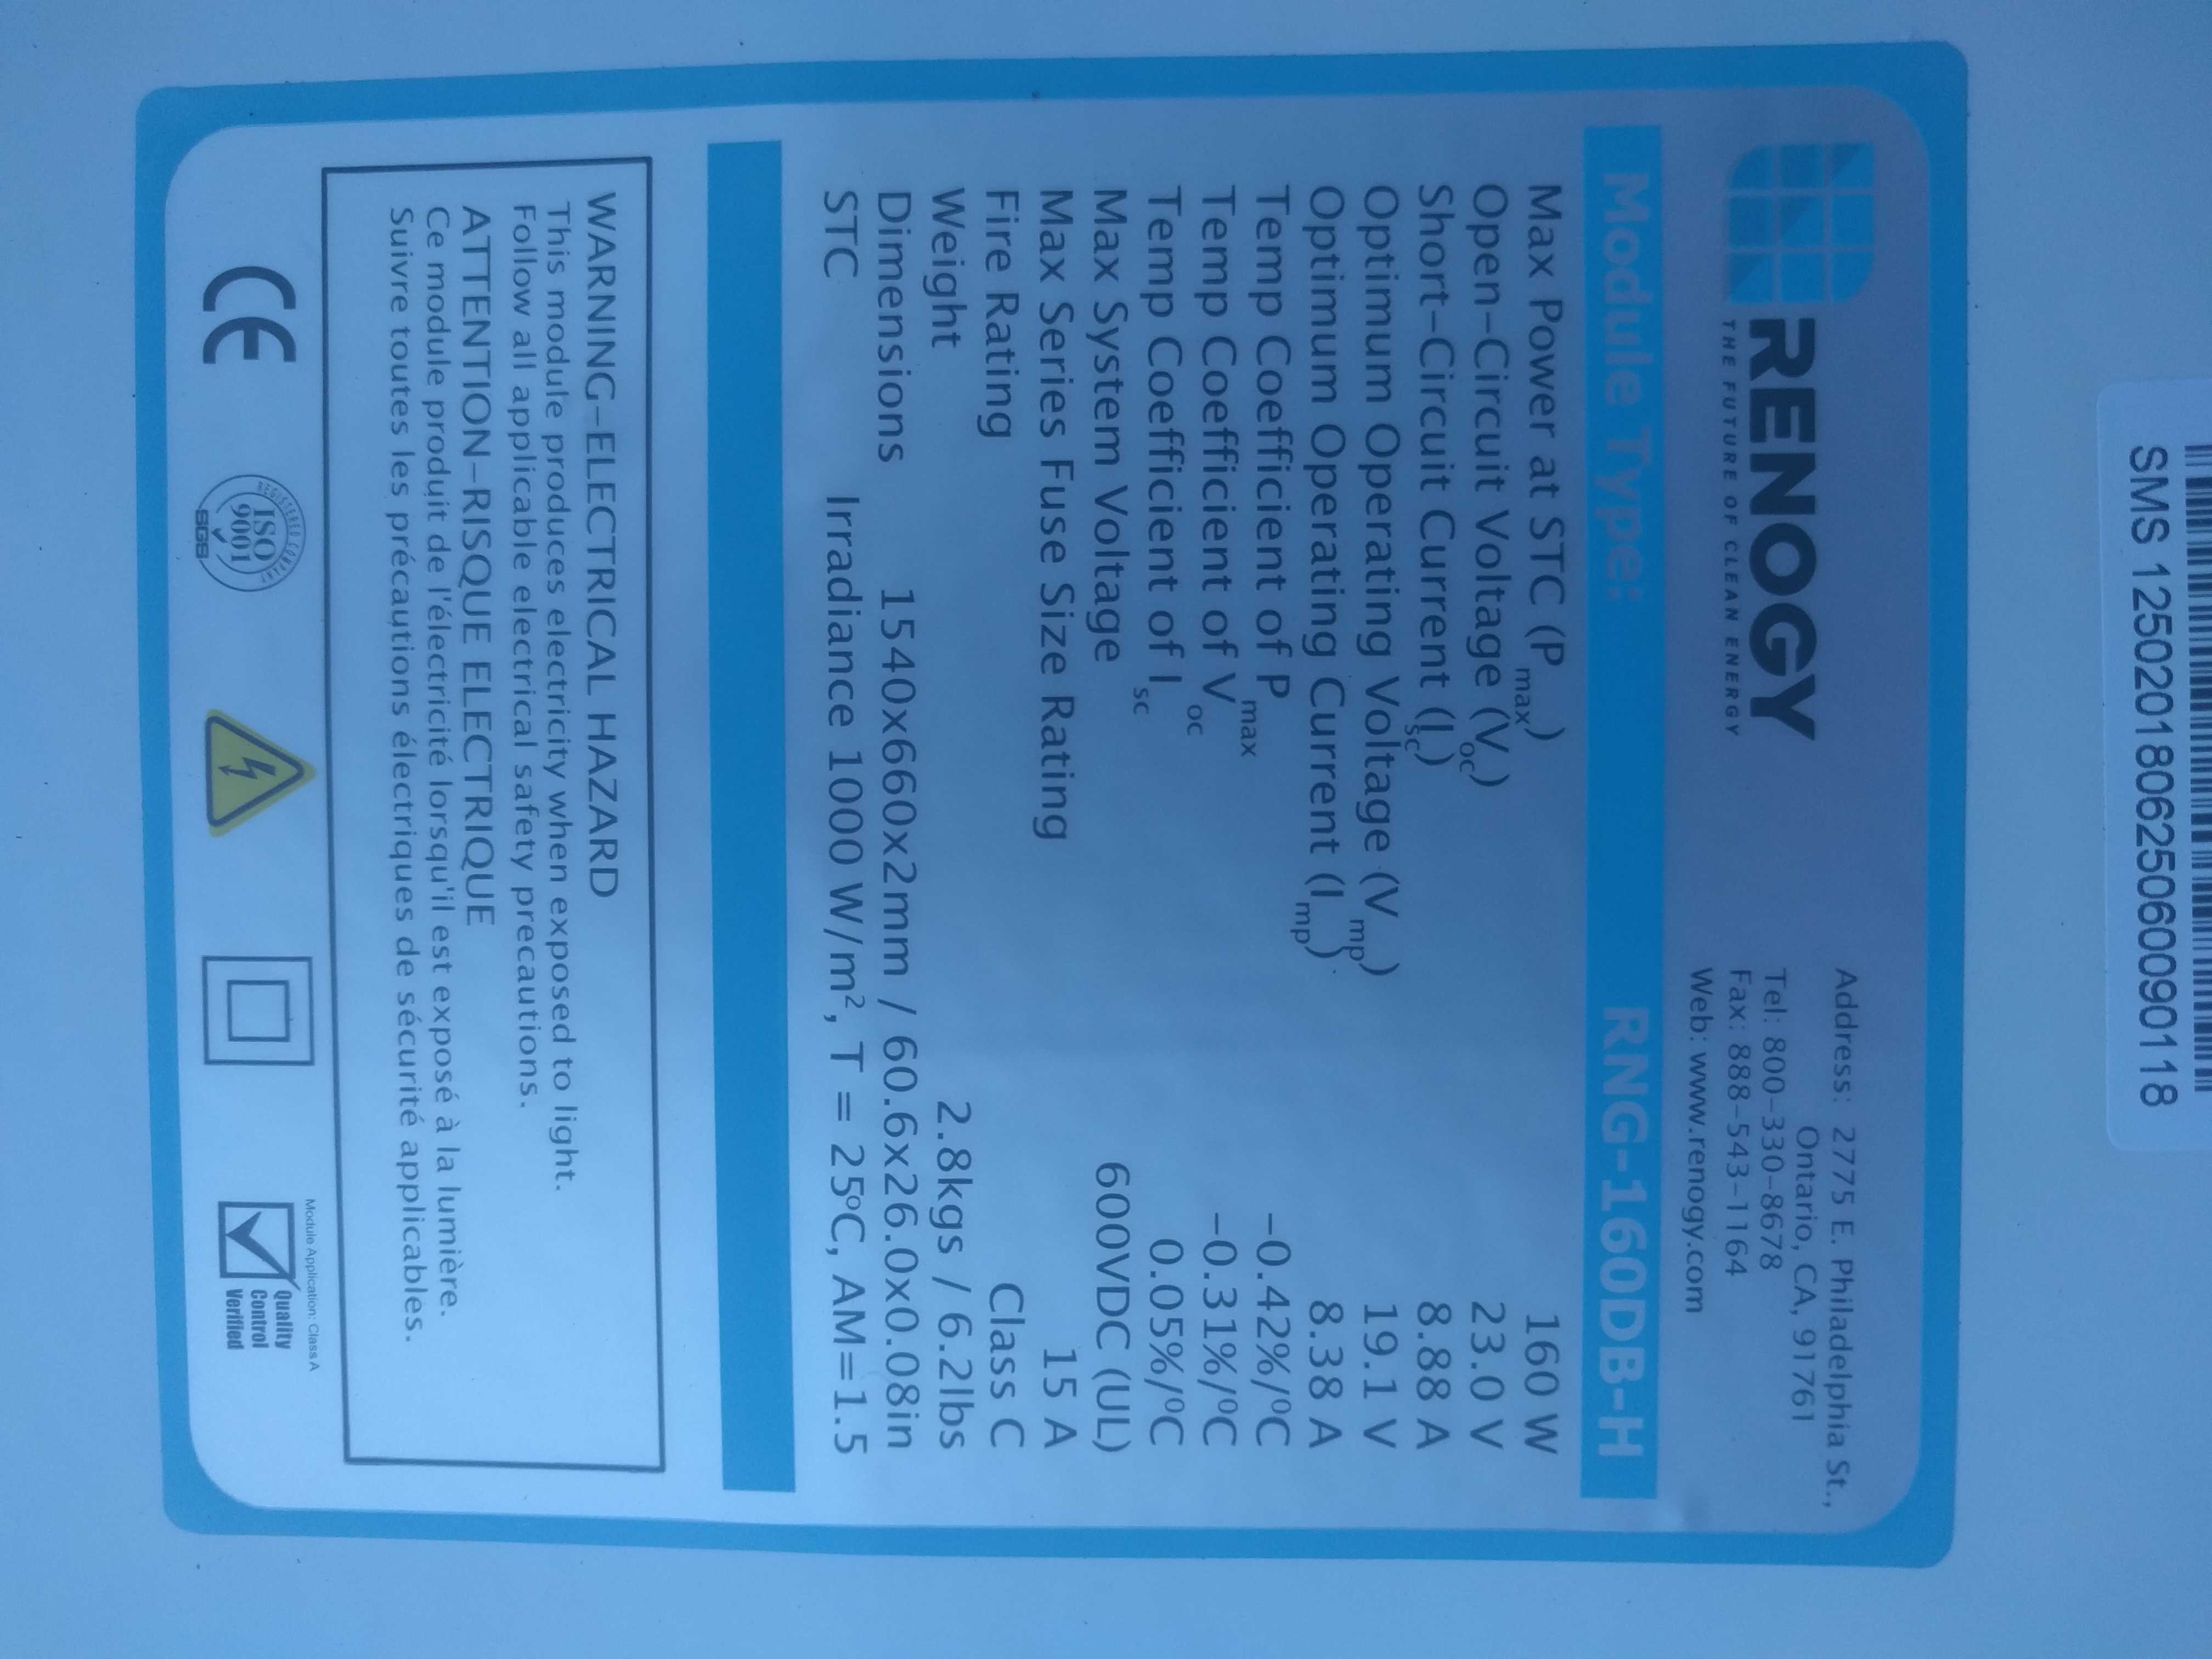
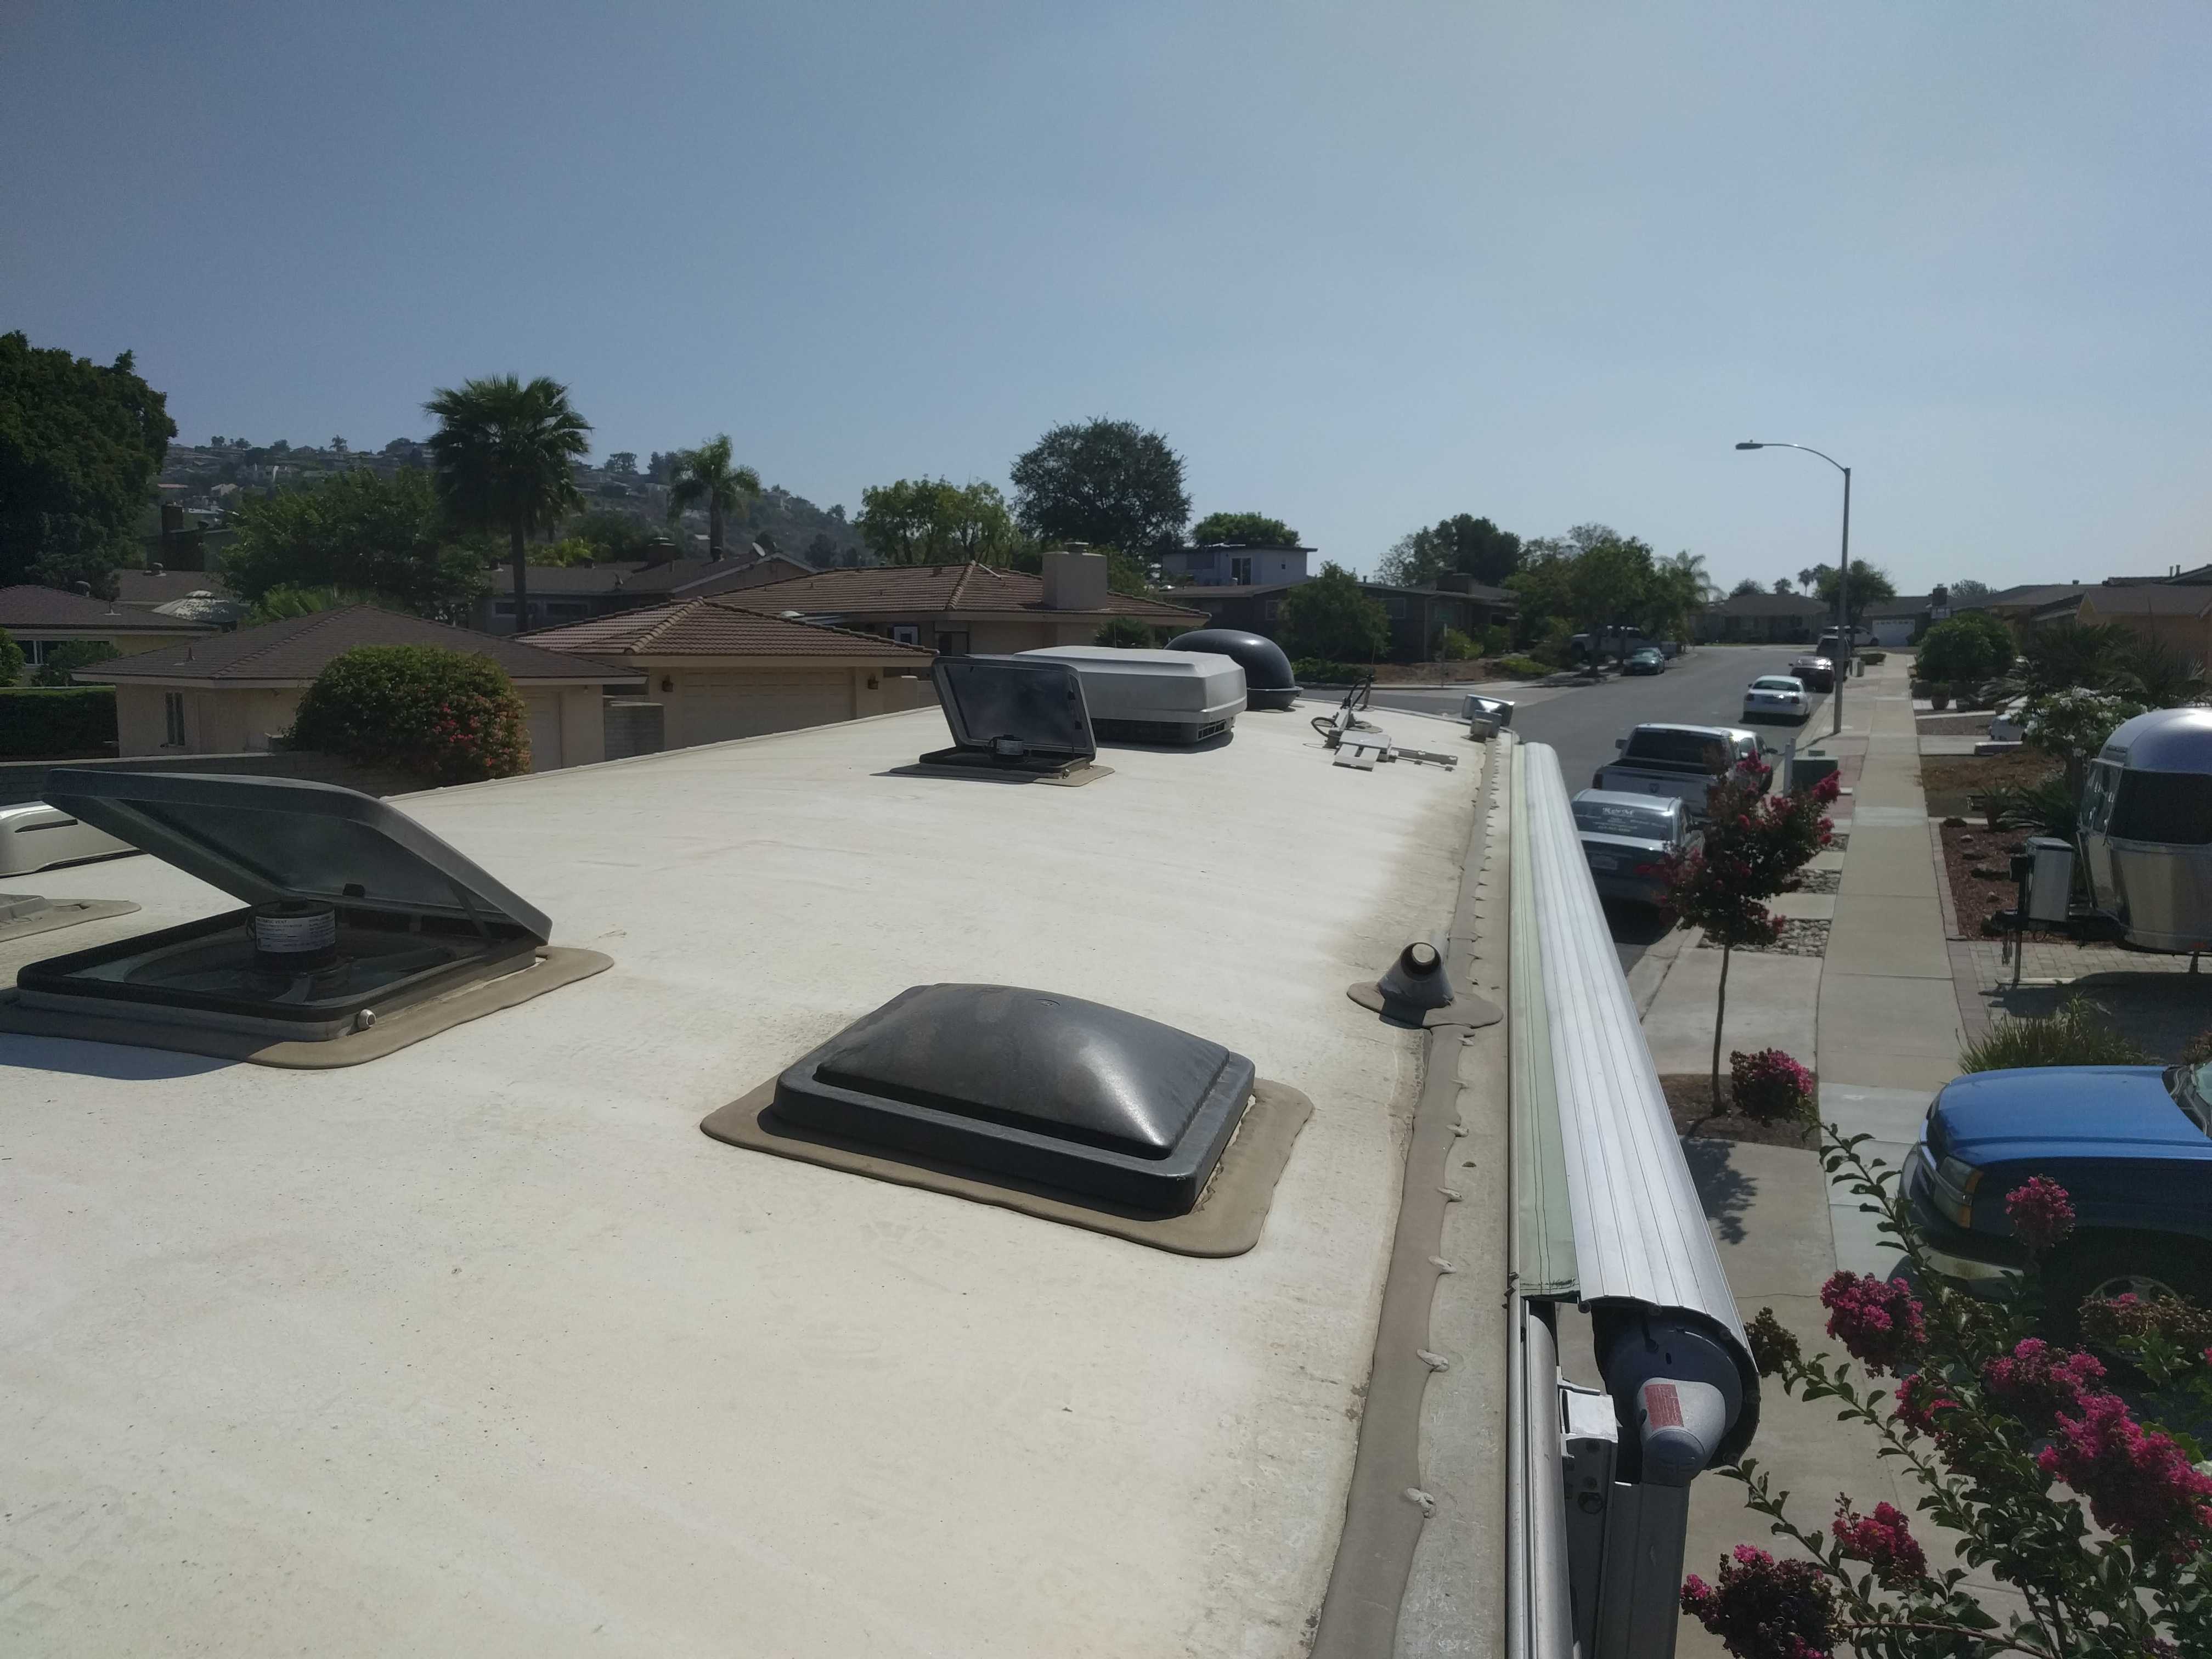
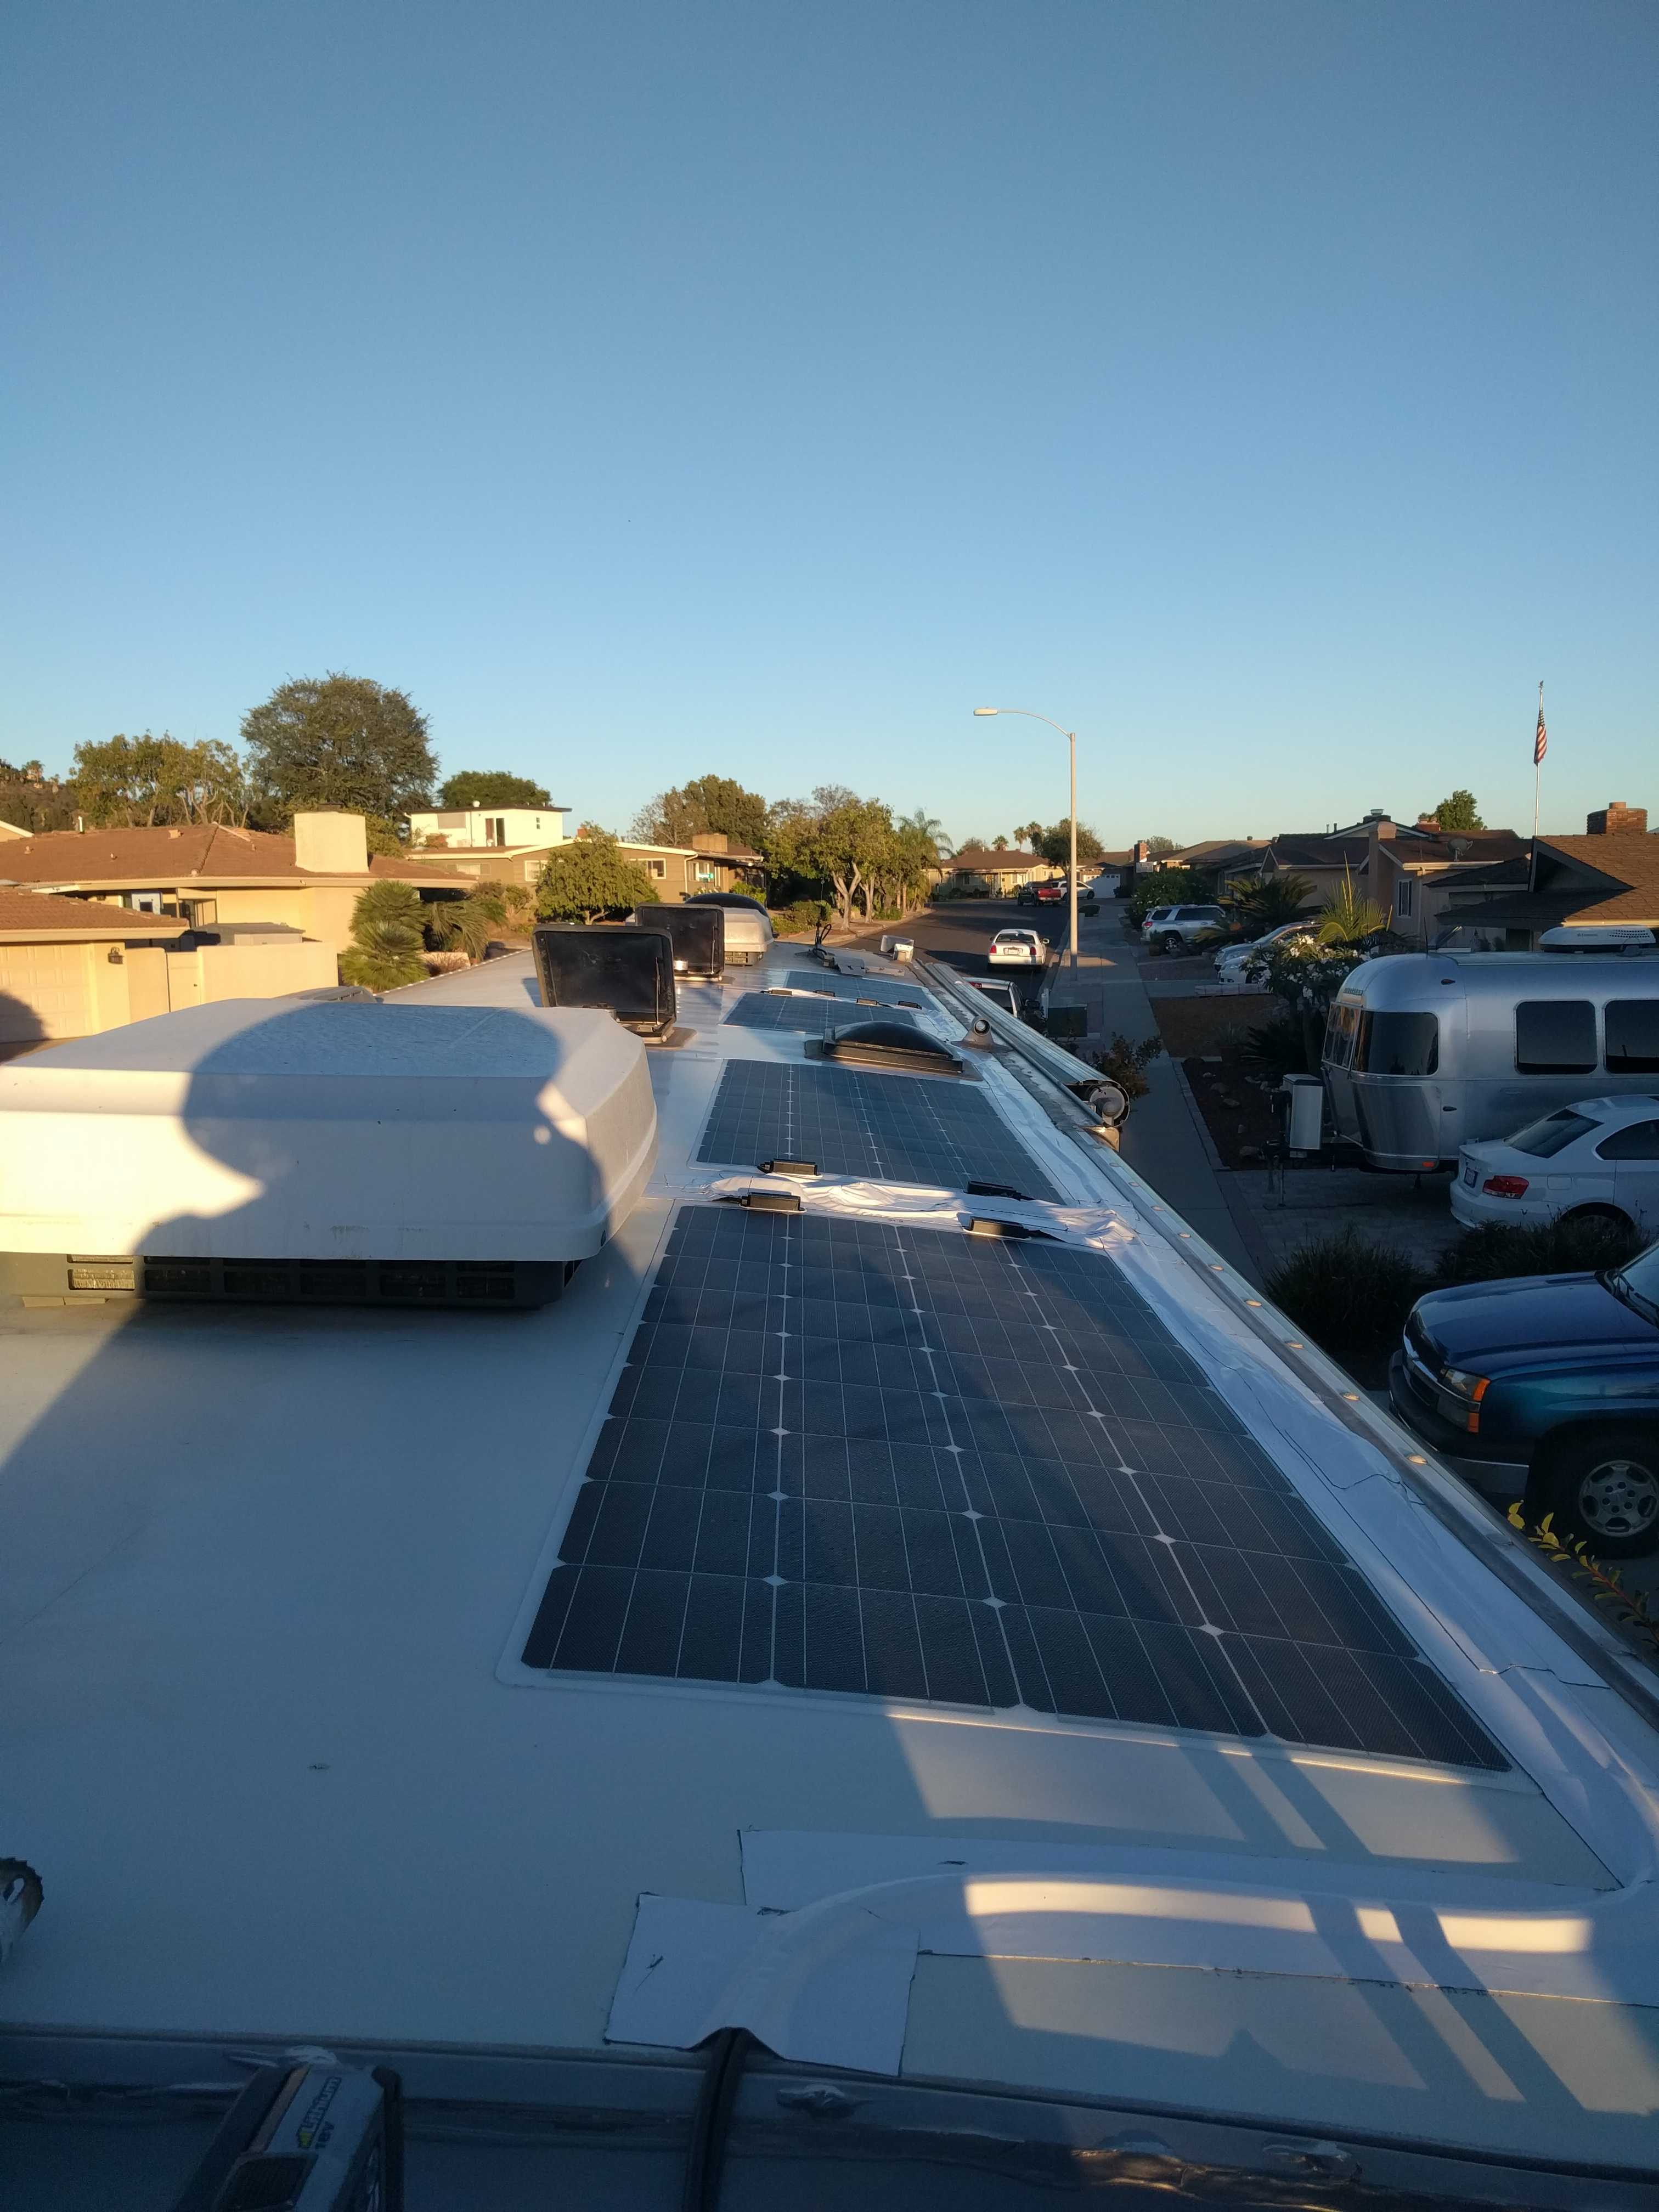 I installed 4 Renogy Flexible 160w mono solar panels, all serially connected to keep the amperage low and the voltage high, allowing for much less voltage drop on the 35′ cabling runs from the roof to the controller via the rear cap. I wanted to line them up along the passenger side edge but there were some things sticking up on the roof that would create shadows on the panels so a couple of them were moved further inboard the others.
I used 2 tubes of Sikaflex 252 for gluing down the panels to  the fiberglass roofing. Renogy recommended that as it would stick to their ETFE material. All in all it was a simple process to install and cable them. The only actual difficult part was fishing the cables down thru the inside of the rear cap. You cannot see what you are doing as all you have is a 1″ hole and it’s not a straight shot to the bottom. I
  eventually found a 1/4″ x 10′ piece of threaded rod that was stiff enough and flexible enough, and long enough to come out the bottom. Everything I had that might have worked was only 6′ long. Not enough to come thru the bottom of the compartment where I could grab it and pull it further down and over to the Controller storage compartment.
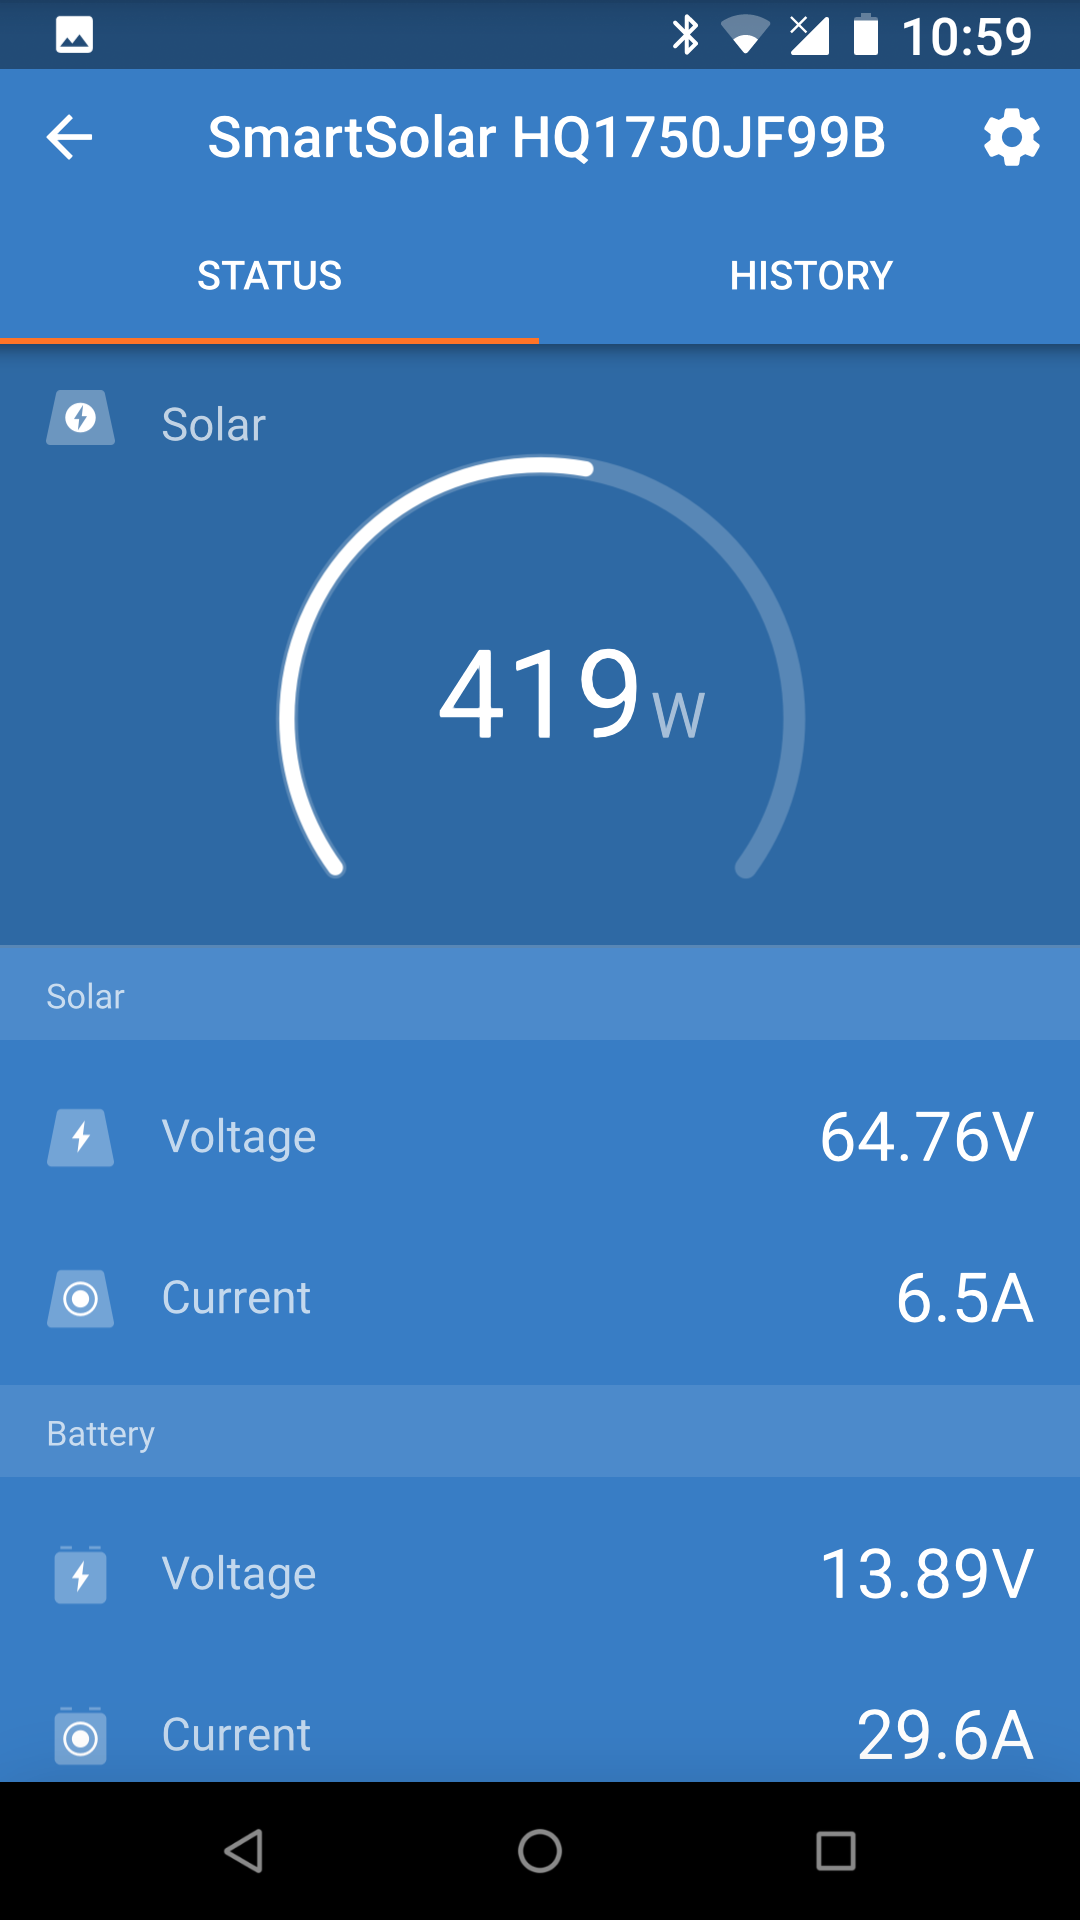
It’s all done and it generates a lot of power! Next week we will be dry camping at the Balloon Fiesta for 12 days. That should give me a lot of empirical data to work with for any future modifications.
 Yes, flexible panels were more expensive than rigid panels; but after I figured in the costs of the mounts and extra time it would take to install, not to mention the piece of mind while driving down the freeway that those heavy rigid panels might have become decapitation projectiles to an unlucky car following behind…. I am very happy with my decision. The rigid mounting brackets I wanted to use were from AM Solar, and they were about $80 per panel.
We will see how they hold up over time.